How to Cut and Bind a Rug That’s Too Long

Clara Townsend
The first time I ever cut a rug, I did it on my living room floor with the confidence of someone who had watched exactly one video and owned a brand new utility knife. The cut itself was oddly satisfying. The next day, the edge looked like it had been through a tiny fabric tornado.
So yes, you can cut an area rug that’s too long, but the secret is this: the cut is only half the job. The real make or break moment is what you do with the raw edge so it does not unravel, ripple, or shed itself into oblivion.
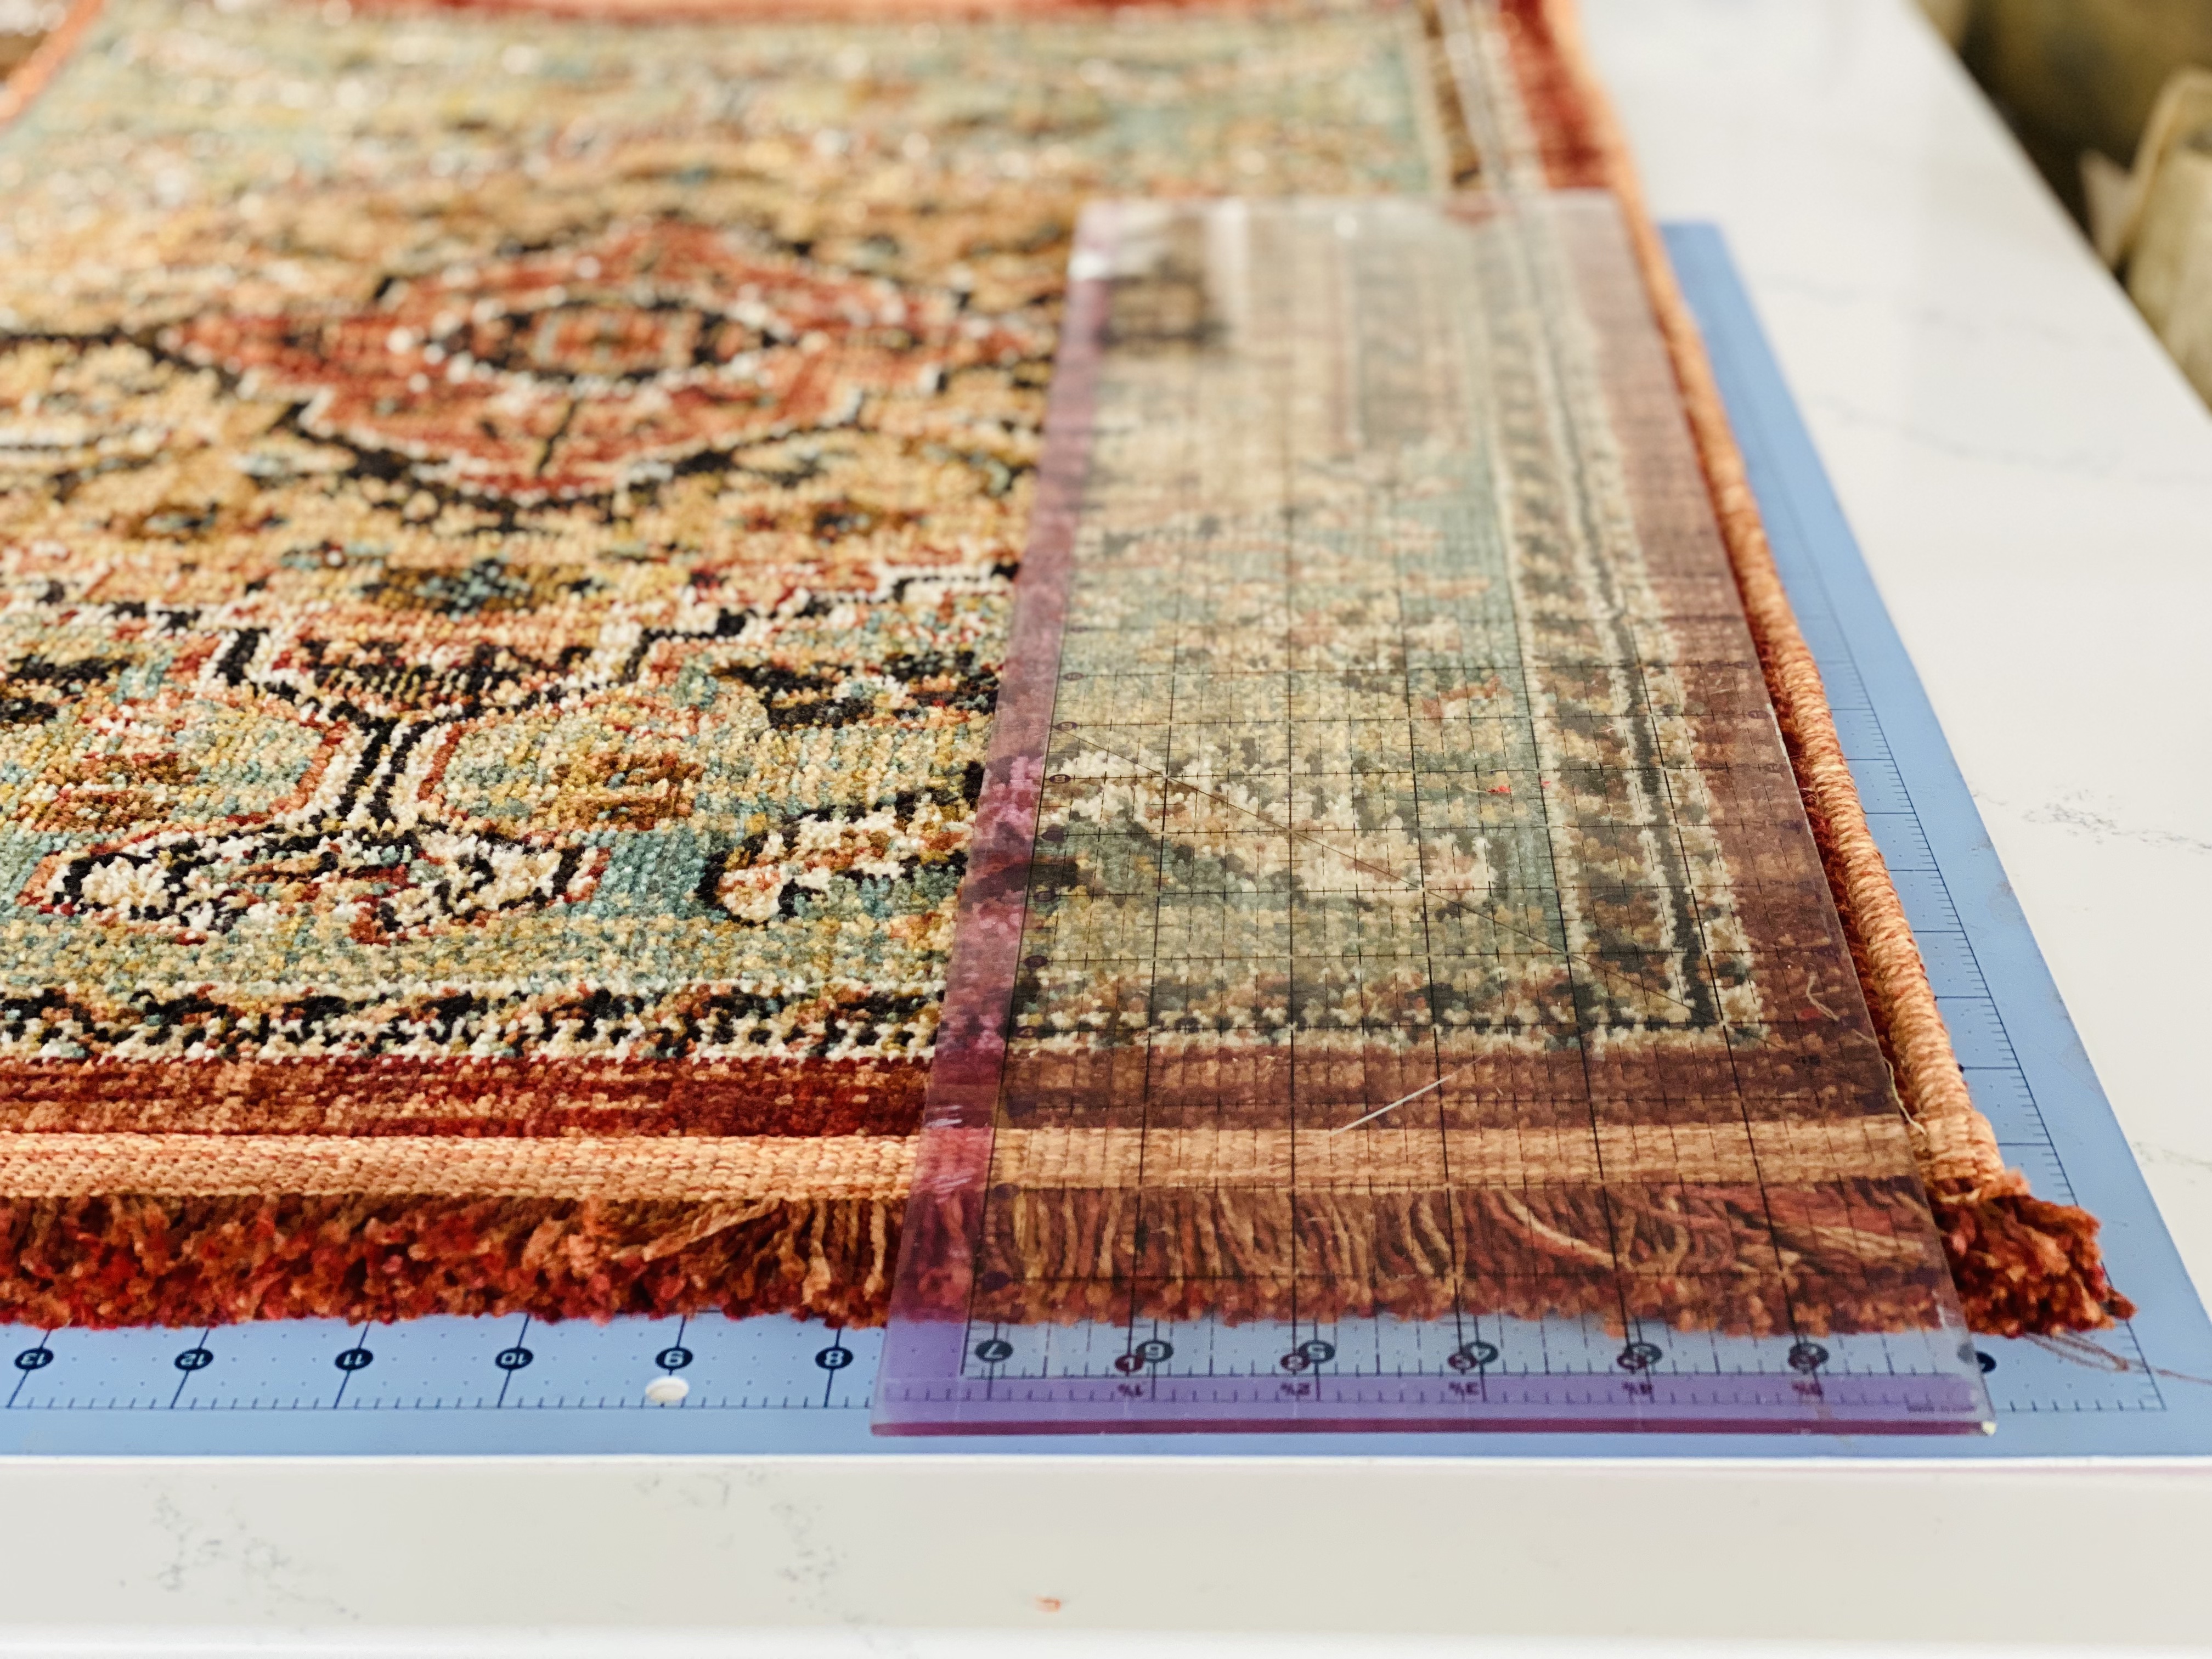
First: Is your rug a good candidate?
Before you reach for scissors, flip the rug over and do a quick “what am I dealing with?” check. Some rugs are very forgiving. Others are the design equivalent of a soufflé.
Usually DIY-friendly to cut (with proper finishing)
- Low-pile synthetic rugs (polypropylene, polyester, nylon), especially machine-made styles with a stable backing
- Flatweaves (many cotton or synthetic flatweaves) where the structure is tight and consistent
- Indoor-outdoor rugs that are woven and backed to resist moisture
Better for a rug shop (or rug repair pro)
- Hand-knotted and hand-tufted wool rugs: these can sometimes be shortened, re-fringed, overcast, or re-bound by a skilled rug repair specialist, but it is not a casual DIY project
- Natural fiber rugs like jute, sisal, and seagrass: they can be cut, but they unravel aggressively and often need wide binding or specialized latexing
- Rugs with a thick latex backing: cutting can cause cracking, delamination, or edges that may not sit as flat as you want
- Shag or very high pile rugs: hard to cut cleanly and even harder to bind neatly
- Antique or vintage rugs: Please do not experiment on history.
If your rug is expensive, vintage, hand-knotted, or sentimental, take it to a rug shop. A good rug pro can trim and finish it cleanly while preserving the integrity of the weave.
Quick construction check
If you are not sure what type of rug you have, the back tells on it.
- Woven (flatweave or woven pile): you will see a consistent grid of threads, and the pattern often looks “real” on the back (not perfectly identical, but clearly woven). These tend to behave better when cut, but the edge still needs a proper finish.
- Tufted: you will often see a cloth backing plus a layer of latex. The design usually does not look woven on the back. Tufted rugs can fray fast when cut, so edge sealing plus binding or serging matters a lot.
- Bonded or laminated backing: the back may look like multiple layers glued together. These can cut unevenly and sometimes fight you afterward (curling, cracking, or separating), so proceed carefully.
One more thing: if your rug is brand new, check the return policy and warranty language. Trimming almost always makes it final sale.
Why a raw cut edge unravels
A rug is basically a community of fibers and knots that are behaving because the edges are telling them to. On most rugs, the long sides and short ends are finished with a bound edge, serging, fringe, or a woven selvage. That finish locks the structure in place.
When you cut through the field of the rug, you are snipping the “anchors.” Without a new finish, the yarns can:
- Fray and unravel as foot traffic tugs on loose ends
- Shed more than normal because fibers are no longer secured
- Curl as tension changes along the freshly cut line
- Separate from the backing on some machine-made rugs
That is why the finish you choose matters just as much as the cut.
Tools you actually need
You can do this neatly at home, but you need the right setup. Clean, controlled cutting beats rushing every time.
- Measuring tape
- Painter’s tape or chalk for marking
- A long straightedge (a metal ruler, level, or straight piece of lumber)
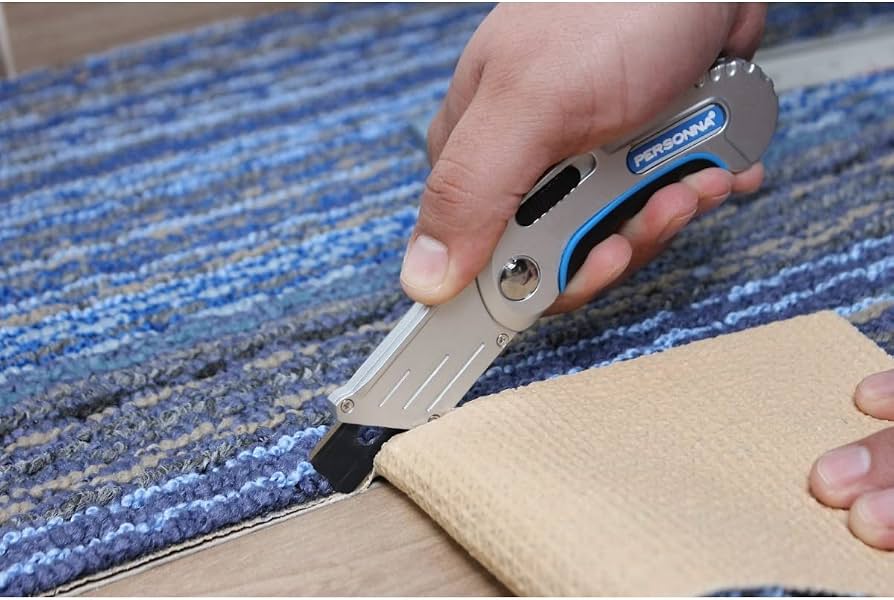
- Sharp utility knife with extra blades (start with a fresh blade)
- Cutting surface like a sacrificial sheet of plywood, hardboard, or thick cardboard (to protect your floors)
- Heavy books or weights to keep the rug from shifting
- Vacuum for cleanup
- Gloves and knee pads if you like your joints and fingertips
Measure and mark
This is the part where most rug tragedies happen: cutting the rug to the “right” length but forgetting about symmetry.
Step 1: Choose what to remove
If the rug has a pattern, border, or medallion, aim to remove length in a way that keeps the design balanced. In practice, that usually means cutting from one end only if the design allows, or splitting the difference and cutting from both ends if you need the central motif to stay centered.
Step 2: Dry-fit first
Slide it under the front legs of furniture if that is the look you want, then mark your desired final edge with small pieces of painter’s tape on the floor. Lift the rug, flip it over, and transfer the measurement to the back.
Step 3: Square it up
Measure in from the existing edge at multiple points (every 6 to 12 inches) and mark those points. Connect them using your straightedge. A rug can be slightly out of square to begin with, so measuring from one corner only is risky.
How to cut cleanly
Work on the back side whenever possible. You will see the structure and backing better, and your cut line stays crisp.
- Put down your cutting surface and place the rug on top, backing side up.
- Weight the rug so it cannot shift while you cut.
- Line up your straightedge on the cut line and hold it down firmly with your body weight or extra weights. Keep your fingers clear of the blade path.
- Make a light first pass with the utility knife. Do not try to cut through in one go.
- Repeat with light passes, swapping to a fresh blade the moment it starts to drag. Dull blades snag fibers and create a fuzzy, uneven edge.
- Vacuum immediately along the cut line to pull up loose fibers before finishing the edge.
If you are cutting a flatweave, you may get cleaner results using heavy-duty shears for the final snips after scoring the backing. For most pile rugs, a knife is the cleaner tool.
Safety note: Cut away from your body, take breaks, and change blades often. Rugs are tougher than they look.
Binding vs serging
After you cut, you need to finish the new edge. These are the most common options you will hear at a rug shop and in upholstery circles.
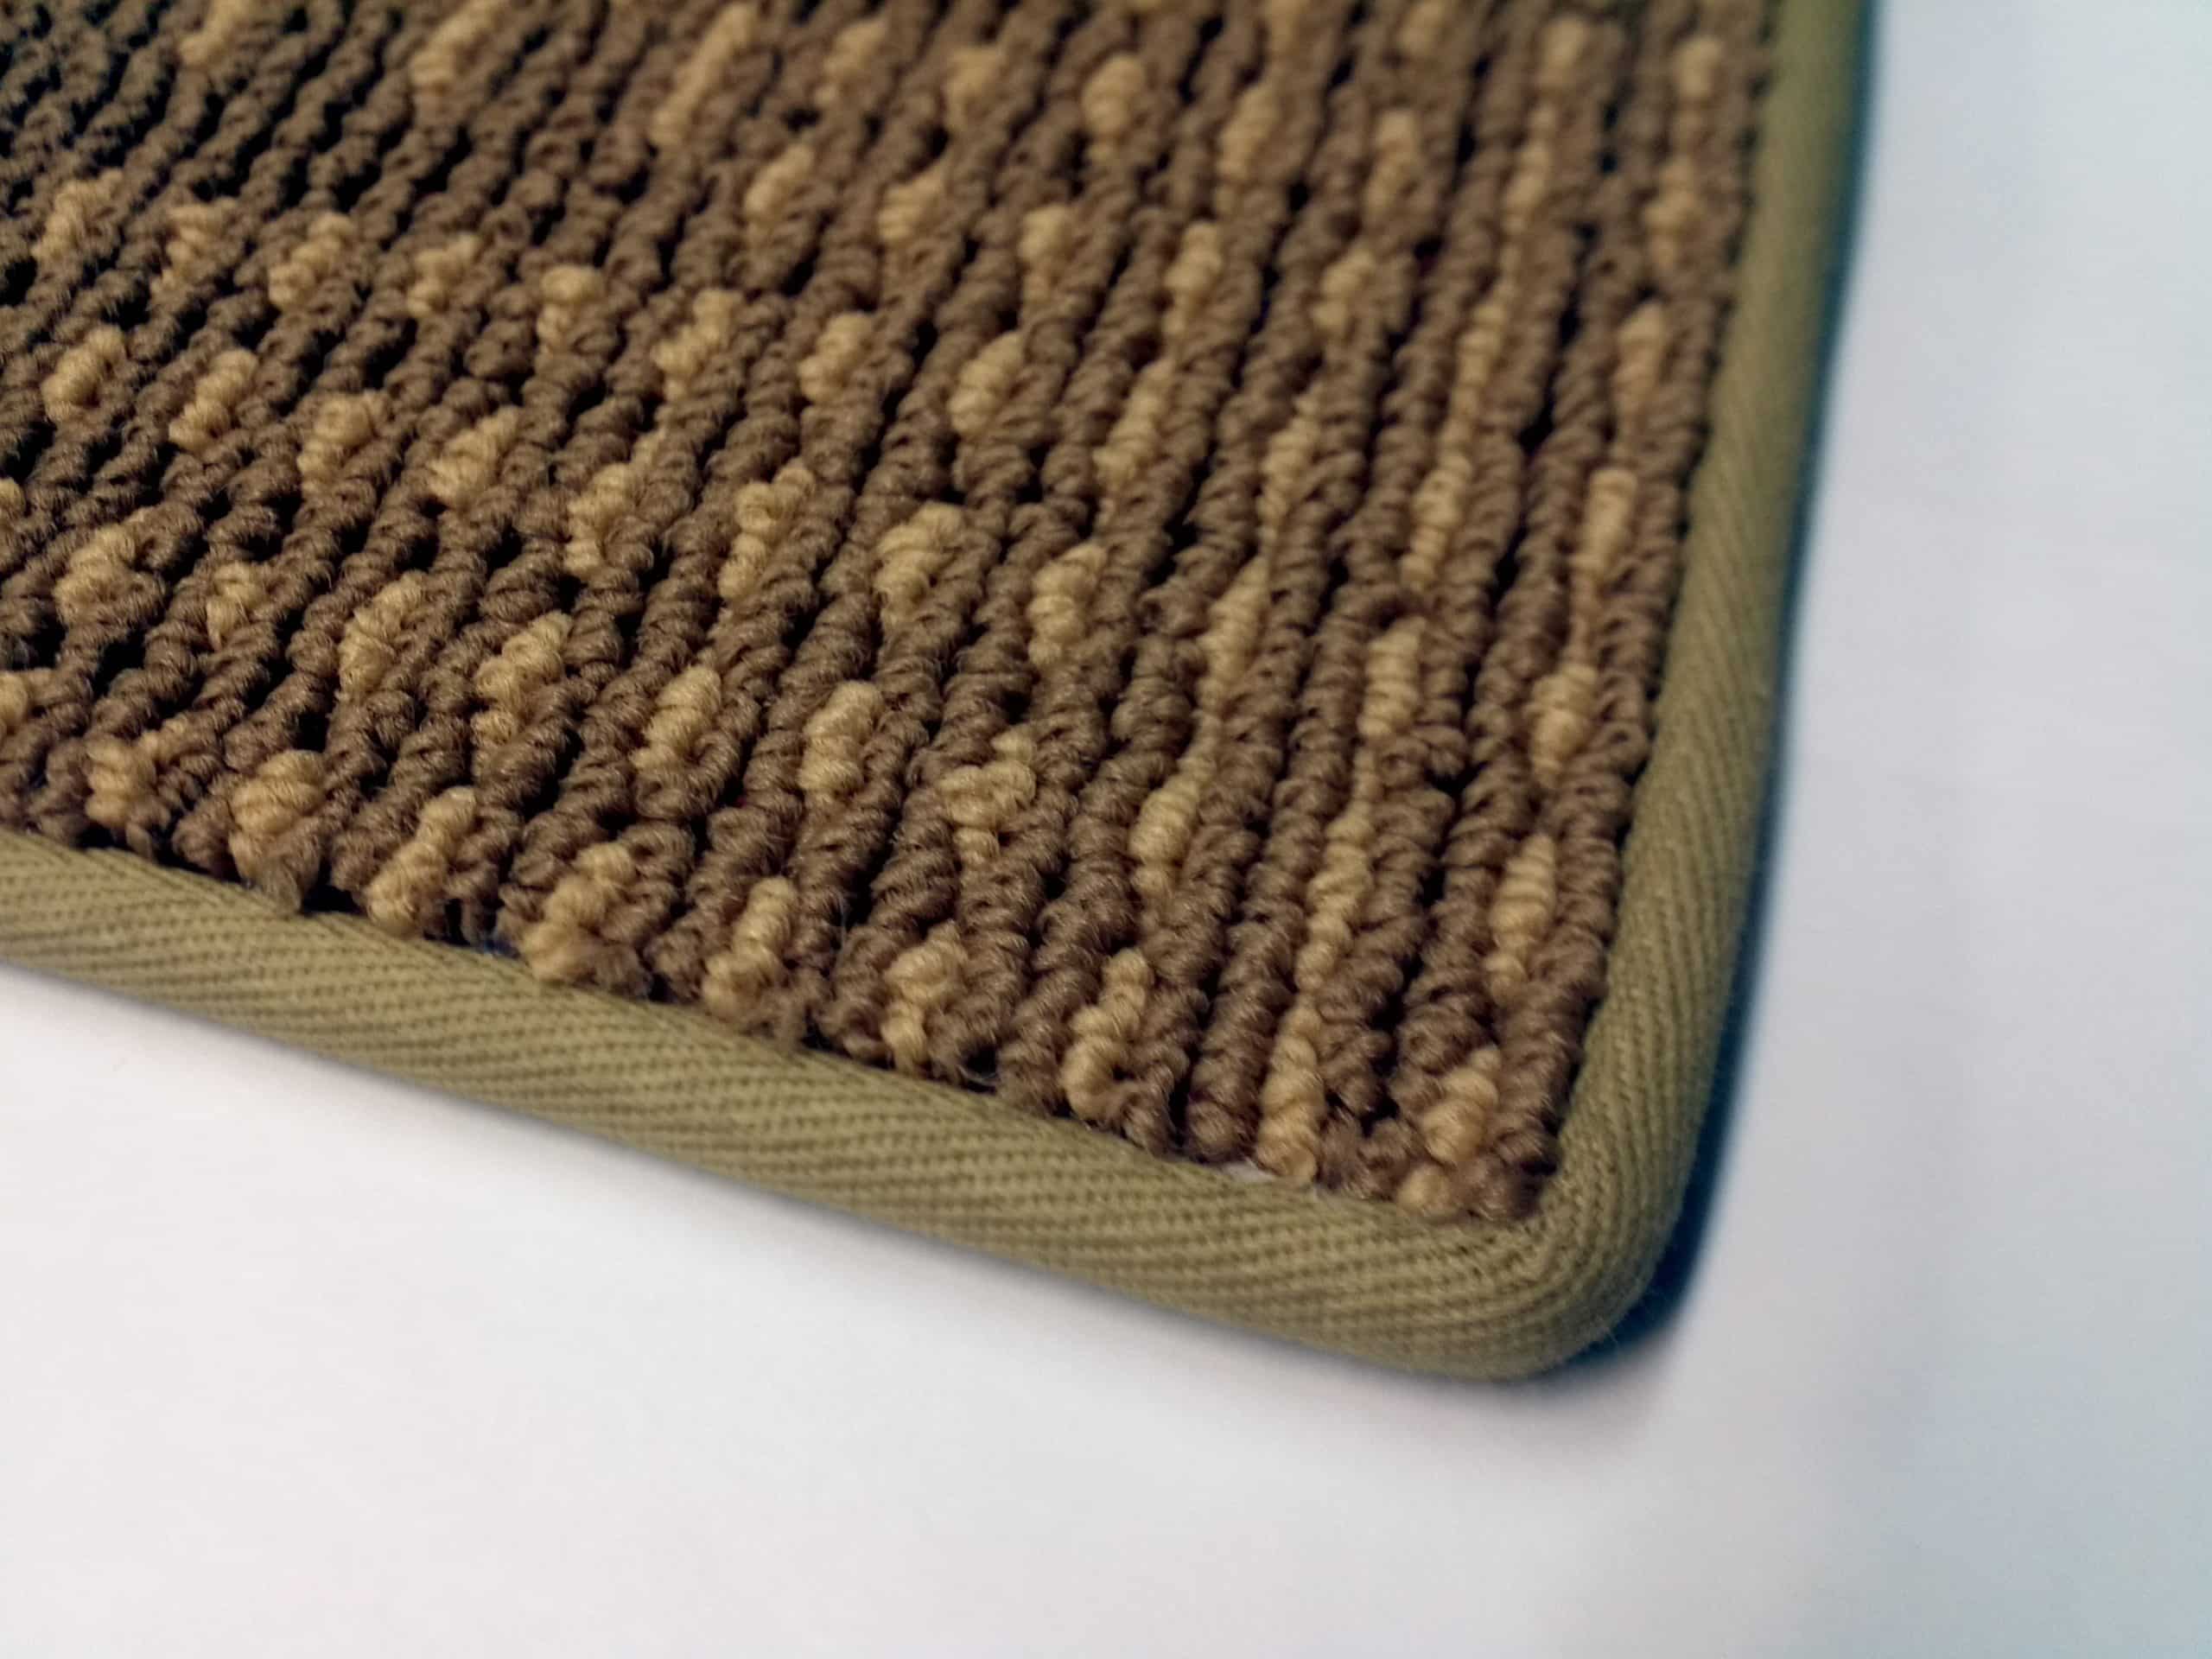
Binding (fabric tape edge)
What it is: A fabric tape (cotton, polyester, canvas, or faux leather options) is wrapped over the raw edge and stitched down.
Look and feel: Clean, tailored, and slightly more modern. You will see the band around the perimeter.
Best for: Flatweaves, low pile rugs, natural fiber rugs, and rugs where you want a crisp outline. Binding can also add a subtle contrast, which I love when a room needs definition.
Serging (yarn overcast edge)
What it is: Yarn is stitched over the edge in a continuous wrap, similar to a tight blanket stitch, using a carpet serger or overlock machine.
Look and feel: Softer and more traditional. It blends in more than binding because it uses yarn tones that can match the rug.
Best for: Many wool and synthetic rugs with pile where you want the finish to disappear.
Whipping (hand-stitching)
What it is: A hand-sewn edge using heavy thread or twine, often as a quick stabilization or for certain flatweaves.
Look and feel: More casual and visible, depending on thread choice.
Best for: Temporary stabilization, rustic looks, or when you are comfortable hand sewing and the rug structure supports it.
Can you bind at home?
Sometimes, yes. But I want to be honest: getting a truly durable, flat, professional-looking edge is hard without the right machine.
DIY options (best for budget rugs)
- Iron-on rug binding tape: quick, no sewing required. It is best for low-traffic areas and temporary fixes, not forever rugs.
- Sew-on binding tape: stronger than iron-on, but you need a heavy-duty sewing setup and patience around corners.
- Latex edge sealant: commonly used to reduce fraying on freshly cut edges, especially on tufted rugs and some synthetics. It can help stabilize fibers, but it will not look finished on its own. Use it as reinforcement under binding or as a short-term stopgap.
When DIY binding disappoints
- Thick pile or shag where tape cannot sit smoothly
- Natural fibers that shed and unravel under the tape
- Rugs that need to lay perfectly flat at the edge for doors or rolling chairs
If you use sealant, adhesives, or glue-based tapes, work in a well-ventilated area and follow the product label for dry time.
If the rug is going in a high-traffic zone like an entryway, hallway, or under a dining table, a rug shop finish is typically worth it.
Corners and curves
Straight cuts are the easiest. Corners and curves are where rugs love to humble people.
Clean corners
- Mark both directions: measure your new length and width, then confirm the corner is square by checking diagonals.
- Cut past the corner line carefully: stop just short, then finish with controlled, short strokes so you do not overrun the edge.
- Binding corners need a plan: if you are using binding tape, neat corners often involve mitering and stitching. If that sentence makes you tired, it is a fair sign to outsource.
Rounded edges
- Use a template: a large bowl, bucket, or cardboard curve template helps you trace a consistent arc.
- Make more light passes: curves are easier to control with shorter cuts and patience.
- Expect finishing to be trickier: rounded edges can be done, but they are less forgiving with DIY tape and more likely to ripple.
Going to a rug shop
When you bring a rug in for resizing, you can sound confident without sounding like you are auditioning for a design show. Here is what I ask for:
- “Can you trim this to X inches and bind or serge the cut edge?”
- “Can you match the yarn color for serging?” if you want it to blend
- “What finish do you recommend for this fiber and backing?” because construction matters
- “Will it change how the rug lays flat?” especially if you are resizing near a doorway
Pro tip: bring a couple of photos of the rug in your room and measure the exact finished size you want. Rug shops can do miracles, but they cannot guess how much clearance you need for that stubborn door swing.
On cost and timing: pricing varies by rug type, size, and finish, and turnaround depends on the shop’s backlog. Call ahead with your rug dimensions and the finish you want, and they can usually give you a rough estimate and timeline.
Common mistakes
Cutting and then living with the raw edge
Even if you plan to bind later, a raw edge can start fraying immediately. Vacuum gently, keep pets away from the edge, and do not drag the rug around once it is cut.
Trying to cut through in one pass
This is how you get jagged lines. Light passes, sharp blades, steady pressure.
Ignoring the pattern
If your rug has stripes, borders, or repeating motifs, take extra time to ensure your cut looks intentional, not accidental.
Forgetting the rug pad
After resizing, your old pad might be too long too. Trim the pad slightly smaller than the rug so it does not peek out.
Quick FAQ
Can I cut a rug and leave the edge raw?
I would not, unless it is a very temporary situation. Most rugs will fray, shed, or unravel. A finished edge is what keeps the rug behaving long-term.
What if my rug is only a few inches too long?
If the rug is close, consider whether you can shift furniture placement or tuck the extra under a sofa. Cutting is permanent, and a few inches can sometimes be “styled away.”
Does cutting ruin the rug?
It can, if the rug is the wrong type for DIY cutting or if the edge is not finished properly. Done well, resizing can look completely original.
Will a cut-and-finished rug curl at the new edge?
It can if the backing is unstable, if the finish is too tight, or if the rug was already prone to curling. A rug shop can often stabilize the edge during binding or serging.
The bottom line
If your rug is a basic machine-made piece and you are comfortable measuring carefully, a straight cut plus a properly finished edge can absolutely rescue a too-long rug. Just do not stop at the satisfying part where the extra length falls away. The edge finish is the difference between a rug that looks custom and a rug that slowly unravels while you pretend not to notice.
When in doubt, especially with wool, natural fibers, or anything you would be heartbroken to replace, let a rug shop do the trimming and finishing. You will sleep better, and your vacuum will thank you.