Fabric Headboard Pulled Out of Drywall: What to Do Next

Clara Townsend
The first time a fabric headboard pulls out of drywall, it feels a little personal. One minute your bed looks like a boutique hotel moment, the next you are staring at a cratered wall and a headboard slumped like it is over the whole relationship.
Take a breath. This is one of those very normal home things that looks dramatic but is totally repairable. The key is treating it like two separate jobs: repairing the wall and rehanging the headboard correctly. Trying to shortcut either step usually leads to the same loud pop later.
Quick tools and supplies
You do not need a full renovation setup, but a few basics make this go cleaner and faster.
- Putty knife and utility knife
- Sanding sponge (and a dust mask if you are sensitive to drywall dust)
- Eye protection for scraping and drilling
- Torn drywall paper sealer or drywall primer
- Joint compound for wider feathering (or setting-type compound if you want faster, harder fills)
- Lightweight spackle for small, cosmetic fills
- Stud finder (bonus points if it has wire detection), level, pencil
- Appropriate screws and, if you truly cannot hit studs, heavy-duty toggles rated well above the headboard’s weight
First: make it safe
Before you touch the wall repair, do a quick reset so the drywall does not keep crumbling.
- Get the headboard off the wall completely. Rest it flat on a rug or bed, not standing where it can tip.
- Remove loose debris. Pull off any dangling paper facing and knock away crumbly gypsum with a putty knife.
- Find and remove the failed hardware. Back out screws. If toggle wings are trapped behind the wall, you can often push them into the cavity to avoid tearing the hole bigger. If you can safely retrieve them, great. If not, pushing them in is common.
- Check for electrical. If the failure is near an outlet or switch, slow down. Wires can run vertically from boxes and sometimes horizontally through studs. If your stud finder has AC detection, use it, and be cautious about drilling until you understand what is behind that spot.
What kind of failure is it?
Knowing what actually ripped out helps you pick the right fix.
1) A small anchor hole that got sloppy
If the hole is only slightly enlarged and the paper face is mostly intact, you may be able to patch, repaint, and rehang with a better plan (ideally into a stud).
2) A blown-out drywall crater
This is the classic headboard rip-out. The screw or cleat pulled forward, tearing the paper face so the drywall turns into a chalky crater. In this case, you cannot reuse the same hole, and you usually cannot reuse the same anchor type.
3) The mount pulled out of the headboard
Sometimes the wall is fine and the wood cleat (or brackets) ripped out of the headboard frame. If you see stripped holes in the headboard backing, plan to repair the headboard side too with longer screws into solid framing, plus washers, or by shifting the cleat up or down to fresh wood.
Can you reuse the same hardware?
Usually: no, not in the same spot. Hardware fails because drywall is not meant to take repeated leverage loads, and a headboard is basically a big soft sail that gets tugged every time you sit up in bed.
Reuse is only reasonable if
- The drywall is not crushed or soft around the hole.
- The hole is not enlarged beyond the anchor’s spec.
- You are switching to a stronger attachment method (preferably into a stud) so the anchor is no longer doing the heavy lifting.
Most of the time, do this instead
- Abandon the damaged holes. Patch them properly.
- Move the mount point to studs or to a different section of solid drywall with the right anchor.
- Upgrade the hanging system. A French cleat mounted into studs is one of the most stable options for many fabric headboards.
If your headboard came with lightweight plastic expansion anchors, consider that your official permission slip to upgrade.
Repair the enlarged hole
The repair method depends on how big the damage is. I will give you an option that is solid and long-term, and a renter-friendly patch that is easy to touch up. Either way, you want a flat, sealed surface so your paint does not flash and look like a polka dot later.
Option A: Strong, long-term fix
Best for: torn paper, cratered gypsum, holes roughly 1/2 inch up to a few inches wide.
- Trim the damage. Use a utility knife to cut away loose paper and make the edge clean. Do not over-cut. Just remove what is floppy.
- Seal torn paper. Brush on a drywall primer or a product made to seal torn drywall paper. This keeps the paper from bubbling under compound.
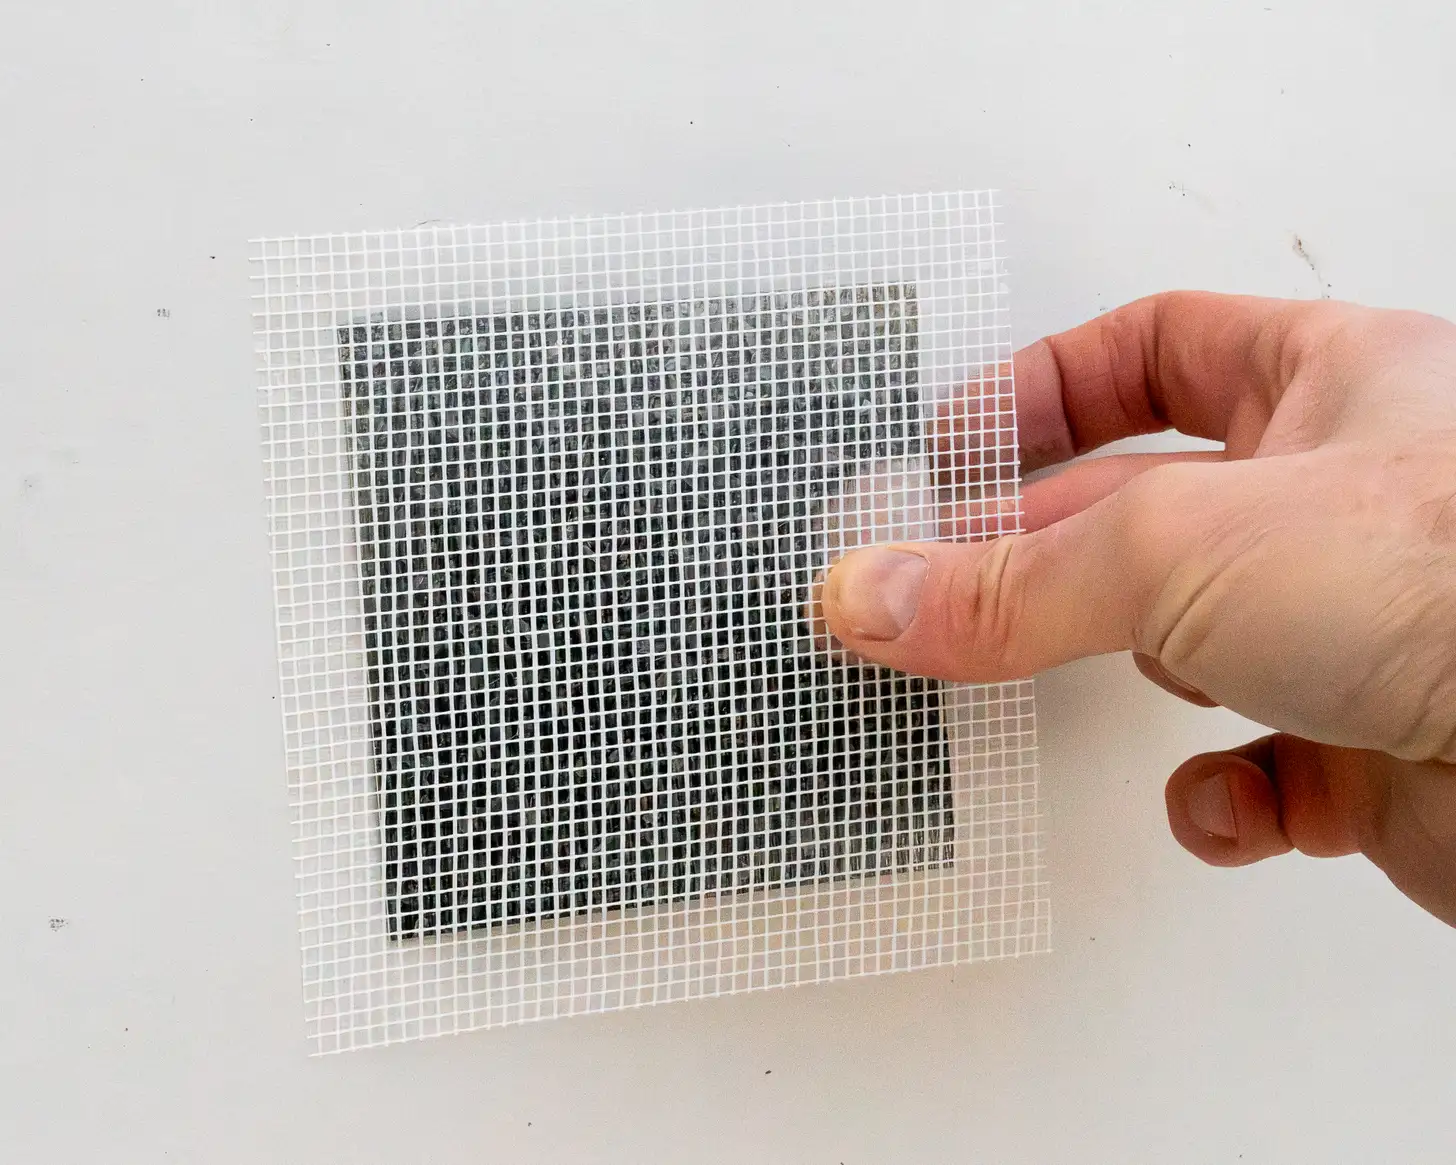
- Pick the right patch style for the wall finish. For many walls, a mesh or metal repair patch works well. If your walls are very smooth and you want the flattest finish, or if the blowout is irregular, a drywall plug or backing patch (often called a California patch) can finish cleaner than mesh.
- Use joint compound in thin layers. Feather the edges out wider than you think, let it dry, sand lightly, then repeat if needed. Joint compound is your friend here because it feathers smoothly.
- Prime, then paint. Always prime patched areas. Dry compound drinks paint and will look dull without primer.
This makes the wall look right and restores strength, but it is still drywall. You still want to rehang the headboard in a way that does not rely on the patched area.
Option B: Renter-friendly clean patch
Best for: rentals where you want a respectable cosmetic patch without getting into a full drywall project, especially if the headboard will cover part of the area.
- Knock off loose crumbs. Keep it neat and as flat as possible.
- Seal torn paper. This matters in rentals too. It prevents bubbling and peeling.
- Use lightweight spackle in thin coats. Aim for flush with the wall, not a big mound.
- Sand gently. A sanding sponge keeps it controlled. Consider a mask if drywall dust irritates you.
- Spot-prime if you can. If you do not have primer, at least do an extra coat of paint over the patch to reduce flashing.
One honest note: a renter-friendly patch is for appearance, not load-bearing strength. Even if it looks perfect, do not hang the headboard back into that same repaired spot.
Find studs
If you can hit studs, do it. A fabric headboard acts like a lever against the wall, and studs take that force without drama.
How to locate studs
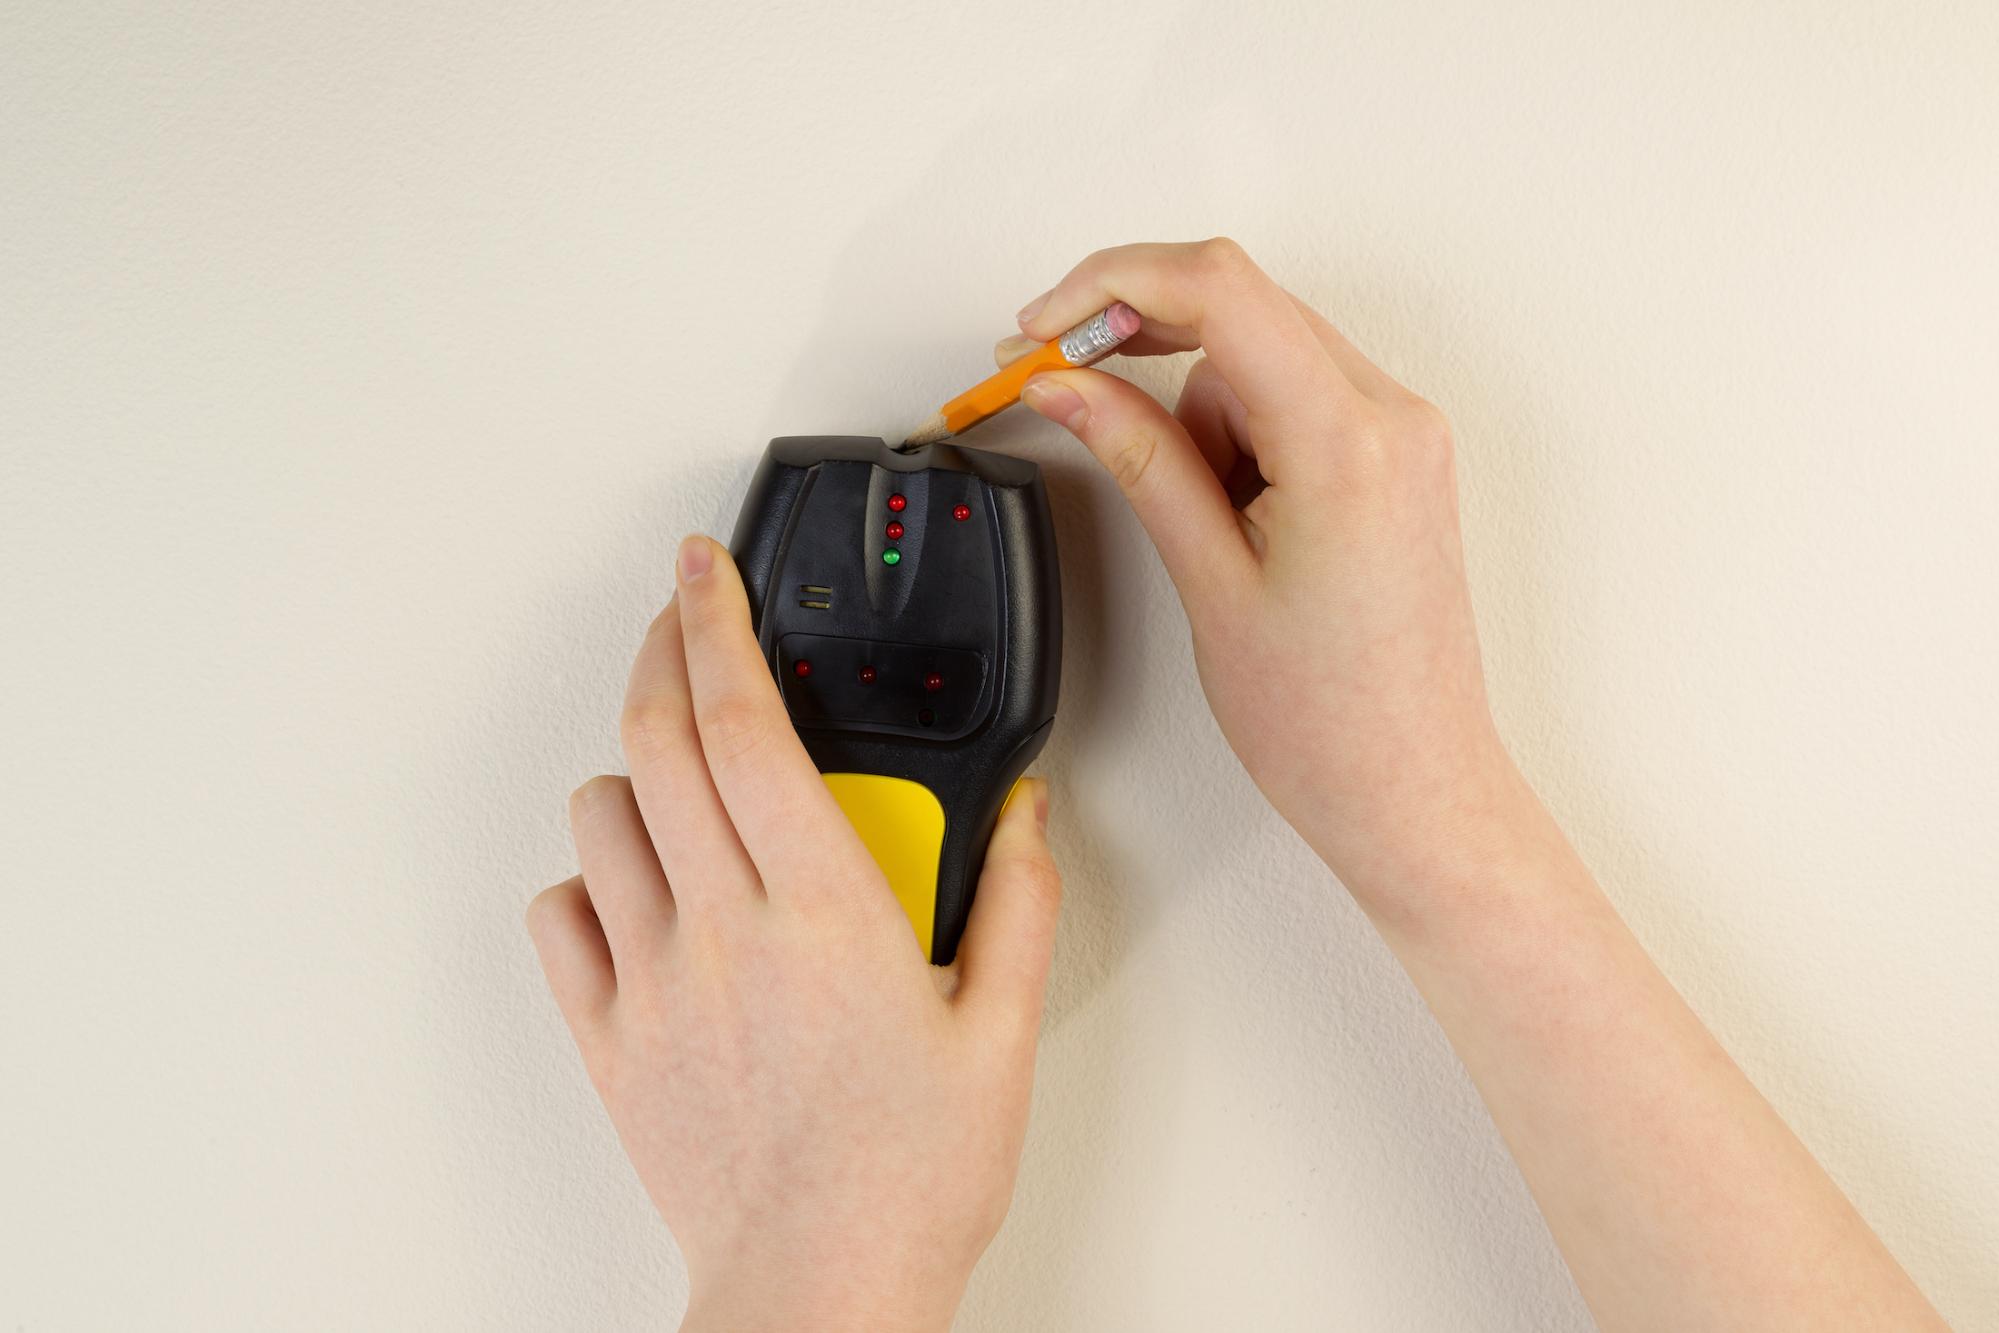
- Use a stud finder. Run it slowly and mark both edges of the stud, then mark the center.
- Look for outlet clues. Electrical boxes are often attached to a stud. Studs are typically 16 inches on center (sometimes 24), so you can measure from there.
- Try the magnet trick. A strong magnet can find drywall screws that hit studs.
Pro styling detail that is actually structural: If the studs do not line up with the headboard’s existing cleat, you can often add a horizontal mounting board (a painted 1x4 or plywood strip) screwed into studs, then attach the cleat to that board. It can hide behind the headboard and spreads the load beautifully.
Rehang it so it stays put
There are a few common mounting styles for fabric headboards. The right move depends on what you have and whether you are renting.
French cleat
A French cleat is two interlocking angled strips, one on the wall and one on the headboard. When mounted into studs, it is very secure and distributes weight evenly.
- Mount the wall side of the cleat into studs with wood screws long enough to bite solidly into framing. As a rule of thumb, many installs work well with screws in the 2 to 2.5 inch range for 1/2 inch drywall, but adjust for your cleat thickness and wall build.
- Level it carefully. A slightly crooked cleat looks extra obvious behind a bed.
- Hang the headboard, then test for wobble by gently pulling the top edge forward. It should feel tight and supported.
Keyhole brackets or D-rings
These can work, but they are less forgiving. If one side misses a stud, that side will slowly chew up the drywall.
- Make sure both sides land on studs, or use a stud-mounted backer board first.
- Use appropriate screws. If you are in wood, use wood screws. If you are in metal studs, use hardware designed for metal framing.
Direct-to-wall mounting with anchors
If you absolutely cannot hit studs, skip flimsy plastic anchors and use heavy-duty toggles rated for the load. Check your headboard’s weight and choose hardware rated well above it. Then keep the headboard from being tugged forward, which is what causes the failure in the first place.
That said, after a rip-out, I treat anchor-only rehanging as a last resort.
A renter-safe rehanging option
If you are renting and your lease is strict about wall damage, your best sleep-at-night solution is usually not wall-mounted at all.
Try one of these
- Use a freestanding headboard frame that sits on the floor behind the bed.
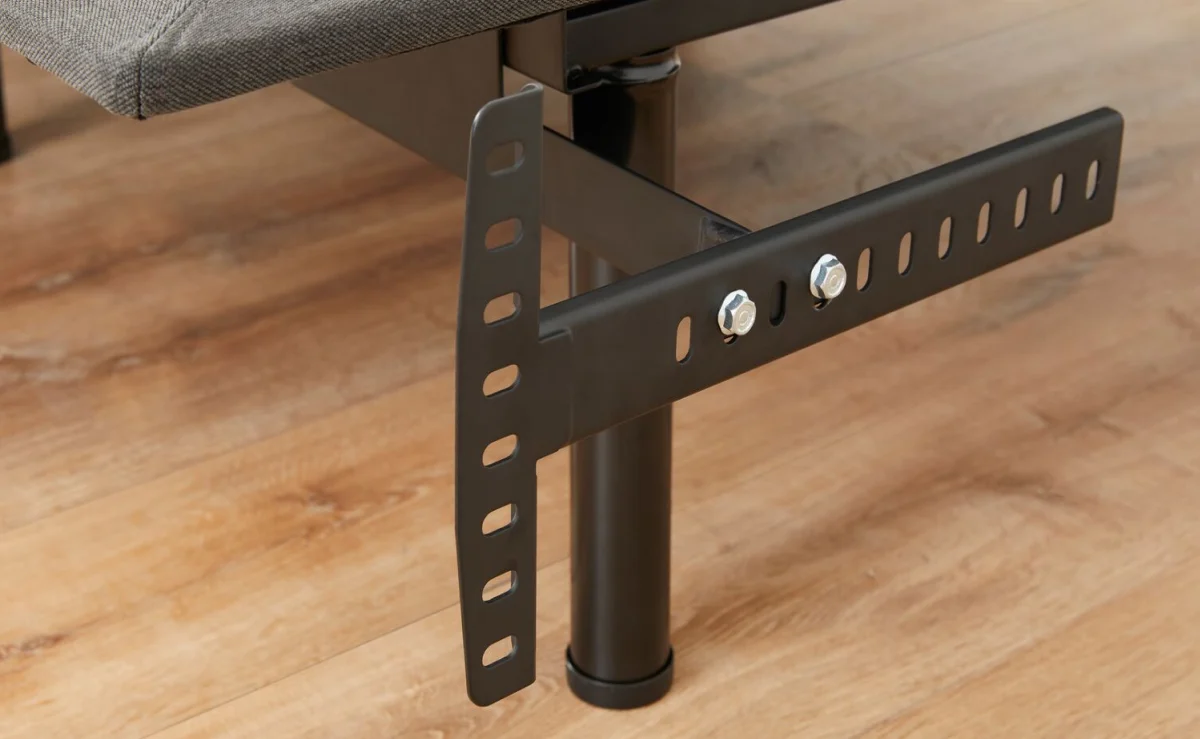
- Attach the headboard to the bed frame using the frame’s headboard brackets if compatible.
- Stabilize with anti-tip straps (light tension only) to prevent wobble, not to bear the full weight. Choose attachment points carefully and follow product directions.
In small apartments especially, a freestanding solution is underrated. It keeps the wall intact and still gives you that upholstered softness behind your pillows.
If the headboard is damaged
Sometimes the wall is the innocent bystander. If the cleat or brackets ripped out of the headboard’s wood frame:
- Move the cleat up or down to fresh wood, if the design allows.
- Use longer screws and washers so the bracket has more bite and spreads pressure.
- Reinforce thin particleboard. Add a strip of plywood inside the frame (if accessible) so screws have something solid to grab.
If the headboard is upholstered and you cannot access the frame easily, a local upholstery shop can often reinforce mounting points quickly without redoing the whole piece.
This is not tiny nail-hole patching
I want to call this out because it saves so much frustration. There are three common wall situations, and they deserve different fixes.
Intact drywall, first install
You are choosing the right mounting method, ideally studs or a stud-mounted backer board. No patching needed, just careful measuring and leveling.
Small move-out nail holes and tiny anchor holes
That is cosmetic patching. A dab of lightweight spackle, quick sand, and paint is usually enough.
A headboard rip-out with enlarged holes
This is structural damage to the drywall face. You need to stabilize torn paper, patch properly, and then rehang in a new way so the wall is not the only thing holding back leverage.
Why headboards pull out
- The mount missed studs. Drywall alone is rarely a long-term win for anything that gets leaned on.
- Wrong anchor type. Plastic expansion anchors are not meant for repeated outward force.
- The cleat was mounted too high or too low. Bad leverage makes the top edge want to tip forward.
- The bed shifts. If your bed frame slides on hardwood, the headboard can get tugged each time you sit down. Felt pads or a rug can reduce movement.
- People sit up against the headboard. Totally normal, but the mount needs to be designed for that reality.
Wall type quick note
If your wall is plaster and lath, brick, or concrete, treat this as a different job. The patching products and fasteners change, and stud finding works differently. If you are not sure what you have, it is worth confirming before you drill or buy new anchors.
Quick checklist
- The damaged holes are patched, sanded, and sealed.
- The new mounting plan avoids the patched area.
- You have confirmed stud locations or installed a stud-mounted backer board.
- The cleat or brackets are level.
- The headboard is supported so it cannot lever forward easily.
If you want to sanity-check your plan, take a photo of the back of your headboard hardware and the wall area, then compare it to the stud layout you found. The wall tells the truth every time.
FAQ
Can I just put a bigger anchor in the same hole?
If the drywall paper is torn or the gypsum is crumbling, a bigger anchor usually makes a bigger mess. Patch the hole and move the mount point to studs or to a new location with the correct hardware.
How long should I wait before rehanging?
Wait until the patch is fully dry and hard all the way through, not just surface-dry. Lightweight spackle dries fast in thin coats. Joint compound and deeper repairs can take longer. If you paint, let the paint cure enough that it will not stick to hardware or get scuffed immediately.
What if my studs do not line up with the headboard cleat?
Use a stud-mounted horizontal backer board first, then mount the cleat to that board. It is one extra step that makes everything sturdier.
Will my patch be visible?
It can be, especially in raking light near a bed lamp. Feather your patch wider than the hole, sand gently, and prime before painting. That is what keeps the wall looking like one continuous surface.