Chip or Deep Gouge in a Solid Surface Counter

Clara Townsend
The first time I chipped a solid surface countertop, I did the exact thing I tell clients not to do. I stared at it like it might heal itself if I held my breath long enough. Solid surface (often acrylic-based, non-porous, and renewable with sanding, think Corian and its cousins) is wonderfully repairable, but a chip or deep gouge is a different animal than the everyday scratch that buffs out with a gentle sanding.
If you are looking at a spot where material is missing, this is your calm, practical path forward, plus a renter-specific checklist before anyone touches a sander.
Chip vs scratch: quick check
Most true solid surface countertops are homogeneous. The color and pattern run through the material, which is why light scratches can often be sanded out without revealing a different base layer. But a chip is a loss of volume, not just a scuff in the finish.
It is probably a scratch if
- You can feel it with a fingernail, but the surface around it is still level.
- The mark looks white or hazy and changes a bit depending on the light.
- You do not see any shadowed “crater” or missing corner.
It is probably a chip or gouge if
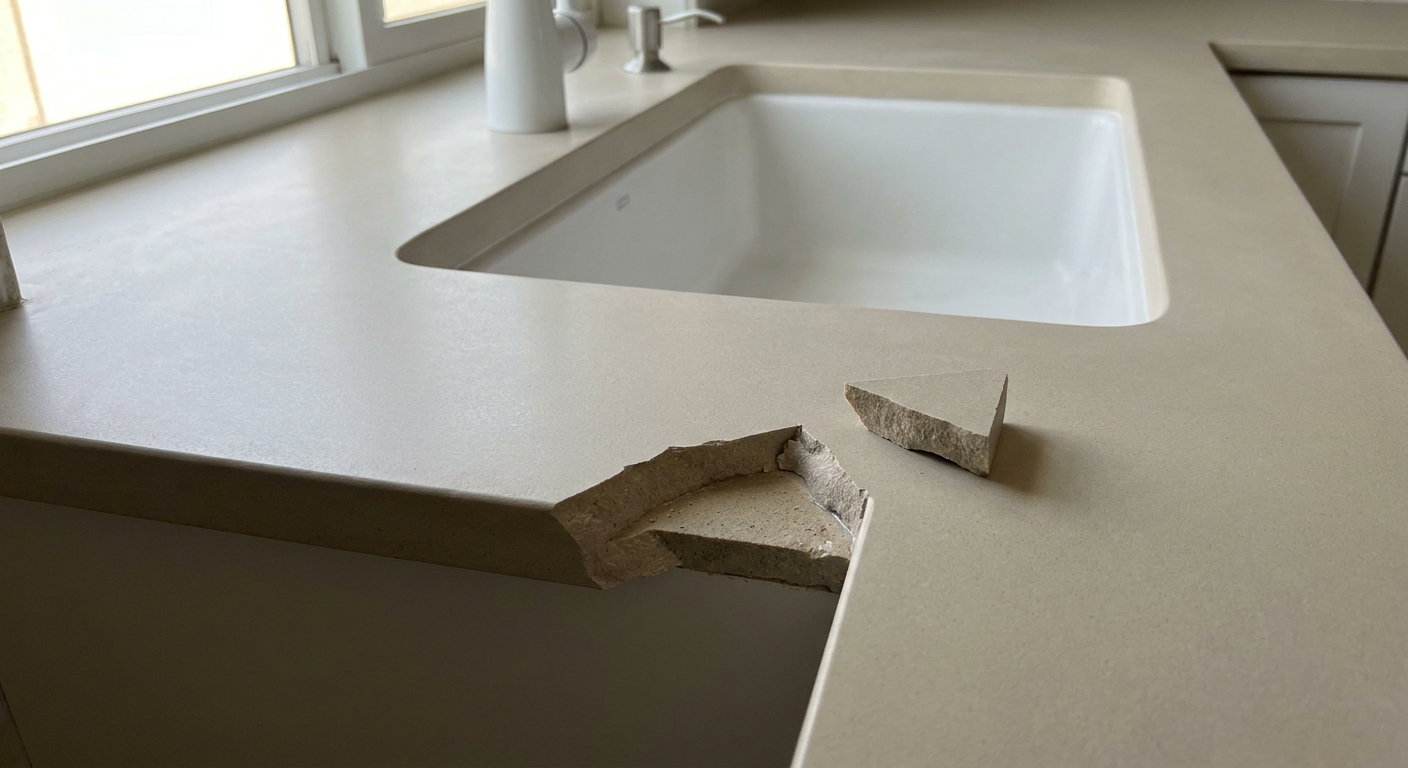
- There is a dent, divot, or chunk missing, especially on an edge or around the sink.
- You can see a darker shadow inside the damage because it is deeper than the finish.
- The damage has a sharp boundary, like a tiny bite taken out.
Why this matters: sanding can level a scratch because you are removing a paper-thin amount from the surrounding area. With a chip, sanding alone cannot replace missing material. Sanding only makes the surrounding area lower, which can widen the problem.
Assess the location first
Where the chip lives determines what is safe and what is smart.
- On a flat field (middle of the counter): often the easiest place for a clean fill and blend.
- On a front edge or corner: harder to make invisible because edges catch light and fingers find every ripple.
- At the sink cutout, cooktop cutout, or seam: higher risk. These are stress points and water exposure zones.
- Near a backsplash joint: movement and caulk lines can complicate a seamless repair.
If the damage is at a seam, the sink rim, or looks like a crack that continues beyond the missing spot, skip the DIY temptation and jump to the “call a pro” section below.
What color-matched filler can do
Color-matched repair material for solid surface is commonly a two-part system (often acrylic, polyester, or epoxy depending on the product and the pro), tinted to blend with your countertop. Fabricators frequently use brand-matched seam adhesive or a repair compound designed for that specific line. Sometimes they will incorporate fine shavings from solid surface material for a closer match. Either way, the goal is to rebuild the missing volume and then sand flush.
Filler can do
- Rebuild a missing chip so crumbs and water do not collect in the crater.
- Improve the look drastically from normal standing distance, especially on speckled or patterned colors.
- Stabilize an edge so it is not sharp or snaggy.
Filler cannot do
- Guarantee an invisible match. Patterns vary, and light reflects differently off a patched area.
- Restore a crisp factory edge without skilled shaping. Edges are where “almost” shows.
- Fix structural problems like a crack that is still moving, a failing seam, or a sink area that flexes.
- Defy time and sunlight. Even a great match today can shift slightly as the surrounding counter ages or, in some homes and colors, warms or yellows.
If you want the honest, best-friend version: filler is often excellent for function and pretty good for looks. “Perfect” is possible, but it is not promised, especially on edges and corners where your eye and hand go first.
Why sanding first backfires
When someone says, “We will just grind it down,” what they usually mean is sanding the surrounding area until the chip feels less sharp. On solid surface, that can create two problems fast:
- A bigger flat spot: you lower the surrounding material, so the repair area grows.
- A mismatched finish: solid surface has a finish level (matte, satin, semi-gloss). Random sanding can leave a dull halo that is more noticeable than the chip.
Professional repairs typically fill first, then sand the patch and surrounding area in a controlled way to match the existing finish. The order matters.
If you rent: document it
Renter-to-renter, here is the most protective thing you can do: document the damage clearly before any repair attempt. Once the edge is sanded, the shape changes, and it becomes difficult to prove what happened and how large it was.
Take these photos and videos first
- Wide shot: the whole countertop run showing the chip location in context (include sink or cooktop if nearby).
- Mid shot: about an arm’s length away, so the damage is visible but you can still tell where it is.
- Close-up in natural light: near a window if possible, so the depth reads clearly.
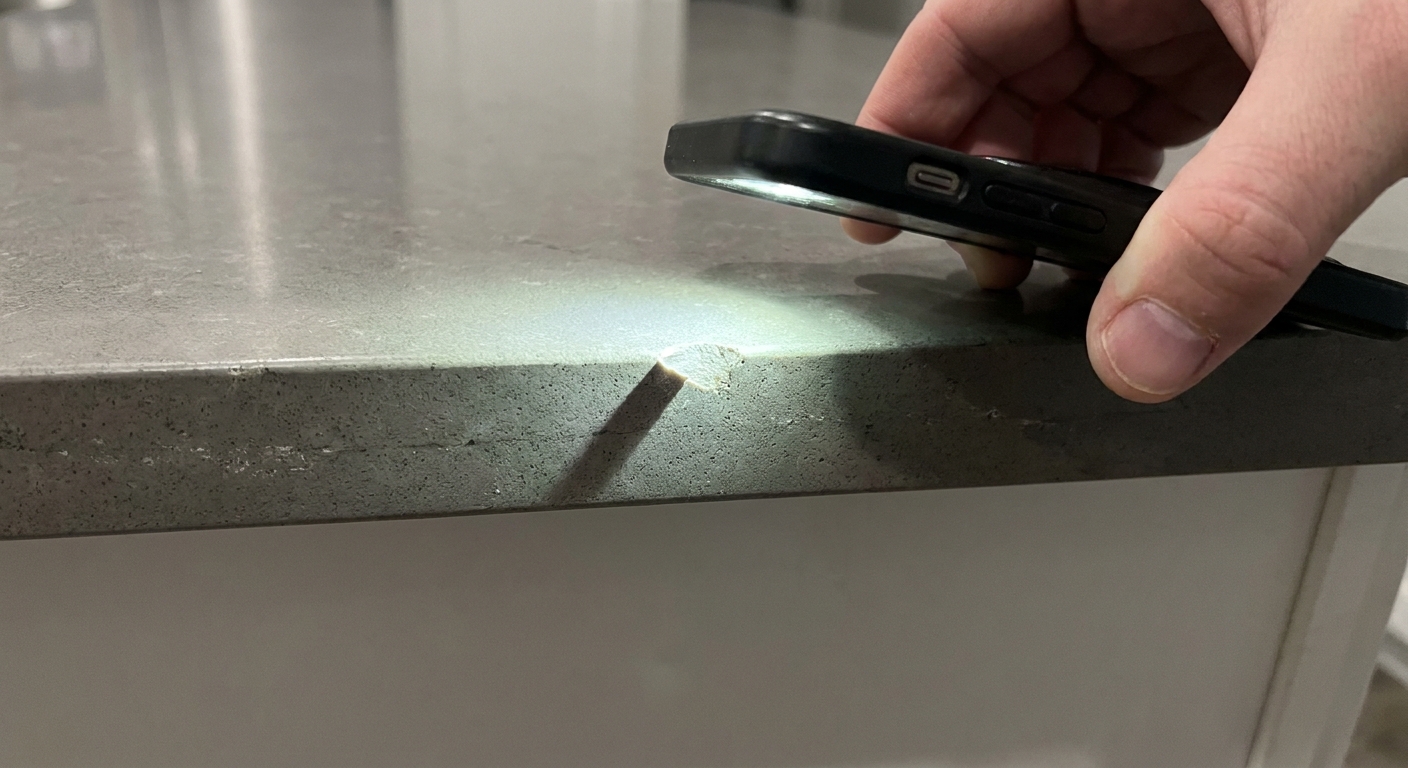
- Close-up with raking light: turn off overheads and use a flashlight or phone light held low from the side to show the crater and edges.
- Angle shot of the edge profile: especially if the chip is on the front edge or corner.
- Video sweep: a slow pan from wide to close while narrating the location (for example: “front edge, right of sink”).
- A photo that shows scale: hold a coin or a ruler next to the chip. If your lease is strict, use a ruler and keep your hand out of frame as much as possible.
Also photograph these details
- Any existing wear: scratches, dull patches, older chips, or stains elsewhere. This helps establish overall condition.
- The underside label if accessible: sometimes there is a brand mark inside the sink base cabinet on the underside of the counter or paperwork from the installer.
- Your cleaning products nearby: if you suspect a chemical issue, it can be useful to show what was in the home, but do not stage anything misleading.
Then email the images to yourself or save them somewhere with an automatic timestamp. Boring admin, but it can save a real argument later.
When to call a pro
I love a confident home fix, but solid surface repairs look deceptively simple. Call a fabricator or a countertop repair specialist if any of these are true:
- The chip is at a seam or the seam line is opening.
- The chip is at the sink cutout and you see any hairline cracking radiating outward.
- The countertop has movement (it flexes) or the sink feels loose underneath.
- The chip is large enough to catch a dish rim or your sleeve.
- You have a dark, high-contrast color where mismatched finish will be obvious.
- You are a renter and your lease puts repairs firmly in the landlord’s lane.
A good pro will color-match, fill, shape, and finish so the sheen blends. They can also tell you if what you are seeing is actually a crack or a failing seam masquerading as a chip.
What a careful repair involves
Every brand and installer has their preferred method, but a quality repair often follows this general flow:
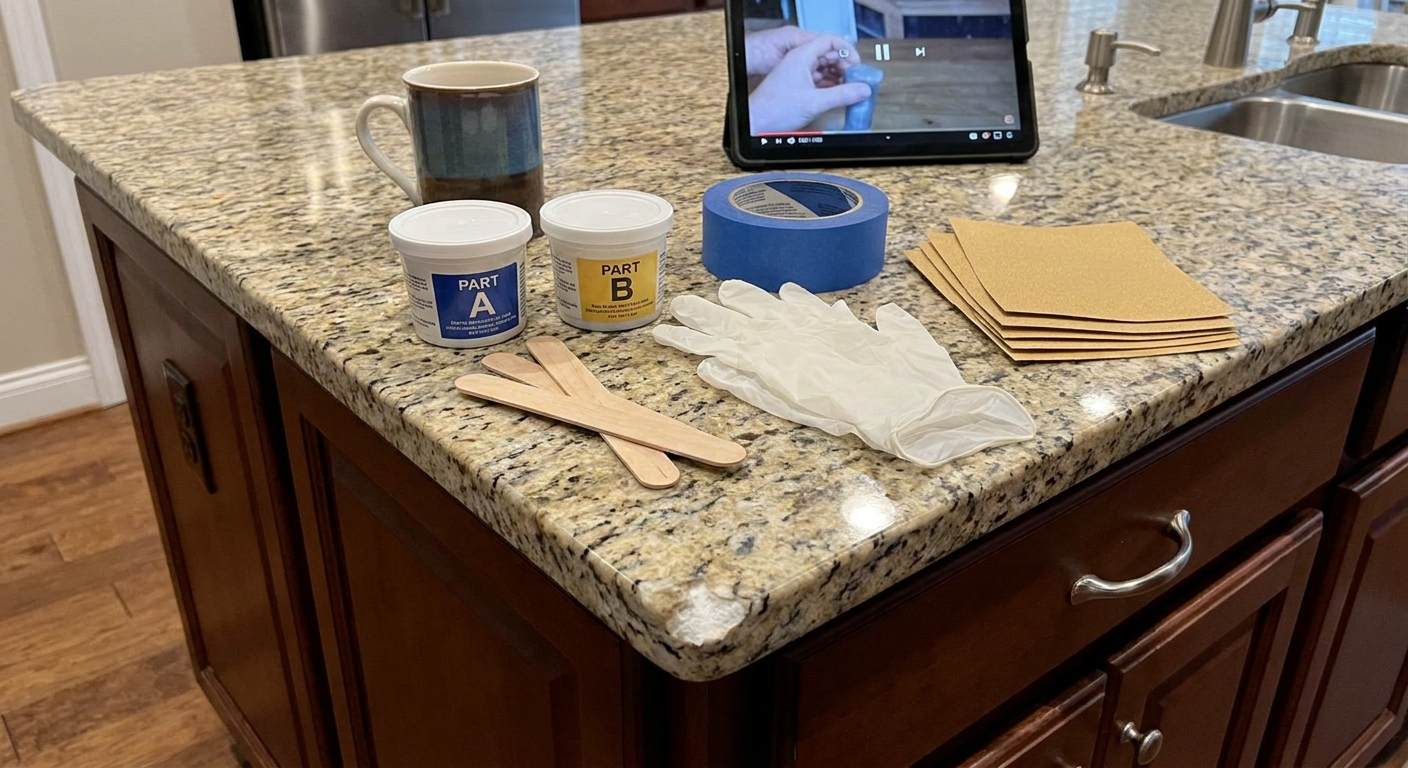
- Clean and de-grease the area so nothing interferes with adhesion.
- Mask around the damage to keep the repair tight and reduce sanding sprawl.
- Prep the chip by lightly roughing or keying the damaged area so the fill bonds well (this is where DIY can go sideways if you get aggressive).
- Mix and tint the repair material to match the base tone and speckle as closely as possible.
- Overfill slightly so it can be sanded flush once cured.
- Sand in grits from coarser to finer to level, then blend the finish to match the rest of the counter.
- Finish to the existing look (matte, satin, or gloss). This last step is where repairs look professional instead of “patched.”
DIY expectations and safety
If you came here hoping for a step-by-step DIY recipe, I will be honest: this guide is more about assessment and knowing when to stop. DIY kits vary a lot by brand and color, so the safest route is to follow the instructions for a product that is actually meant for solid surface and, ideally, matched to your countertop line.
- Do not use random super glue or leftover epoxy and hope for magic. They can yellow, cure too hard or too brittle, and leave a shiny spot you cannot unsee.
- Test in an inconspicuous spot if you are unsure how a repair material will cure or what sheen you can achieve.
- Ventilation and PPE matter: wear gloves and eye protection, and control dust when sanding. Fine dust and strong odors are a bad combo in a closed kitchen.
- Heat and water are stress tests: patches near cooktops and areas that stay damp at the sink tend to fail sooner if the prep or product choice is not right.
Prevent the next chip
Solid surface is tough, but edges and corners are its vulnerable spots. A few gentle habits make a big difference:
- Stop dropping heavy mugs at the same corner of the sink run. (We all have a favorite landing zone.)
- Use a small drying mat or tray if you tend to clink dishes down hard near the edge.
- Avoid hammering on the counter when opening stuck jars. Use a towel on a table, or tap with controlled force.
- Do not let a cast iron pan kiss the edge when you set it down. Put a trivet down first, then the pan.
My styling brain also loves the fix that looks intentional: a beautiful tray where you naturally toss keys or set down a bag. It protects the surface and quietly trains your habits.
FAQ
Can I sand out a gouge in Corian?
If it is a true gouge with missing material, sanding alone cannot remove it without lowering the surrounding countertop. Sanding is great for surface scratches and scuffs, but deep damage usually needs filling first.
Will a filled chip be food-safe?
It depends on the product. Some repair materials are intended for countertop use once fully cured and finished flush, but not every resin or filler is rated for food-contact surfaces. Follow the product labeling and safety data sheet, and let it cure fully. If the chip is right next to a sink where water sits, a pro repair is often the safest bet for long-term durability.
Why does the repair look darker or shinier than the rest?
Two common reasons: the tint is slightly off, or the finish is different. Solid surface can be matte, satin, or glossy. A patch can match color but still stand out if it reflects light differently. Blending the finish is as important as matching the pigment.
Should I tell my landlord before fixing it?
If you rent, yes. Even if you plan to pay, you want permission in writing and you want to know whether they have a preferred fabricator. Also, document everything before any work starts so the original condition is clear.