Corian and Solid Surface Countertop Care
Clara Townsend
Clara Townsend is an interior stylist, vintage furniture enthusiast, and the creative voice behind Velvet Abode. With over a decade of experience transforming both cramped city apartments and sprawling fixer-uppers, she believes that a beautiful home is built on personal stories rather than massive budgets. When she isn't hunting for the perfect brass sconce at a local flea market, she can usually be found rearranging her living room for the third time this month.
Solid surface countertops like Corian are one of my favorite “real life” materials. They are warm to the touch, forgiving, and refreshable in a way stone simply is not. The catch is that solid surface shows its life: a few drag marks from a ceramic mug, a dulled patch near the sink, the dreaded hot-pan halo.
The good news: most everyday damage is fixable with calm, gentle abrasion and the right cleaning habits. This page walks you through what to do for scratches, heat marks, mild abrasion, and stains, plus when it is smarter to call maintenance.
First: confirm what you have
“Corian” is a brand name, but people use it as shorthand for solid surface counters in general. Solid surface is typically a blend of acrylic or polyester resin with mineral fillers. (Corian is acrylic based; some other brands are polyester based, which can behave a bit differently with heat and certain chemicals.) It is nonporous, so it resists deep staining, and many scratches can be buffed out because the color and pattern are part of the material, not a top coating.
Quick clues it is solid surface
- Integrated sink that looks seamlessly joined to the countertop.
- Softly rounded edges and a “warm” feel compared to stone.
- No sealer routine required (unlike many natural stones).
- Fine scratches show as light scuffs rather than chips.
If you are not sure, check paperwork from install, look under the sink for a manufacturer sticker, or ask your building maintenance. The exact brand matters less than confirming it is solid surface, because the overall care approach is similar. That said, always defer to your brand’s care guide if you can find it.
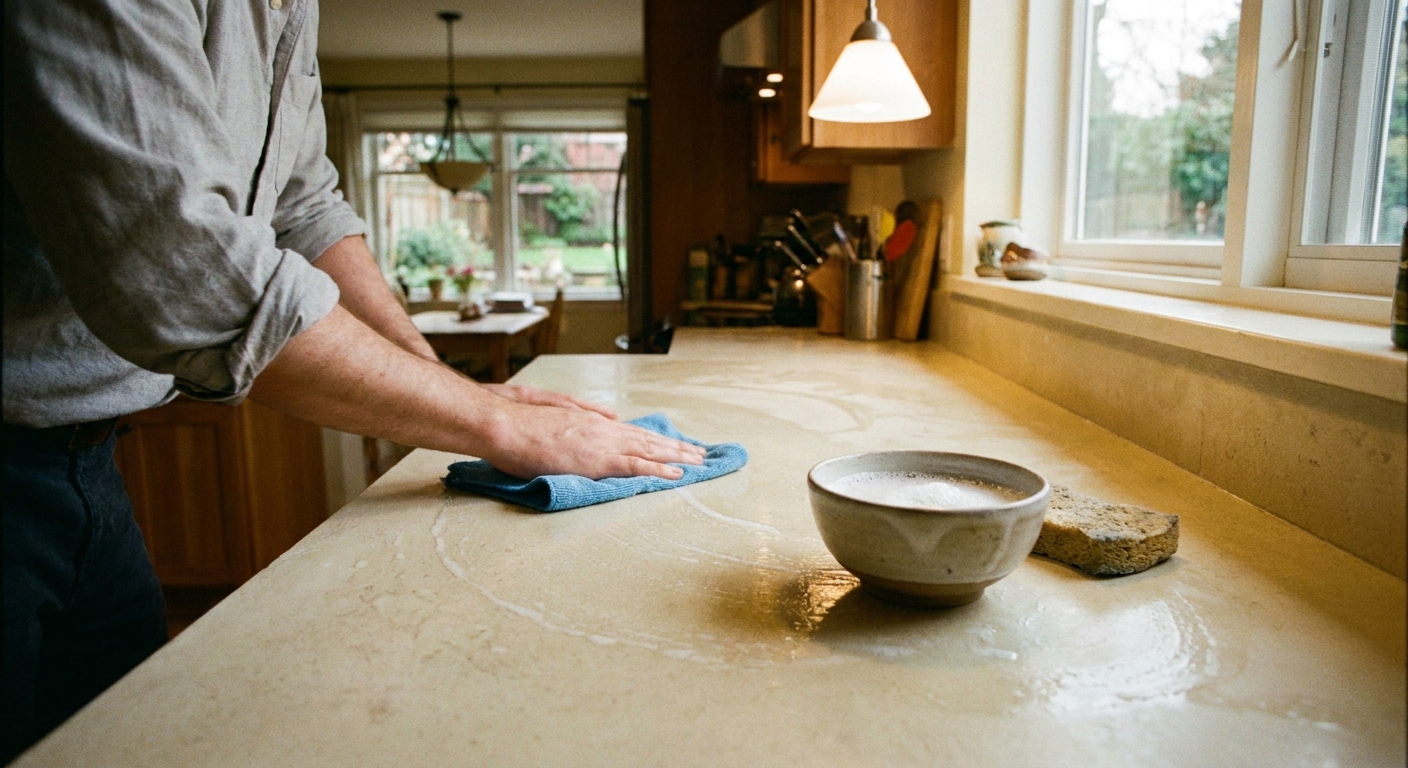
Everyday care
If you only take three habits from this article, let it be these. They keep the finish even and reduce the need for heavy sanding later.
- Use a cutting board. Solid surface scratches more easily than quartz or granite.
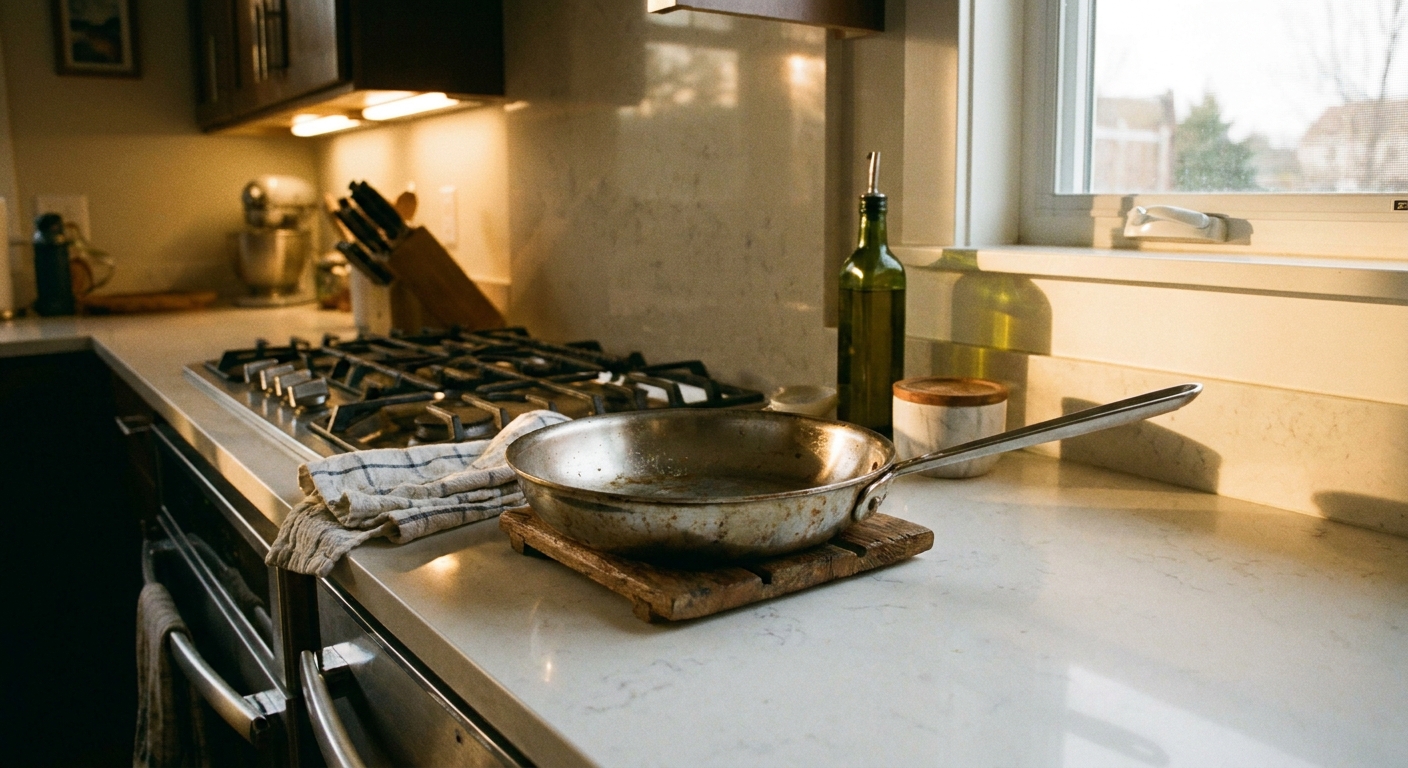
- Use trivets for heat. Solid surface is not heat-proof and can scorch, warp, or crack from thermal shock (and heat can stress seams, too).
- Clean with mild soap and water or a gentle all-purpose cleaner, then rinse and dry. Hard water plus soap residue is what creates that “always looks cloudy” vibe.
What to avoid
- Oven cleaner (too harsh and can permanently discolor).
- Methylene chloride paint removers and harsh solvents.
- Steel wool (can leave metal marks and uneven abrasion).
- Leaving hot tools like curling irons or slow cookers directly on the surface.
Quick troubleshooting
If you want the fastest path to “better,” use this ladder and stop as soon as you get the result you want.
| Problem | First try | Next step | Call a pro if |
|---|---|---|---|
| Light scuffs | Soap + microfiber | Non-abrasive cream cleanser, then rinse and dry | Finish looks patchy after blending |
| Scratches | Gray nonwoven pad + water | Wet sanding, then blend to match sheen | Deep gouge, crack, seam issue |
| Dull “sink halo” | De-scale briefly, rinse | Wide blending with pad | Low spot or uneven sheen won’t blend |
| Heat ring | Clean, then gentle cleanser | Careful wet sanding and feathering | Warping, bubbling, raised edge |
| Stains | Soap | Baking soda paste, then diluted bleach (if appropriate) | Stain does not budge, discoloration worsens |
Scratch removal
Before you touch sandpaper, identify the current sheen. Solid surface typically comes in three common looks:
- Matte: soft, low sheen, hides fingerprints beautifully.
- Satin: gentle glow, easiest “everyday” finish to maintain.
- Gloss: shiny, dramatic, also the most finicky because it shows swirl marks.
Your goal is not just to remove the scratch. It is to blend the repaired spot back into the surrounding sheen.
Two important notes
- Spot-test and start gentle. Finishes and recommended abrasives vary by brand. Even pad colors are not universal across manufacturers, so treat “gray” and “maroon” as general categories, not gospel.
- Safety counts. Wear eye protection. If you are sanding dry (not recommended), wear a dust mask. When wet sanding, keep water away from outlets, seams, and anything electrical on the counter.
Tools you will actually use
- Microfiber cloths
- Mild dish soap
- Non-abrasive cream cleanser for daily scuffs
- Nonwoven abrasive pads (Scotch-Brite style), in a couple of strengths
- Wet/dry silicon carbide sandpaper
- Spray bottle of water
Matte finish grit guidance
For most matte solid surface counters, start gentler than you think and work up only if needed.
- Light scuffs and utensil marks: nonwoven pad with soapy water, circular strokes, then rinse.
- Hairline scratches you can barely feel with a fingernail: wet sand with 600 grit, then blend with 800 grit.
- Noticeable scratches (still not gouges): wet sand with 400 grit to level, then step through 600 and 800 to soften.
My blending rule: always finish with the same “final grit” over a slightly larger area than the scratch. A too-small repair zone is what creates a visible patch.
Satin and gloss basics
Satin finishes often need a finer final step than matte, sometimes in the 1000 to 1500 grit range, depending on the brand and how bright the surrounding surface looks. Gloss finishes usually require progressive micro-finishing and often a machine polish to avoid swirl marks. If your counter is true gloss and you want an invisible repair, calling a solid surface pro is usually the fastest path to a clean result.
Step-by-step: fix a scratch
- Clean first. Wash with dish soap and water, rinse, dry.
- Mark the scratch. Use painter’s tape around the area so you stay focused.
- Mind edges and seams. Go lighter near edges, seams, and sink radii. Those areas are easier to unevenly sand.
- Wet sand. Mist water, sand lightly in small circles or a gentle crosshatch pattern. Keep it wet to avoid deep sanding lines.
- Feather out. Expand the sanding area outward 2 to 4 inches beyond the scratch.
- Step up in grit. Move to finer grit to reduce sanding haze.
- Rinse and dry. Check in raking light (shine a flashlight sideways across the surface).
If you are matching a factory matte finish, you often get the closest look by ending with an 800 grit wet sand or a mild nonwoven pad. If your countertop is more satin, you may need a finer finishing pass to even the glow.
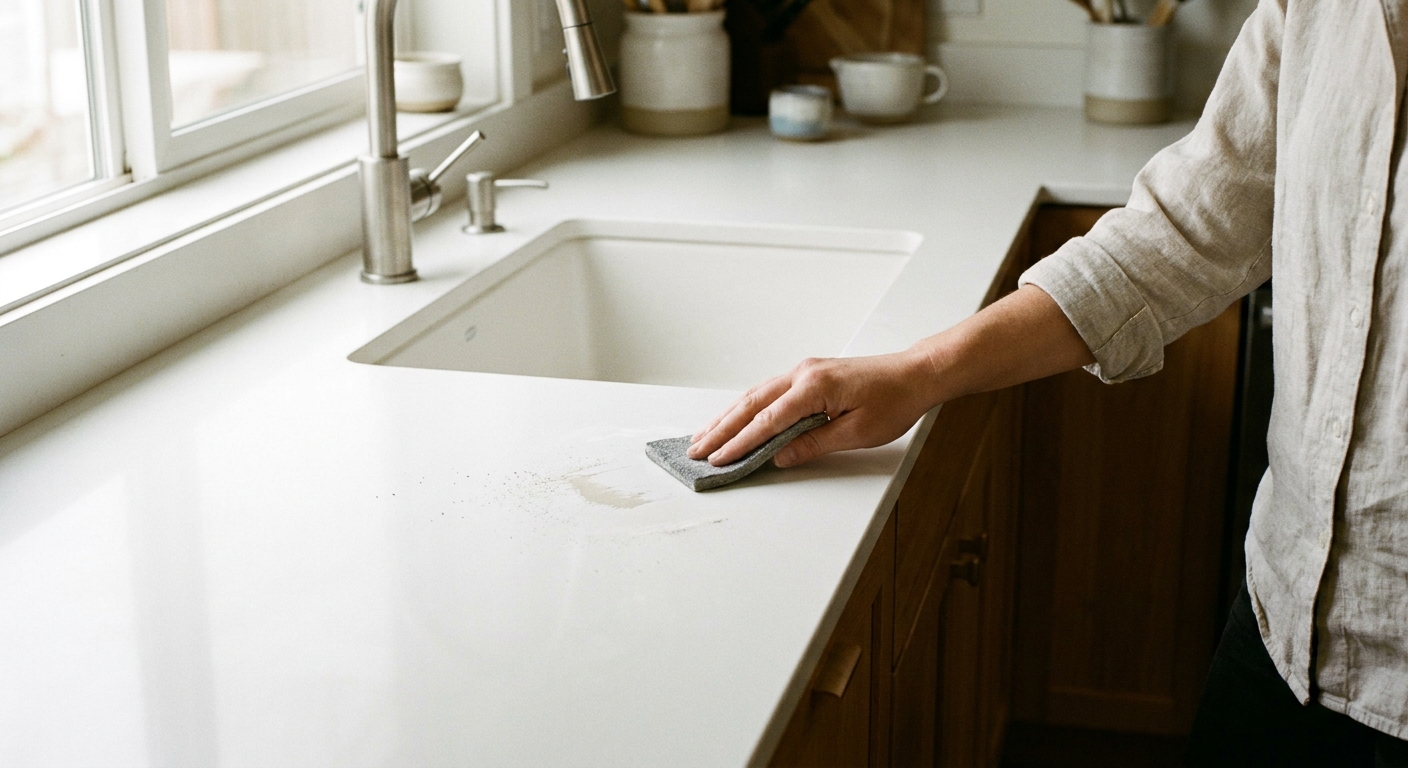
Dull patches
The most common complaint I hear is: “My countertop is fine, but the area by the sink looks tired.” That is usually a mix of micro-scratches, hard water minerals, and cleanser residue.
Refresh without a bullseye
- De-scale first. Use a 50/50 mix of white vinegar and water, apply for 2 to 3 minutes, then rinse well. Spot-test first, and do not make it an all-day soak. Also avoid vinegar on any nearby natural stone backsplashes .
- Clean. Mild soap, rinse, dry.
- Blend with a pad. Use a mild nonwoven pad with water in wide, overlapping circles across the whole affected zone, not just the center.
- Rinse and evaluate. If it still looks uneven, repeat lightly rather than pressing harder.
This is one of those situations where even pressure and a bigger blending area matters more than elbow grease.
Heat marks
Heat damage on solid surface can look like a faint yellow or brown ring, a cloudy patch, or in severe cases, a slightly raised or warped area. It is usually caused by a hot pan, electric griddle, slow cooker base, or a hair tool parked directly on the counter.
Can it be fixed?
- Light discoloration: often yes, with cleaning plus gentle sanding and blending.
- Deep scorch or surface distortion: sometimes, but it may require professional resurfacing or even a section repair. If heat has stressed a seam, that is also pro territory.
DIY steps for a light heat mark
- Clean thoroughly. Soap and water, then dry.
- Try a non-abrasive cleanser. Work it in with a soft cloth, rinse.
- Move to gentle abrasion. Wet sand starting around 600 grit for matte finishes, feathering out widely.
- Blend the sheen. Step to 800 grit and finish with a mild nonwoven pad if needed.
If the mark is still visible after a couple of careful passes, stop. Over-sanding creates a low spot that catches light in an even more obvious way.
Heat prevention
- Leave a trivet out permanently near the stove so it becomes the default landing place.
- Use a wood board as a “hot zone” when you are cooking. It looks intentional and saves your finish.
- Lift small appliances (instant pots, air fryers) slightly on silicone feet or a heat-safe mat.
Stains
Solid surface is nonporous, so most stains are sitting on or very near the surface. That is great news, especially for integrated sinks, where you do not want harsh products pooling in corners and seams.
General stain ladder
- Dish soap + warm water (for grease and everyday grime).
- Baking soda paste (baking soda + a little water). Gently rub, rinse well.
- Diluted bleach treatment for stubborn stains (often helpful for white sinks and counters): follow your manufacturer’s dilution guidance. If you do not have it, start mild, apply with paper towels laid over the stain for 10 to 20 minutes, then rinse extremely well.
Important: Do not mix bleach with vinegar or other acids. Ventilate the area, and protect clothing.
Common culprits and what works
- Coffee, tea, red wine: baking soda paste or a short diluted bleach treatment.
- Turmeric and curry: baking soda paste, then a brief diluted bleach treatment if needed.
- Rust marks from a metal can: a gentle rust remover that is labeled safe for solid surface, used briefly and rinsed thoroughly.
- Hard water lines: short vinegar-water treatment, rinse, dry.
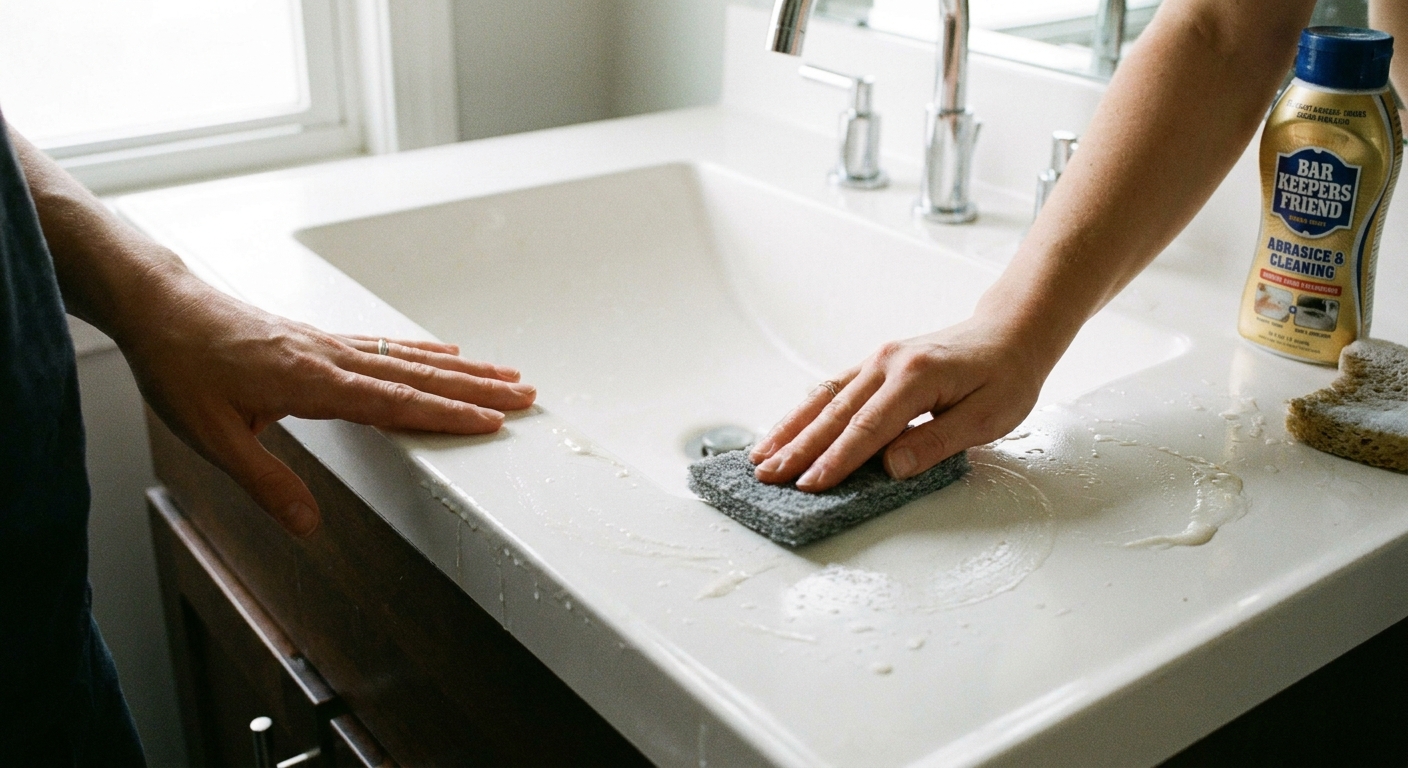
Integrated sink care
Integrated sinks are the crown jewel of solid surface. To keep them looking one continuous piece:
- Avoid harsh powders that can create uneven texture in the bowl.
- Scrub in a consistent pattern (wide circles) so you do not create streaky shine differences.
- Rinse like you mean it. Cleaners left to dry in the basin create dingy film.
DIY or call maintenance
I love an empowering DIY moment, but I love a clean, even countertop more. Here is the line I use.
DIY is usually fine when
- Scratches are light to moderate and there is no cracking.
- Stains improve with cleaning and gentle sanding.
- The surface is flat and not warped.
- You can work slowly, spot-test, and blend over a wider area.
Call maintenance or a pro when
- There is warping, bubbling, or raised edges from heat.
- Seams are separating or you see cracking near a sink cutout.
- Deep gouges that catch a fingernail significantly.
- Gloss finishes that require machine polishing for an invisible repair.
- You are in a rental and want repairs documented properly.
Pros can resurface more quickly with the right tools, and they can match sheen across a large run so the countertop looks intentional rather than “spot-treated.”
A simple rhythm
If you want your solid surface to stay quietly beautiful, this is the low-effort routine I recommend.
- Daily: wipe with soap and water, then dry.
- Weekly: address hard water film around the sink, then rinse and dry.
- Seasonally: do a gentle whole-area blend with a mild nonwoven pad in high-use zones if the finish starts to look uneven.
Solid surface is at its best when it looks lived-in, not babied. Think of it like linen sheets: soft, forgiving, and even better when you stop trying to keep it perfect and start keeping it cared for.