Water Spots on a Paper Lampshade

Clara Townsend
The first time I ever tried to “wash” a paper lampshade, I did it with the confidence of someone who had successfully spot-cleaned a dozen linen ones. Two minutes later the shade looked like a wilted flower. Paper and parchment shades have their own rules, and water is the main character in the worst way.
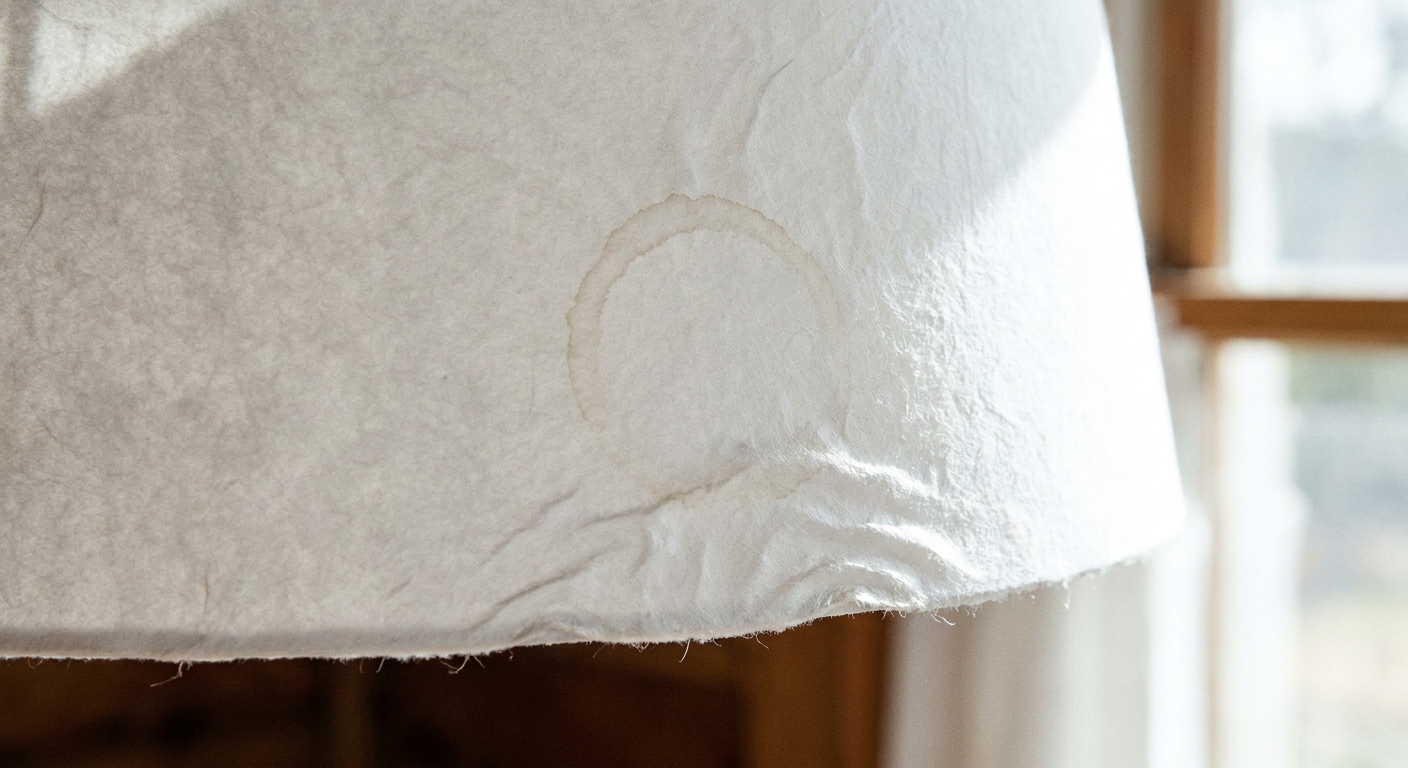
If you are staring at a ring-shaped water mark, a drippy streak, or that wavy, rippled texture (design folks call it cockling), you can often make things less noticeable. But the goal is restraint, not perfection.
Why water makes paper shades look worse
Fabric lampshades have threads that can tolerate gentle moisture and controlled blotting. Paper and parchment shades are different. They are made of fibers and sizing (a finish that controls absorbency) that react quickly to moisture.
- Water spreads unevenly, then dries unevenly. That creates tide lines (those pale rings or darker edges).
- Fibers swell when damp. As they dry, they shrink and pull against each other, which creates stress that shows up as ripples and warping.
- Adhesives can soften at seams, trim, and around the top and bottom rings, leading to lifting or bubbles.
- Color and translucency shift where the paper got wet, so a “clean” area can still look different once dry.
That is why “just wipe it with a damp cloth” is the fastest route to a bigger stain on paper.
First: identify your shade
Before you touch anything, get clear on what you are working with. “Paper” covers a lot of territory, and a shade that looks simple can still have coatings, prints, or a thin film.
- Uncoated paper (including rice paper style): absorbs quickly, tide lines happen fast, surface abrades easily.
- Parchment-style paper: often a bit stiffer, but still vulnerable to spotting and cockling.
- Coated or laminated shades: moisture can get trapped or spot under the coating, and you can end up with a cloudy patch you cannot erase.
- Printed, painted, or metallic finishes: moisture can lift color, smear, or dull the finish. Choose the most conservative approach.
Figure out what you are looking at
Not every mark on a paper shade is fixable, and some fixes make the problem more obvious. Before you do anything, turn the lamp off, unplug it, and let the shade cool completely.
Also, a quick safety note: paper shades and heat are not friends. If you are using a bulb that runs hot (especially incandescent or halogen), consider switching to an LED with the recommended wattage equivalent. Heat can worsen warping and, in worst cases, becomes a fire risk.
Common scenarios
- Fresh splash: water, seltzer, a plant mister accident. Best chance of improvement if you act quickly and gently.
- Old tide line: a dried ring or border where the water stopped. Harder to reduce without creating a larger halo.
- Greasy plus water: kitchen splatter or hands, then someone tried water. These can set into the paper and become stubborn.
- Overall rippling: the shade looks wavy, especially when lit. You can sometimes soften the look of it, but full flattening is unlikely.
What to do right after a spill
If the water just happened, think like you are rescuing a book page: remove moisture without rubbing.
Step-by-step
- Blot, do not wipe. Use a clean, dry white microfiber cloth or lint-free paper towel. Press lightly and lift straight off.
- Support the shade. Put your other hand inside the shade so you are not crushing it while blotting.
- Let it air dry naturally. Place the shade in a dry room with good airflow. A fan across the room is fine. No heat.
- Hold its shape while drying. If the shade is starting to oval out, set it on a clean, dry towel and gently nudge it back into round.
Do not “even it out” with more water. On paper, re-wetting is how a small spot becomes a big one.
Before you put the shade back on the lamp, make sure it is fully dry all the way through, not just dry to the touch. Trapped moisture can cause warping, odor, or adhesive issues.
Reducing tide lines: the lowest risk approach
I am going to be honest like I would be if we were standing in your living room together: tide lines on paper are a manage-your-expectations project. The safest method is to lift residue without re-wetting the whole area.
Start with dry cleaning
- Soft brush or clean makeup brush: Gently dust the entire shade so you do not grind dirt into the surface while you work.
- White vinyl eraser (the classic block kind): With a very light hand, erase toward the stain, not away from it. Stop if you see pilling or surface abrasion.
- Dry cleaning sponge (soot sponge): Dab and lightly drag in one direction. Do not scrub. This can reduce grayish rings caused by dirty water.
If the tide line is still obvious and the shade is a sturdy paper (not thin, brittle, cracked, or coated), you can attempt a controlled, minimal-moisture method.
If you use moisture, use almost none
This is the make-or-break rule: you are not washing the shade. You are barely dampening a boundary to soften an edge.
- Wash your hands or wear clean nitrile gloves. It is very easy to add finger oils while you are concentrating, which can create a new mark that is harder to fix than the original.
- Test first on the back side or near the top edge where it is less visible.
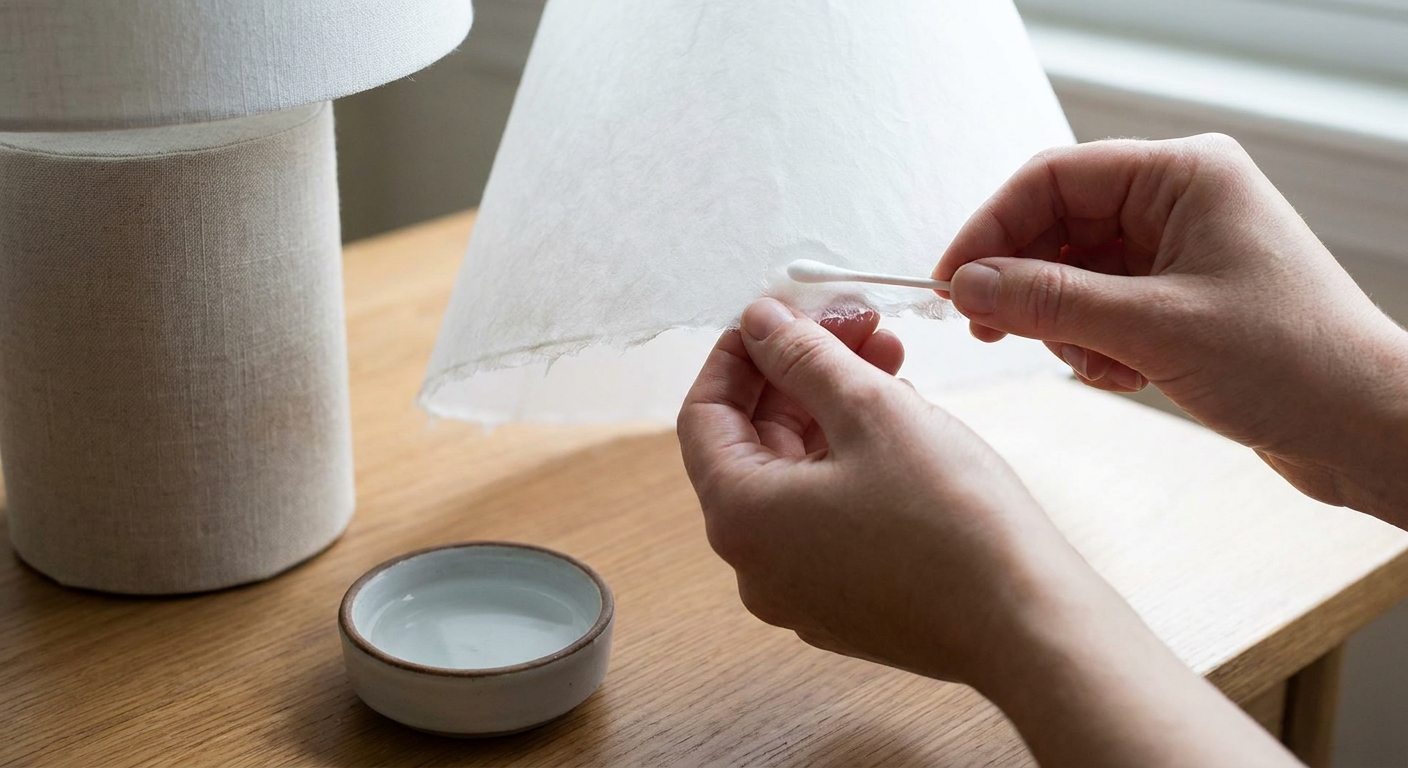
- Use distilled water on a cotton swab or the corner of a cloth. Distilled water reduces mineral rings from hard tap water, but it can also mobilize existing discoloration or disturb sizing. That is why you go slow and test.
- Feather the edge of the ring: work from the clean, dry area just outside the tide line toward the stain boundary, using tiny dabs. You are trying to soften the hard outline, not soak the center of the spot.
- Blot immediately with a dry cloth after each small section.
If you see the spot growing, the paper going translucent in a new area, or the surface starting to buckle, stop. Let it dry completely and reassess later.
Rippling and warping (cockling)
Once paper fibers have swelled and dried, they often set in that wavy shape. You can sometimes reduce the look of it, but you are unlikely to get factory-flat again.
Gentle reshaping while dry
- Restore roundness: With the shade off the lamp, place it on a flat surface and gently coax it back into a circle with both hands.
- Use gravity: If the bottom edge is wavy, storing the shade upright in its correct orientation for a week may help it relax slightly.
What not to do
- No steaming. Steam is just water in a sneaky outfit, and it can loosen adhesives and create fresh tide lines.
- No ironing. Heat can scorch paper, melt glues, and imprint texture from whatever you put underneath.
- No heavy weights clamped to the surface. You can crease the shade permanently.
When you should leave it alone
Sometimes the kindest thing you can do is stop fussing and let the shade live a slightly imperfect life. I do this all the time, especially with vintage pieces that already have patina.
Consider leaving it alone if:
- The mark is small and high up, and you do not notice it when the lamp is on.
- The paper is thin, brittle, or cracking.
- The shade has printed patterns, metallic finishes, or hand-painted details that could lift or smear.
- You already tried one method and it is 80 percent better. Chasing the last 20 percent is where damage happens.
A tiny water shadow that you only see in bright daylight is often less distracting than an overworked patch that looks fuzzy, abraded, or newly translucent.
When replacement is smarter
I love saving things, but I also love not turning a calm corner of your home into a constant annoyance. Replace the shade if:
- The water spot has turned into brown staining that looks like it wicked through layers.
- The paper is delaminating (separating) or feels spongy around seams.
- The frame is warped so the shade no longer sits straight.
- The shade smells musty after drying and the odor persists, which can indicate lingering moisture or organic residue (though sometimes it is simply a room smell that the shade absorbed).
- The surface has multiple tide lines from repeated attempts.
If you do replace it, keep the old shade around for a week. It is surprisingly helpful as a reference for size, shape, and how translucent you liked it.
Preventing water spots
Paper shades are gorgeous because they soften light like a whisper, but they like a dry, calm life.
- Move plant misters to the sink or shower. I know, it is less romantic. It also saves lampshades.
- Avoid humid zones like bathrooms and near kettles or simmering pots.
- Use clean hands when handling. Oils plus water equals staining that is much harder to disguise.
- Dust regularly so a small splash does not turn into a dirty ring.
- Use cooler bulbs (LEDs) and stay within the fixture’s rating so heat does not dry out or distort the shade over time.
Quick FAQs
Can I use soap or vinegar on a paper lampshade?
I would not. Soap can leave residue and create new rings when it dries. Vinegar is acidic and can discolor paper or disturb finishes. For paper, dry methods first, distilled water only if you truly must.
Will a Magic Eraser work?
It can act like ultra-fine sandpaper, which is risky on paper shades. If you try it, use the lightest touch imaginable in an inconspicuous spot, and stop if the surface starts to look fuzzy or thinned.
Why does the stain look worse when the lamp is on?
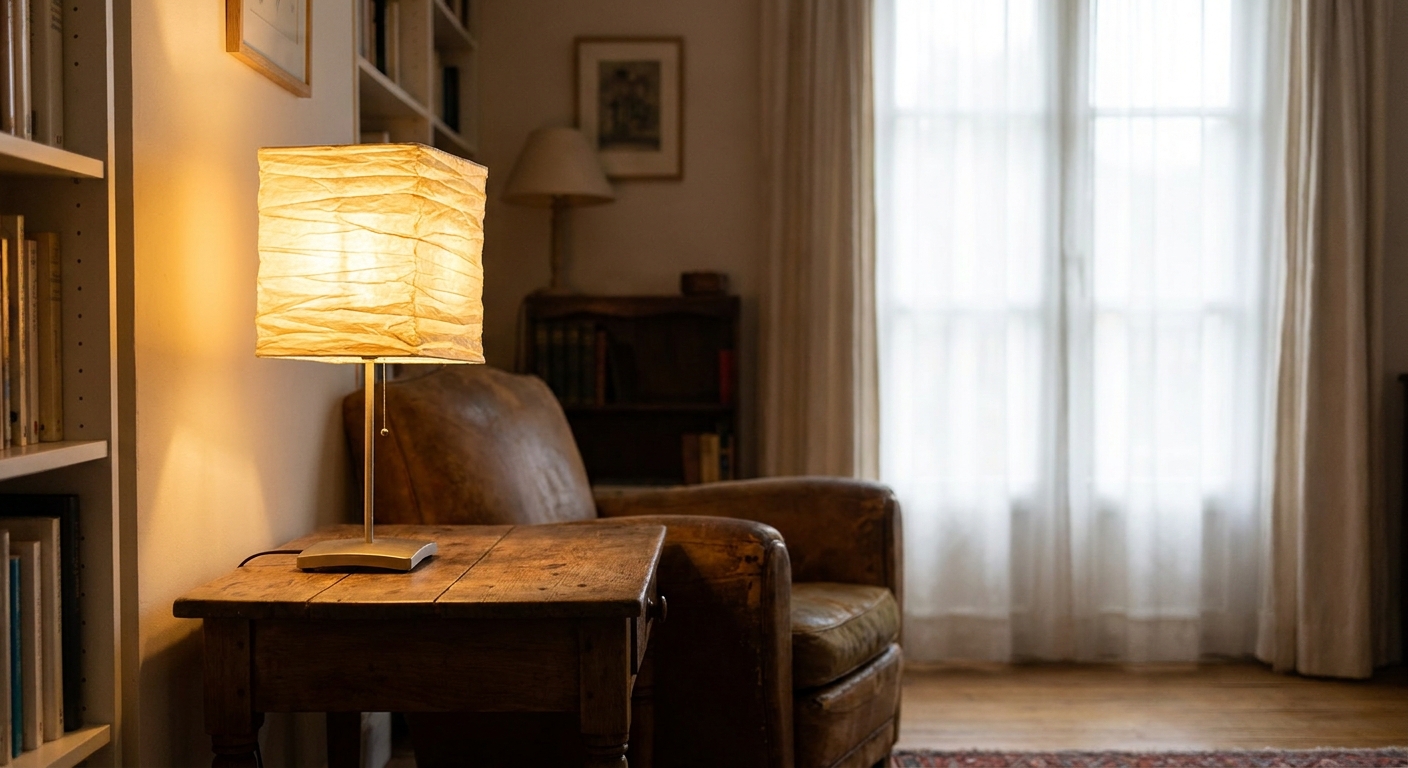
Light passing through paper makes density changes obvious. Even if the surface looks fine in daylight, a water spot can read like a shadow once illuminated.
If the shade is called “parchment,” is it actually waterproof?
Most modern “parchment” shades are parchment-style paper, not treated leather parchment. They still react to moisture and can tide-line and ripple.