Candle Soot on Walls and Ceilings
Clara Townsend
Clara Townsend is an interior stylist, vintage furniture enthusiast, and the creative voice behind Velvet Abode. With over a decade of experience transforming both cramped city apartments and sprawling fixer-uppers, she believes that a beautiful home is built on personal stories rather than massive budgets. When she isn't hunting for the perfect brass sconce at a local flea market, she can usually be found rearranging her living room for the third time this month.
If you have ever looked up from a cozy candle moment and noticed a faint gray halo on the ceiling or a smoky stripe climbing the wall, you are not alone. Candle soot has a sneaky way of showing up exactly where you do not want “character” to develop. The good news: most soot on painted walls and ceilings can be removed with a careful, renter-safe cleaning sequence that does not require repainting.
Below is my calm, methodical approach, the one I use in my own home and in client rentals when we want the space to look fresh but we also want our security deposit to come home with us.

Why soot shows up near candles
Soot is basically tiny carbon particles created when a flame does not burn perfectly clean. Even “good” candles can produce soot in the wrong conditions, and it tends to collect above the flame path because warm air carries it upward.
Common reasons candles soot
- Long or mushroomed wick: When the wick is too long, the flame gets larger and smokier. That little black “mushroom” at the tip is a classic soot-maker.
- Drafts: Airflow from a vent, open window, ceiling fan, or even frequent walking by can make the flame flicker and burn unevenly.
- Dirty wax pool: Dust, trimmed wick bits, or match debris in the melt pool can contribute to smoky burning.
- Fragrance and dye load: Heavily fragranced or deeply dyed candles sometimes burn less cleanly. Not always, but often.
- Too close to wall or ceiling: Candles on narrow shelves, in alcoves, or under low ceilings send soot straight onto surfaces.
Quick prevention that actually works: trim wicks to about 1/4 inch (or follow the maker’s label, some specify closer to 1/8 inch), keep candles out of drafts, and avoid burning directly under shelves or in tight corners.

Before you clean
The biggest renter mistake is scrubbing first and asking questions later. Walls and ceilings vary wildly, even within the same apartment. A gentle cleaner on semi-gloss can be a disaster on flat paint.
Step 1: Check the sheen
- Flat or matte: Most ceilings and many landlord paints. Beautifully forgiving visually, not very washable. It can burnish, meaning it gets shiny where you rub.
- Eggshell or satin: Common on walls. More washable and usually the easiest to clean.
- Semi-gloss: Often on trim, kitchens, baths. Very washable, but can show streaks if you do not rinse.
Step 2: Spot test (and let it dry)
Pick a discreet area, like behind a door. Use the gentlest method first: a dry microfiber cloth with almost no pressure. Let the test spot dry fully. Some paint looks fine when damp, then dries with a shiny patch, a dull patch, or a faint “shadow.” If the paint dulls, gets shiny, or transfers color to the cloth, stop and switch to an even lighter touch.
Step 3: Make sure it is soot
Soot is usually gray to black and powdery. If the mark feels oily, sticky, or yellow-brown, it might be cooking residue, nicotine, or surfactant staining from paint. You can still clean it, but it may need a different approach or a primer later.
Before you start: a quick safety note
- Ventilate. Open a window if you can, and run a fan for airflow.
- Wear a mask if you are sensitive. If you have asthma or allergies, a well-fitting mask can make the job more comfortable.
- Older buildings: If you live in a very old home and paint is flaking or chalking, avoid aggressive rubbing. If you suspect lead paint, pause and consult your landlord or a pro before disturbing it.
Golden rule: dry first
Soot behaves like very fine dust. Add water too early and you can turn it into a smeary gray wash that is much harder to remove. Dry cleaning lifts loose particles away before you introduce moisture.
What to use
- Microfiber cloths (clean, dry, white or light-colored so dye does not transfer)
- Vacuum with a soft brush attachment (optional but helpful)
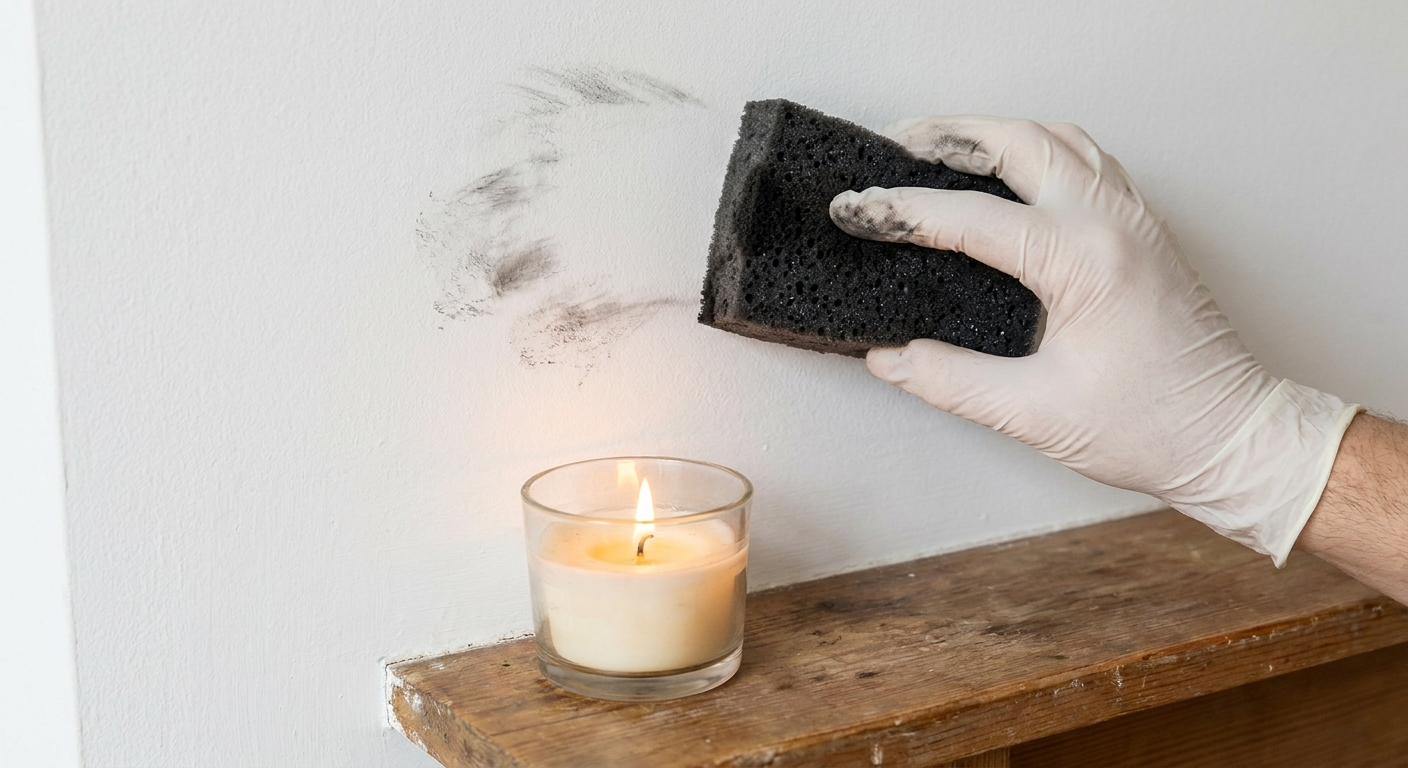
- Dry cleaning sponge (also called a soot sponge or chemical sponge)
A dry cleaning sponge is my favorite for candle soot on walls. It looks like a dense black sponge and feels slightly tacky. It picks up soot without water and without grinding it into paint.
Dry cleaning sequence
- Protect the floor. Lay down an old sheet or drop cloth to catch fallout.
- Vacuum gently. If you can, use the soft brush attachment and barely touch the surface.
- Use the dry cleaning sponge. Press and lift or wipe in one direction with light pressure. When a side gets dirty, rotate to a clean surface.
- Do not scrub in circles. Circular rubbing is how you create a cloudy “shadow” you cannot unsee.
What not to do right away: do not start with water, do not use colored rags, and do not “see what happens” with heavy pressure.
Gentle wet cleaning
Once you have removed as much as possible dry, you can address what is left. The goal is to dissolve and lift the remaining residue while using as little moisture and friction as possible.
Mix a mild solution
In a small bucket or bowl, mix:
- 2 cups warm water
- 1 teaspoon gentle dish soap (clear, non-bleach, ideally pH-neutral)
Optional: Add 1 teaspoon white vinegar if the residue feels slightly oily. Skip vinegar on natural stone nearby and avoid mixing vinegar with anything containing bleach.
How to wash without making it worse
- Dampen, do not soak. Dip a microfiber cloth, wring it out until it is barely damp.
- Pick a direction and control drips. Many people like bottom to top on walls because it can reduce drip trails. Others prefer top to bottom with very controlled moisture. Either can work here because your cloth should be barely damp. The main goal is no drips and no heavy pressure.
- Use light, straight strokes. Think: “polishing a delicate vintage mirror,” not “scrubbing a baking tray.”
- Rinse pass. Follow with a second cloth dampened with plain water to remove soap residue.
- Dry immediately. Pat with a dry towel. This prevents water marks and reduces the chance of paint swelling.
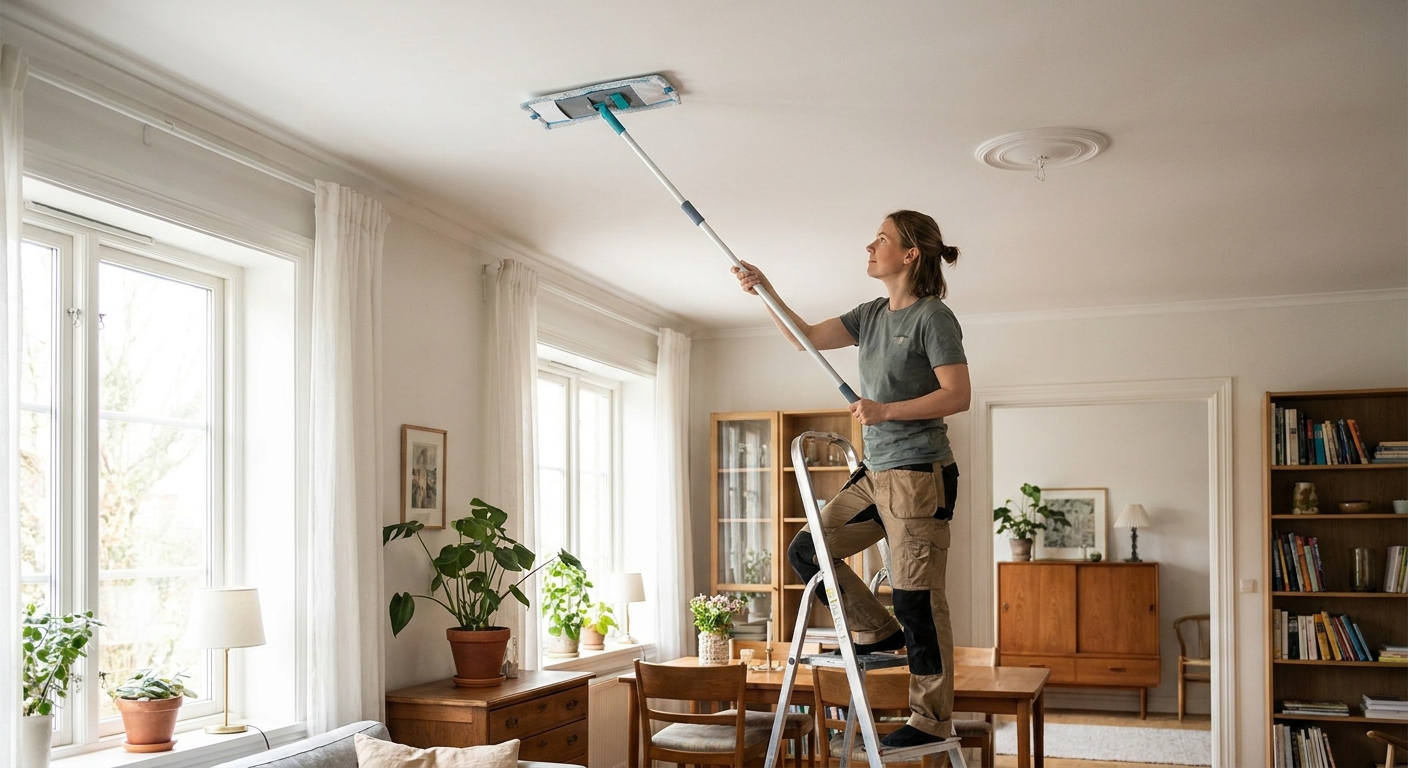
For ceilings
Ceilings are usually flat paint, which is the most easily damaged. Use the dry sponge method first, and if you must wet-clean, do it very lightly. A microfiber cloth wrapped around a flat mop head can keep pressure even and gentle.
Stubborn marks
What to try next
- More dry sponge passes: Often the simplest solution is just patience and repetition.
- Magic eraser, used carefully: If your walls are satin or semi-gloss, you can lightly use a melamine sponge. It is an ultra-fine abrasive, so treat it like sandpaper in a cute disguise. Spot test first, and avoid it on flat paint ceilings unless you are okay with a burnished patch.
- Gentle degreaser, diluted: Only if the residue is oily and the paint is washable. Choose a non-bleach formula, dilute well, and spot test. (A TSP substitute can work for stubborn grime, but it is stronger and can dull some paints, so use caution and rinse thoroughly.)
What to avoid in rentals
- Bleach: It can discolor paint and does not reliably remove soot particles. It can also weaken some finishes.
- Harsh powders and heavy abrasives: They can permanently change sheen and texture.
- Over-wetting drywall: Excess water can cause bubbling, swelling, or soft spots.
When you may need primer
Sometimes soot is not just sitting on top of paint. It can settle into porous finishes, especially on flat paint and older ceilings. If you have cleaned carefully and you still see a ghosty gray stain that looks lighter when damp but returns as it dries, you may be dealing with embedded staining. Recurring marks can also be caused by incomplete dry removal or moisture-related staining, so do not skip the dry-first step.
Signs you should prime
- The mark looks lighter when wet but returns when dry.
- Repeated gentle cleaning is not changing it.
- The area feels slightly tacky or looks yellowed or brownish, especially near vents or in kitchens.
Renter-friendly options
If you are renting, priming and painting may not be something you want to do without permission. That said, many landlords prefer a tidy fix over a lingering stain. If you do get the okay:
- Use a stain-blocking primer designed for smoke and water stains. Shellac-based or oil-based primers are often the most effective for smoke and soot, but they have strong odor. Ventilate well, follow label safety notes, and keep away from open flames.
- Spot prime only if the stain is small, then feather paint to blend. Matching ceiling paint can be tricky, so ask your landlord for the original paint name or a maintenance touch-up.
If you do not have permission to prime, document the cleaning steps you took and ask the landlord how they would like to proceed.
Landlord-friendly documentation
Even when you do everything right, soot can be a “normal use” debate. A little documentation keeps the conversation factual and calm.
What to document
- Photos before cleaning in good natural light and one wider shot showing location.
- Photos after each step (dry sponge, gentle wash).
- What you used: write down products, dilution ratios, and tools.
- Date and time you noticed it and cleaned it.
How to message your landlord
Keep it simple and solution-oriented. Example:
Hi [Name], I noticed light soot marks on the wall/ceiling above where I occasionally burn candles. I dry-cleaned with a soot sponge and followed with a gentle wash, and most of it lifted. There is still a faint shadow in one area. Would you prefer I leave it as-is, or would you like me to spot-prime with a stain-blocking primer and use the building touch-up paint?
Preventing soot
You do not have to break up with candles. You just need a few tiny rituals that keep the air and your paint happier.
- Trim the wick every time to about 1/4 inch (or per the candle label).
- Let the wax pool reach the edges on the first burn to reduce tunneling, then keep subsequent burns reasonable.
- Keep candles out of drafts and away from supply vents.
- Give candles breathing room: avoid burning directly under shelves or right against walls.
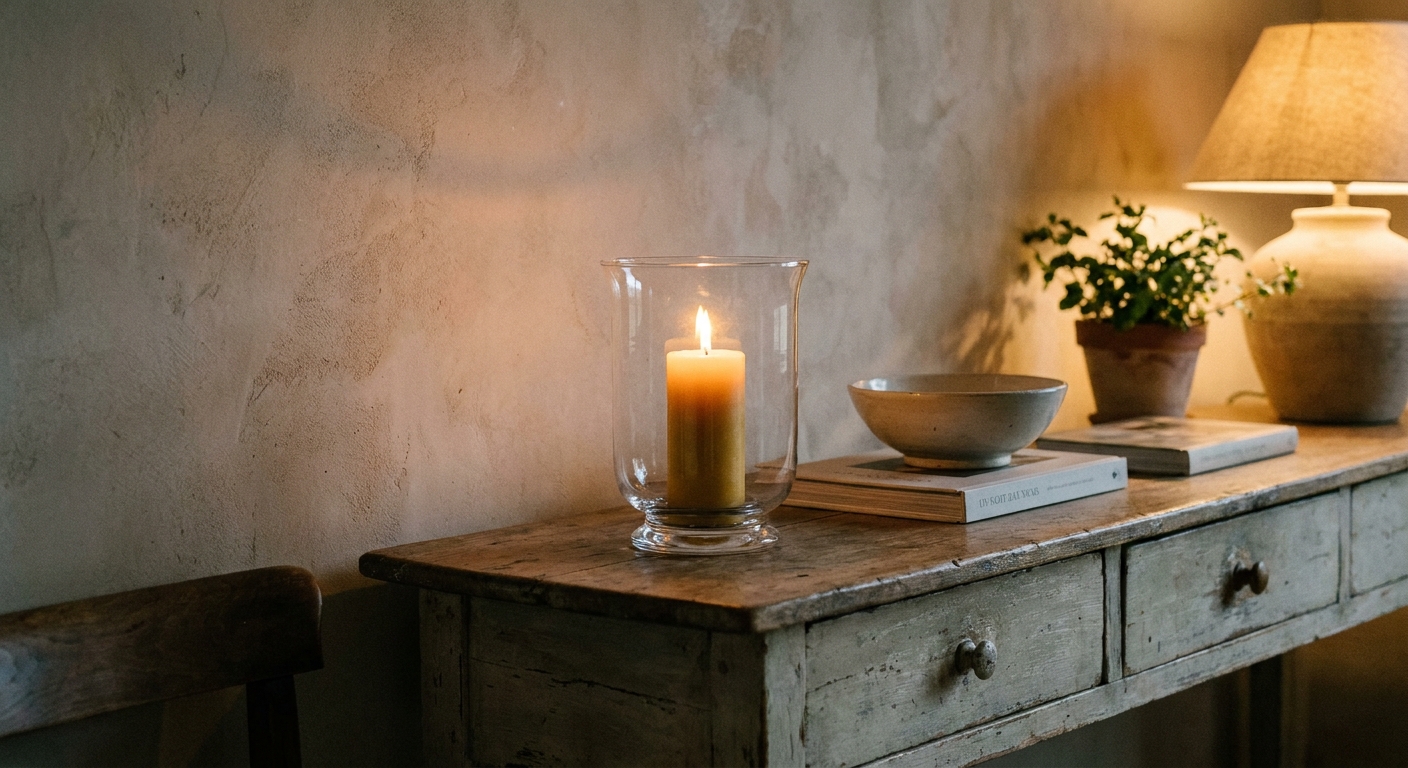
- Use candle shades or hurricanes when appropriate to steady the flame.
- Consider cleaner-burning options like high-quality soy or beeswax from reputable makers, and avoid constantly relighting short burns.
Quick troubleshooting
The mark got worse after I wiped it
This usually means soot was still sitting on the surface when water hit it. Let it fully dry, then return to dry cleaning with a soot sponge. Use less moisture on the next pass.
The paint looks shiny where I cleaned
That is burnishing, common on flat and matte paint. Stop scrubbing. Future passes should be dry sponge only with very light pressure. If the sheen change is noticeable, a landlord-approved touch-up may be needed.
There is a brownish stain line near a vent
This can be a mix of dust, soot, and airflow patterns. Dry clean first, then use a slightly stronger diluted cleaner only if the paint can handle it. If it keeps reappearing, a stain-blocking primer is often the real fix. If soot keeps coming back quickly, it can also point to candle placement, poor ventilation, or HVAC dust issues, and it may be worth asking maintenance to check vents and filters.
The soot is heavy or everywhere
If you are seeing widespread soot, or it returns fast after cleaning, consider pausing candle use and talking to your landlord. A professional cleaning, an HVAC check, or a ventilation tweak can save you a lot of repeating work.
A gentle final note
It is easy to feel embarrassed by soot marks, like they are a sign you did something wrong. Truly, they are usually just physics plus a flickery flame. Go slow, start dry, and keep your pressure light. Your walls and ceilings will look calmer, and your space can go right back to feeling like that comforting end-of-day hug.