Stair Runner Slipping or Buckling on Wooden Stairs

Clara Townsend
I have a soft spot for stair runners. They make even a basic builder staircase feel like it belongs in a story. But if your runner is creeping upward, buckling at the nosing, or doing that annoying little slide right at the top step, it stops feeling romantic fast. It starts feeling like a trip hazard.
The good news is that most stair runner issues come from a handful of fixable causes: not enough grip under the runner, too much cushion in the wrong place, a runner that is not properly anchored at the nosing, or sometimes a stair detail that is literally moving beneath it.
First, name the problem
Different symptoms point to different fixes. Take one minute to notice where the runner misbehaves.
- Runner creeps upward over time: Usually not enough friction under the runner, or it is only secured at a few points.
- Bubbling or buckling at the nosing (front edge of the tread): Often too-thick padding, incorrect stapling, or the runner is bridging instead of being tucked tight into the angle.
- Runner slides at the top step or landing edge: The top termination is not anchored well, or the landing edge is too slick for the current finish.
- Only one step looks “wrong”: Could be a loose nosing, an uneven tread, or a localized installation failure.
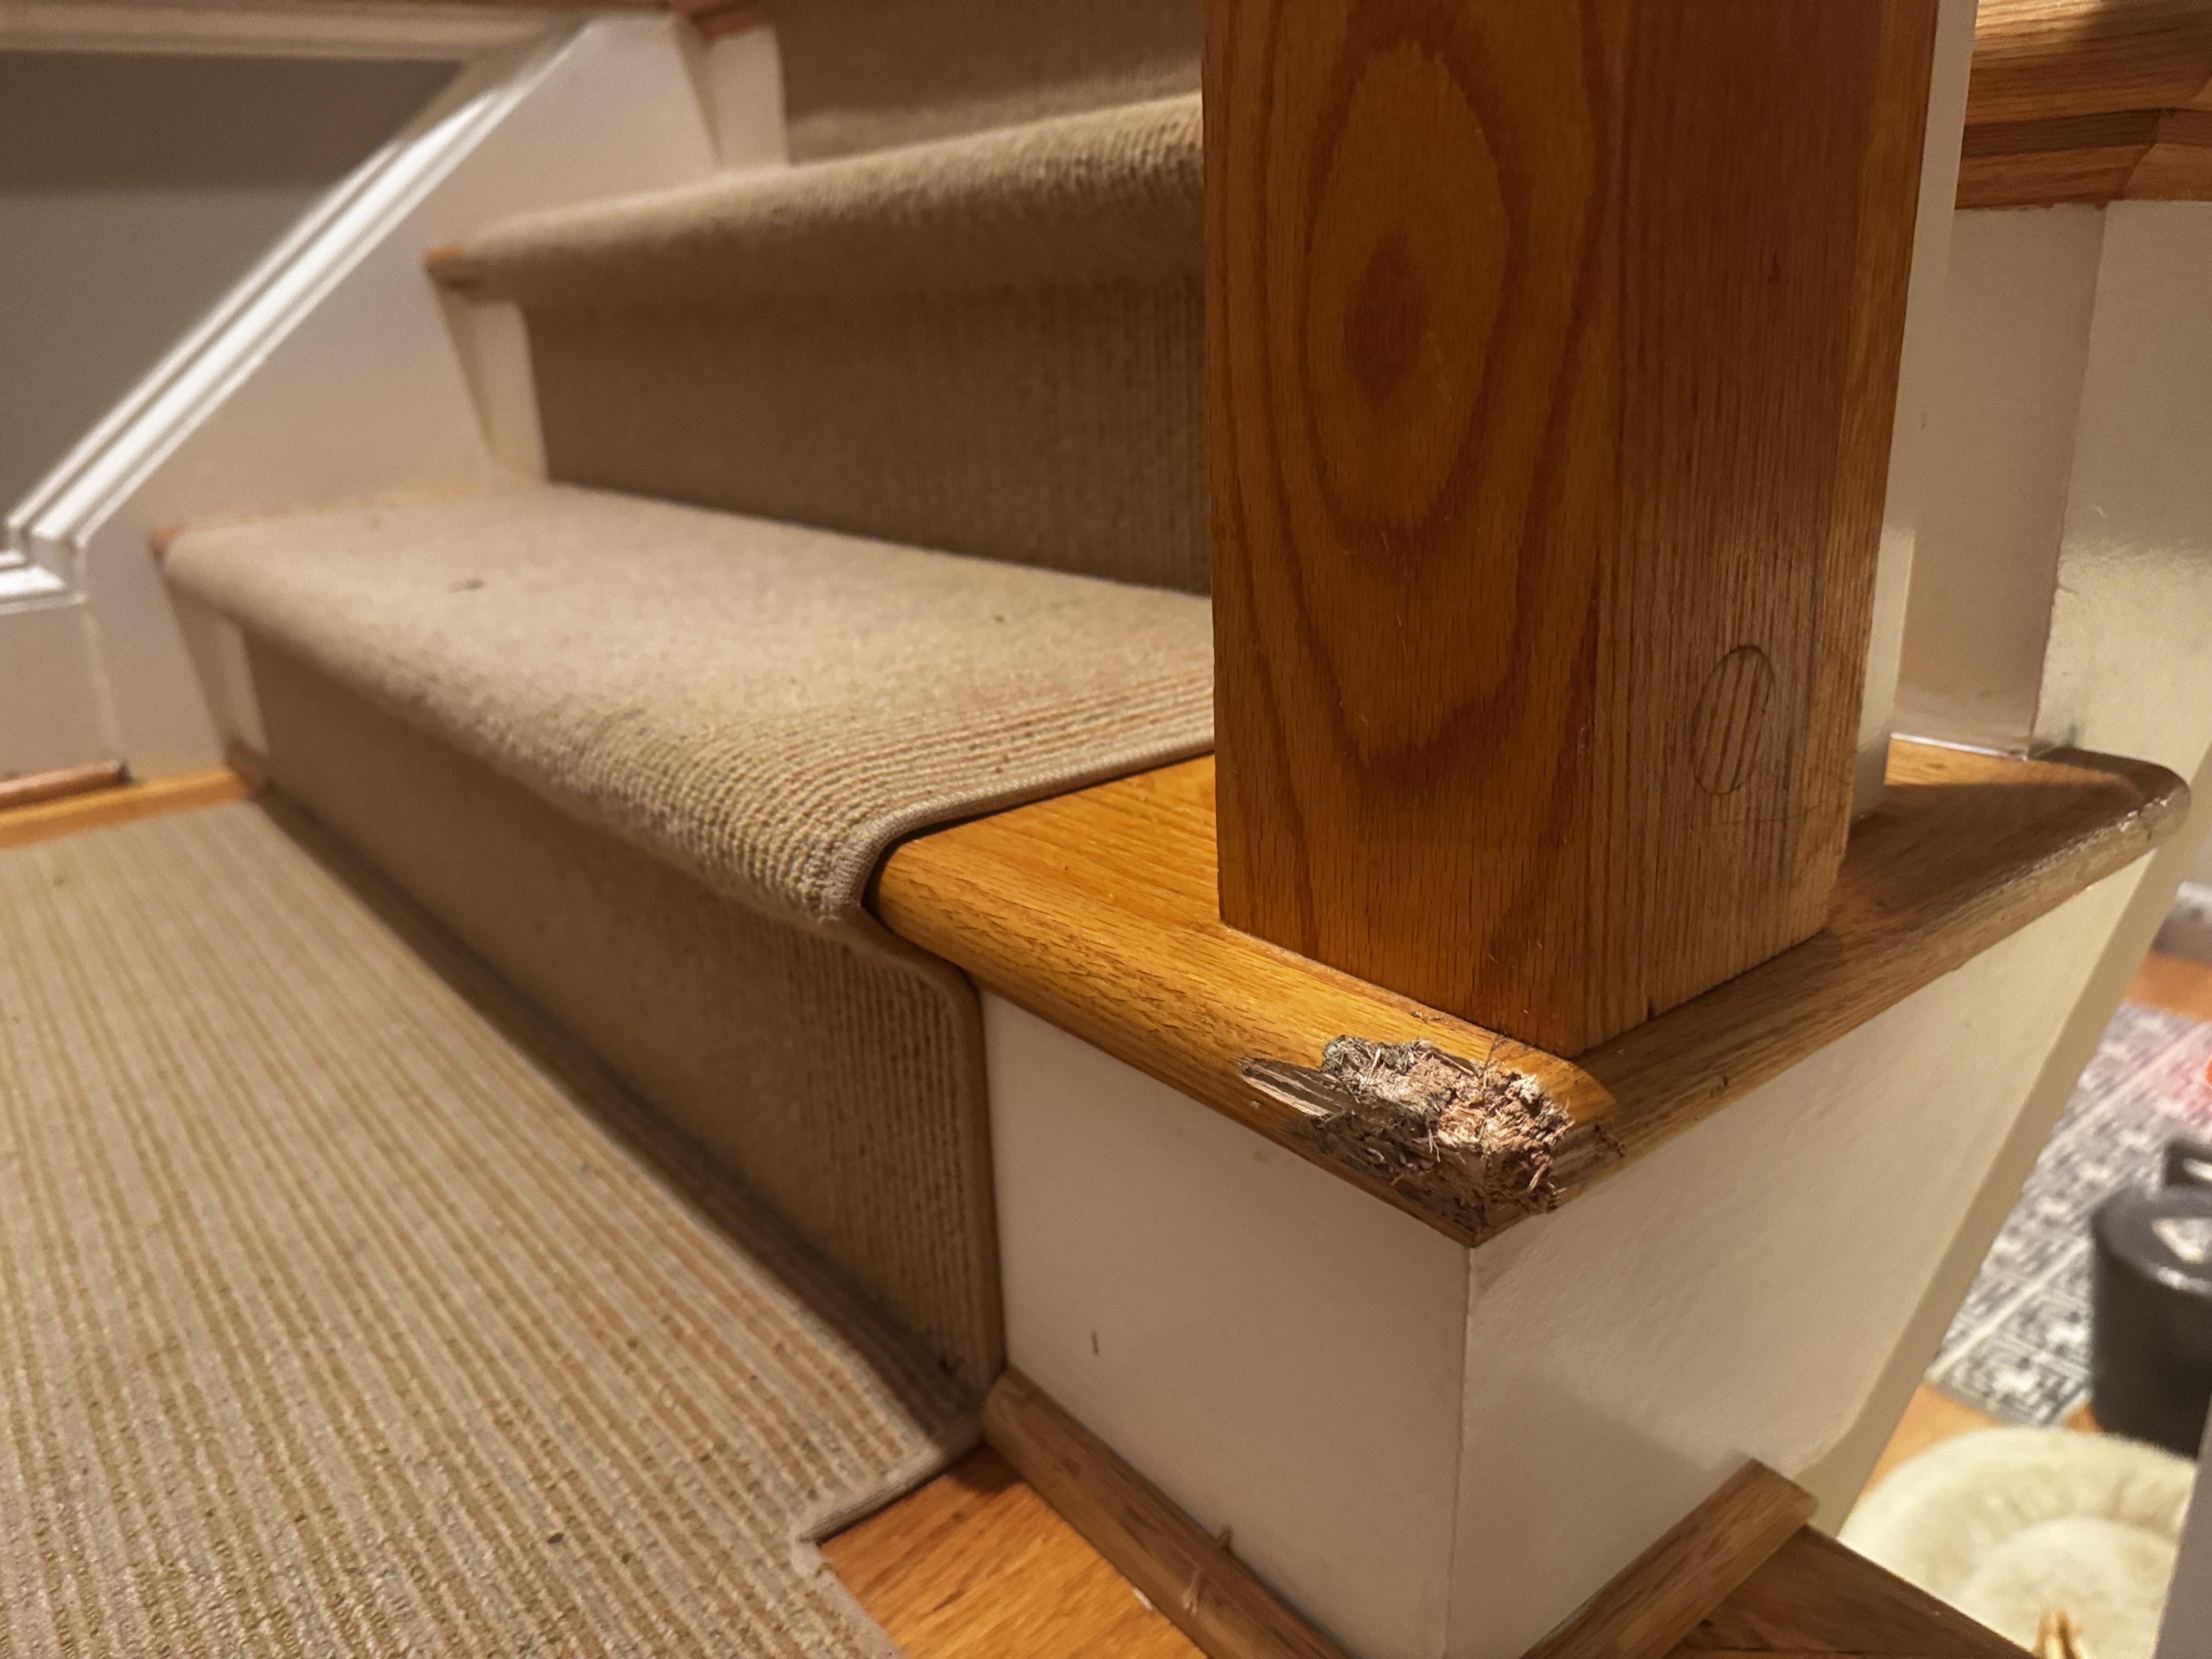
Check for a loose nosing
This is the sneaky one people miss. If the wooden nosing itself has even the tiniest wiggle, your runner can look like it is buckling when it is actually reacting to movement underneath.
Quick test
- Stand to the side of the step for safety.
- Place one hand on the nosing and gently push down and forward.
- Step on the front edge and listen and feel for movement, not just sound.
- Safety note: Do not put fingers under any lifted edge or into a gap.
If you feel shifting or see a hairline gap opening and closing where tread meets riser, that is a carpentry fix, not a textile fix. A runner can hide it for a while, but it will keep showing up as ripples and will get worse with time. In that case, call a carpenter or a flooring pro to secure the nosing properly before you re-tension the runner.
Common install types
The right fix depends on how your runner was installed. A quick peek under an edge (or at the side where the runner meets the trim) can tell you a lot.
- Stapled runner: The runner is fastened with staples, typically hidden in the tread to riser angle and sometimes along the sides. Many modern installs are this style.
- Tackless strips (carpet grippers): Thin wood strips with angled tacks, placed where the runner needs to lock in. Pros often combine this with staples for extra security.
- Waterfall vs Hollywood: Waterfall drapes the runner over the nosing. Hollywood (also called cap-and-band) contours it tighter to the tread and riser. A runner that is meant to be “Hollywood tight” will look sloppy if it is allowed to float.
If you are not sure what you have, that is also your sign to stop yanking on it and call an installer. Most problems get worse when the runner is pulled without the right tools to re-stretch it evenly.
Why runners slip on wood
Wood stairs are beautiful, but they are also smooth and sealed. That finish is great for wiping off footprints. It is not great for gripping fabric.
- Not enough mechanical fastening: A runner needs secure anchoring at the right places, especially at each nosing and at the top termination.
- Padding that is too thick or too soft: Plush sounds nice, but on stairs it can act like a little trampoline and encourage shifting.
- No grip layer: Without a grippy underlay designed for stairs, the runner relies on friction alone.
- Runner is slightly narrow or fighting the stair shape: On stairs, being off by even a little can keep the runner from sitting neatly into the angles.
- Humidity and wear: Natural fibers relax. Adhesives also age. Both can lead to creeping over time.
Fixes that actually work
1) Re-seat it at the nosing
If your runner is bubbling at the front edge, it often needs to be re-tensioned so it wraps the nosing cleanly and tucks into the corner where tread meets riser.
- What you are aiming for: The runner should sit snug over the rounded edge, then tuck tightly into the angle, not hover over it.
- Why it matters: That tight tuck creates a natural hinge that helps the runner stay put step after step.
This is usually an installer move, but if you already have a stapled runner, a carpet pro can often re-stretch and re-staple without replacing the runner.
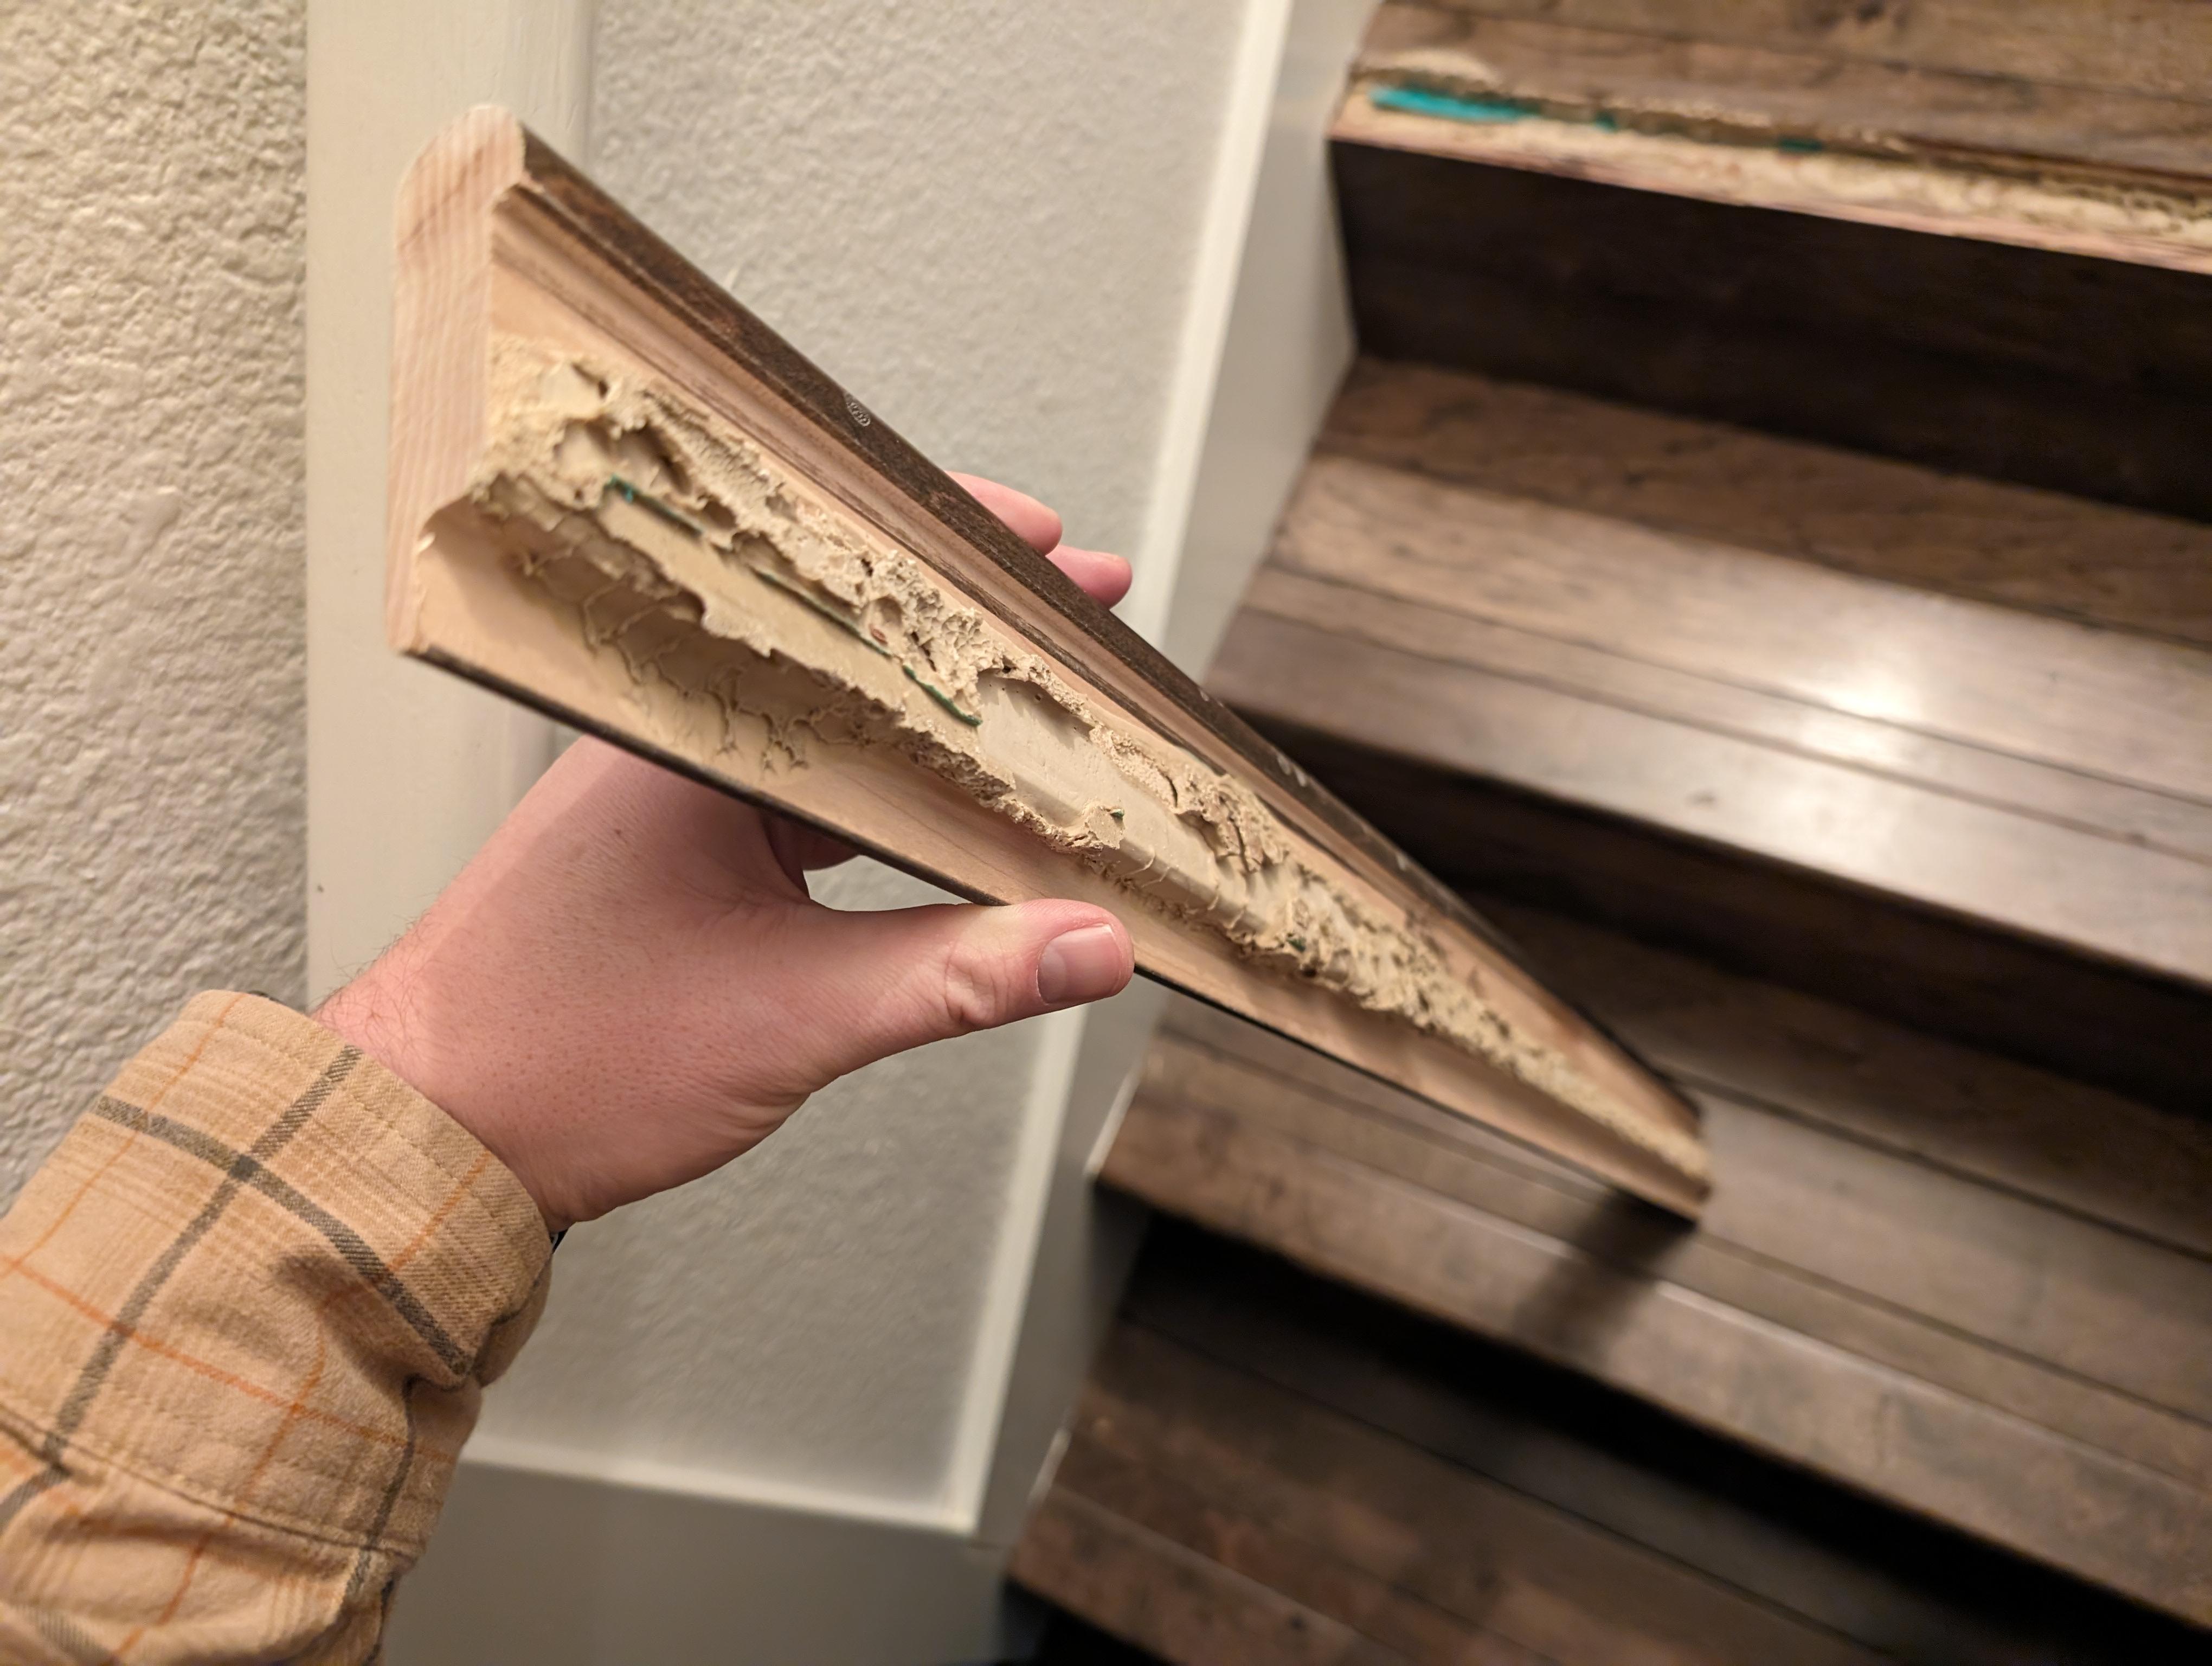
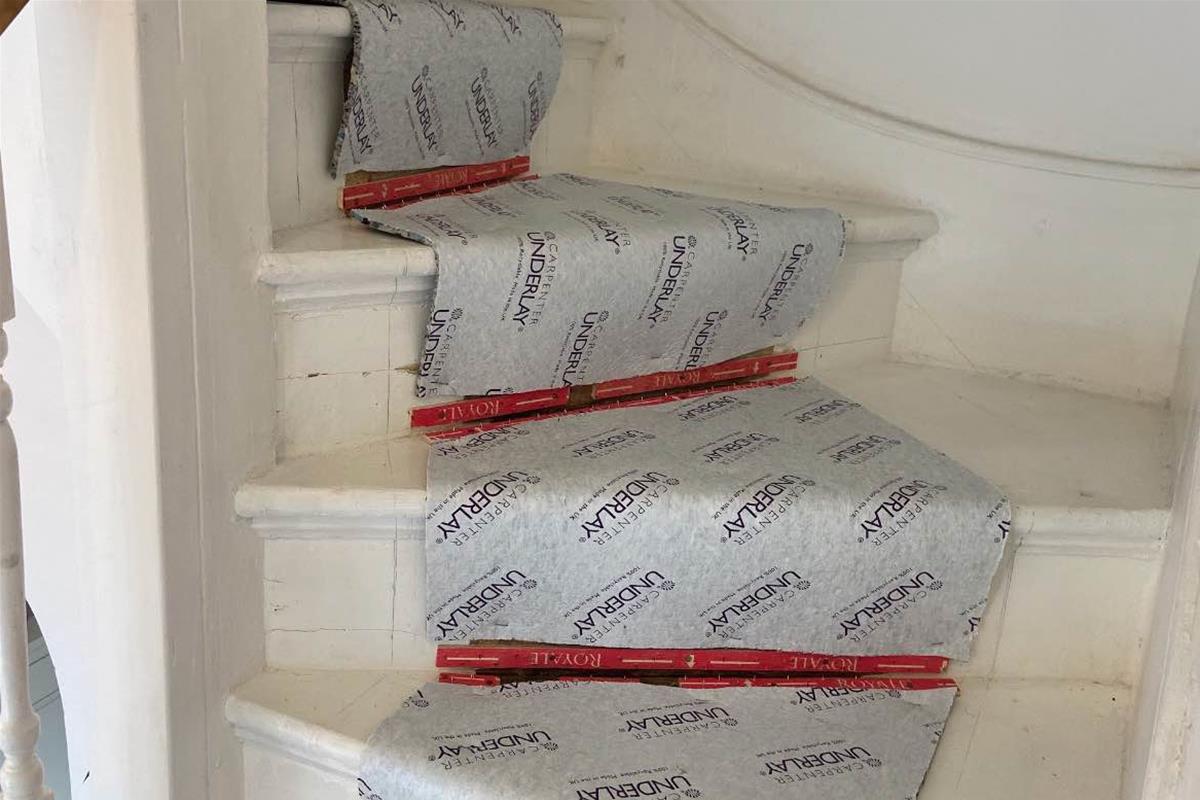
2) Use a stair underlay made to grip
If the runner is creeping upward, you need friction. Look for underlay made for stairs, sometimes sold as “stair runner underlay” or “stair carpet underlay” with a grippy backing. The ideal feel is supportive, not squishy.
- What often works well: Dense felt and rubber style underlays designed to grip wood.
- One important check: Not every grippy underlay is meant to be stapled through. If your runner is stapled, check the manufacturer specs for staple compatibility before you buy.
- What to avoid: Very thick foam pads that compress a lot. Compression can lead to shifting and buckling at the nosing.
A common professional approach is underlay on each tread (and sometimes down the riser depending on the look), then the runner installed over it with correct tension and fastening.
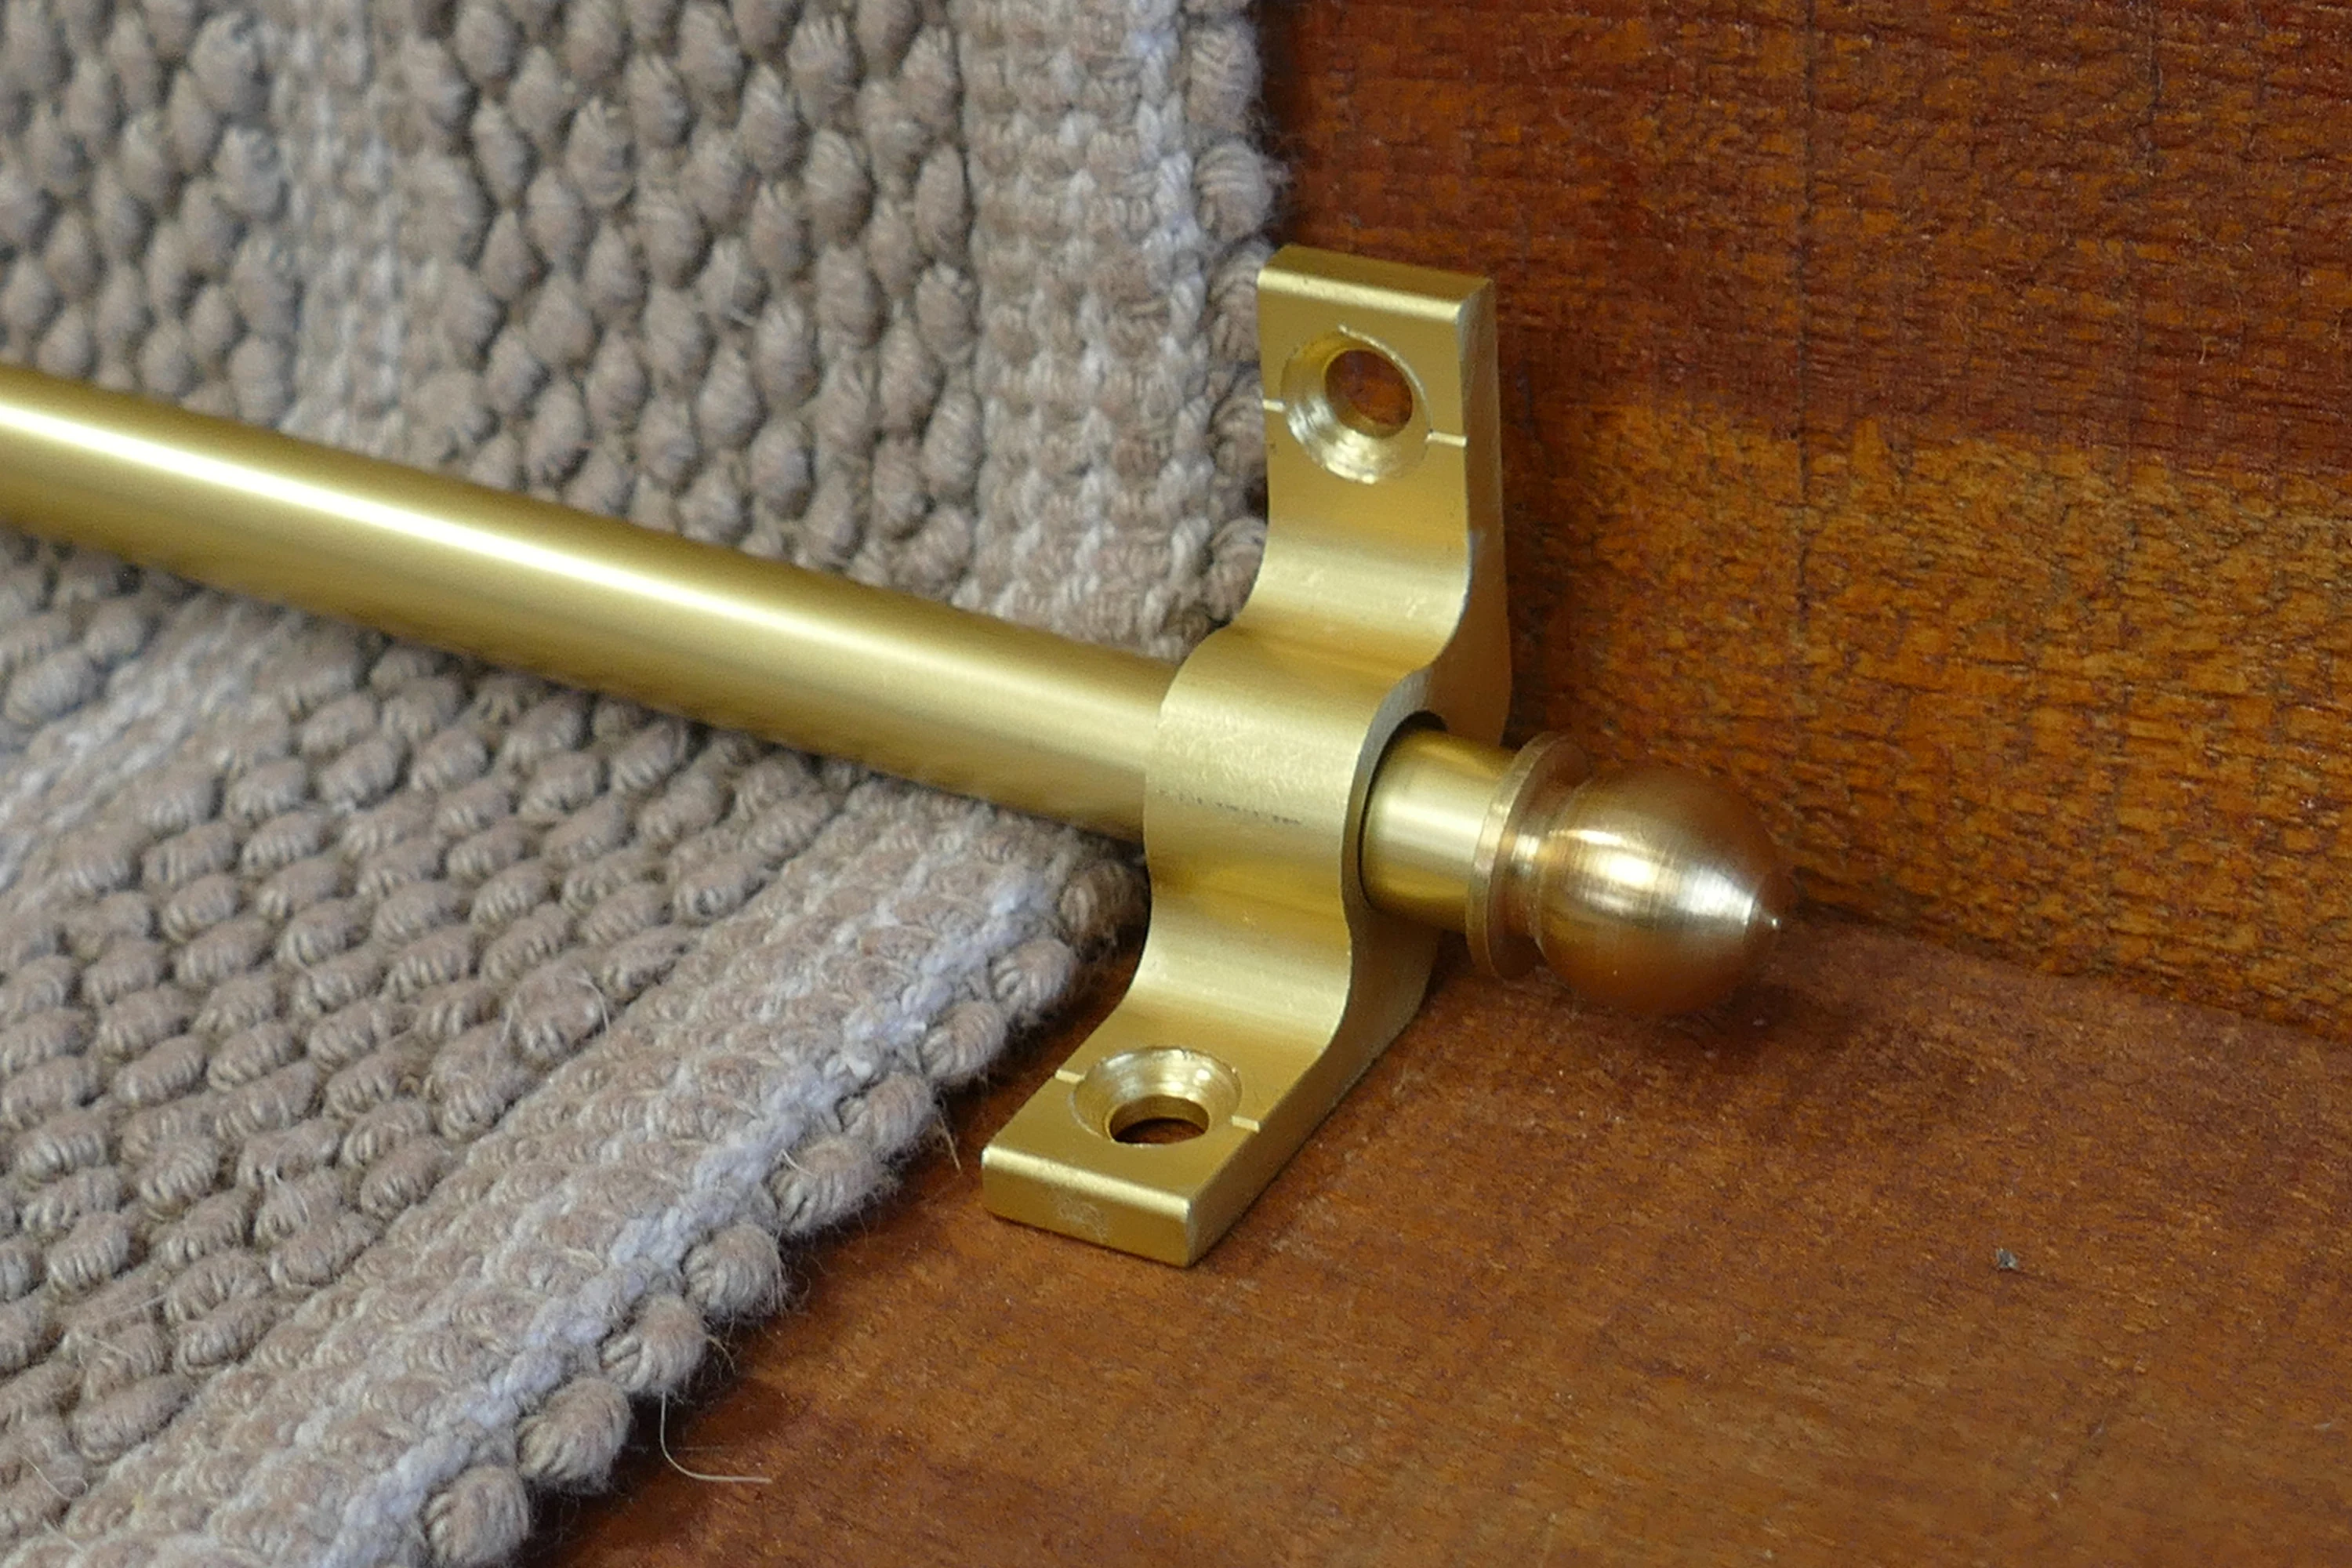
Stair rods: what they do
I love stair rods for the jewelry factor. Brass, bronze, matte black. They add a finishing touch that makes a staircase feel intentional.
But let’s be honest about function.
- Stair rods can help keep the runner looking neat at the tread to riser junction and may reduce minor shifting when the runner is already well-installed.
- Many modern stair rods are mostly decorative. Real holding power depends on the bracket style and whether it actually clamps the runner, plus whether the runner is properly fastened underneath.
- Stair rods are not a substitute for correct installation. If the runner is sliding, bubbling, or poorly anchored at the nosing, rods alone will not fix it.
When rods help most
- When the runner is already properly tensioned and you want extra security and polish.
- When you have a thinner, flatter runner that benefits from being held tight into the angle.
Placement basics
Traditionally, rods sit at the base of each riser, right where the runner turns onto the tread. They should look consistent from step to step. If you are adding rods to an existing runner, check that the runner is already sitting tightly into the angles before you invest.
Rental-safe options
If you rent, you can still make a runner safer. Your goal is to improve grip with minimal or reversible attachment.
Options that are commonly workable
- Grippy stair underlay cut to each tread: Often the most gentle option. It relies on friction, not glue. It still may shift if the runner is not anchored at the top.
- Double-sided carpet tape rated for stairs: Use sparingly and test in an inconspicuous spot first. Some finishes and some tapes do not get along, and you do not want to peel off varnish with your runner.
- Temporary non-slip stair treads or mats: If your runner is actively slipping and you need a stopgap, non-slip treads can buy you time while you figure out a longer-term fix.
A gentle warning about adhesives
Any adhesive product can potentially affect polyurethane, stain, or older shellac finishes. Removal can leave residue, pull up stain, or lift finish. Citrus or solvent removers can also change or dull a finish if you are not careful. Heat and humidity make it more unpredictable, so test first and keep expectations realistic.
Stop a slide at the top
The top step is where a lot of runners misbehave because the runner wants to migrate upward with foot traffic, but there is nowhere for it to go. It bunches or slips right at the finish line.
What usually fixes it
- A secure top termination: The runner should be anchored firmly under the lip of the top riser or at the landing edge, depending on your layout.
- Enough grip under the final tread: If the rest of the staircase has good underlay but the top tread does not, the runner will telegraph the difference.
- Consistent tension: If the runner is slightly slack in the last few steps, the top will show it first.
If your runner ends at a landing, a pro can often tighten the runner and re-finish the end cleanly so it looks tailored instead of tugged.
What not to do
- Do not rely on duct tape: It can slip, leave residue, and turn into a sticky mess on finished wood.
- Do not add thick foam padding to “fix” bunching: On stairs, extra squish often makes movement worse.
- Do not go staple-happy without a plan: Random staples rarely solve creeping, and you can damage the runner backing or the stair finish.
- Do not staple blindly near trim: If you have any reason to suspect wiring (stair lighting, outlets nearby), stop and call a pro.
- Do not keep walking on a loose runner: If it is slipping, treat it like a safety issue first and fix the hazard before you worry about perfection.
When to call a pro
I am all for a confident DIY moment, but stairs are not the place to gamble with safety. Call a carpet installer or flooring pro if:
- The runner is a tripping hazard right now.
- You see repeated buckling at multiple nosings.
- The stairs are uneven, and the runner never sits flat step to step.
- You suspect a loose nosing or structural movement.
- You want to convert the look (waterfall to Hollywood, or add tackless strips) and you want it to last.
A proper stair runner install is part craft, part geometry, part muscle. Getting the tuck and tension right is what keeps it looking crisp for years, not just for a week.
Choose a runner that behaves
Some runners are simply easier to keep tidy on stairs.
- Flatter weaves (low pile, tightly woven wool, durable synthetics) tend to buckle less and sit more cleanly at the nosing.
- Very plush or thick rugs can feel luxe, but they are more likely to shift and bubble unless installed perfectly with the right underlay.
- Bound edges often wear better on stairs and help the runner keep its shape.
If you are shopping specifically for stairs, think “tailored and durable” first, then layer in pattern and personality.
FAQ
Do I need a pad under a stair runner?
Not always, but a stair-specific underlay can make a huge difference in grip and comfort. The key is choosing one that is supportive and grippy, not overly thick or squishy.
Will stair rods stop a runner from slipping?
Sometimes, but it depends on the hardware. Many stair rods are mostly decorative unless the brackets clamp the runner. Even with clamping brackets, rods work best as a finishing layer on top of a properly tensioned, properly fastened runner.
Why is my runner bubbling only at the nosing?
Bubbling at the nosing usually comes from slack, over-cushioned padding, or an installation that did not tuck the runner tightly into the angle. It can also happen if the nosing is loose and moving beneath the runner.
What is the safest quick fix if my runner is slipping right now?
If it is actively slipping, treat it as a safety issue first. Avoid using the stairs in socks. If you can, temporarily remove the runner until it can be properly fixed, or cover the steps with non-slip stair treads as a short-term measure. A professional re-stretch and correct fastening is often the safest long-term solution.