Rug Pad Residue on Hardwood: Remove Sticky Leftovers Safely
Clara Townsend
Clara Townsend is an interior stylist, vintage furniture enthusiast, and the creative voice behind Velvet Abode. With over a decade of experience transforming both cramped city apartments and sprawling fixer-uppers, she believes that a beautiful home is built on personal stories rather than massive budgets. When she isn't hunting for the perfect brass sconce at a local flea market, she can usually be found rearranging her living room for the third time this month.
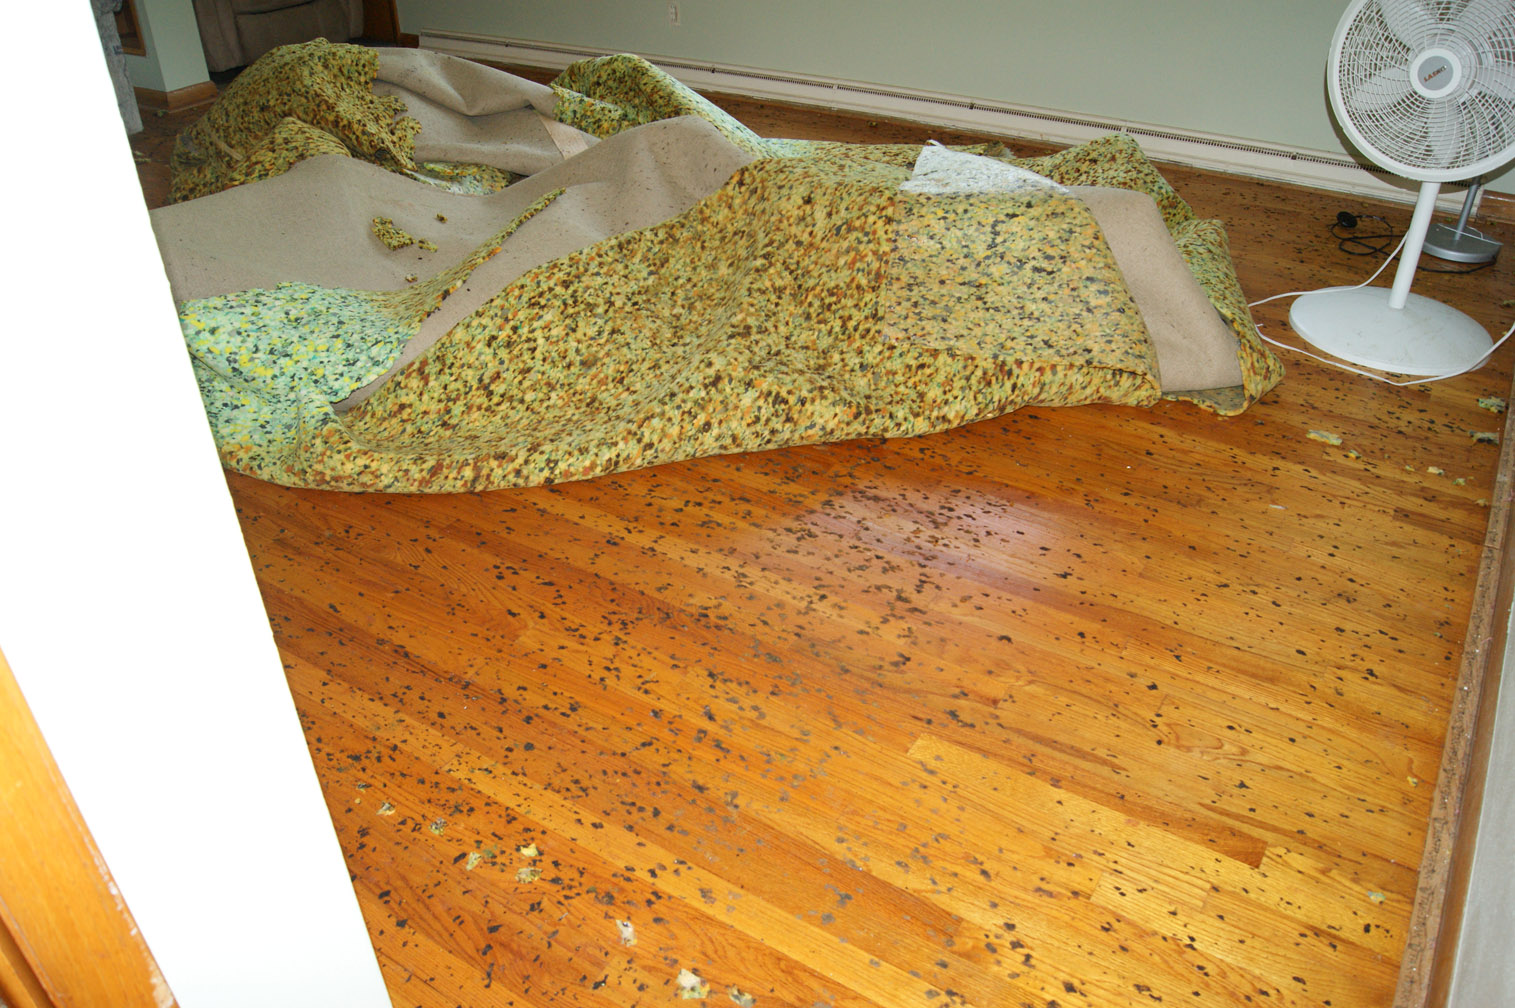
If you have ever pulled up an area rug and found a gummy, tacky film from your rug pad clinging to the hardwood, you are not alone. It is one of those “how is this even possible?” home moments, right up there with discovering a candle soot stain on a freshly painted wall. The good news: rug pad residue often sits on top of the floor’s protective finish, which means you can usually remove it without sanding or refinishing if you move slowly and choose the right method. The important caveat: some pads (especially rubber, vinyl/PVC, or very old foam) can chemically react with certain finishes and leave hazing, soft spots, or staining that is not just surface-level.
Below is my finish-friendly, patience-forward approach: gentle scraping first, then the mildest softener that works, with lots of corner testing along the way.
Before you start: know what you are protecting
Hardwood floors are usually sealed with a clear topcoat, often a modern polyurethane (water-based or oil-based). That clear coat is what you are protecting. The sticky residue is typically degraded rubber, latex, or a plasticizer from an old pad that reacted with the finish, heat, sunlight, or humidity.
Quick finish check
Visual clues help, but they are not definitive. Plenty of older floors have been recoated with polyurethane, and plenty of newer floors are matte on purpose. When you are not sure, act like the finish is delicate and test everything.
- If your home is newer or the floors look evenly glossy or satin: likely polyurethane. Good news, it is fairly chemical-resistant compared with older finishes.
- If the floor is very old, very matte, or easily shows water spots: it may be shellac or waxed. In that case, solvents can be risky and you should keep methods extremely mild.
If you want a more reliable answer
- Ask the installer or check old paperwork if you have it. It is surprisingly helpful.
- Have a flooring pro identify the finish if the area is large or high-visibility. It is fast, and it can prevent expensive guessing.
If you are not sure, start mild. You can always step up, but stepping back is harder.
Stop right away if
These are your stop signs. If any happen, pause and reassess, or call a pro.
- The finish feels soft, tacky, or starts to wrinkle.
- Your cloth shows floor color, stain, or a clear-coat smear (you are lifting finish, not residue).
- You see whitening or dull patches that get worse as you work.
- Boards look swollen at the seams or the area stays wet-looking.
- The residue is dark and seems “in” the finish or wood, not on it.
What to gather
You do not need a cabinet full of harsh removers. You need the right few tools and a calm afternoon.
- Microfiber cloths (a few)
- Plastic putty knife or plastic scraper (avoid metal razors)
- Credit card or old gift card (great for controlled scraping)
- Vacuum with soft brush attachment
- Mild dish soap
- Warm water
- A manufacturer-approved hardwood floor cleaner (optional, for final wipe-down)
- Mineral spirits (odorless preferred) for finished floors only, after testing
- Optional: a commercial adhesive remover labeled safe for finished hardwood (always spot test)
- Nitrile gloves and good ventilation
Avoid: oil soaps, polishes, and “reviver” products. They can leave residue that attracts dirt and can complicate future recoats.
Step 1: Dry lift first
For skimmers, “dry lift” means: remove grit, then lift as much residue as possible without
Start by vacuuming or gently sweeping the area. Grit plus rubbing equals micro-scratches, and sticky residue loves to hold onto dust like a magnet.
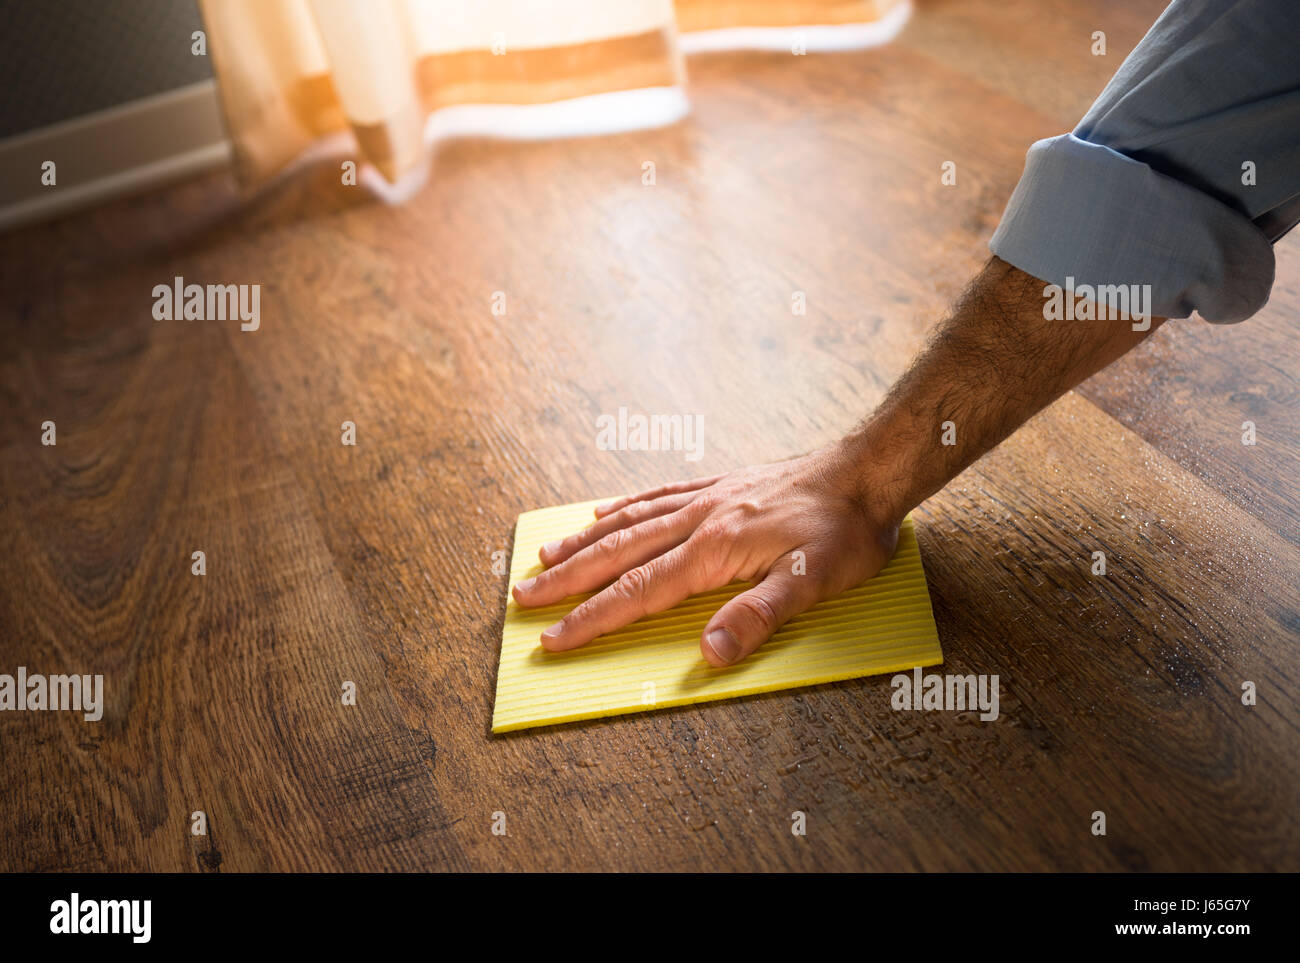
Then scrape, like you are buttering toast
Hold a plastic scraper nearly flat to the floor and nudge the residue forward in short strokes. Your goal is to lift the bulk without digging into the finish. Think low angle, light pressure, lots of passes.
- Do: work with the wood grain when possible.
- Do: stop and wipe away lifted gunk often so you are not smearing it back around.
- Do not: use steel wool or a razor blade unless you plan to refinish and are experienced.
If dry scraping removes most of it, you may only need a gentle cleanup after.
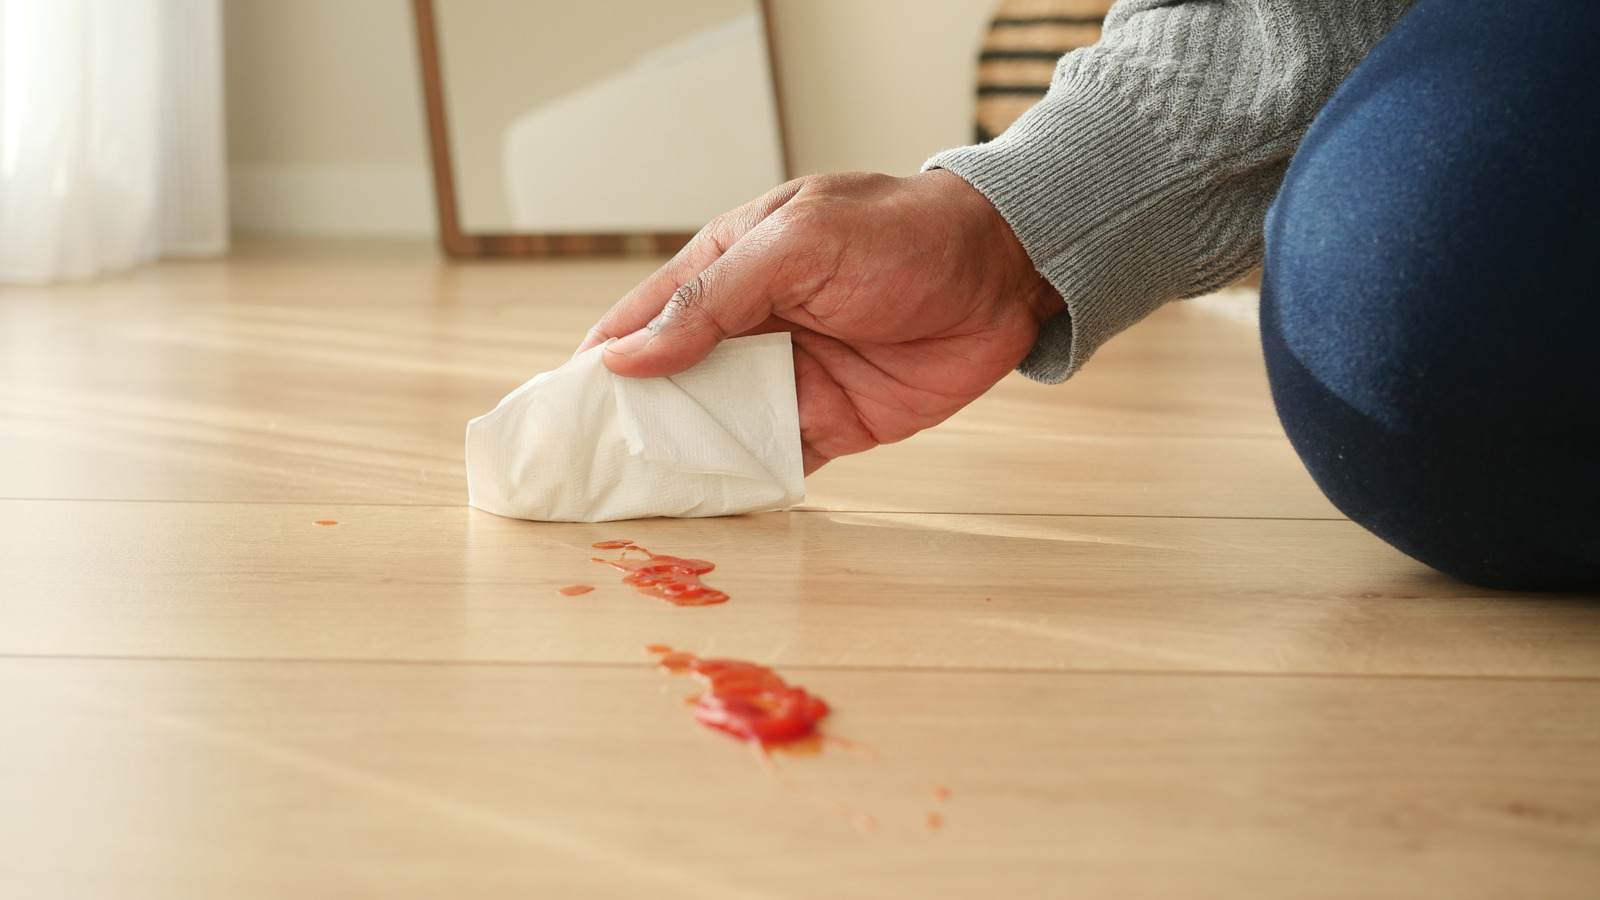
Step 2: Warm soapy water
For light residue, a few drops of dish soap in warm water can soften the surface enough to lift it.
- Dampen a microfiber cloth. It should be barely damp, not dripping.
- Lay the cloth over a small section for 30 to 60 seconds.
- Gently rub, then scrape again with your plastic tool.
- Immediately dry the area with a clean cloth.
This is safe for many film finishes, but you still want to avoid standing water and long soaking.
Step 3: Lower-risk removers (test first)
If the residue is stubborn, you need something that loosens the adhesive-like layer without clouding the finish. This is where testing in a corner saves your sanity.
How to spot test
- Pick a hidden area, like under a baseboard overhang or where the rug will cover.
- Apply the product to a cloth, not directly onto the floor.
- Rub lightly for 10 to 15 seconds.
- If the cloth picks up floor color or finish, stop.
- Wait 10 minutes and look from multiple angles for dullness, whitening, or tackiness.
Option A: Odorless mineral spirits
Odorless mineral spirits can help dissolve oily, rubbery residue on many fully cured polyurethane finishes when used carefully.
- Ventilate the room and wear gloves.
- Dampen a cloth with mineral spirits (not soaking).
- Press it onto the residue for 15 to 30 seconds.
- Wipe and gently scrape.
- Repeat in small sections.
- When done, wipe the area with a clean cloth lightly dampened with a manufacturer-approved hardwood cleaner or a very mild soap-and-water solution, then dry thoroughly.
Avoid: flooding the seams between boards. Liquids that creep between boards can cause swelling or edge darkening.
Option B: Hardwood-safe adhesive remover
Some citrus-based or specialty removers are marketed as safe for finished hardwood. “Safe” still means “test first,” because formulas vary and some can leave an oily film that attracts dirt.
Use the same method: apply to cloth, short dwell time, wipe, then scrape. Finish by cleaning the area with a manufacturer-approved hardwood cleaner (or a mild soap solution), then dry it thoroughly.
What I avoid on most hardwood finishes
- Acetone or nail polish remover: can soften or haze many finishes quickly.
- Paint stripper or heavy-duty adhesive removers: too aggressive for most film finishes.
- Vinegar: acidic and can dull some finishes over time. It is not my go-to for sticky pad residue.
- Oil soaps and polishes: can leave a coating that makes floors look worse over time and complicates refinishing.
Step 4: Final cleanup and finish check
Once the sticky is gone, you want to remove any remaining cleaner or solvent film.
- Wipe the area with a clean microfiber cloth lightly dampened with a manufacturer-approved hardwood cleaner (or plain water if you used only soap and water).
- Dry immediately.
- Look at the floor from a low angle with a lamp on. Sticky spots often show as slightly dull or grabby areas.
If you notice a faint cloudy patch, stop using solvents and let the area rest for 24 hours. Sometimes haze improves as the solvent flashes off and the finish re-hardens. If cloudiness persists, the finish may have been softened, etched, or micro-scratched and you may need a pro to assess whether a screen and recoat is the right fix.
Special situations
If the residue is thick or widespread
Work in very small zones. A little heat can help, but keep it gentle and keep it moving.
- Use a hair dryer on low, held several inches away.
- Warm for 10 to 20 seconds, then scrape.
- Go easy: heat can soften some finishes and make residue smearier if you overdo it.
- Do not overheat, especially near seams or on engineered wood.
If you have engineered hardwood
The top layer is real wood, but thinner. Treat it like delicate hardwood: minimal liquid, minimal abrasion, careful scraping only.
If it might be wax or shellac
Pause before using mineral spirits or commercial removers. Waxed floors can smear and shellac can be sensitive. When in doubt, a flooring professional can identify the finish quickly and save you from accidental damage.
If you are not sure it is hardwood
Many people understandably mix up hardwood, laminate, and LVP at a glance. If you are not sure what you have, confirm before using solvents or heat. Some methods that are fine for polyurethane-finished wood are a bad match for other surfaces.
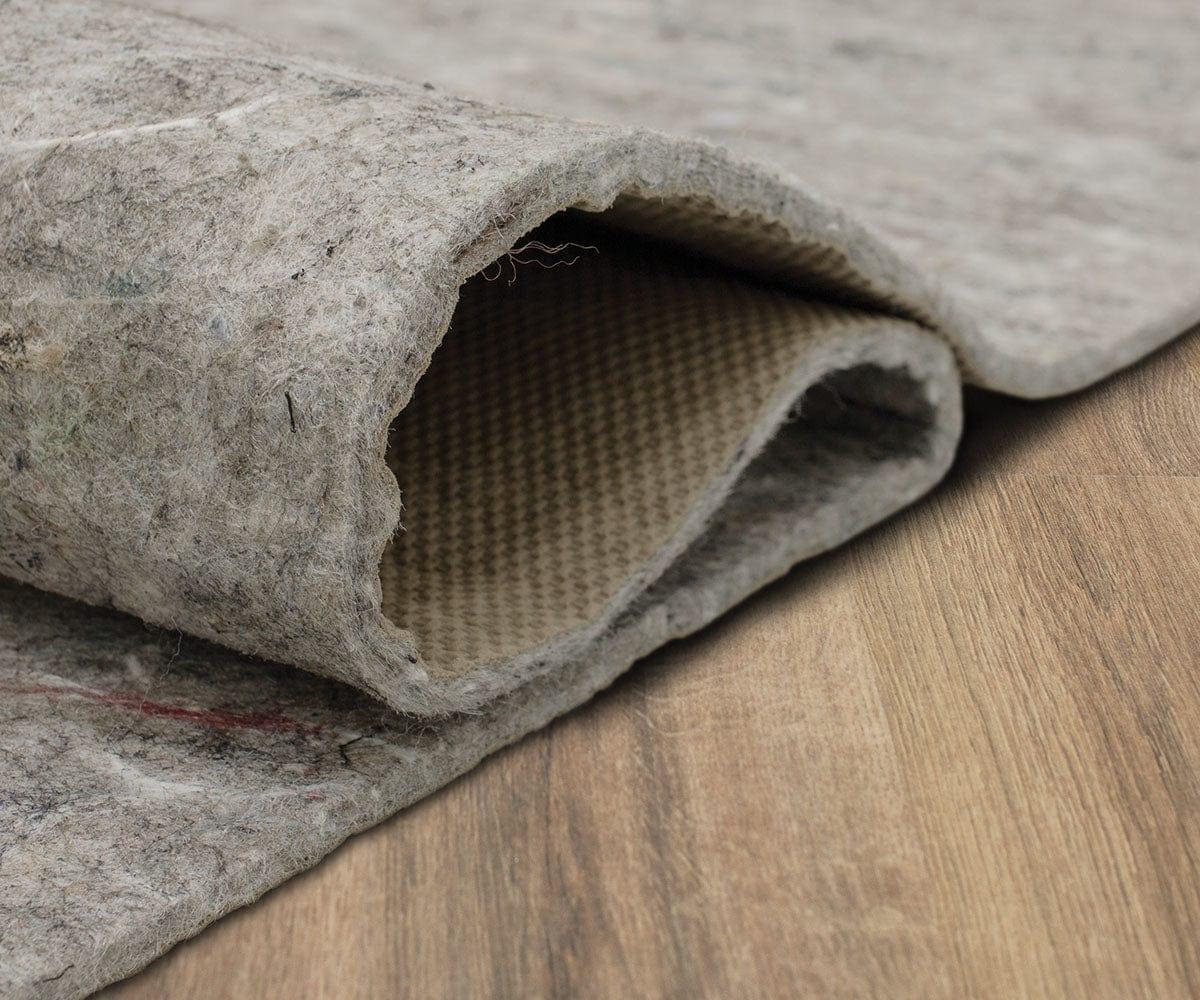
Prevent it next time: pick a safer pad
This is the part I wish rug pad packaging shouted in big, helpful letters. The wrong pad can react with finishes and leave stains, especially rubbery ones.
Look for
- Felt + natural rubber (with the rubber on the rug side and felt against the floor), labeled safe for hardwood and for your finish type.
- 100% felt pads for heavier rugs that do not need as much grip. You can add corner tape designed for rugs if needed.
- “No plasticizers,” “non-staining,” “safe for polyurethane” language on reputable brands. Still, test a small piece if you are cautious.
Avoid
- Solid rubber or waffle rubber pads that can bond to finishes over time.
- PVC or vinyl-backed pads that may discolor or leave residue through plasticizer migration.
- Cheap foam pads that crumble, trap grit, and break down into sticky dust.
My best everyday habit
Every few months, lift a corner of the rug and check. It takes 20 seconds and can prevent a full-floor sticky situation later, especially in sunny rooms or humid climates.
When to call a pro
If any of these are true, it is worth getting expert eyes on it:
- The floor finish becomes soft, tacky, or wrinkles after testing a remover.
- Residue has turned into a dark stain that appears to be inside the finish or wood.
- You have very old floors and suspect shellac or wax.
- The affected area is large and in a high-visibility spot.
A flooring pro can often do a localized screen and recoat, which is much less dramatic than a full refinish.
A simple plan for today
- 1) Vacuum grit.
- 2) Gently scrape with plastic at a low angle.
- 3) Try warm soapy water on a cloth, then dry.
- 4) Spot test mineral spirits or a hardwood-safe adhesive remover if needed.
- 5) Clean, dry, and inspect under angled light.
- 6) Replace the pad with felt or felt + natural rubber labeled safe for hardwood.
Your floors do not need perfection. They need protection and a little kindness. And once the sticky is gone and the rug is back in place, you get your cozy, grounded room back. That is the whole point.