Rebuild a Fabric Headboard With Collapsed Foam

Clara Townsend
I have a soft spot for fabric headboards. They make even a basic bed frame feel finished, and they do that quiet, cozy thing where your room suddenly looks like it belongs to a real adult. But when the foam inside has compressed into a sad pancake, or the fabric is torn beyond a tidy patch, it stops being “refresh” territory and becomes a rebuild.
The good news: rebuilding a headboard is absolutely doable in a long afternoon for a simple, non-tufted panel, and in a day if you have wings, deep tufting, or what feels like 400 staples. You do not need couture sewing skills. You need a screwdriver, patience, and a willingness to pull staples like you are unwrapping a very stubborn present.
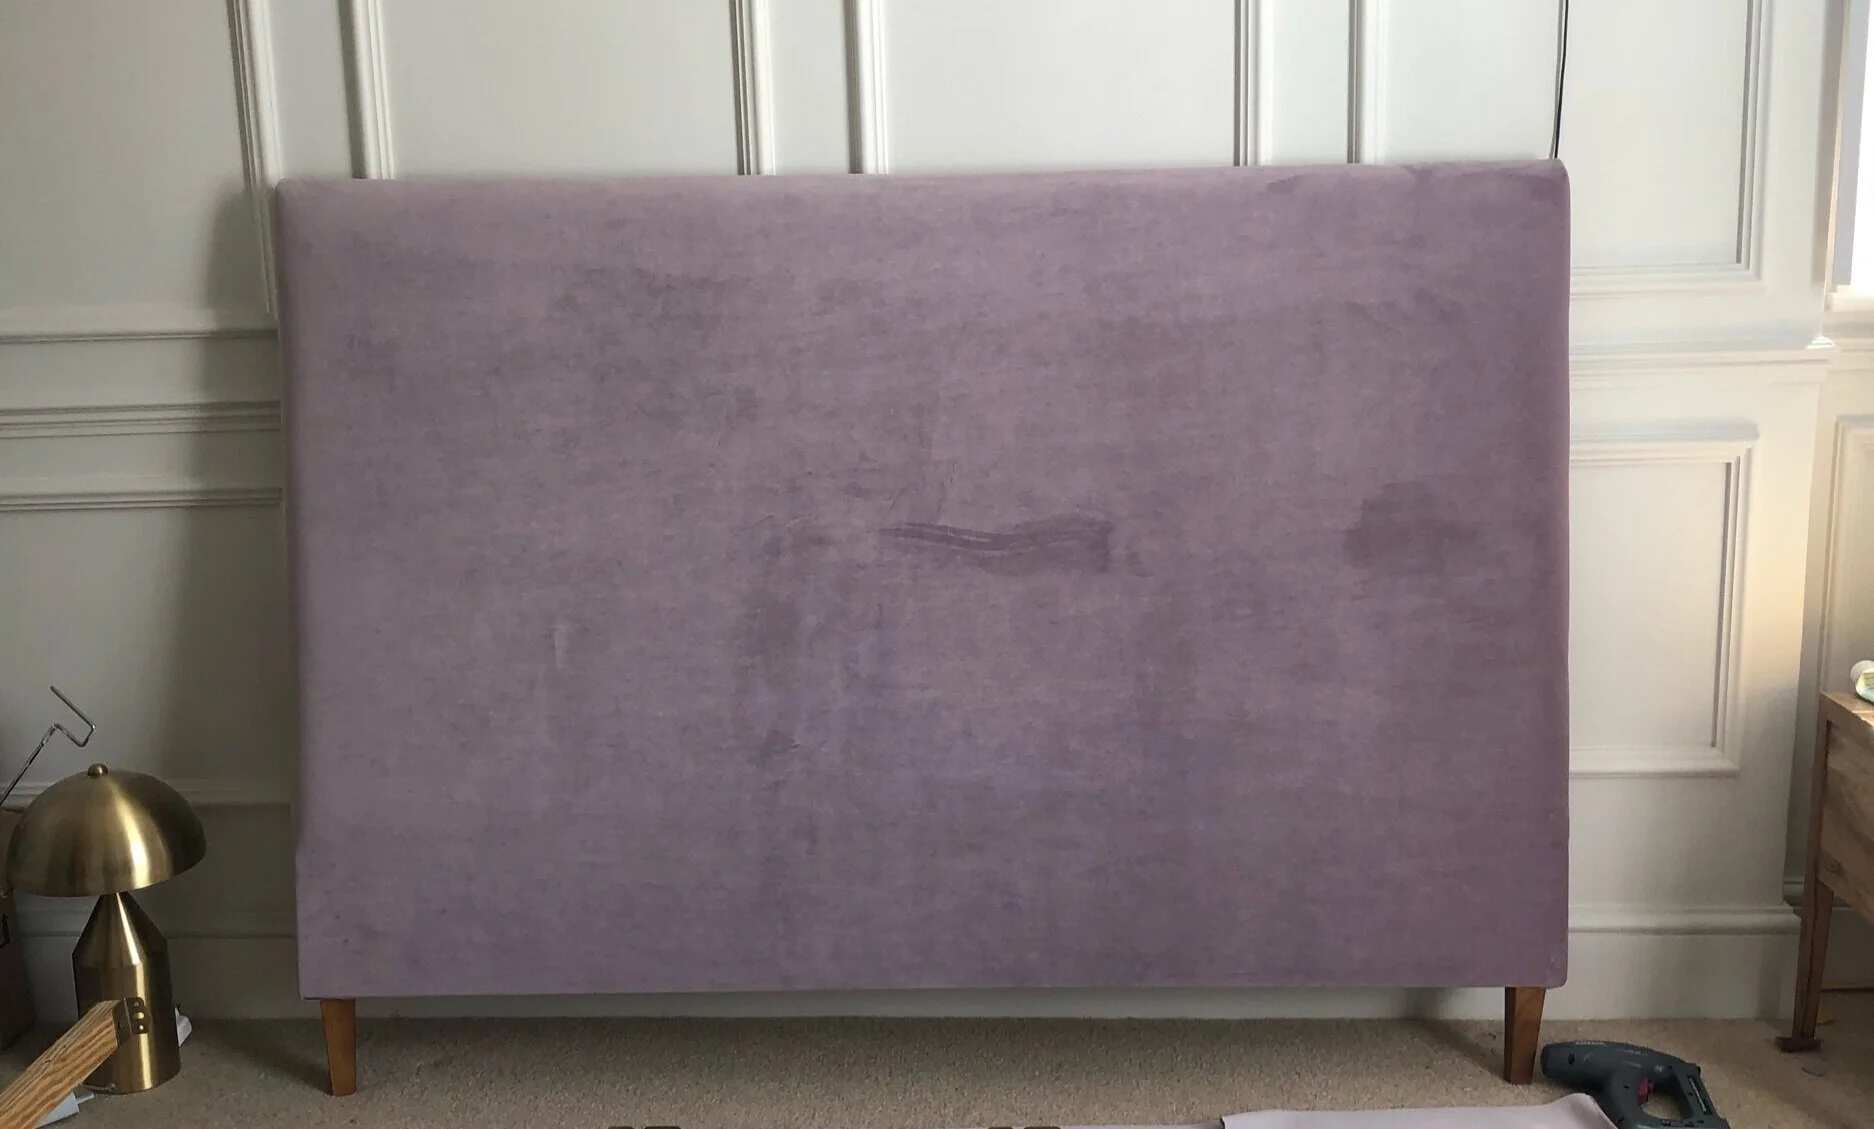
When a slipcover will not fix it
A removable slipcover is great when your headboard is structurally fine and you simply want a new color, a washable layer, or to hide minor scuffs. It will not solve a headboard that has lost its shape.
Signs you need to rebuild
- The panel feels hollow or hard in spots where the foam has disintegrated or permanently compressed.
- You can see “board lines” telegraphing through the fabric, especially along the top rail or around tufting.
- The center bows inward when you lean back, even though the frame is solid.
- The fabric is torn at seams or corners in a way that will continue to rip under tension.
- Tufting pulls look sunken because the foam no longer supports the depth.
If your headboard is tufted and the foam is collapsed, a slipcover tends to look like a wrinkled sweater over a broken shoulder. It hides the pattern, not the problem.
Tools and materials
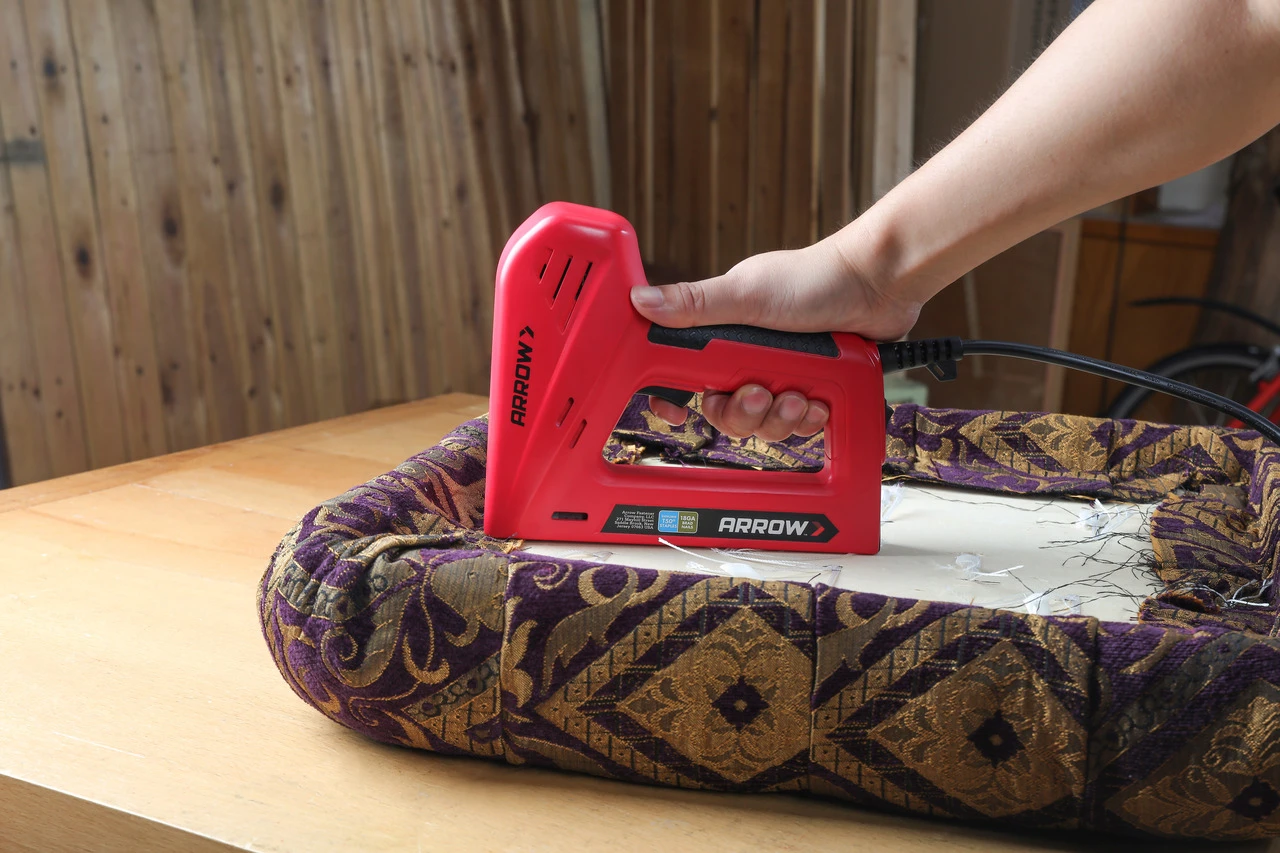
You can do this with basic upholstery supplies. If you buy one upgrade, make it the stapler. A strong stapler turns this from a wrestling match into a calm craft project.
Tools
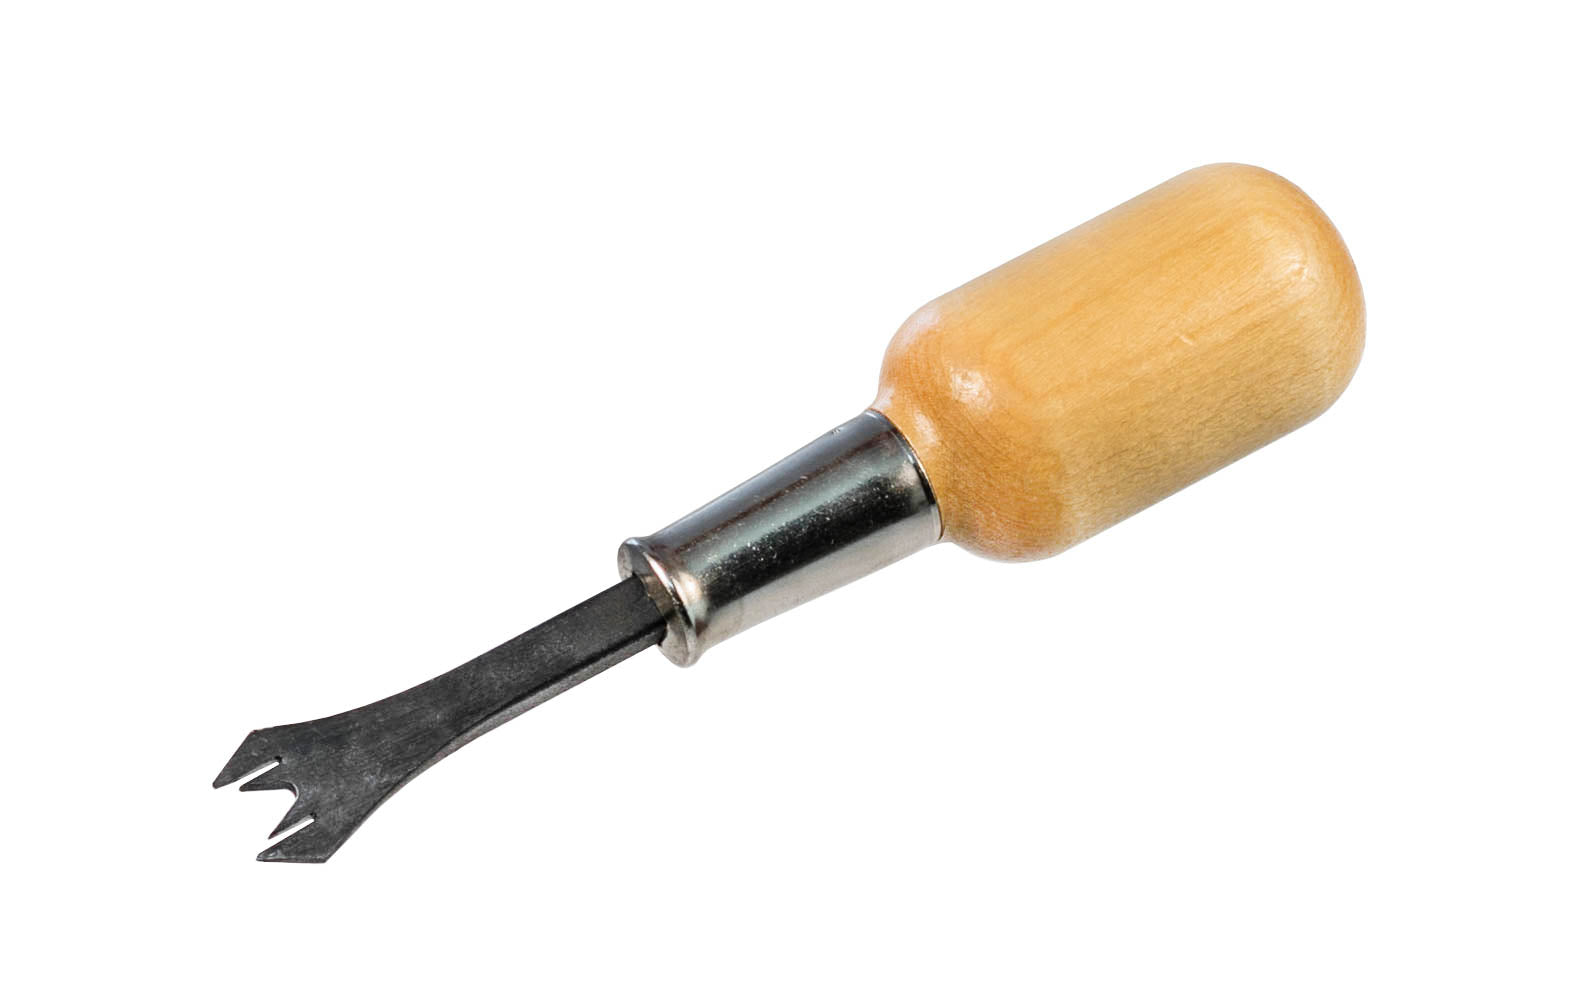
- Staple remover or end-cutting pliers (for pulling old staples)
- Flathead screwdriver (helps lift stubborn staples)
- Needle-nose pliers (for cleanup staples)
- Measuring tape
- Marker or chalk
- Electric carving knife or sharp bread knife (for cutting foam)
- Scissors (for batting and fabric)
- Drill or screwdriver (to remove the headboard from the bed)
- Upholstery stapler (manual works, electric or pneumatic is easier)
Materials
- Foam (details below)
- Batting (polyester batting is common and beginner-friendly)
- Upholstery fabric (or reuse your existing fabric if it is salvageable)
- Spray adhesive labeled for foam (optional but helpful)
- Staples (details below)
- Black cambric or dust cover fabric (optional, for the back)
Quick safety note: Staple pulling turns into flying-metal confetti fast. Eye protection is worth it. Gloves also help if you are working with splintery wood or crunchy old particle board.
Step 1: Remove and inspect
Start by removing the headboard and putting it face-down on a clean rug or blanket. Take photos of the back, corners, and any tufting before you remove anything. Those quick snapshots are gold when you are re-stapling and wondering, “Wait, how did this fold work?”
Check what you have
- Solid backer board: plywood, MDF, or particle board. Good base for staples.
- Frame plus panel: some have a perimeter wood frame and a separate upholstered panel inset.
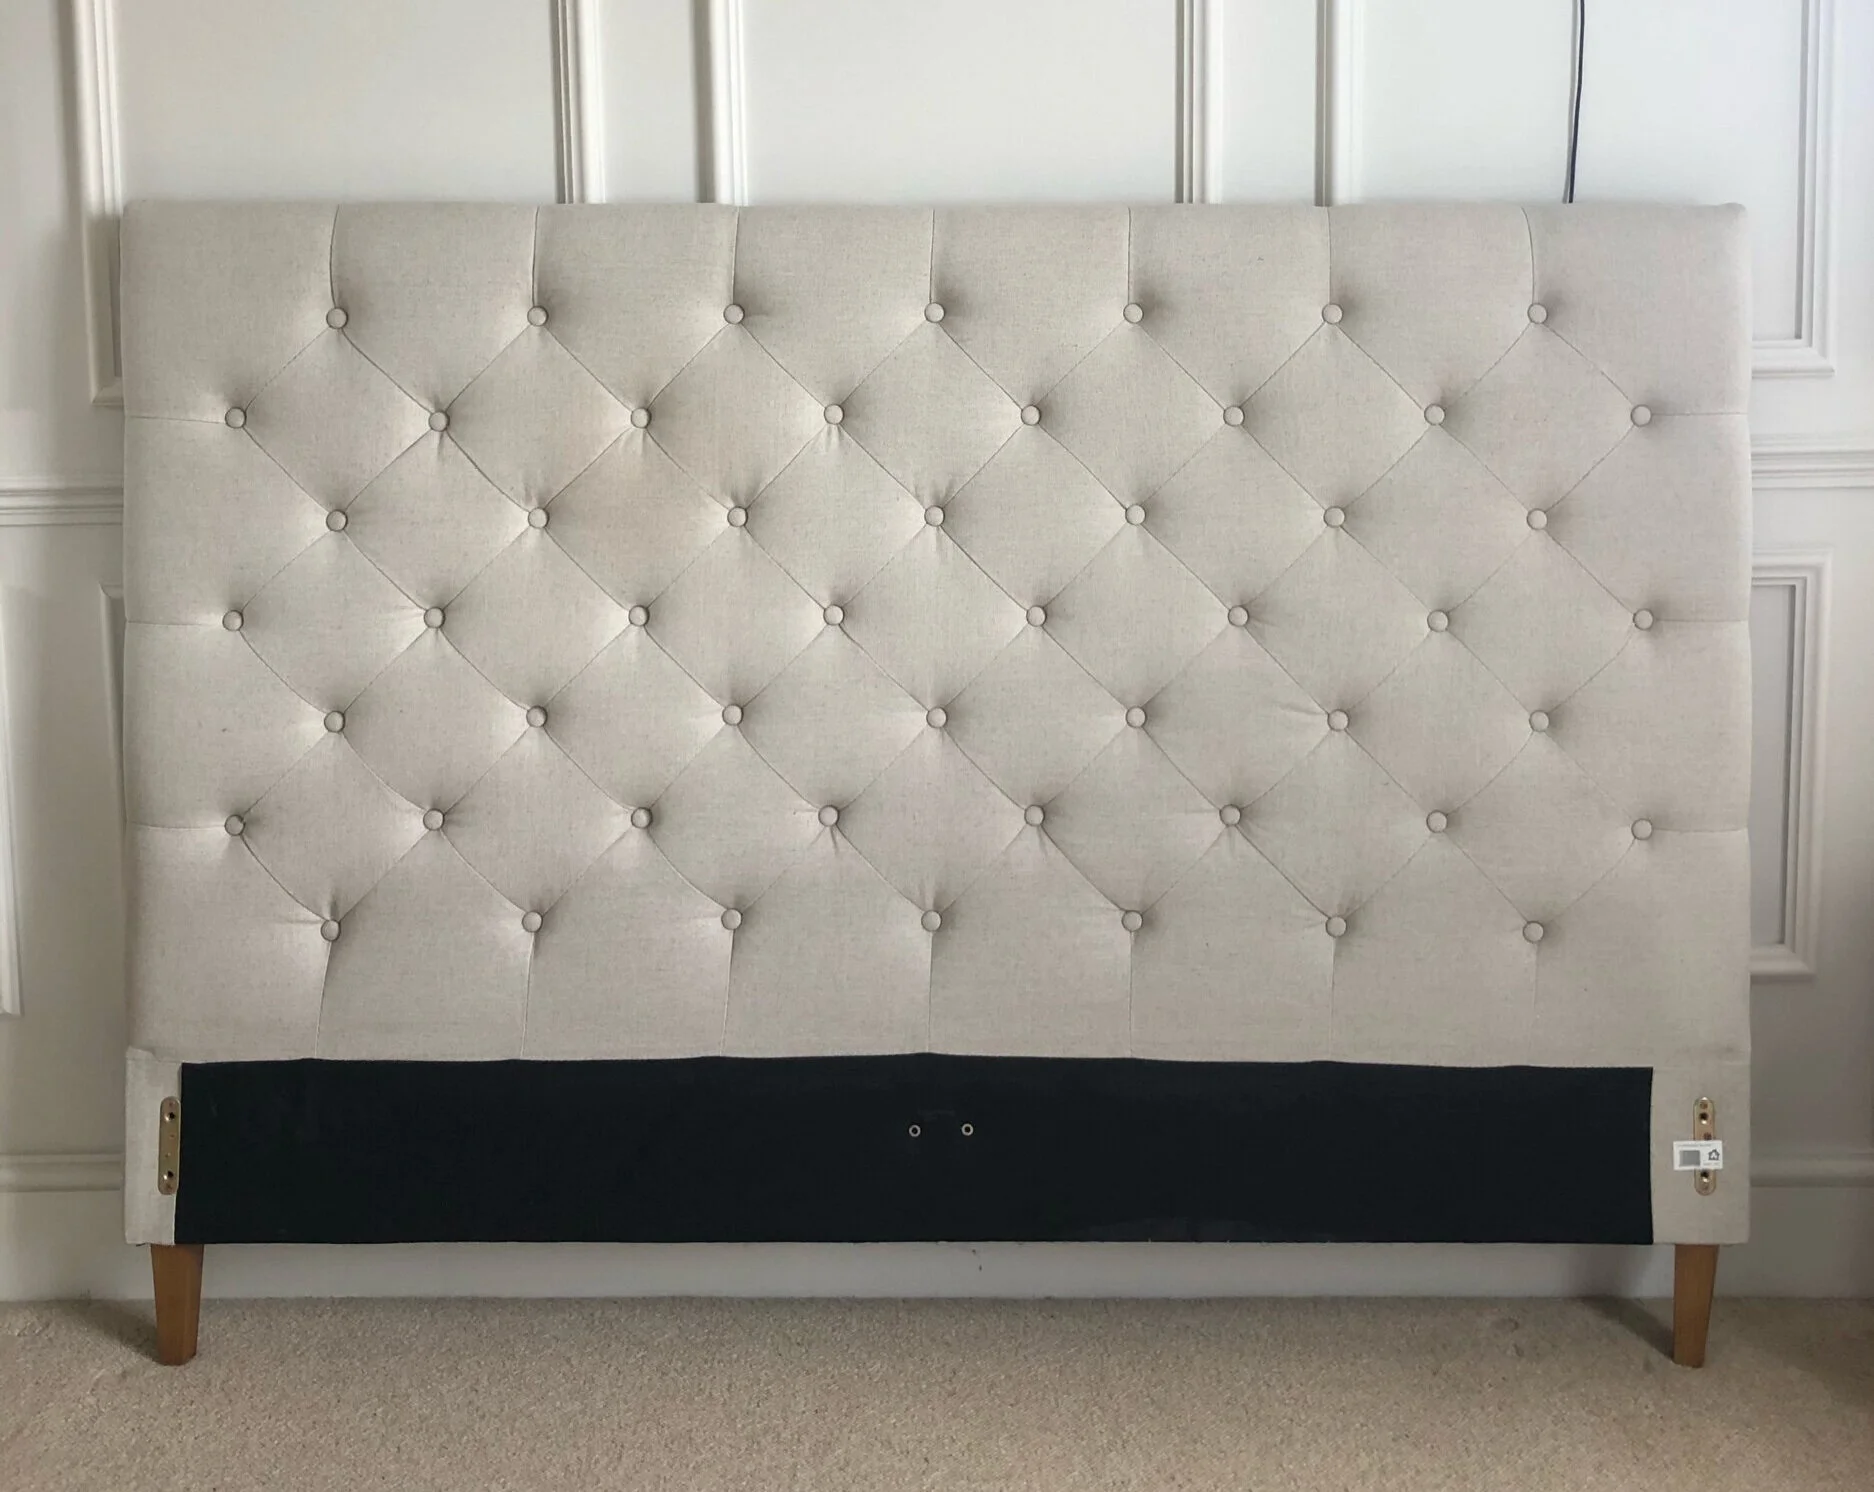
- Tufted construction: buttons or pulls may go through drilled holes in the board.
If the wood is cracked, the panel is delaminating, or the headboard wobbles at the joints, repair that first. New foam cannot compensate for a loose frame.
Also: label any mounting brackets and bag the screws. And before you put hardware back on, check screw length so nothing can poke through to the front. That is the kind of surprise no one needs.
Step 2: Strip the old layers
Flip to the back and remove the dust cover if it exists. Then begin pulling staples. Put on a podcast. This is the slow part.
What to keep
- Use the old fabric as a pattern even if you are replacing it. Try not to tear it while removing.
- Save foam pieces if they show the original thickness. Even collapsed foam can help you estimate what used to be there.
- Keep tufting hardware (buttons, washers, cord) if it is in good condition.
When to fully strip instead of layering
If the foam is collapsed, remove it. Do not glue new foam on top of old crumbly foam. That usually creates lumps and a headboard that feels oddly bumpy, like a mattress with secrets.
Choosing foam
This is the decision that determines whether your finished headboard looks plush and tailored or flat and tired again in six months.
Thickness: a common DIY range
- 1 inch to 1.5 inches: sleeker and more modern, and common on some store-bought headboards when paired with a thicker batting or Dacron wrap.
- 2 inches: a very common DIY choice because it reads padded without looking puffy.
- 3 inches: extra plush, great for a tall statement headboard or deeper tufting. Needs more care when wrapping corners and fabric.
Firmness: do not go too soft
For headboards, you generally want medium to firm upholstery foam rather than super soft cushion foam. Very soft foam compresses quickly where your shoulders and head lean, which is exactly the problem you are fixing.
If you are shopping in person, press your thumb in. You want foam that pushes back and regains its shape quickly. If your thumb print hangs around like a bad mood, go firmer.
If you are shopping online and you see terms like density or ILD, you do not have to become a foam scientist. Just make sure it is labeled upholstery foam (not craft foam), and choose a medium-firm to firm option for back support.
Curves and wings
Curves do better with slightly thinner foam plus thicker batting rather than one very thick foam slab. Foam is harder to coax smoothly around compound curves, while batting forgives and softens the transitions.
Batting
Batting is the fluffy layer that sits between foam and fabric. It hides minor imperfections, softens edges, and helps your fabric glide into place without showing every seam and staple ridge.
How much do you need?
- One layer is often enough for 2 inch foam on a simple, squared headboard.
- Two layers can be magic if your old board has dents, if your fabric is thin, or if you want a slightly more rounded silhouette.
Batting is also where you can “cheat” a little. If you replaced 3 inch foam with 2 inch foam to make wrapping easier, a second layer of batting can bring back some plushness without the fight.
Fabric yardage
If you are buying new fabric, do a quick, sanity-saving measurement first.
- Measure the width and height of the upholstered face.
- Add 6 to 10 inches to each measurement (that gives you 3 to 5 inches to wrap onto the back on all sides).
- If your headboard is thick, has wings, or you want generous tucking room, add more.
If your fabric has a large pattern repeat, buy extra so you can center the motif and keep it level. Patterns are wonderful, and also completely unforgiving.
Step 3: Cut and attach foam
Lay your headboard panel on top of the foam and trace the outline. Cut the foam just slightly smaller than the panel if your headboard has a tight frame lip, or exactly flush if the upholstery wraps fully around the edges.
Cutting tips
- Use an electric carving knife if you can. It cuts foam cleanly with minimal tearing.
- If using a serrated knife, make long, gentle strokes instead of sawing aggressively.
- Keep your blade perpendicular so the edge stays square.
Do you need adhesive?
Not always, but it helps. A light mist of foam-safe spray adhesive keeps the foam from shifting while you wrap batting and fabric.
Use it with ventilation, and go easy on overspray, especially if your fabric is light-colored or thin. Too much adhesive can create stiff spots that telegraph through like a weird shiny bruise.
Step 4: Wrap batting
Think of batting as your underlayment. You are building a smooth, rounded base before the “pretty” fabric goes on.
Stapling order
- Center staple on one long side: Pull batting snug (not stretched thin) and place 1 staple at the center back edge.
- Center staple opposite side: Move to the opposite long side, pull snug, and staple at center. This balances tension.
- Center staple each short side: Repeat on the top and bottom edges.
- Work outward in a star pattern: Add staples moving from center toward corners, alternating sides as you go.
- Corners last: Fold neatly, aiming for one clean fold line rather than a wad.
Trim excess batting if it gets bulky at corners. Too much bulk is what makes corners look lumpy through the final fabric.
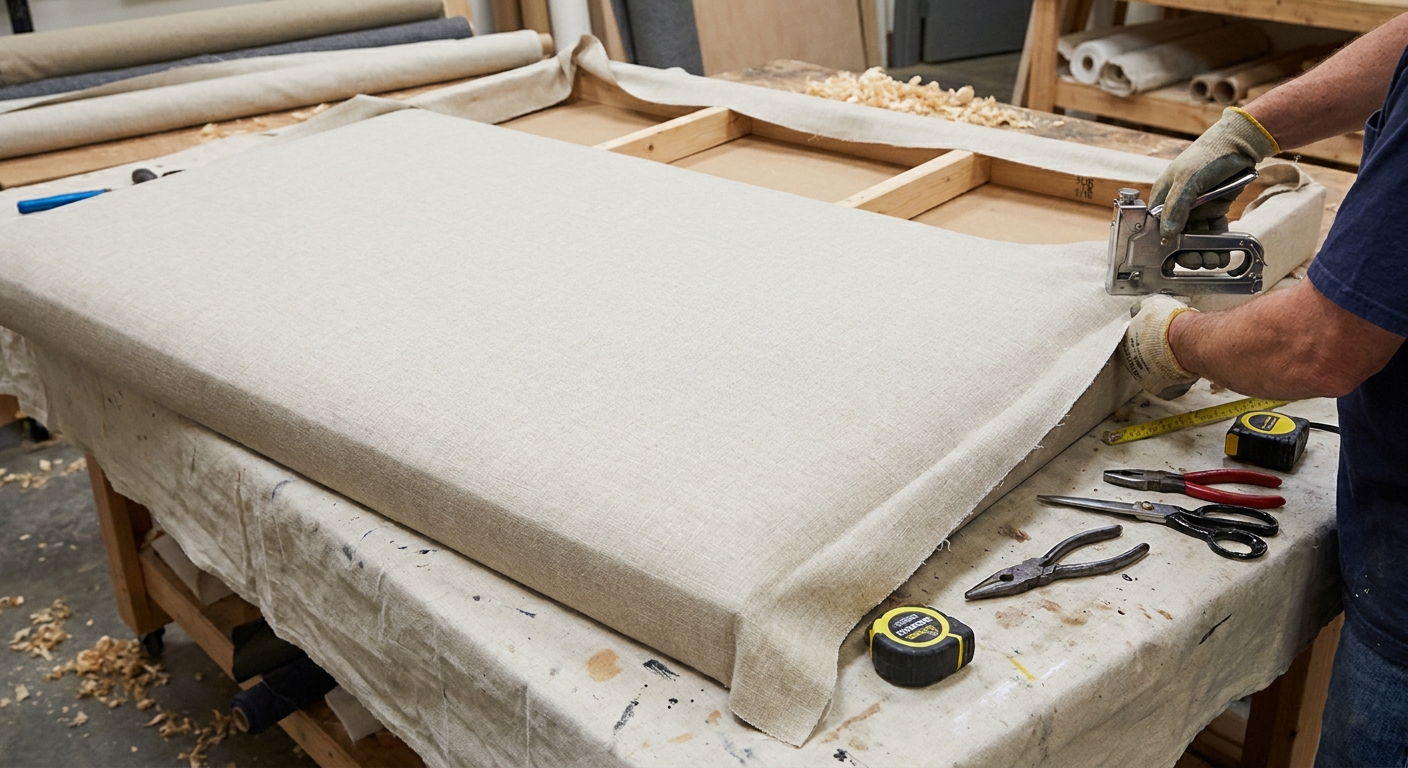
Step 5: Upholster with fabric
If you are reusing fabric, give it a quick steam or iron before you reinstall it. Creases become permanent-looking wrinkles when they are stretched over padding. If you are using new fabric, make sure you have enough to wrap at least 3 to 5 inches onto the back on all sides.
Keep fabric straight
- Align pattern or weave: If your fabric has a stripe or a clear weave line, square it to the headboard now. This is not fixable later.
- Start at the center of the bottom edge: Pull fabric taut and place one staple.
- Go to the center of the top edge: Pull taut directly opposite and staple.
- Staple center left, then center right: Keep tension even, like lacing a shoe.
- Fill in between centers and corners: Work outward in small increments, alternating sides. Smooth the front with your palm each time before you commit more staples.
- Corners last: Make one crisp fold, then a second tuck if needed. Staple to hold, check the front, then add more staples for security.
How tight is “taut”?
You want fabric that looks smooth from the front but is not pulled so hard it distorts the weave or causes puckering around curves. If you see diagonal ripples that will not smooth out, you are pulling unevenly. Remove a few staples and reset, starting again from the nearest center point.
Stapler safety: keep your non-stapling hand well away from the business end, especially when you are wrestling corners. Upholstery staplers are extremely confident.
Staples: what size?
Staple length depends on your backer (plywood vs MDF), how many layers you are stapling through, and how powerful your stapler is. In other words, there is no one magic size.
- 1/4 inch can work for thinner layers and softer wood.
- 3/8 inch is a common all-around choice.
- 1/2 inch to 9/16 inch is useful when you are going through thicker fabric plus batting into a solid backer.
Do a test on the back edge: you want staples that sink flush without blowing through or bending. If they sit proud, go shorter or use a stronger stapler. If they do not hold, go longer or staple into a thicker section of the frame.
Special cases
Tufting
Tufting changes the order slightly because buttons or pulls compress the foam and create the signature dimples.
- Mark tuft points on the foam using the original board holes as your guide.
- Pre-poke holes through foam and batting with a skewer or long needle so you are not tearing material later.
- Clear the holes in the board if they are clogged with old glue or foam. A drill bit spun by hand can clean them out without enlarging them much.
- Use the right tools: a long tufting needle and upholstery twine make life easier than improvising with whatever is in the junk drawer.
- Tuft before final edge stapling in many designs, so you can adjust tension. If you staple everything tight first, the tufting can pull the fabric into odd ridges.
If your original buttons are scratched or the fabric is ruined, you can cover new buttons with your upholstery fabric. Just keep in mind that deep tufting looks best with firmer foam, otherwise the dimples collapse into a mushy look over time.
Wings and seams
Any built-in seam lines should be recreated with care. If your original had a piping edge or a structured seam, you may be better off taking the old cover to a professional upholsterer as a pattern. You can still do the foam and batting rebuild yourself, then outsource only the sewing. That is a very reasonable compromise and often cheaper than a full upholstery quote.
Finish the back
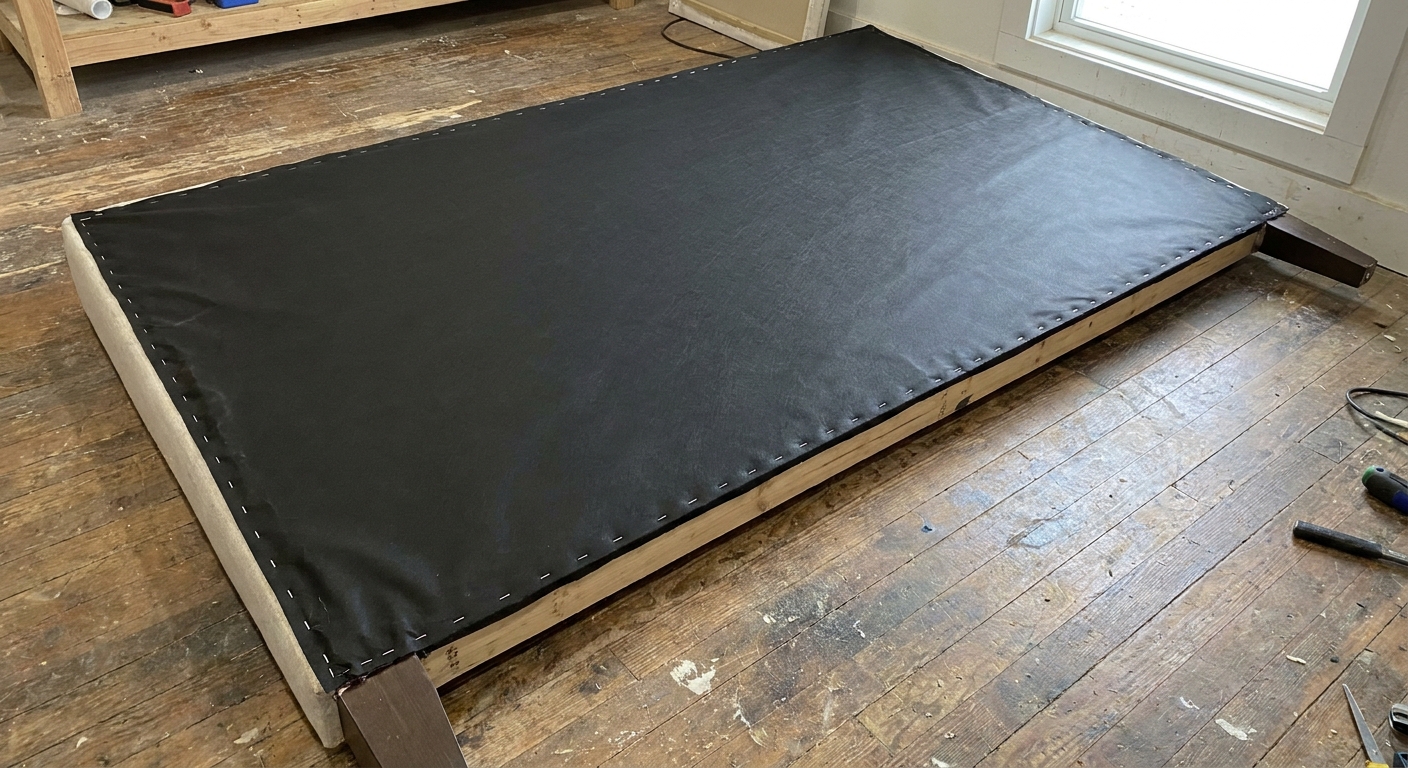
Flip the headboard over and admire it for a second. Then finish the back so it does not look like a raccoon lived there.
- Trim excess fabric neatly, leaving enough that staples are not right at the raw edge.
- Add a dust cover (cambric) if you want a tidy underside. Staple it around the perimeter.
- Reinstall any mounting hardware, then hang the headboard back on the bed frame.
Troubleshooting
Wrinkles on the front
- Cause: uneven tension while stapling.
- Fix: remove staples in the wrinkled area, smooth the front with your palm, then re-staple starting from the nearest center and working outward again.
Lumpy corners
- Cause: too much batting or fabric bulk folded into the corner.
- Fix: trim batting at corners before fabric goes on, then refold for a flatter wrap.
Fabric looks wavy along an edge
- Cause: stapling in one direction without alternating sides.
- Fix: reset that edge and staple using the center-out, alternating pattern.
Staples not sinking
- Cause: hard backer board, weak stapler, or staples too long.
- Fix: switch to a stronger stapler, shorten staple length, or gently tap proud staples down with a hammer (only if they are nearly flush).
Did you choose the right thickness?
Once the headboard is upright again, step back and look at the silhouette. The best rebuilds have a soft, even curve from edge to center, with no sharp board line visible through the fabric.
Then do the lean test. Press your shoulder into the spot you normally sit. If it feels supportive and springs back, you nailed it.
My rule of thumb: if your headboard is meant to be leaned on, treat it like a hardworking chair seat, not a decorative pillow. Choose foam with backbone, then let batting and fabric do the pretty part.
FAQ
Can I just add batting over collapsed foam?
If the foam is only slightly tired, an extra layer of batting can help. If the foam is truly collapsed, crumbling, or hard in spots, batting is a temporary cosmetic fix and the flatness will keep showing through.
Should I replace the fabric if only the foam failed?
Not necessarily. If your fabric is in good shape, you can carefully remove and reuse it. Just be gentle while pulling staples, and expect that old staple holes may limit how tightly you can re-stretch in exactly the same spots. If the fabric is sun-faded, torn at corners, or feels thin and stressed, replacing it is usually worth the effort while everything is already apart.
What fabric works best for headboards?
Look for upholstery-weight fabrics, linen blends with a tight weave, performance fabrics, or velvet designed for upholstery. Avoid very thin decorative linen or loose weaves unless you are committed to using generous batting and a forgiving color or pattern.
When should I call an upholsterer?
If your headboard has complex channeling, heavy tufting with deep pulls, ornate curves, or you want perfectly matched pattern placement across seams, a professional is worth it. You can still DIY the foam replacement and let them handle sewing details if that feels like the tricky part.