Tufted Headboard Button Popped Out: How to Fix It

Clara Townsend
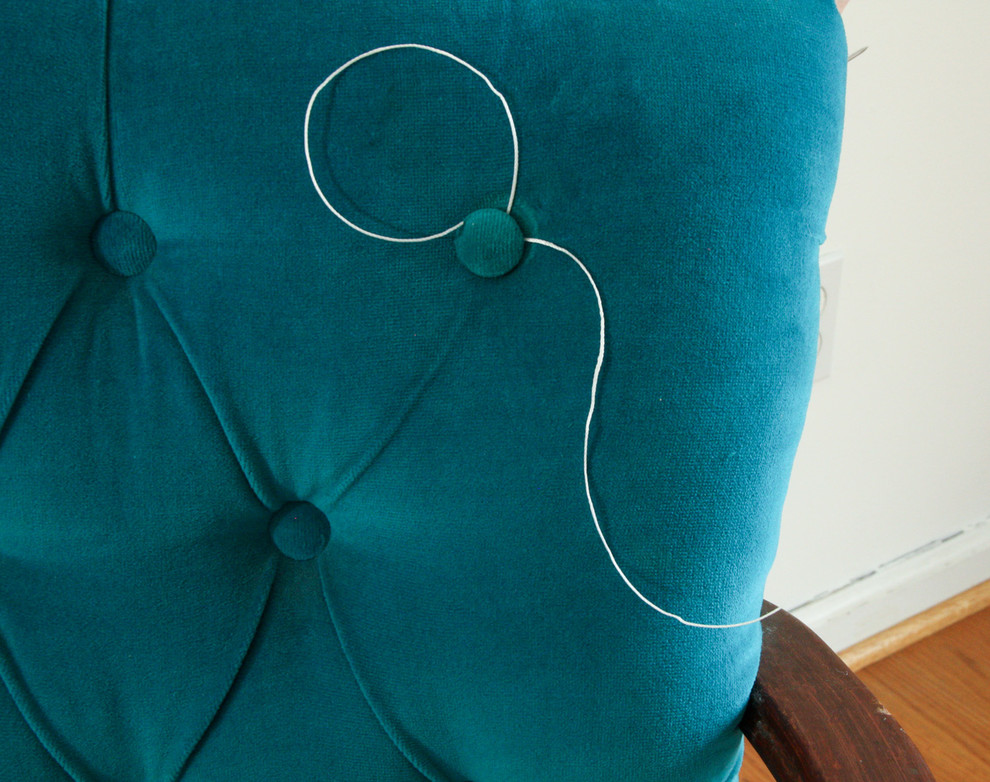
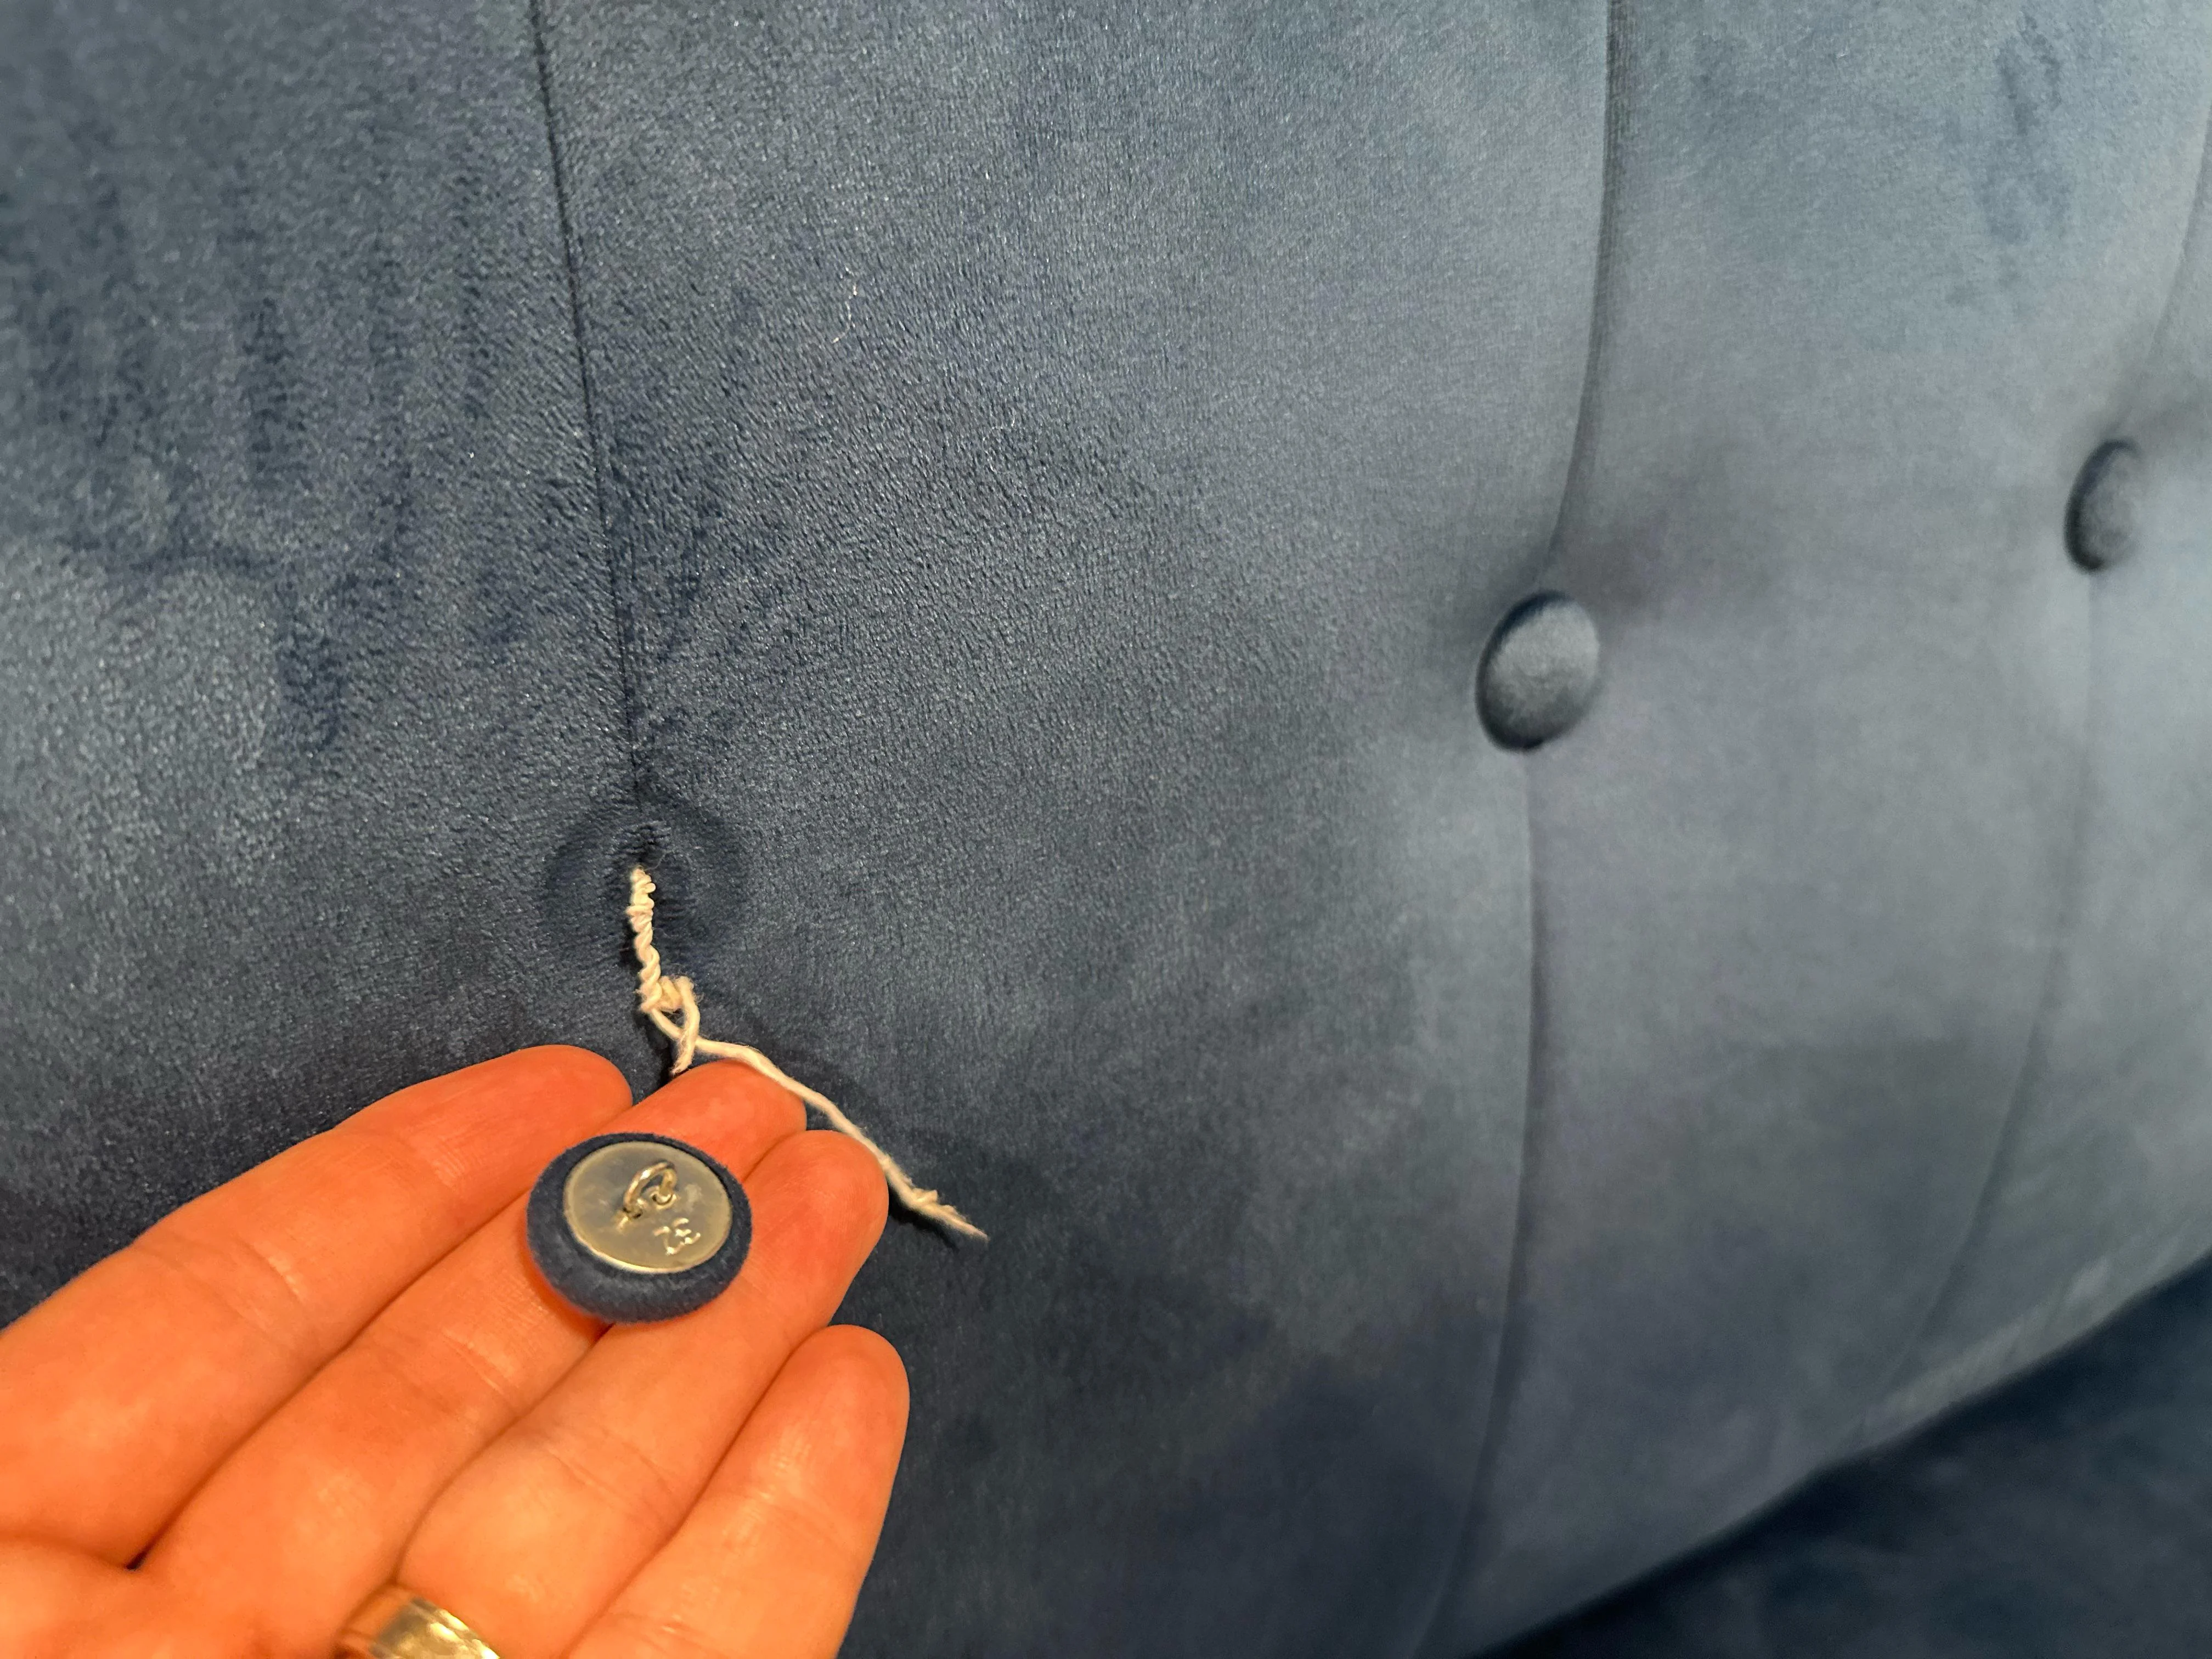
The sound of a tufted button popping out is oddly dramatic for something so small. One moment your headboard looks tailored and plush. The next, there is a sad little crater, a dangling cord, and a glimpse of foam like it is waving for help.
The good news: most popped buttons are a straightforward structural repair. You are not “reupholstering the whole bed,” you are just recreating the tension system that makes tufting work. I will walk you through how to re-tie or replace the button, what tools actually matter (cord, washer, needle), what to do if the dimple has collapsed, and the moment when it is kinder to rebuild the panel instead of fighting it.
First: figure out what failed
Tufted buttons usually pop out for one of three reasons. Your fix depends on which one you are dealing with.
- The knot slipped or the cord snapped. You may see cord still attached to the button, or a short frayed end disappearing into the hole.
- The button pulled through the fabric. The fabric around the hole looks stretched, torn, or thinned. This often happens with slick weaves, velvet that has weakened at the tuft point, or a button that was cinched too tightly without a backing support.
- The anchor on the back failed. On many headboards, the cord is tied off through a small hole in a backing board, around a washer, or to an anchor point. If that backing point breaks or loosens, the tension disappears and the button pops forward.
If you can access the back of the headboard, you are in luck. If you cannot, you can still repair from the front, but you will want a tufting needle long enough to pass through the full thickness.
Tools and materials that actually hold
This is one of those projects where the right “boring” supplies matter more than brute force.
Cord: what to use (and what not to)
- Best choice: strong, low-stretch upholstery twine, button tufting twine, or braided nylon upholstery cord. You want something that will not elongate over time.
- Last resort (temporary only): heavy-duty polyester thread doubled or tripled. In a true emergency, dental floss can get you through a night or two, but many flosses are waxed or slick and knots can slip. Floss is also thin enough to cut into foam or fabric under tension, so I treat it like a bandage, not a cure.
- Avoid: cotton string, jute twine, ribbon, or anything fuzzy that abrades and snaps under tension.
Thickness guideline: aim for cord about 1 to 2 mm thick. Thin thread can cheese-wire through fabric. Very thick cord can be hard to knot tightly and may telegraph as a lump.
Needle: what shape and length you need
- Tufting needle (long, straight): ideal for most headboards. Look for 6 to 10 inches depending on thickness.
- Upholstery needle (curved): helpful if you can access the back only partially or are working near framing where a straight pass is awkward.
- Standard sewing needle: usually too short unless your headboard is very thin and lightly padded.
Backing support: washers and discs
If your headboard has buttons popping out, I nearly always add a backing support even if the original build did not include one.
- Fender washer: my favorite. It is wide and spreads the load so the cord does not pull through foam or fabric again.
- Button backing disc: also works well, especially if it is designed for tufting.
- Small scrap of sturdy fabric or webbing: can work behind the washer as a soft buffer if the backing board edge is sharp.
Washer sizing guideline: choose a washer that is noticeably wider than the tuft hole and fits inside the headboard frame without hitting anything. Bigger generally spreads force better, as long as it sits flat and has clearance.
Before you start: set up safely
- Remove pillows and bedding so you can see the tuft clearly.
- If possible, detach the headboard from the bed frame and lean it face-down on a clean blanket on the floor.
- If the headboard stays mounted, slide a sturdy piece of cardboard between the headboard and wall to protect the wall from needle pokes or hardware.
- If there is a dust cover fabric on the back, open it carefully along one edge so you can later staple or hand-stitch it closed.
Most headboards are wood-framed. Watch your fingers around staples and splinters. If you are cutting a cord that is under tension, wear eye protection and keep your face out of the line of fire. Upholstery twine can snap back like it has opinions.
Fix 1: re-tie the original button
If the button itself looks fine and the fabric at the tuft is not torn, reuse it. Your goal is to recreate firm tension while spreading the force across the back with a washer.
Step-by-step
- Inspect the shank. The shank is the little loop on the back of the button. If it is bent open, cracked, or loose, replace the button. If it is solid, keep going.
- Cut new cord. Give yourself extra length. It is much easier to trim later than to re-thread in frustration.
- Tie cord to the button. Use a tight double knot. If you are knot-prone (no shame), a surgeon’s knot is a great upgrade because it cinches down without slipping.
- Thread the tufting needle. Push both free cord ends through the needle eye, then tie those two ends together in a simple overhand knot to make one big loop. That loop keeps the cord from pulling back out of the needle mid-pass. If the eye is small and this is too bulky, tape the cord to the needle as a temporary helper.
- Send the needle through the existing tuft hole. Aim straight back so you come out close to the original exit point. Wiggle gently through foam rather than forcing it.
- Add a washer on the back. Pull the cord through the washer. This is the quiet little upgrade that prevents repeat pop-outs.
- Create tension gradually. Press the button into the tuft while pulling the cord from the back. Do it in small pulls, checking the front each time so you do not over-dimple and strain the fabric.
- Tie off to a solid anchor. Best case, run the cord through a drilled hole in the backing board, around a screw with a washer, or an eyelet, then knot it back onto itself with the washer acting as your load spreader. If you must tie around a staple line, only do it if the staples are truly solid, and consider adding a fresh staple over the cord (not through it) to help lock the tie-off in place.
- Test. From the front, tug the button gently. It should feel planted, not springy.
My tension rule: you want the button to sit snugly in its nest, but not so tight that the fabric looks pinched or shiny at that point. Velvet and faux velvet especially will punish over-tightening by going bald right where you do not want it.
Fix 2: replace the button
Buttons fail too, especially if the shank snaps or the fabric cover frays. Replacement is still very doable.
Match the look
- Diameter: measure an existing button across the front.
- Depth: thick, domey buttons sit differently than flatter ones. If one button is different, your eye will find it every night at 2 a.m.
- Fabric match: if you have leftover headboard fabric, use it. If you do not, steal a small piece from an unseen area like the back edge that faces the wall.
Replacement steps
Once you have a matching button, follow the same process as Fix 1: tie cord to the shank, pass through with a tufting needle, add a washer, tension slowly, and knot firmly.
Know your headboard build
This one detail can save you a lot of pointless wrestling.
- Tufted through a board (common): there is usually plywood or particle board behind the foam with pre-drilled tuft holes. Try to reuse the original hole so the button lands in the same spot on the front. If you miss the hole, the needle can deflect and the button may end up slightly off-grid.
- Tufted into foam only (less common, softer look): the anchor point may be a fabric webbing layer or a hidden backing scrim. These builds benefit even more from adding a washer or backing disc so the cord does not sink into foam over time.
When the foam dimple has collapsed
Sometimes the button pops and the foam does not bounce back. You are left with a flat spot or a crater that will not hold a neat tuft. This is common if the foam is low density, older, or has been repeatedly stressed.
Try this first: re-form the pocket
- Massage the foam. Use your fingertips to coax foam back toward the center, like you are fluffing a pillow but in miniature.
- Use steam only with caution. A little steam can help some polyurethane foams rebound, but it can also loosen spray adhesive, watermark certain fabrics, or make some velvets unhappy. Test in an inconspicuous spot, keep steam moving, and skip steam entirely on delicate fabrics (silk, rayon, viscose velvet) and many faux leathers.
- Add a small foam plug. If there is an actual void, you can insert a small piece of high-density foam into the hole before re-tufting. Use a blunt tool to tuck it in so you do not tear the fabric.
If the dimple keeps spitting the button out
This is usually a sign that the foam is too weak to hold tension at that point, or the backing board hole has enlarged. In those cases, the fix is not more pulling. The fix is spreading the load and giving the button a stable anchor:
- Use a larger washer on the back.
- Add a second layer by sandwiching a scrap of sturdy fabric between washer and foam, so the pressure is distributed and softer.
- Shift the exit point slightly on the back side if the original path has created a worn tunnel through foam. Keep it subtle, around a quarter to a half inch, or you can end up with a button that looks slightly off in the front grid.
If the button pulled through the fabric
If the fabric is torn or thin at the tuft, simply re-tightening will often cause the new button to pull through again. You need to reinforce.
Reinforcement options
- Backing patch behind the fabric: If you can access the tuft area from behind (or can gently open a seam), add a small patch of sturdy cotton, canvas, or upholstery lining behind the tuft point. This gives the cord something stronger to bear against.
- Use a slightly larger button: A slightly larger diameter button can cover minor damage and reduce stress concentration.
- Grommet-style reinforcement: Not my first choice for a headboard because it can change the look, but it can be structurally sound in casual spaces.
Important: If the tear radiates outward like a rip in jeans, stop and reinforce before re-tufting. Tension will only lengthen the tear.
How to knot so it stays put
The whole repair comes down to friction and security. A tidy bow will not cut it.
- Use a knot that cinches: a surgeon’s knot or multiple square knots.
- Pull the knot tight in stages: cinch, check the front, cinch again.
- Leave a tail: at least 1 inch, longer if the cord is slick.
- Optional but helpful: dab a tiny amount of fabric-safe glue on the knot only, not on the fabric. The knot should be mechanically strong first, glue second.
When to rebuild instead
I love a clever repair, but I love a calm bedtime more. If you keep fixing the same button, it is the headboard telling you the structure underneath is failing.
Signs it is rebuild time
- Multiple buttons are loose or popping one by one like a slow-motion domino effect.
- The backing board is cracked, warped, or crumbling around tuft holes.
- The foam is powdery or permanently compressed across a wide area, not just one tuft.
- The fabric is shredding at several tufts or feels thin and tired where it is pulled in.
- You cannot access the back at all, and the headboard construction does not allow a secure anchor from the front.
Rebuilding can be as simple as replacing foam with higher-density foam, adding a fresh layer of batting, and re-tufting with washers from day one. If the headboard is sentimental or a vintage find, it is usually worth doing right once instead of saving it ten times.
Quick troubleshooting
The button sits crooked
The cord path is likely pulling at an angle. Re-thread so the needle goes straight through the original tuft channel, or adjust the back tie-off point so it lines up directly behind the button.
The fabric puckers into pleats
You have too much tension or the tuft pocket is not centered. Loosen slightly, smooth the fabric outward with your palm, then re-tension in small increments.
The button looks fine but feels springy
The cord is tied to something that flexes. Tie off to a washer against a firm backing board, or add a small wood cleat or strip as an anchor if the board is thin.
The button keeps popping out
That is usually one of these: the cord is stretching, the knot is slipping, the anchor is weak, or the foam is failing. Upgrade cord, upgrade knot, use a proper anchor, add a larger washer, and consider a foam plug or panel rebuild if the dimple will not hold.
A calm, realistic finish
A tufted headboard is basically a tiny tension system repeated across a grid. When one point fails, it looks dramatic, but the fix is often just restoring a strong cord path and giving it a wide, supportive anchor so the fabric does not take all the stress.
If you want to tell me what you are seeing, cord hanging out, button pulled through, or a collapsed dimple, I can help you choose the cleanest fix for your exact headboard build.