Towel Bar Loose on Bathroom Tile

Clara Townsend
The day a towel bar goes wobbly is the day your bathroom starts feeling a little less serene. I have lived through this in more than one rental and in my own fixer-upper, usually right when guests are due and I am trying to pretend I am effortlessly put together.
The good news: a loose towel bar or toilet paper holder on tile is fixable. The slightly fussy news: tile is not drywall, and it does not forgive the wrong anchor. This page walks you through the right way to tighten things up without cracking the very surface you are trying to protect.
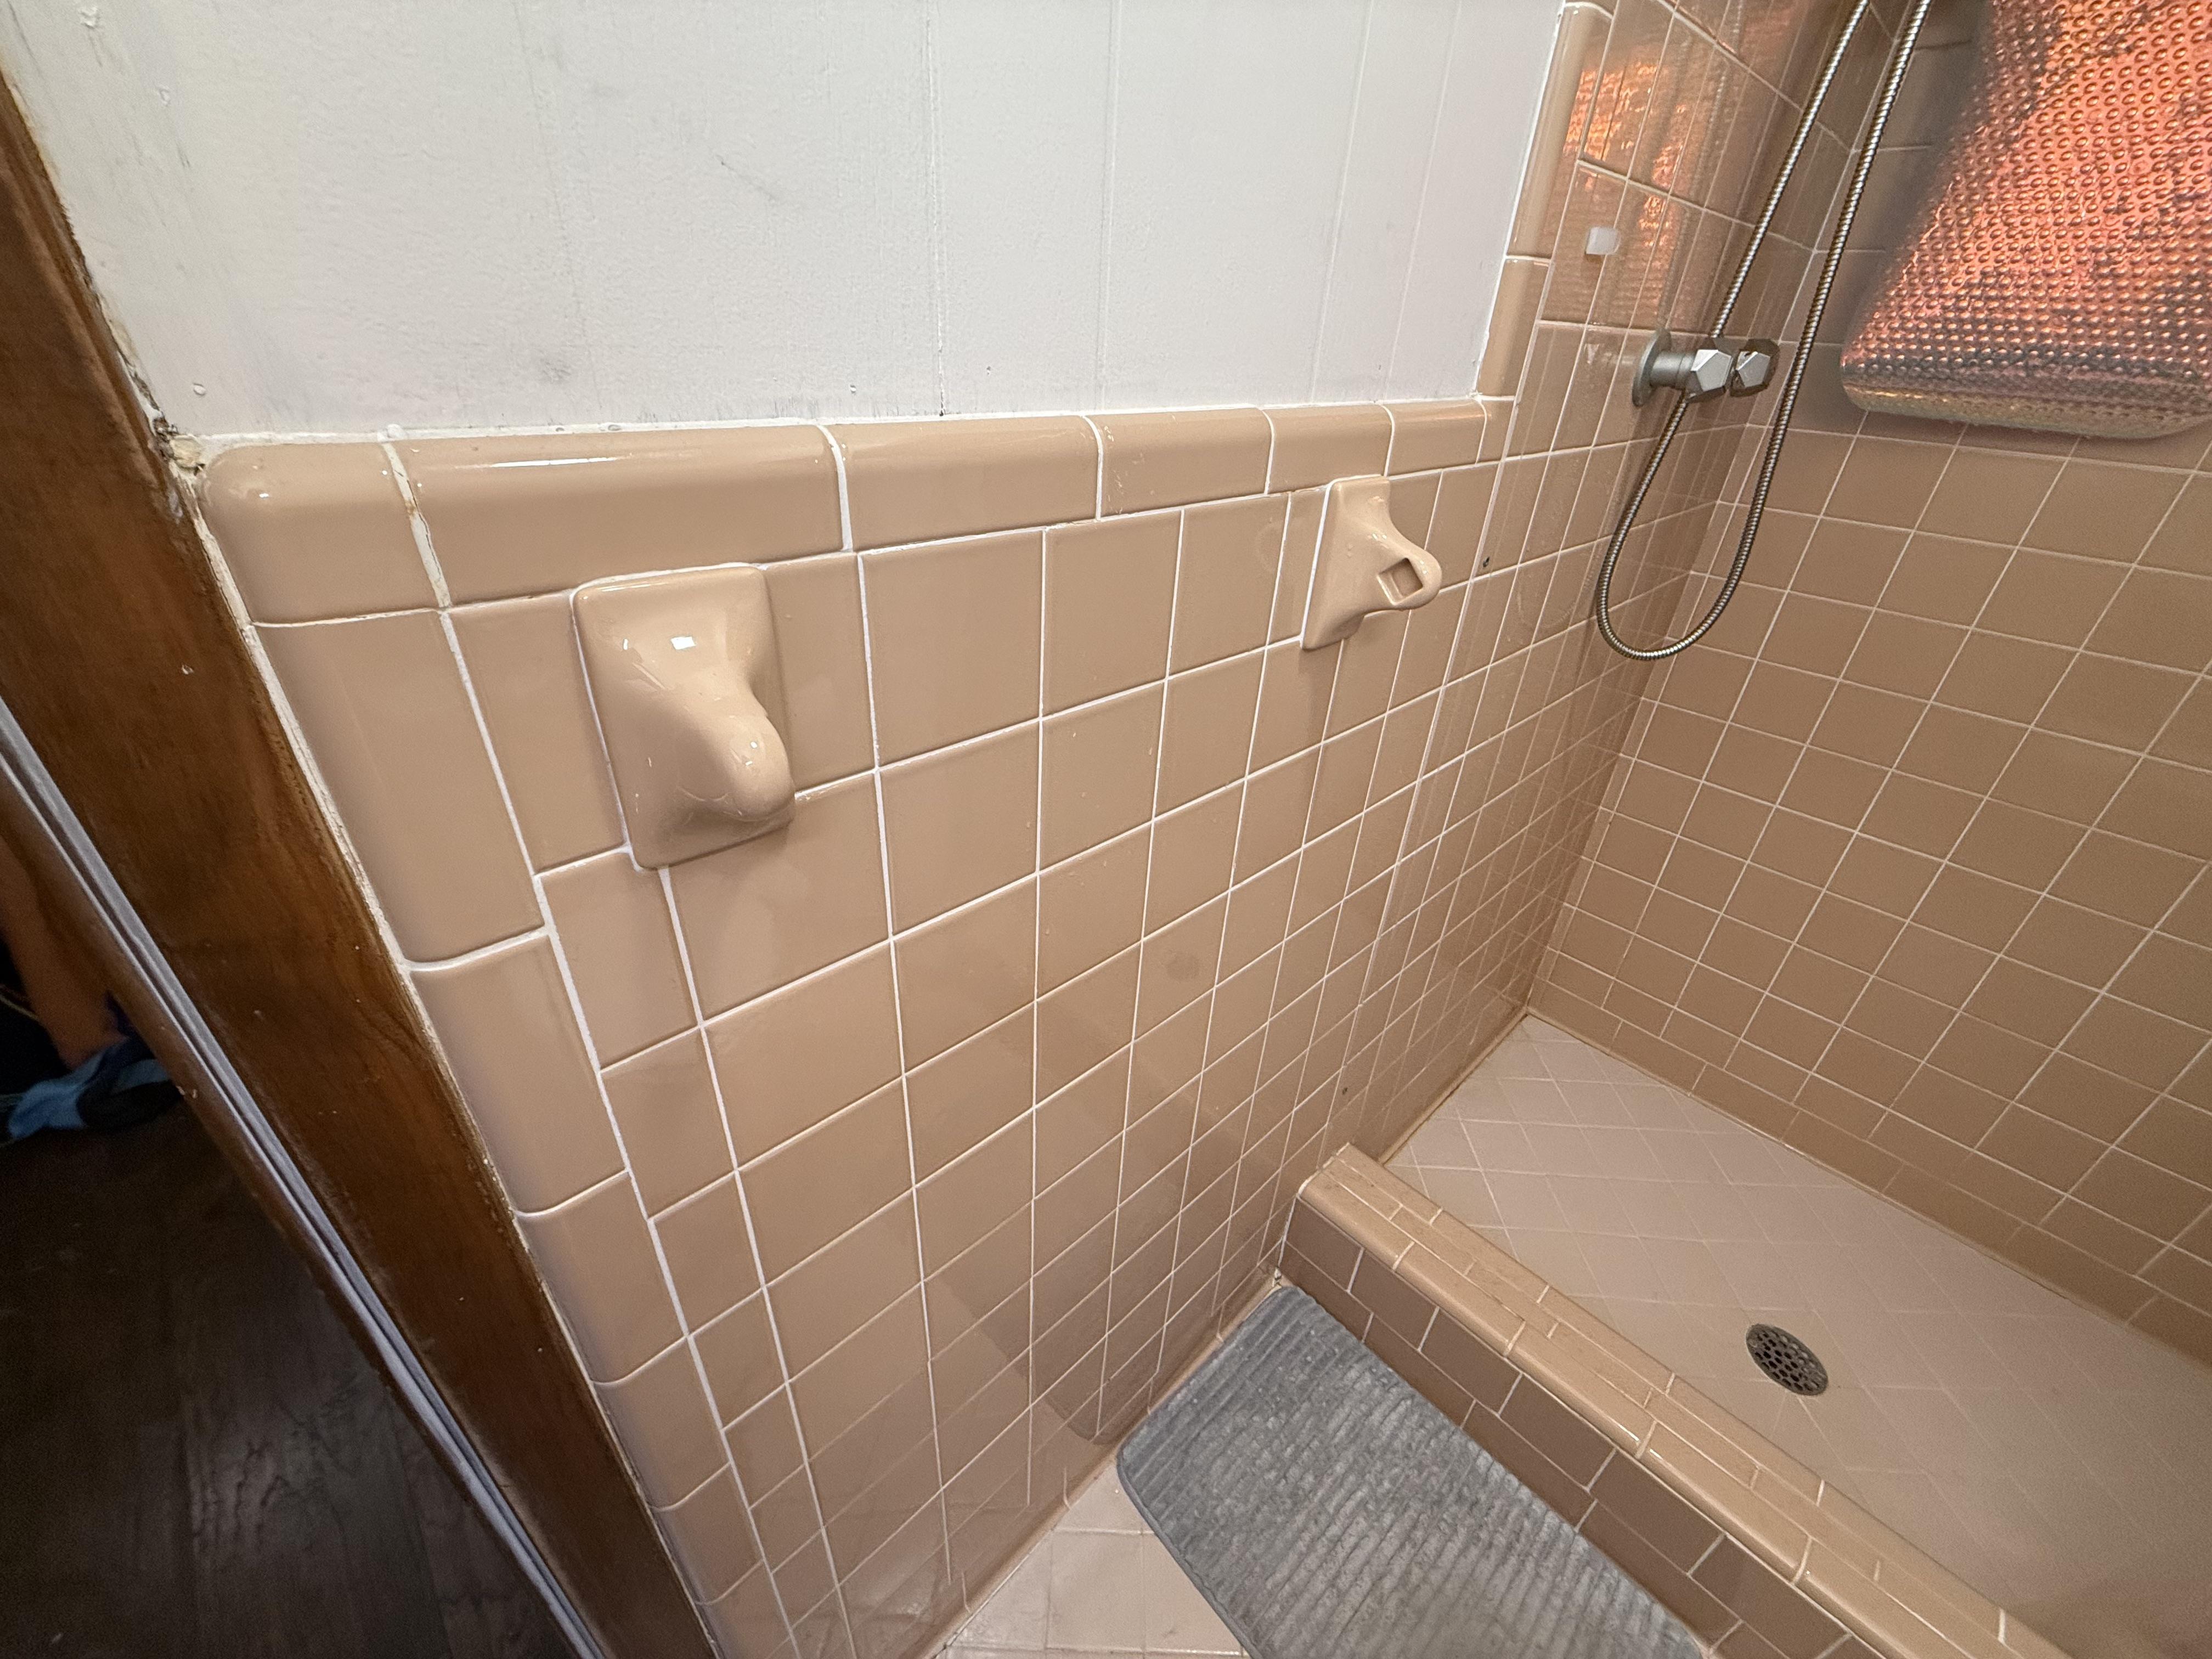
First, figure out what is actually loose
Most towel bars and toilet paper holders have two parts: the decorative base that hugs the wall and a hidden mounting plate underneath. When things loosen, it is usually one of these situations.
- The set screw is loose: The bar wiggles, but the base plates feel snug to the wall.
- The bracket is loose: The base plate pulls away from the tile when you tug.
- The screw spins and never tightens: The anchor behind the tile is turning in place, or the hole is stripped or oversized.
- The tile or grout is cracked: The hardware may be loose because the surface around it has failed.
Quick check (2 minutes)
- Look underneath each base for a tiny set screw (often an Allen key, sometimes a small flathead).
- If you can slide the decorative cover up or off, you will see the mounting plate and screws.
- Gently pull on the bracket. If the whole plate shifts, you are dealing with anchors and holes, not just a set screw.
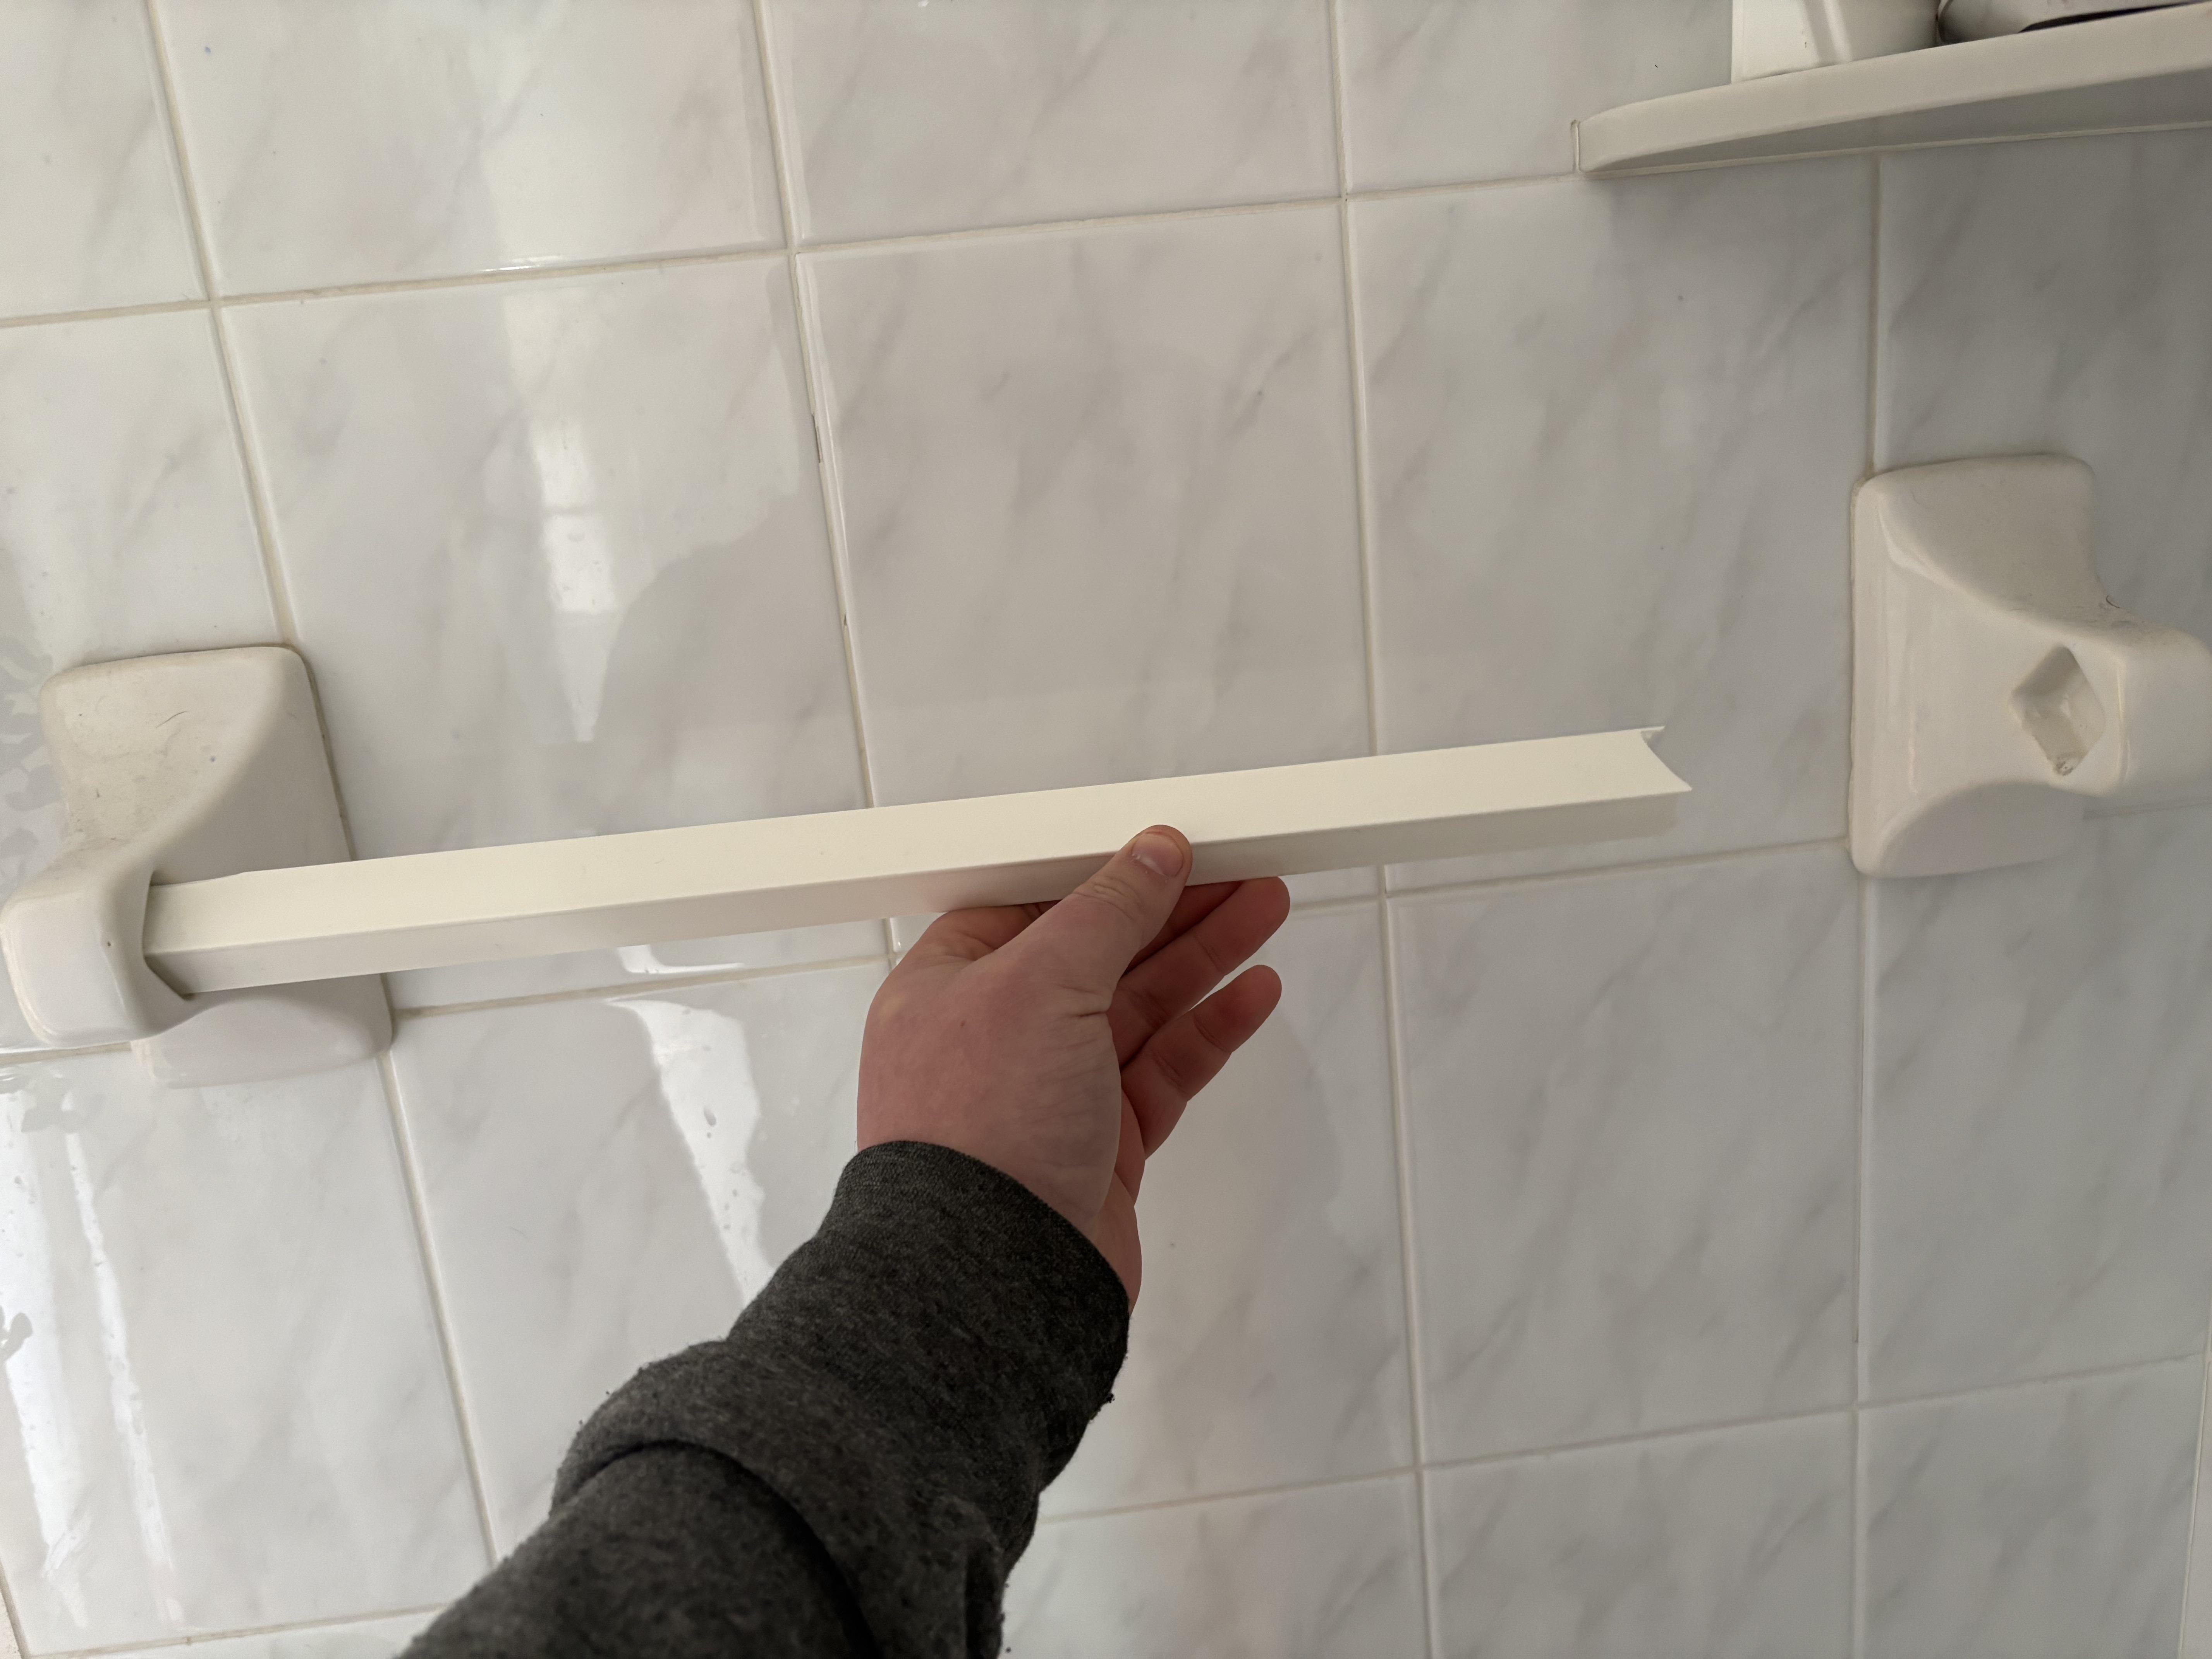
What usually goes wrong with anchors in tile
I know the temptation. Drywall anchors and toggles feel like the hero of every wobbly wall accessory. But tile installs are a different animal, and most drywall hardware is not designed with brittle, glazed surfaces in mind.
- Tile is not compressible. Many common plastic drywall anchors rely on biting into soft material. Tile does not give.
- Outward pressure can crack tile. Expansion-style anchors that wedge tightly can stress a brittle surface, especially if the hole is even slightly off-size.
- What is behind the tile varies. It might be drywall with a hollow cavity, cement board, plaster, a mortar bed, or solid masonry. Anchor choice changes based on that.
- Moisture matters. Bathrooms are humid. The right fastener helps avoid corrosion and keeps holes from getting sloppy over time.
The one big exception: if you have confirmed a hollow cavity behind the tile (common on tiled-over-drywall walls), some strap toggles made for hollow walls (for example, SnapToggle-style anchors) can work very well through tile because they clamp from behind instead of expanding against the tile face. The catch is that they require a larger, precise hole, and you must be sure there is actually a cavity for the toggle to open into.
If your existing hardware is held with a plastic drywall anchor jammed into a tile hole, that is a common reason it is spinning now.
What is behind your tile (and why it matters)
If you take nothing else from this guide, take this: the best fix depends on what is behind the tile.
Simple ways to tell
- Peek behind the trim: Remove the decorative cover and look at the screw hole. If you can gently back the screw out, you can sometimes probe the hole with a toothpick or zip tie (not a metal pick). If you hit solid material quickly, you likely have a solid backer. If it keeps going and feels empty, you may have a cavity.
- Check hole depth: A shallow hole that hits something firm can mean cement board, plaster, or a mortar bed. A deeper hole with “nothing” after the tile can mean hollow wall.
- Look for a stud option: If you can shift the mounting plate a bit, using a stud finder (one that can scan through tile, if you have it) or measuring from a known stud location can help you land at least one screw into wood, which is the most durable win.
If you cannot confidently tell what is back there, that is okay. Just choose the least destructive path (usually reusing holes if the tile is intact), and stop if you hit something unexpected.
Tools and supplies that actually work for tile
You do not need a garage full of gear. You just need the right few items so you are not grinding away at glazed ceramic with the wrong bit.
- Allen key or screwdriver (whatever your set screw uses)
- Small level or a phone level app
- Painter’s tape
- Rubbing alcohol and a rag
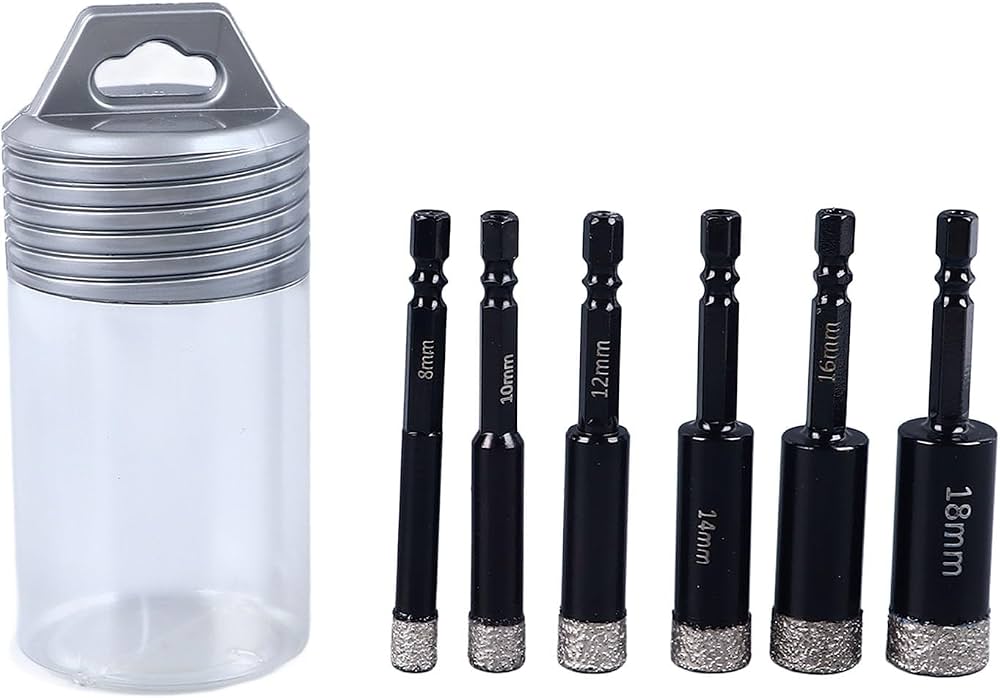
- Carbide-tipped masonry bit (often fine for ceramic) or a diamond tile bit (best for very hard porcelain)
- Drill with a no-hammer setting (save hammer mode for concrete, not tile faces)
- Vacuum or a shop vac, plus eye protection
- A dust mask or respirator if you are drilling into grout, mortar, or cementitious backing (fine dust is not something you want in your lungs)
- Stainless screws if yours are rusty
For anchors, your best choice depends on what is behind the tile.
Anchor options (tile-friendly)
- Stainless screws into wood: If you can hit a stud or blocking, this is the strongest, simplest long-term fix. Even one screw into wood can make a towel bar feel dramatically more solid.
- Strap toggles for hollow walls: If you have confirmed a cavity behind the tile, a strap-toggle style anchor can be excellent because it clamps behind the wall rather than expanding against the tile face.
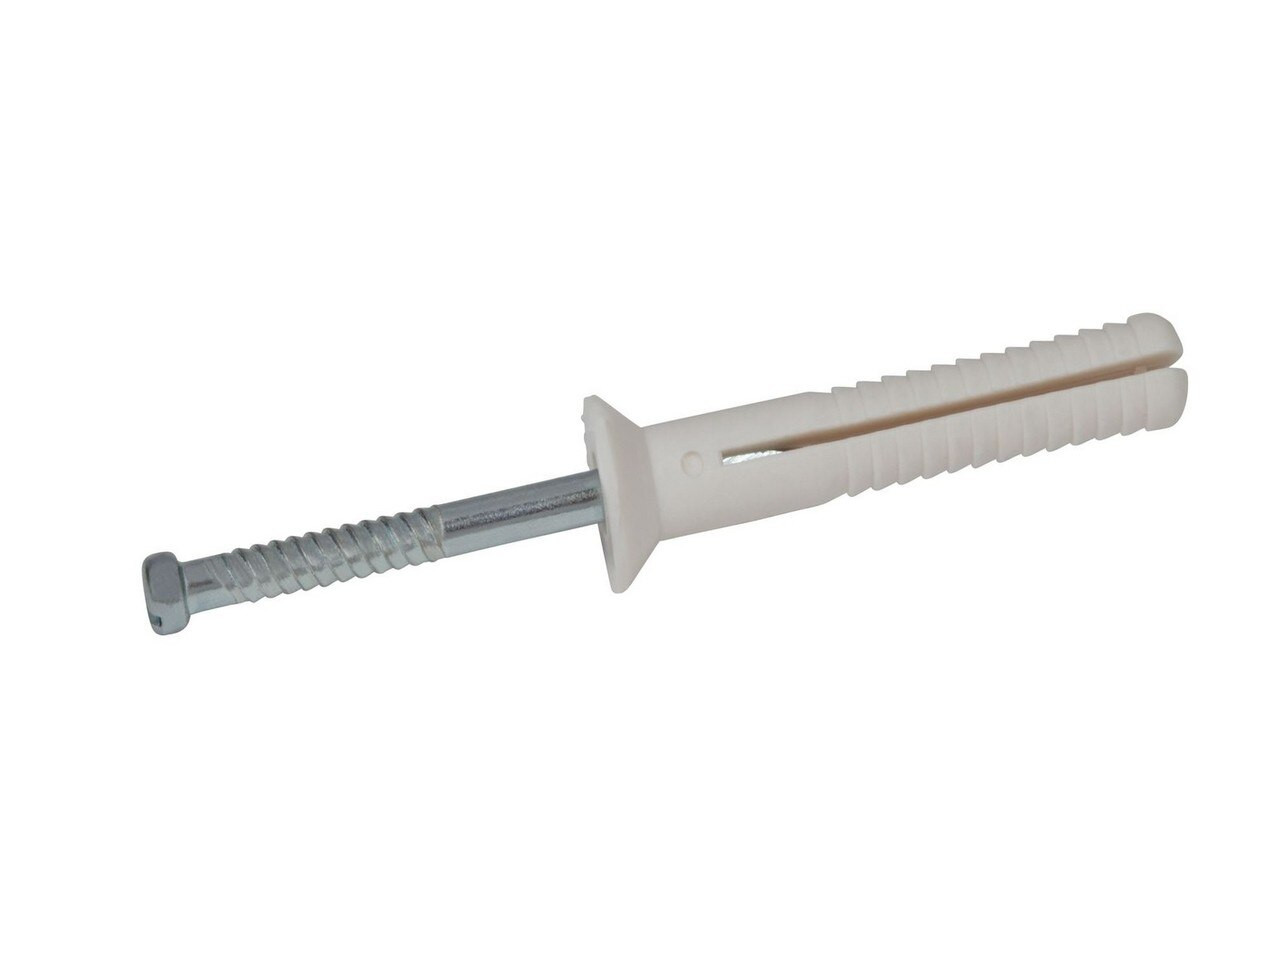
- Nylon anchors rated for masonry: Best when you have solid material behind the tile (mortar, masonry, sometimes dense plaster). Match the hole size exactly to the packaging.
- Tile and brick screws (often sold as blue masonry screws): These are great into masonry, brick, concrete, or a mortar bed. They are not meant to “thread” reliably into cement board by itself, so do not count on cement board as your only holding power.
- Epoxy repair for a stripped tile hole: Two-part epoxy can rebuild a loose hole when you cannot move the bracket. It can be a very tidy save, but it is best for light-to-moderate loads and only if you follow cure times exactly.
Fix 1: Tighten the set screw
If your base plates are solid but the bar wiggles, you may only need to tighten the set screw that clamps the decorative piece onto the mounting plate.
- Support the towel bar with one hand so it is not pulling on the bracket.
- Use the correct Allen key or screwdriver and tighten the set screw until snug.
- Stop when it feels firm. Over-tightening can strip tiny set screws.
If it tightens and stays tight, you are done and you can go back to enjoying your bathroom like a normal person.
Fix 2: The screw spins and never tightens
This is the classic problem: you turn the screwdriver and it just spins forever, like the wall is sighing at you.
Here is the truth: you cannot tighten a spinning anchor. You have to either replace it or rebuild the hole.
Step 1: Remove the hardware without making the hole worse
- Loosen the set screw and remove the decorative cover to expose the mounting plate.
- Try backing the screw out while applying gentle outward pressure on the bracket.
- If the anchor spins with the screw, wedge a thin flathead screwdriver between the bracket and tile and apply light tension while you unscrew. This sometimes helps the threads catch long enough to come out.
If it will not come out cleanly, stop and reassess. Forcing things is how tile chips happen.
Step 2: Decide if you can reuse the same holes
You can usually reuse the holes if:
- The tile is not cracked.
- The hole edges are clean, not cratered.
- The new anchor or screw system matches the hole diameter.
You should plan to move the bracket slightly or re-drill if:
- The hole is visibly enlarged or crumbly.
- The screw never bit even when the anchor was new.
- The mounting plate is distorted from being yanked.
Step 3: Rebuild a slightly stripped hole (epoxy method)
This is my favorite “make it solid again” trick when you cannot shift the bracket because it would leave old holes showing. I learned this the hard way after I tried to “just snug it up a little more” and turned a small wobble into a totally useless hole.
- Clean the hole with rubbing alcohol and let it dry fully.
- Mix a small amount of two-part epoxy (choose a waterproof formula). Epoxy putty is often easier to control in a vertical hole than runny liquid epoxy.
- Using a toothpick or small stick, pack epoxy into the hole. Do not overfill.
- Optional: Lightly insert the screw to form a starter impression, then remove it before the epoxy sets.
- Let the epoxy cure fully per the label (often 24 hours).
- Reinstall the bracket and tighten the screw snug, not aggressive.
This is not a substitute for solid framing if the bar is getting yanked daily, but for a slightly blown-out hole it can be a clean, strong-enough save.
Step 4: Re-anchor the right way
If you are re-anchoring, pick a system designed for what is behind your tile (solid backer versus hollow cavity). Match the drill bit size to the anchor instructions exactly. A too-large hole is the fast track to another spinning anchor.
Drilling into tile safely
If you need to drill a new hole, do it slowly and deliberately. Tile is beautiful, but it is also brittle and it hates sudden pressure.
- Turn off hammer mode. Use standard drill mode only.
- Mark with painter’s tape. Put an X of tape over the drill spot to reduce bit skating.
- Start slow with the correct-size bit. In many cases you drill the final required size right away, just at a low speed. Stepping up through multiple bit sizes can chip glaze unless your bit system specifically calls for a pilot hole.
- Keep the bit cool. Pause often. For harder tile, you can dip the bit in water or use a lightly damp sponge nearby. Avoid flooding electrical tools.
- Let the bit do the work. Pushing hard is how tile chips at the surface.
- Vacuum dust as you go. It keeps grit off finishes, and it helps limit dust in the room. Wear eye protection, and consider a mask if you are drilling grout or cement-based materials.
Where to drill matters. Drilling into grout is sometimes easier, but grout is weaker than tile. For a towel bar that gets tugged daily, drilling into tile is often more secure, as long as you use the right bit and go slowly.
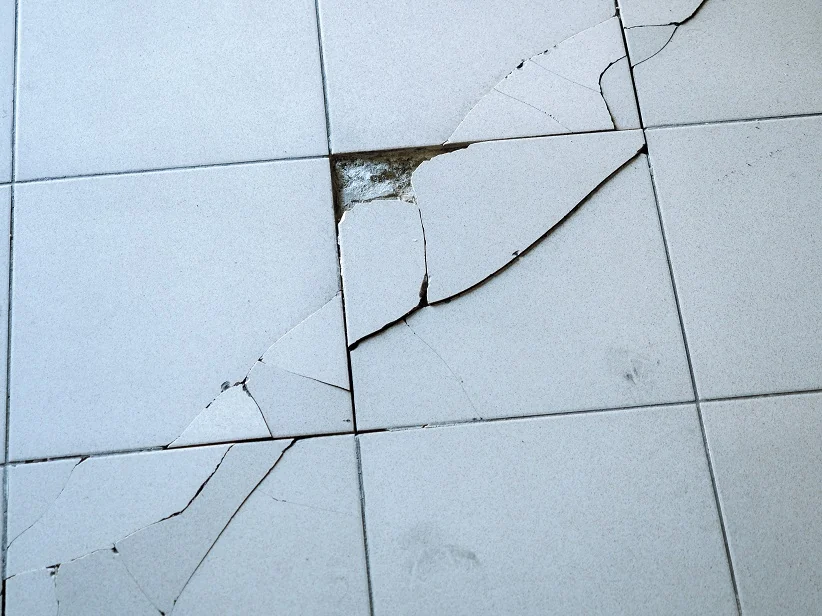
If the tile is cracked
A cracked tile around a towel bar is not just cosmetic. It can indicate that the tile was stressed by the wrong fastener, over-tightening, or repeated pulling. In wet areas, cracks can also allow moisture to sneak where it does not belong.
If you rent
This is where I recommend being very careful. Even if you feel confident fixing hardware, cracked tile can become a liability issue.
- Document first: Take clear photos from a few angles, including one wider shot showing where the crack is in the bathroom.
- Notify your landlord or property manager: A simple message with photos protects you. Ask how they want to handle repair.
- Do not keep tightening: Cranking a bracket down onto cracked tile can spread the crack.
- Do not glue the bracket to the tile: Adhesives can tear glaze off later and may be considered damage.
If maintenance replaces the tile, great. If they ask you not to touch it, you have your answer and a paper trail.
If you own
Consider whether the crack is hairline and stable or spreading. If it is in a shower surround or near a plumbing wall, it is worth addressing sooner rather than later to reduce moisture risk.
Prevent it from loosening again
Once it is tight, keep it tight with a few small habits.
- Use the bar as a bar, not a grab handle. If you need support getting up, install a real grab bar rated for that load.
- Recheck set screws after a week. Vibration and daily use can loosen them slightly.
- Upgrade rusty screws to stainless. Rust makes fasteners weak and harder to tighten properly.
- Keep heavy towels balanced across the bar so one side is not constantly being yanked.
FAQ
Can I just shove a bigger plastic anchor into the existing hole?
In tile, bigger is not automatically better. Oversizing can wedge against tile edges and increase crack risk. It also often creates a sloppy fit if the hole is already uneven. A tile-rated screw system, a proper toggle (if you have a confirmed cavity), or rebuilding the hole tends to be more reliable.
Is it better to mount in tile or grout?
For light items, grout can work. For towel bars and toilet paper holders that get pulled on daily, tile is often sturdier. The key is using the correct bit, drilling slowly, and using anchors or screws that match what is behind the tile.
My mounting plate holes do not line up with the old holes. What now?
If you can shift the whole fixture slightly and still look intentional, drilling new holes is usually cleaner than trying to force a misaligned plate. If old holes will show, you can sometimes hide them with larger base plates, or patch them with color-matched grout or epoxy made for tile repairs.
When should I call a pro?
If the tile is cracking, if the wall feels soft behind the tile, or if the hardware is near plumbing and you are unsure what is behind the surface, it is worth calling a handyman or tile pro. Bathrooms are not the place for surprise leaks.