Solid Surface Counter Cracked After a Hot Pan

Clara Townsend
The first time I saw a solid-surface countertop crack from heat, I did what most of us do. I stared at it like it might politely close back up if I looked away. Solid surface (like Corian and similar brands) can be wonderfully forgiving about marks, but a crack that runs through the sheet is a different kind of problem. It is no longer just cosmetic. It can become a structural concern.
If you put down a hot pan and now you have a visible line that you can feel with a fingernail, this guide is for you.
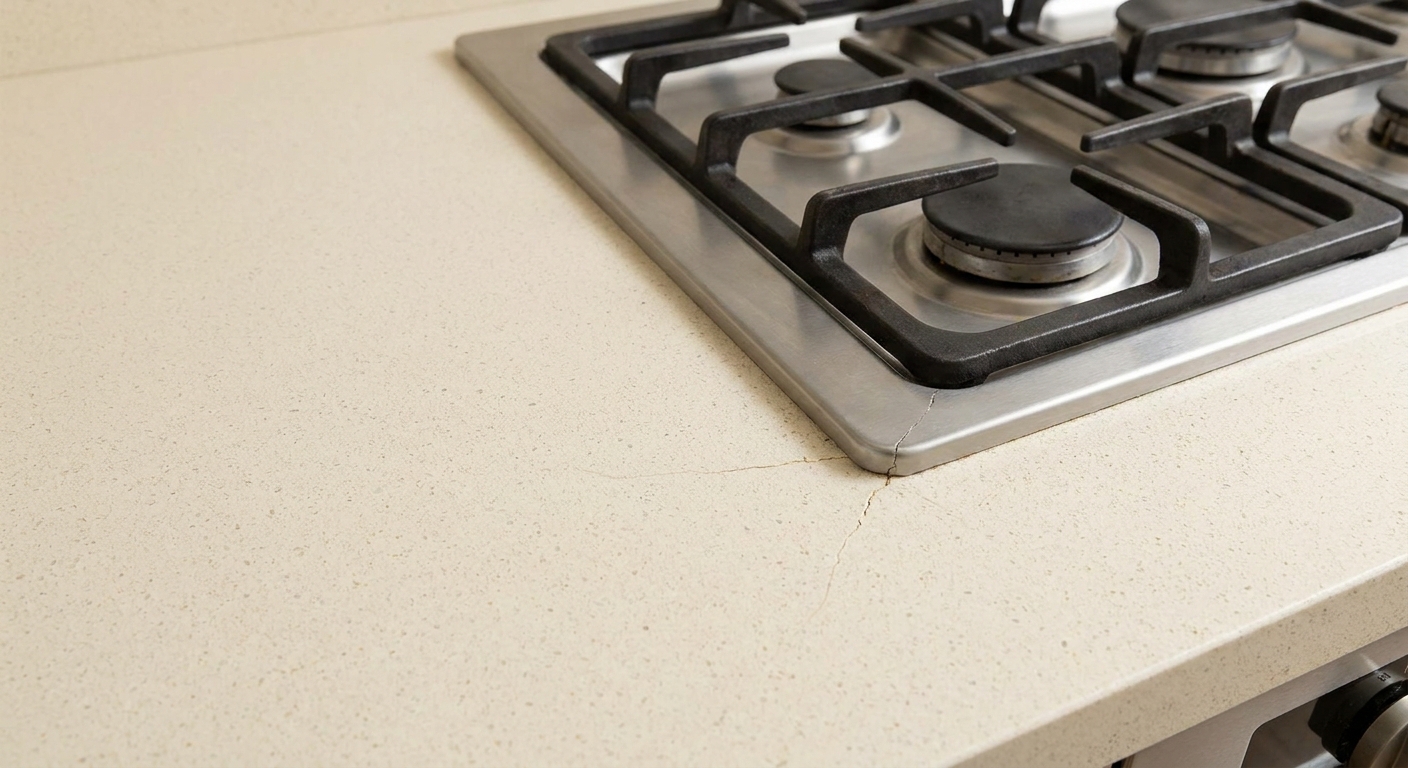
Heat mark vs. crack
Solid-surface countertops often survive little kitchen mishaps, but the fix depends entirely on whether you are dealing with a surface discoloration or a fracture.
One quick reality check: if the line continues beyond where the hot pan sat, you are almost certainly looking at a fracture, not just a scorch.
Signs it is a heat mark
- The spot looks cloudy, yellowed, or slightly darker, but does not form a line.
- You cannot catch your fingernail on an edge.
- From the side, the surface looks continuous, just discolored.
Signs it is a crack
- You see a line that travels across the counter, sometimes branching like a hairline in glass.
- You can usually feel it with a fingernail, even if it is very fine.
- It may “telegraph” through the surface, meaning it looks like it has depth, not just color.
- The crack often starts near a stress point: next to a sink cutout, cooktop cutout, inside corner, narrow strip in front of a sink, or near the edge of an overhang.
Why heat causes cracks
Solid-surface counters are commonly made from a blend of acrylic or polyester resin and mineral filler. They feel stone-like, but they behave more like a tough plastic composite when it comes to heat.
Here is the short version of what happens:
- Thermal shock: A very hot pan creates a sudden temperature spike in one small zone while the surrounding countertop stays cooler. Materials expand and contract with temperature. If the change is fast enough, stress concentrates.
- Built-in stress points: Cutouts (sink, cooktop) and inside corners are already under more stress. Add heat, and a crack can start at the weakest point.
- Support matters: If the counter is not well supported underneath (especially around cutouts or overhangs), the sheet can flex slightly. Heat plus flex is a common recipe for a fracture.
One important nuance: a hot pan alone does not always crack a properly supported, properly installed top. Many heat-related cracks are a combination of heat plus restraint, stress, or poor support that was already waiting for a trigger.
Sometimes there is also a pre-existing micro-crack that was invisible until heat made it announce itself.
Why sanding will not fix it
This is the part I wish more people heard before they start scrubbing in a panic.
Sanding removes material from the surface. It can blend a shallow blemish, soften the edges of a scratch, or reduce a discoloration in the top layer. But a crack is a separation. The countertop has physically fractured, even if the gap is tiny.
So if you sand a cracked area:
- You may make the crack look slightly less obvious by changing the way light hits it.
- You will not fuse the material back together.
- You can actually make it easier for the crack to collect grime or moisture, which can make it stand out more over time.
- You risk creating a dull patch around the crack that then needs broader refinishing to match.
Closing a split typically requires a professional repair approach, not surface polishing. That can mean specialty adhesives, color-matched filling, reinforcement from below, and refinishing the area so the sheen matches.
What to do now
If you are staring at a crack right now, do these steps first. They are gentle, renter-friendly, and they protect you whether you are the homeowner or not.
1) Let it cool and dry
Do not run cold water over the area to “cool it down.” More thermal shock is not your friend. Just let the countertop return to room temperature naturally.
2) Wipe, do not scour
Use a soft cloth with mild dish soap and water. You are only removing surface grease so you can see the crack clearly.
3) Do a fingernail test
Very lightly drag a fingernail across the line. If it catches, it confirms this is more than discoloration.
4) Check for movement
Place one hand on each side of the crack and apply very light pressure, alternating sides. You are not trying to force anything. You are only checking for flex. If you feel any shifting or hear a tiny click, stop. That suggests movement that should be evaluated by a pro.
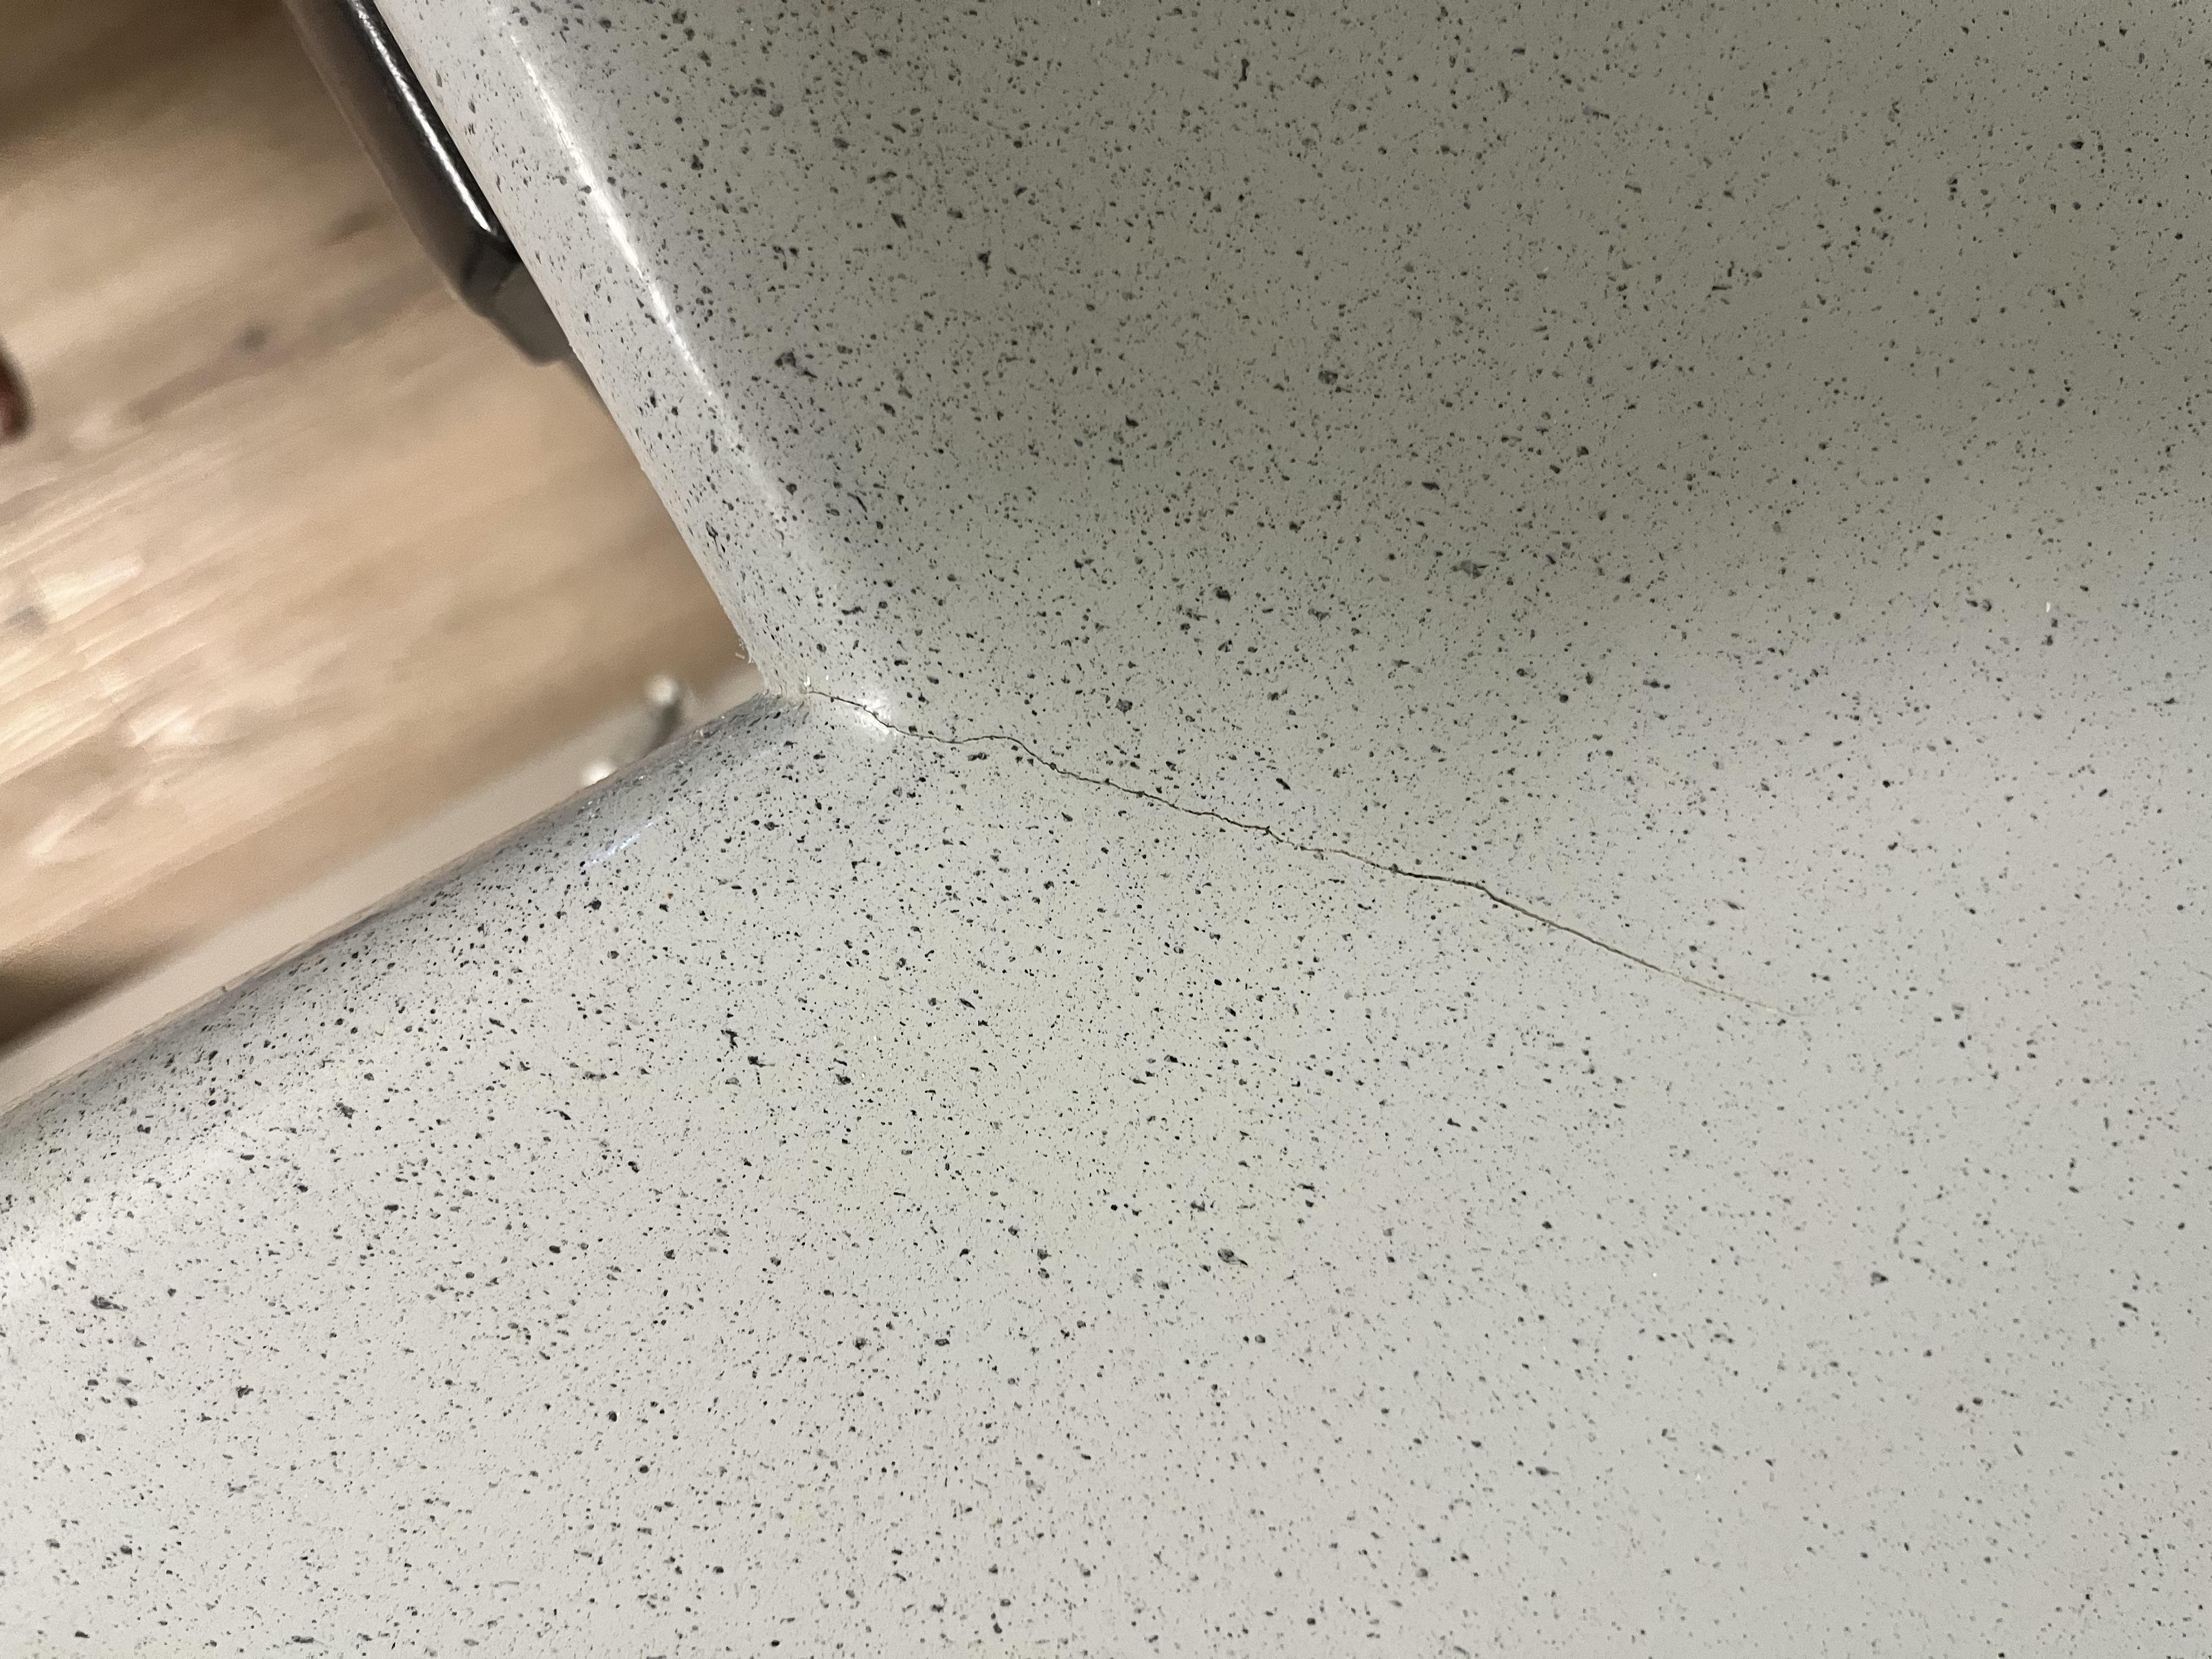
Call a pro fast if
Some cracks can sit quietly for a while. Others are telling you the countertop is under stress and getting worse. I would call a fabricator or repair specialist sooner rather than later if:
- The crack starts at a sink or cooktop corner.
- You feel movement, hear clicking, or the two sides seem to sit at different heights.
- The line is widening, branching, or growing day to day.
- You see staining along the crack, especially near the sink, which can suggest moisture intrusion.
- The crack runs through a narrow strip, like the front rail in front of a sink.
If you rent
If you are a renter, your goal is to create a clean, time-stamped record and avoid making the damage worse.
Document it clearly
- Take wide shots: Show the entire counter and where the crack is in the kitchen (near stove, sink, edge, etc.).
- Take close-ups: Photograph the crack straight on and at an angle so the texture change is visible.
- Include a simple size reference: A coin or a ruler in the photo helps show length and width. Keep it simple and flat on the counter.
- Record the timeline: Note the date, what happened (hot pan), and whether you noticed it immediately or later.
- Note the counter brand if you know it: Check your lease docs, appliance manuals left in the unit, or look inside sink base cabinets for installer stickers. If you do not know, do not guess.
Tell your landlord promptly
A short message is best: what happened, where the crack is, and that you are concerned it may worsen. Attach photos. This is not about drama. It is about preventing further damage.
Avoid these traps
- Do not sand the area “to see if it goes away.” If it is a crack, it will not, and now you have altered the finish.
- Do not fill it with random glue (super glue, epoxy from a hardware store, caulk). Many adhesives can discolor, collect dirt, and can complicate professional repair.
- Do not clamp it or try to force it closed.
- Do not keep placing hot items there, even with a towel. Use a trivet and keep heat away until it is assessed.
If you own
If you are the homeowner, there is one extra step worth taking before you DIY anything: check your paperwork.
- Look for a fabricator or installer invoice: Some warranties require authorized service, and DIY sanding, gluing, or filling can affect coverage.
- Check the manufacturer guidance: Solid-surface brands often have specific repair recommendations and may be able to point you to a qualified local shop.
Even if the warranty window has passed, a reputable fabricator can tell you quickly whether you are looking at a straightforward bonded repair or something that needs reinforcement.
Can it be repaired?
Often, yes. Solid surface is one of the more repairable countertop materials, but repairability depends on where the crack is and why it happened.
Easier repairs
- The crack is short and not branching.
- It is in an open field area (not through a cutout corner).
- The countertop is well supported and the cause was a one-time heat incident.
Harder repairs
- The crack originates at a sink or cooktop cutout corner.
- The crack crosses a narrow strip of material (like the front rail in front of a sink).
- There is movement from poor support, cabinet shifting, or an overhang without proper bracing.
- Moisture has been getting into the fracture, causing staining along the line.
A solid-surface fabricator or a countertop repair specialist is usually the right call. They can assess whether the counter needs reinforcement below, a bonded repair on top, or a section replacement.
While you wait
I am a big believer in practical calm. If you have to live with the crack for a bit, here is how to keep it from turning into a bigger headache.
- Keep it dry: Wipe up water promptly, especially if the crack is near the sink.
- Avoid heat in that zone: Use a trivet and move your hot-item landing spot to a different area.
- Avoid heavy impacts: No dropping cast iron, no pounding, no heavy chopping right over the line.
- Clean gently: Mild soap and water is plenty. Avoid harsh powders that can lodge in the crack.
FAQ
Is this a seam opening up?
Not always. A seam issue happens where two sheets were joined. What we are talking about here is a crack through the sheet itself, out in the field. They can look similar at a glance, but the location gives it away. Seams are usually straight and placed intentionally. A heat crack often starts at a stress point and travels unpredictably.
Will the crack spread?
It can. Any ongoing stress, cabinet movement, poor support, or repeated heat exposure increases the odds. That is why prompt assessment matters, especially near sink or cooktop cutouts.
Can I keep using the counter?
Usually yes for light use, but treat the cracked zone gently. Keep it dry, avoid heat, and do not put heavy loads right on the line.
Should I try a DIY kit?
If you are renting, I would not. Even as a homeowner, most DIY kits are better for small chips or surface blemishes than a true fracture. A mismatched fill can look worse than the crack, and some products can discolor permanently.
A simple prevention habit
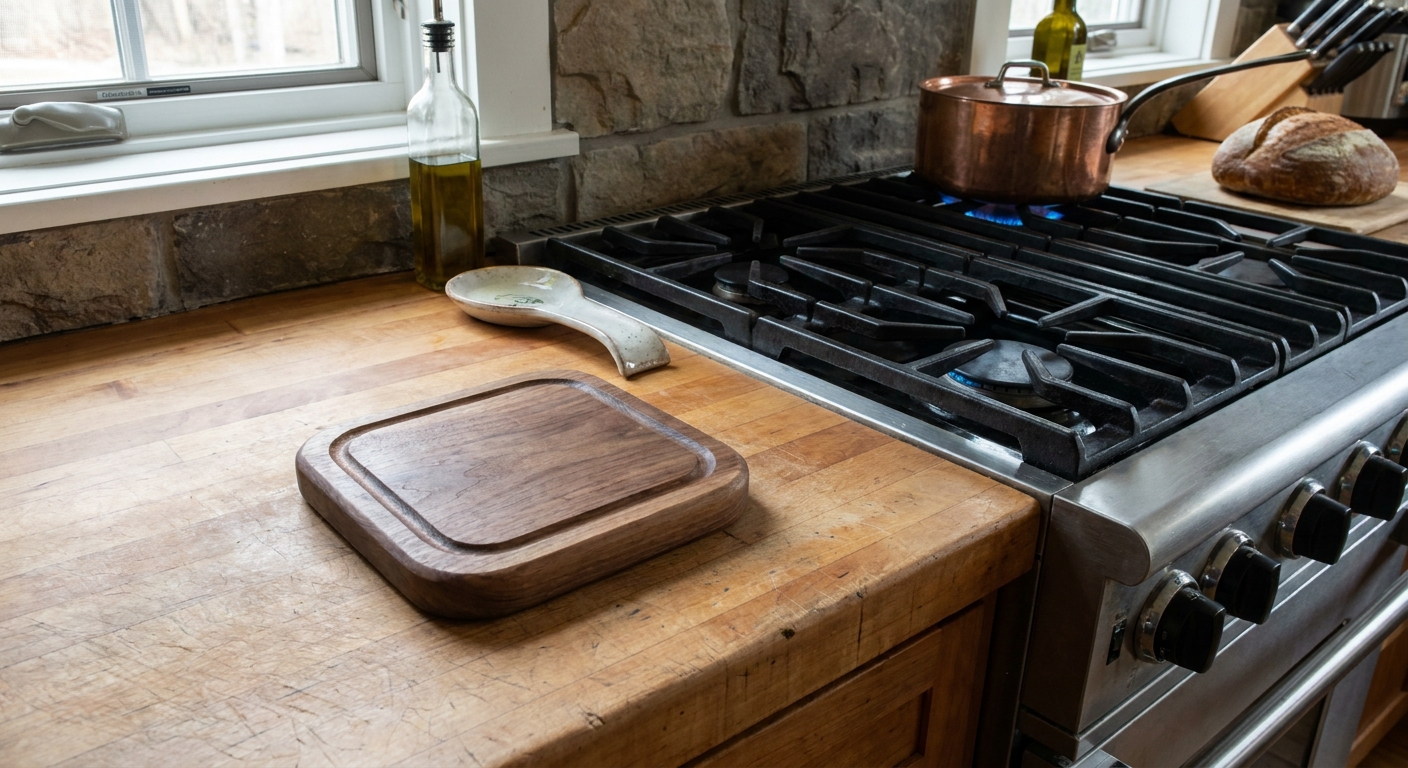
If your kitchen is anything like mine, you have a rhythm. Pasta pot to the sink, skillet to the counter, baking sheet to the nearest open spot. The easiest fix is to put a trivet exactly where your hands naturally want to land the hot pan.
Not tucked in a drawer. Not styled on a shelf. Right there, like a little heat-proof bookmark for your daily life.