Curtain Rod Sagging in the Middle

Clara Townsend
The first time I hung lined velvet panels in an old apartment, I stood back expecting instant movie-theater drama. What I got was a rod with a sad little dip in the middle, like it had sighed under the weight and given up. If your curtain rod is sagging, you are not doing anything wrong. You are just asking a long, skinny piece of metal or wood to act like a beam.
The good news: most sagging rods are fixable with a center support and a few small tweaks. The key is figuring out whether you are dealing with a bowed rod (the rod itself is bending) or brackets that are coming loose (the wall is failing).
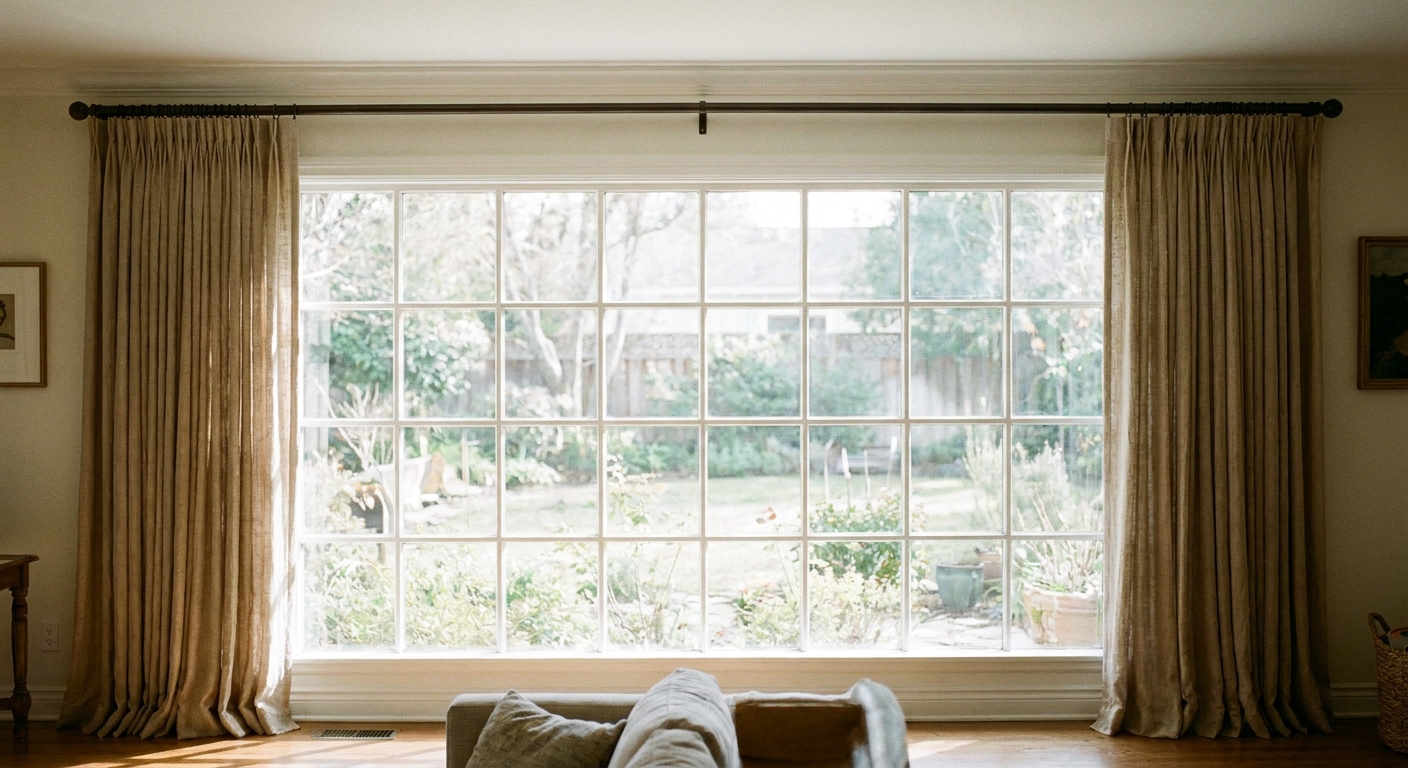
Why long curtain rods sag
Sag happens when span plus weight exceeds what the rod can handle. A few common culprits show up again and again:
- The window span is wide. The longer the distance between end brackets, the more leverage gravity has.
- Your panels are heavy. Blackout lining, thermal lining, interlining, thick velvet, and densely woven linen all add real pounds.
- The rod is thin or soft metal. Budget adjustable rods often use thinner tubing that flexes more easily, especially when extended near their maximum length (that is when they flex the most).
- The brackets are too far apart. Even a strong rod will dip if it is only supported at the ends across a long run.
- The rod is not seated correctly. Sometimes the rod is slightly popped forward out of one bracket, which creates a dip that looks like bowing.
As a rough rule, once you get into long spans and lined panels, you should expect to need more support unless the rod is specifically designed for heavier loads.
Bowed rod or loose brackets?
Before you buy anything, take two minutes to figure out what is actually failing.
Signs the rod is bowing
- The end brackets look solid and tight to the wall.
- The dip is mostly centered, even if you push the curtains to the sides.
- If you remove the curtains, the rod still has a visible curve.
- The rod is a thin telescoping style and is extended close to its maximum length.
Signs the brackets are pulling out
- One side is lower than the other, or the rod tilts.
- You can wiggle a bracket by hand.
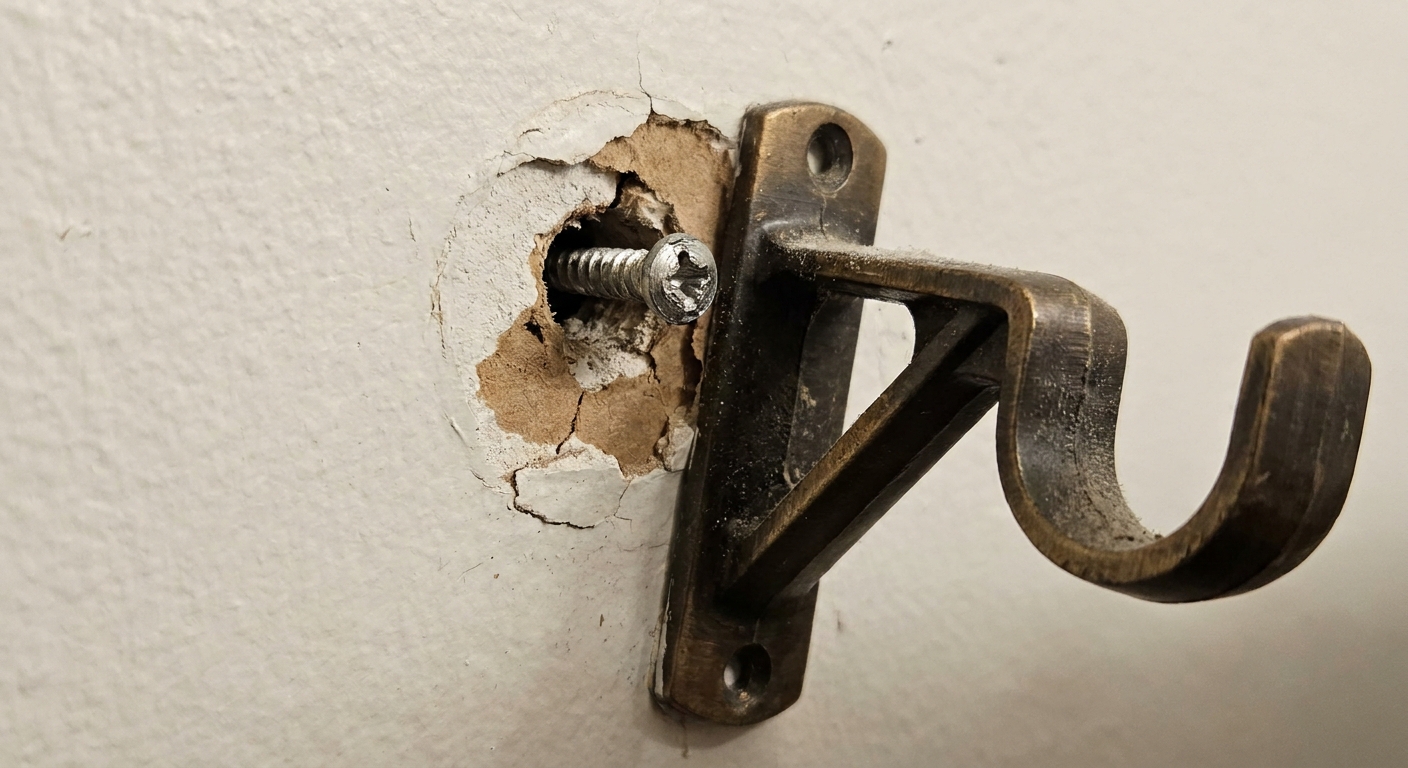
- There are gaps between bracket and wall, cracked paint, or a crumbly hole.
- The rod “drops” suddenly, not gradually.
If brackets are pulling out, a center support alone will not solve it. You will need to re-anchor the loose bracket first, otherwise you are just redistributing a problem.
The best fix: add support
If your rod is simply sagging in the middle, adding support is the cleanest, most permanent solution. It turns one long span into shorter spans, which is exactly what your rod wants.
What to buy
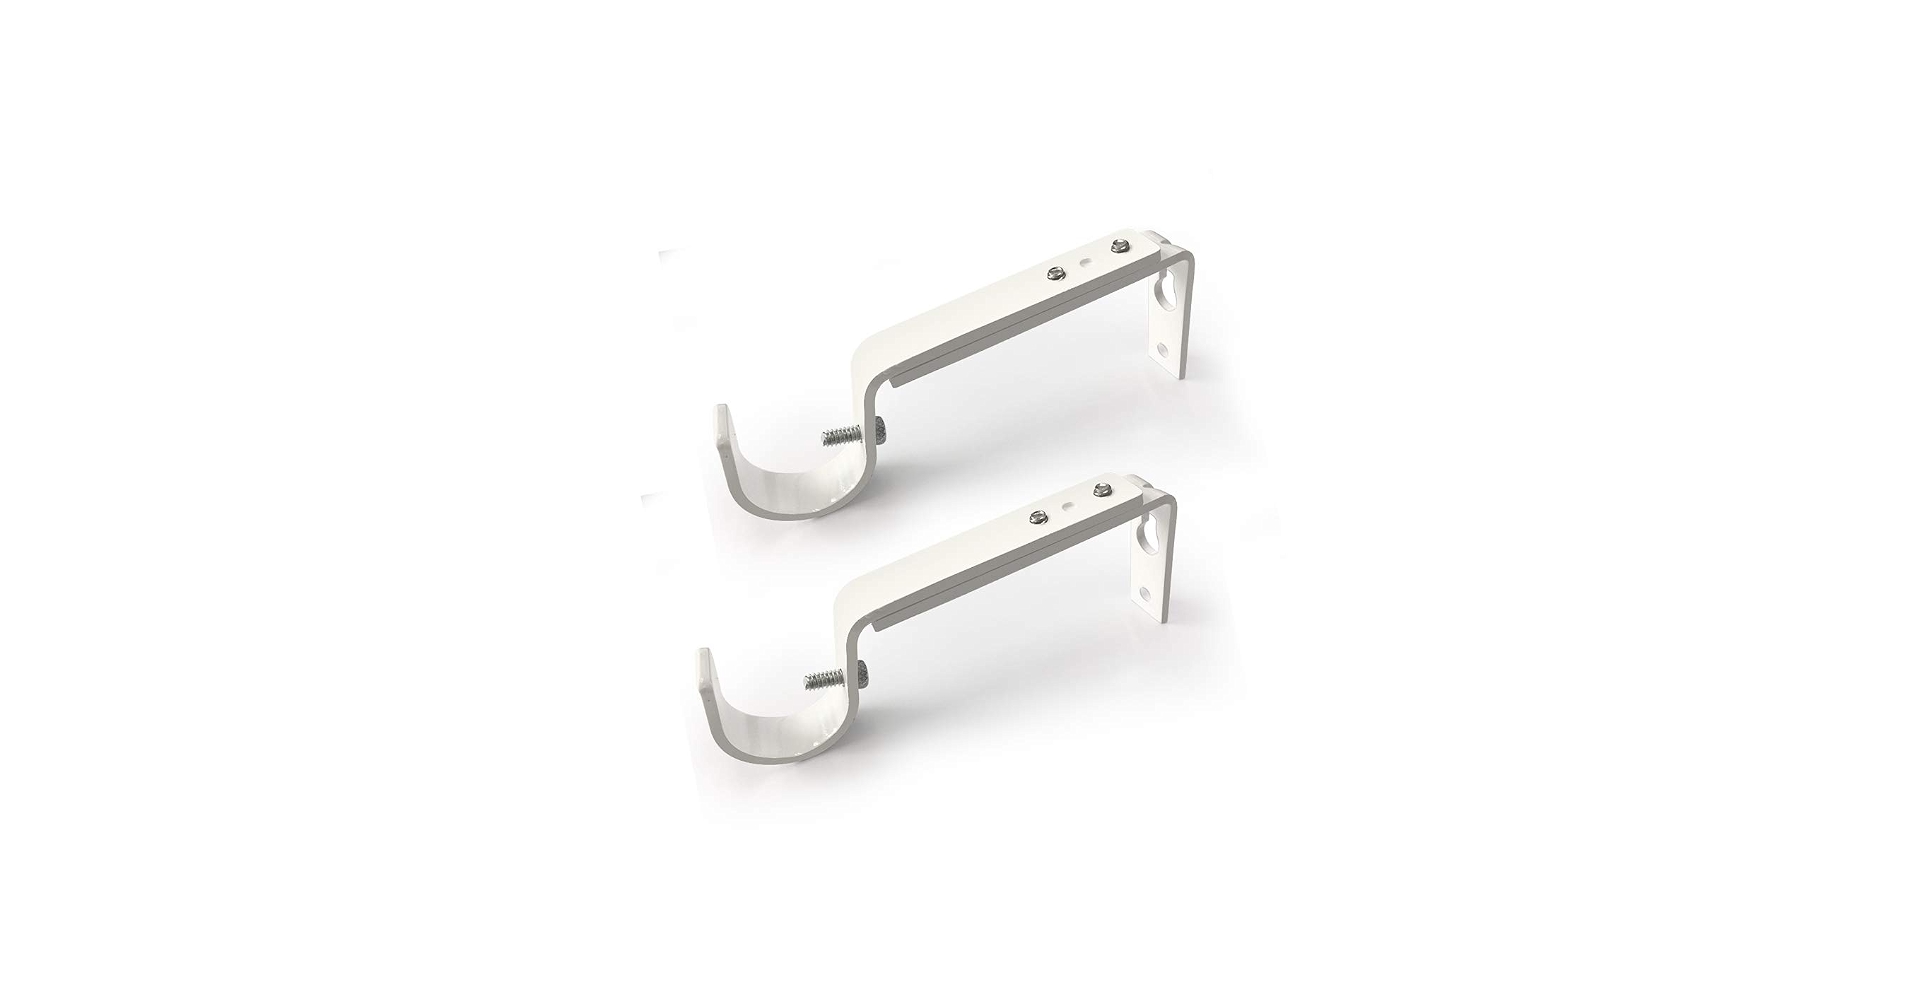
- Support bracket(s) that match your rod diameter. Common sizes include 3/4 inch, 1 inch, 1 1/8 inch, and 1 3/8 inch. Measure your rod or check the packaging.
- Appropriate anchors for your wall type if you cannot hit a stud.
- Shorter screws if you are drilling into trim and do not want to punch through the other side.
Some longer rod kits include a third bracket in the box. If yours did, use it. If not, you can usually find a matching support bracket sold separately in the same finish family.
Where to place it
Start by placing a support at the midpoint between the two end brackets. If your rod has a telescoping seam or a connector near the middle, placing support under that seam is often smart because it is a common weak spot.
If your window is very wide or your drapes are truly heavy (interlined, blackout, full pleats, the whole “luxury hotel” situation), you may need more than one intermediate support. The simplest rule: if you already have one support and it still dips, add another rather than hoping the rod will magically toughen up.
How to install it
- Take the curtains off the rod. This is non-negotiable if you want a level result and fewer new wall dings.
- Remove the rod from the brackets. Leave the end brackets in place.
- Measure the distance between end brackets and mark the midpoint lightly with pencil.
- Hold the support bracket up and mark screw holes. Use a level if you have one.
- Find a stud if possible. If you hit a stud, you can screw directly in.
- If no stud, use a proper drywall anchor. Avoid the tiny, cheap cone anchors for heavy curtains. Choose an anchor rated for the load.
- Install the bracket, then re-seat the rod. Make sure the rod is fully nestled into each bracket.
- Rehang the curtains and test. Open and close them a few times to be sure nothing binds.
If you use curtain rings that slide, choose a support with an open top or a pass-through design that lets rings glide. A closed cup bracket looks fine until you realize your rings stop dead in the middle, and then it becomes an everyday annoyance.
Also check compatibility before you buy: return (wraparound) rods, double rods, and some decorative systems need specific center supports made for that style.
If the rod is actually bent
Sometimes support helps, but the rod is still too flexible for what you are hanging. If you remove the curtains and the rod keeps its curve, it has likely yielded a bit.
In that case, you have three practical options:
- Add support plus reduce load. Swap to lighter rings, remove a liner layer, or split the panels so the weight is distributed more evenly.
- Upgrade to a thicker rod. Look for a heavier gauge metal rod, a solid wood rod, or a heavier-duty return rod. Whatever you choose, check the manufacturer’s weight guidance because “blackout-friendly” does not automatically mean “won’t sag.”
- Use a traverse rod for heavy drapery. If you have very heavy, lined panels you open and close daily, traverse hardware carries weight differently and can feel much smoother.
You do not have to change your whole curtain look to change the rod. Most panels work with any rod that fits the header style (rod pocket, back tabs, grommets, rings with clips, and so on).
If brackets are coming out
A sagging rod sometimes is really a wall issue in disguise. If a bracket is loosening, fix that first.
Quick repair for drywall
- Take the curtains down and remove the loose bracket.
- Assess the hole. If it is enlarged or crumbly, you will need to move the bracket slightly or patch and re-drill.
- Try to re-mount into a stud. Shifting the bracket an inch or two can make all the difference.
- If no stud, use a quality anchor. Toggle-style anchors or strap toggles are often more secure than basic plastic plugs.
- Reinstall the bracket snugly and stop when it is firm. Overtightening can crush drywall and start the failure cycle again.
Old plaster walls
In older apartments, you might be mounting into plaster over lath, and it behaves differently than drywall. If the wall crumbles when you remove a screw, do not keep upsizing screws and hoping for the best. Try to hit a stud, use an anchor designed for plaster, and drill gently so you do not spider-crack the surface.
If your brackets are mounted into window trim, you may be fine with wood screws, but you still need enough bite. Thin, decorative trim can split if you use a screw that is too thick or too long.
Renter-friendly fixes
If you rent, the goal is usually: stabilize the rod without turning your wall into Swiss cheese. Depending on your lease and comfort level, here are the best low-drama options.
1) Add support using existing holes
If your rod set came with an extra bracket but it was never installed, adding it is a small change that many landlords will consider normal wear. Use a bracket that matches your existing hardware so it looks intentional.
2) Reduce the load
- Keep the face fabric, ditch the heavy liner. Swap to a separate blackout roller shade behind the curtain if you need darkness.
- Use fewer panels. Two super-heavy panels on one long rod can be a lot. Sometimes one panel per side instead of doubling up is enough to stop sag.
- Switch to lighter hanging hardware. Clip rings and chunky rings can add more weight than you think, especially across many rings.
3) Use a discreet, matching bracket
A slim support in the same finish as your rod reads visually like part of the set. If you use rings, choose a pass-through style so you do not lose function.
4) If drilling is not allowed
If you truly cannot add holes, you are limited. The most effective non-drill move is usually lightening the curtains and making sure the rod is fully seated and the end brackets are tight. Adhesive hooks and no-drill curtain rod brackets are tempting, but many fail under lined or heavy panels and can take paint with them when they let go.
Habits that prevent sag
- Center the weight. If you store your curtains bunched to one side all day, that constant uneven load can encourage twisting and loosening.
- Use enough rings. Crowding can create stress points. More rings spreads weight more evenly.
- Check screws seasonally. In older homes, expansion and contraction can loosen hardware over time.
- Do a gentle tug test. Grab each bracket and pull down slightly. If anything shifts, fix it before it becomes a bigger hole.
FAQ
How many brackets should a curtain rod have?
Most standard setups need two end brackets plus at least one intermediate support once the span gets wide or the curtains get heavy. On very wide windows or with very heavy drapery, you may need more than one support.
My curtains will not slide past the center bracket. What do I do?
Swap the support for an open-top or pass-through style designed for rings to slide past, or use a rod system intended for easy draw. Another option is to use panels that are usually stationary and only open them occasionally.
Can I fix sagging without replacing the rod?
Often, yes. Added support plus making sure the rod is properly seated solves most cases. If the rod is permanently bent even with no curtains on it, that is when replacement becomes the cleaner fix.
Why does my rod sag only after I wash my curtains?
If the curtains were not fully dry when rehung, they can be temporarily heavier. Washing can also change how the header sits, and you might rehang with different ring spacing, which concentrates weight. If sag appears suddenly, recheck bracket tightness and consider adding support.