Wood Cutting Board Care
Clara Townsend
Clara Townsend is an interior stylist, vintage furniture enthusiast, and the creative voice behind Velvet Abode. With over a decade of experience transforming both cramped city apartments and sprawling fixer-uppers, she believes that a beautiful home is built on personal stories rather than massive budgets. When she isn't hunting for the perfect brass sconce at a local flea market, she can usually be found rearranging her living room for the third time this month.
A wooden cutting board is basically butcher-block-adjacent magic for renters. It warms up a stainless or laminate kitchen, it protects your knives, and it makes even a Tuesday salad feel a little more intentional. The catch is that wood moves with water and air, and it can hold on to whatever you ask it to hold, including smells.
Below is the routine I use in my own kitchen, the one I share with friends when they text me a photo of a board that looks thirsty, smells like last night’s garlic, or has that faint wobble from an ill-fated soak.
Know your board first
Not all “wood boards” behave the same. Before you do anything intense, figure out what you have.
- Hardwood boards (maple, walnut, cherry, beech) are the classic workhorses and love regular oiling.
- End-grain boards (common butcher blocks) are made with the wood fibers facing up. They are often gentler on knives and can be more forgiving with scratches, but they tend to drink more oil and need conditioning a bit more often.
- Bamboo boards are technically a grass and often feel harder and drier. They still benefit from oil, but they can be more prone to splintering if neglected.
- Acacia and mixed-grain boards can be beautiful and a little moodier, meaning they may move more with humidity changes.
- Laminated boards (glued-up, edge-grain, or multi-piece) are normal and safe, but prolonged soaking can stress seams.
If your board has a glossy film finish that looks like varnish, do not oil it. Just wash and dry as usual. If it starts to look worn or the finish flakes, re-seal it per the manufacturer’s directions (or retire it from heavy chopping).
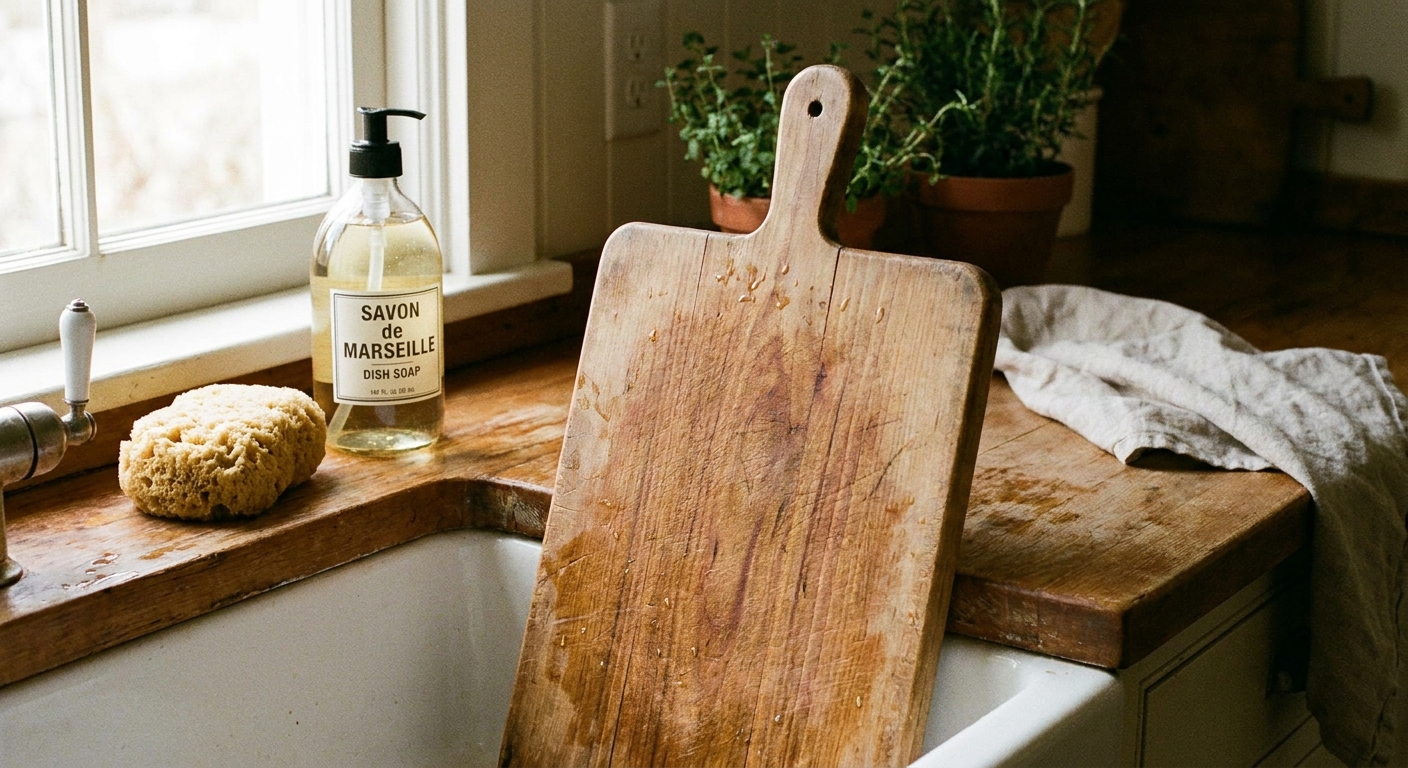
Daily wash habits
If you do only one thing consistently, make it this. Daily care is less about “deep cleaning” and more about not letting moisture and food residue camp out in the grain.
After each use
- Scrape first. Use a bench scraper, spatula, or the back of a knife to lift stuck bits. Less scrubbing means less water time.
- Wash quickly with mild soap. Use hot water, a soft sponge, and a small amount of dish soap. If you only used one side, still rinse the other side briefly so the board dries more evenly (you do not have to fully soap both sides every single time, but do avoid soaking one side while the other stays bone dry).
- Rinse fast. No long showers for your board.
- Dry immediately. Towel-dry right away.
- Air-dry upright. Stand it on its edge so air hits both faces. Flat drying on a counter traps moisture underneath and invites warping.
What to never do
- Do not soak. Even “just for a few minutes” adds up over time.
- Do not put it in the dishwasher. Heat plus water plus detergents is a perfect storm for cracks and cupping.
- Do not attack it with steel wool. Harsh abrasives can rough up the grain and make it harder to keep clean.
- Do not leave it wet on the counter. That damp underside is where the wobble begins.
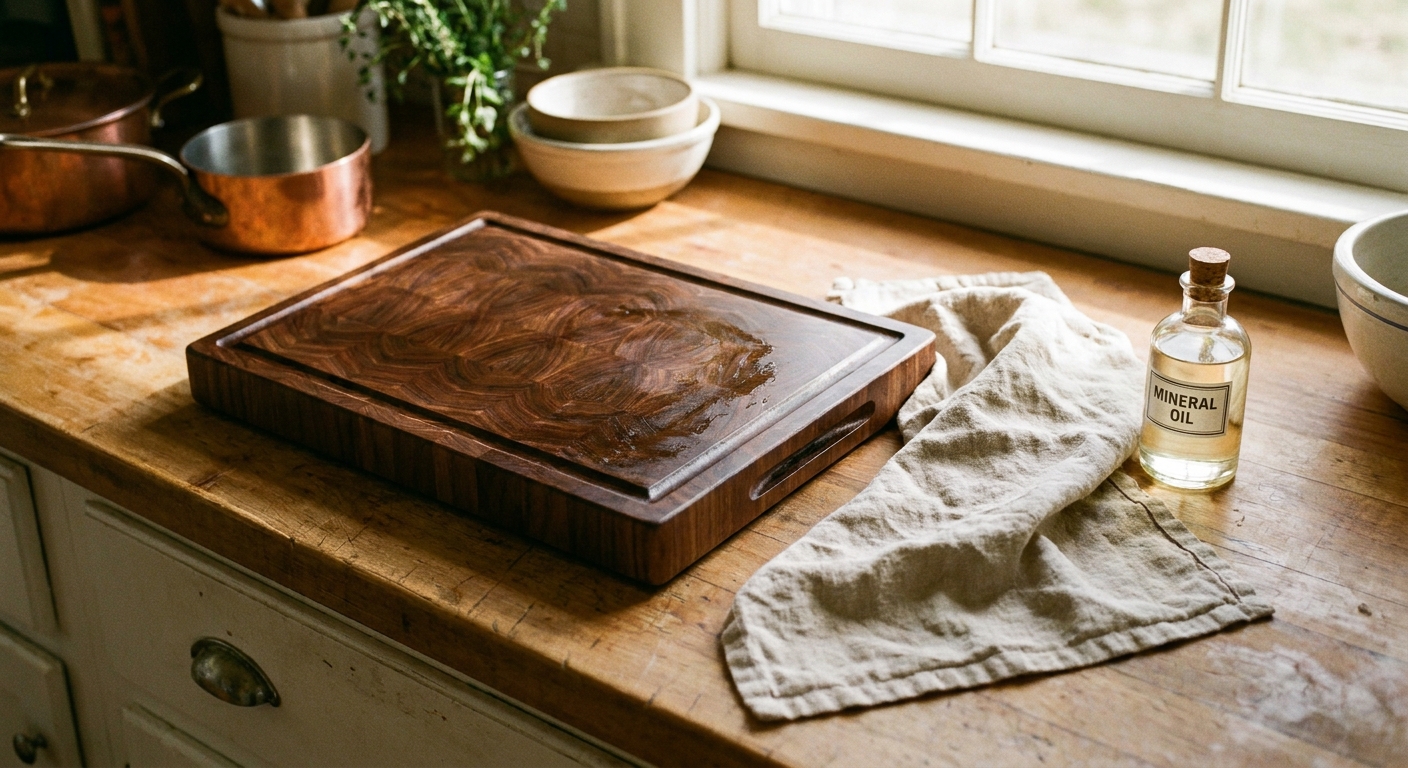
Oil refresh
Oiling is not about making your board shiny. It is about filling the wood’s pores so water and odors have less room to move in. When a board is well-conditioned, it cleans more easily and stays flatter.
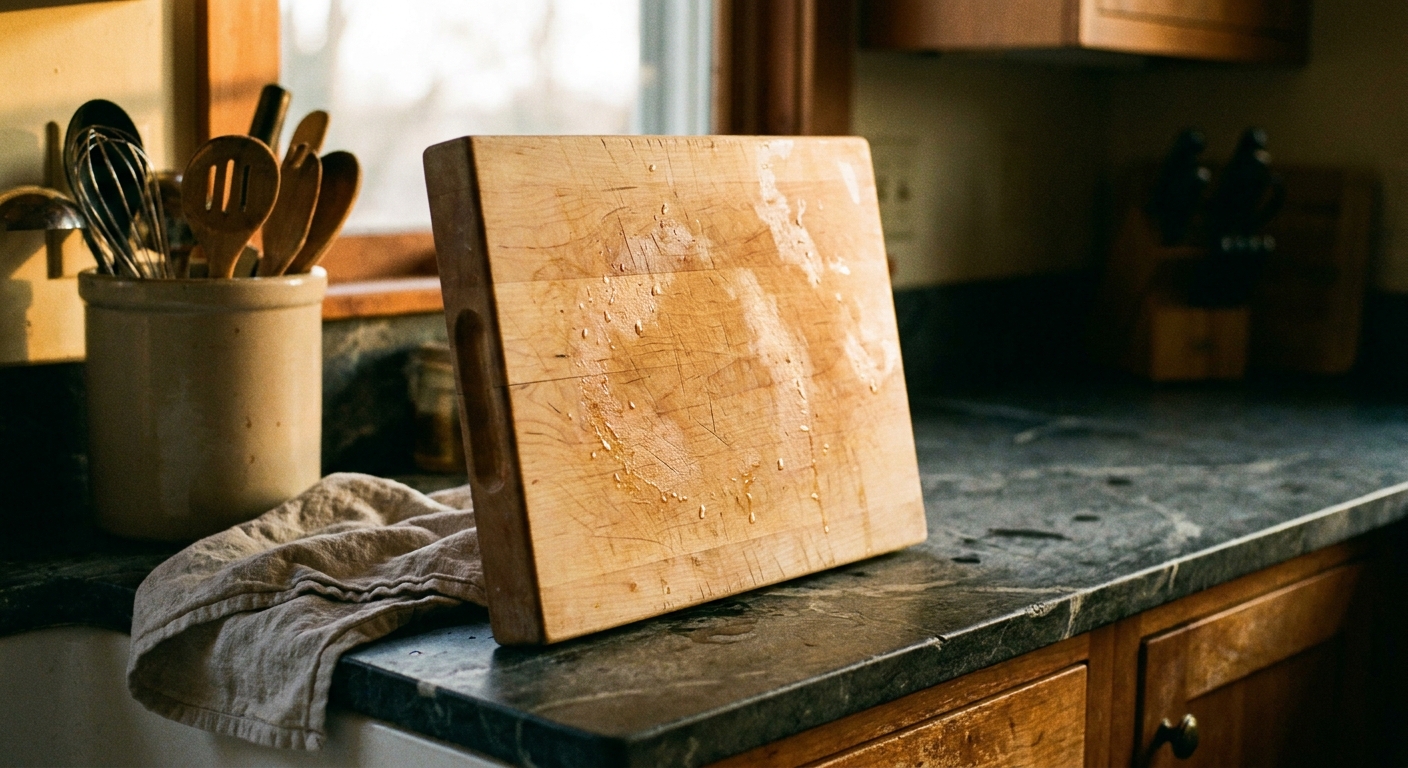
How to tell it needs oil
- The surface looks pale, chalky, or “dry” in spots.
- Water soaks in instantly instead of beading for a moment.
- It feels rough even after washing.
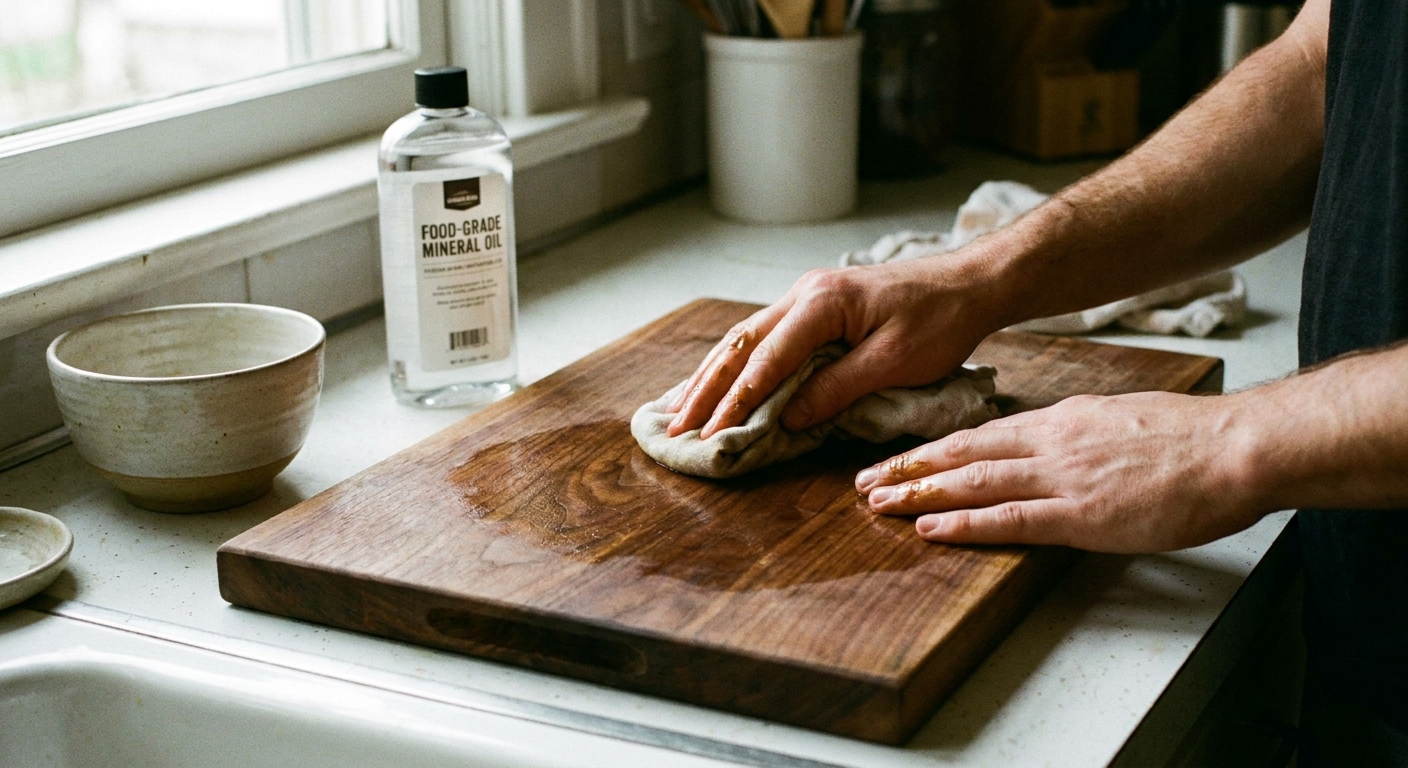
What oil to use
- Food-grade mineral oil is the standard because it is stable and does not go rancid.
- Board cream (a blend of mineral oil and beeswax or carnauba wax) is great for the final coat because it adds a soft, water-resistant finish.
Avoid most cooking oils (olive, avocado, grapeseed, canola). Many are more unsaturated, which means they can oxidize and go sticky or smell “off” over time, especially if your kitchen runs warm. If you are determined to use a kitchen oil, know that more saturated oils (like refined coconut oil) are generally more stable, but they are still not my first pick for boards. Mineral oil is easy and drama-free.
Also: skip essential oils and “flavor” oils entirely. Stick to food-grade mineral oil or a purpose-made board conditioner.
Step-by-step oiling
- Start with a clean, fully dry board. If you washed it recently, give it a few hours to air-dry, or overnight if it feels cool to the touch.
- Warm the oil slightly (optional). A few seconds in a warm water bath helps it spread more easily.
- Pour a small puddle and rub it in. Use a clean cloth or paper towel. Work with the grain and cover the sides too.
- Let it drink. Leave it for at least 2 to 4 hours. Overnight is even better.
- Wipe off excess. A properly oiled board should feel satiny, not greasy.
- Optional wax finish. Buff a thin layer of board cream on top for extra water resistance.
If your board is brand new or extremely dry (hello, end-grain), do two coats back-to-back the first time.
Sanitize after raw meat
Some woods show antimicrobial behavior under certain conditions, but it is not a guarantee and it is not a substitute for good cleaning. If you cut raw chicken, turkey, or fish on a wood board, sanitize it right after washing.
Option A: Diluted bleach (most reliable)
This is the go-to for true disinfection when you want to be extra cautious.
- Use unscented, regular-strength household bleach.
- For dilution, follow the bleach label for food-contact sanitizing. A commonly used kitchen ratio is 1 tablespoon bleach per 1 gallon of cool water, but concentrations vary.
- Apply to the board surface (or wipe on with a clean cloth).
- Let it sit for 1 to 2 minutes.
- Rinse thoroughly and dry upright.
Do not let bleach sit for ages. You are sanitizing, not pickling the wood.
Option B: Hydrogen peroxide (good for routine)
- Spray 3% hydrogen peroxide over the surface.
- Let it sit for at least 5 minutes.
- Rinse, towel-dry, and stand upright.
Peroxide is a solid everyday option, but if you want the most reliable, standardized disinfection method, bleach (used correctly) is the one I trust most.
What about vinegar?
White vinegar is a helpful cleaner and deodorizer, but on its own it is not my first choice for raw poultry. If you are dealing with raw meat often, consider using a dedicated plastic board for that job and keep your wood board for produce and bread. That is not “less aesthetic.” It is just smart kitchen boundaries.
Remove odors
Onion and garlic are wonderful until they move in permanently. If your board smells like last week’s dinner even after soap, try one of these renter-friendly fixes.
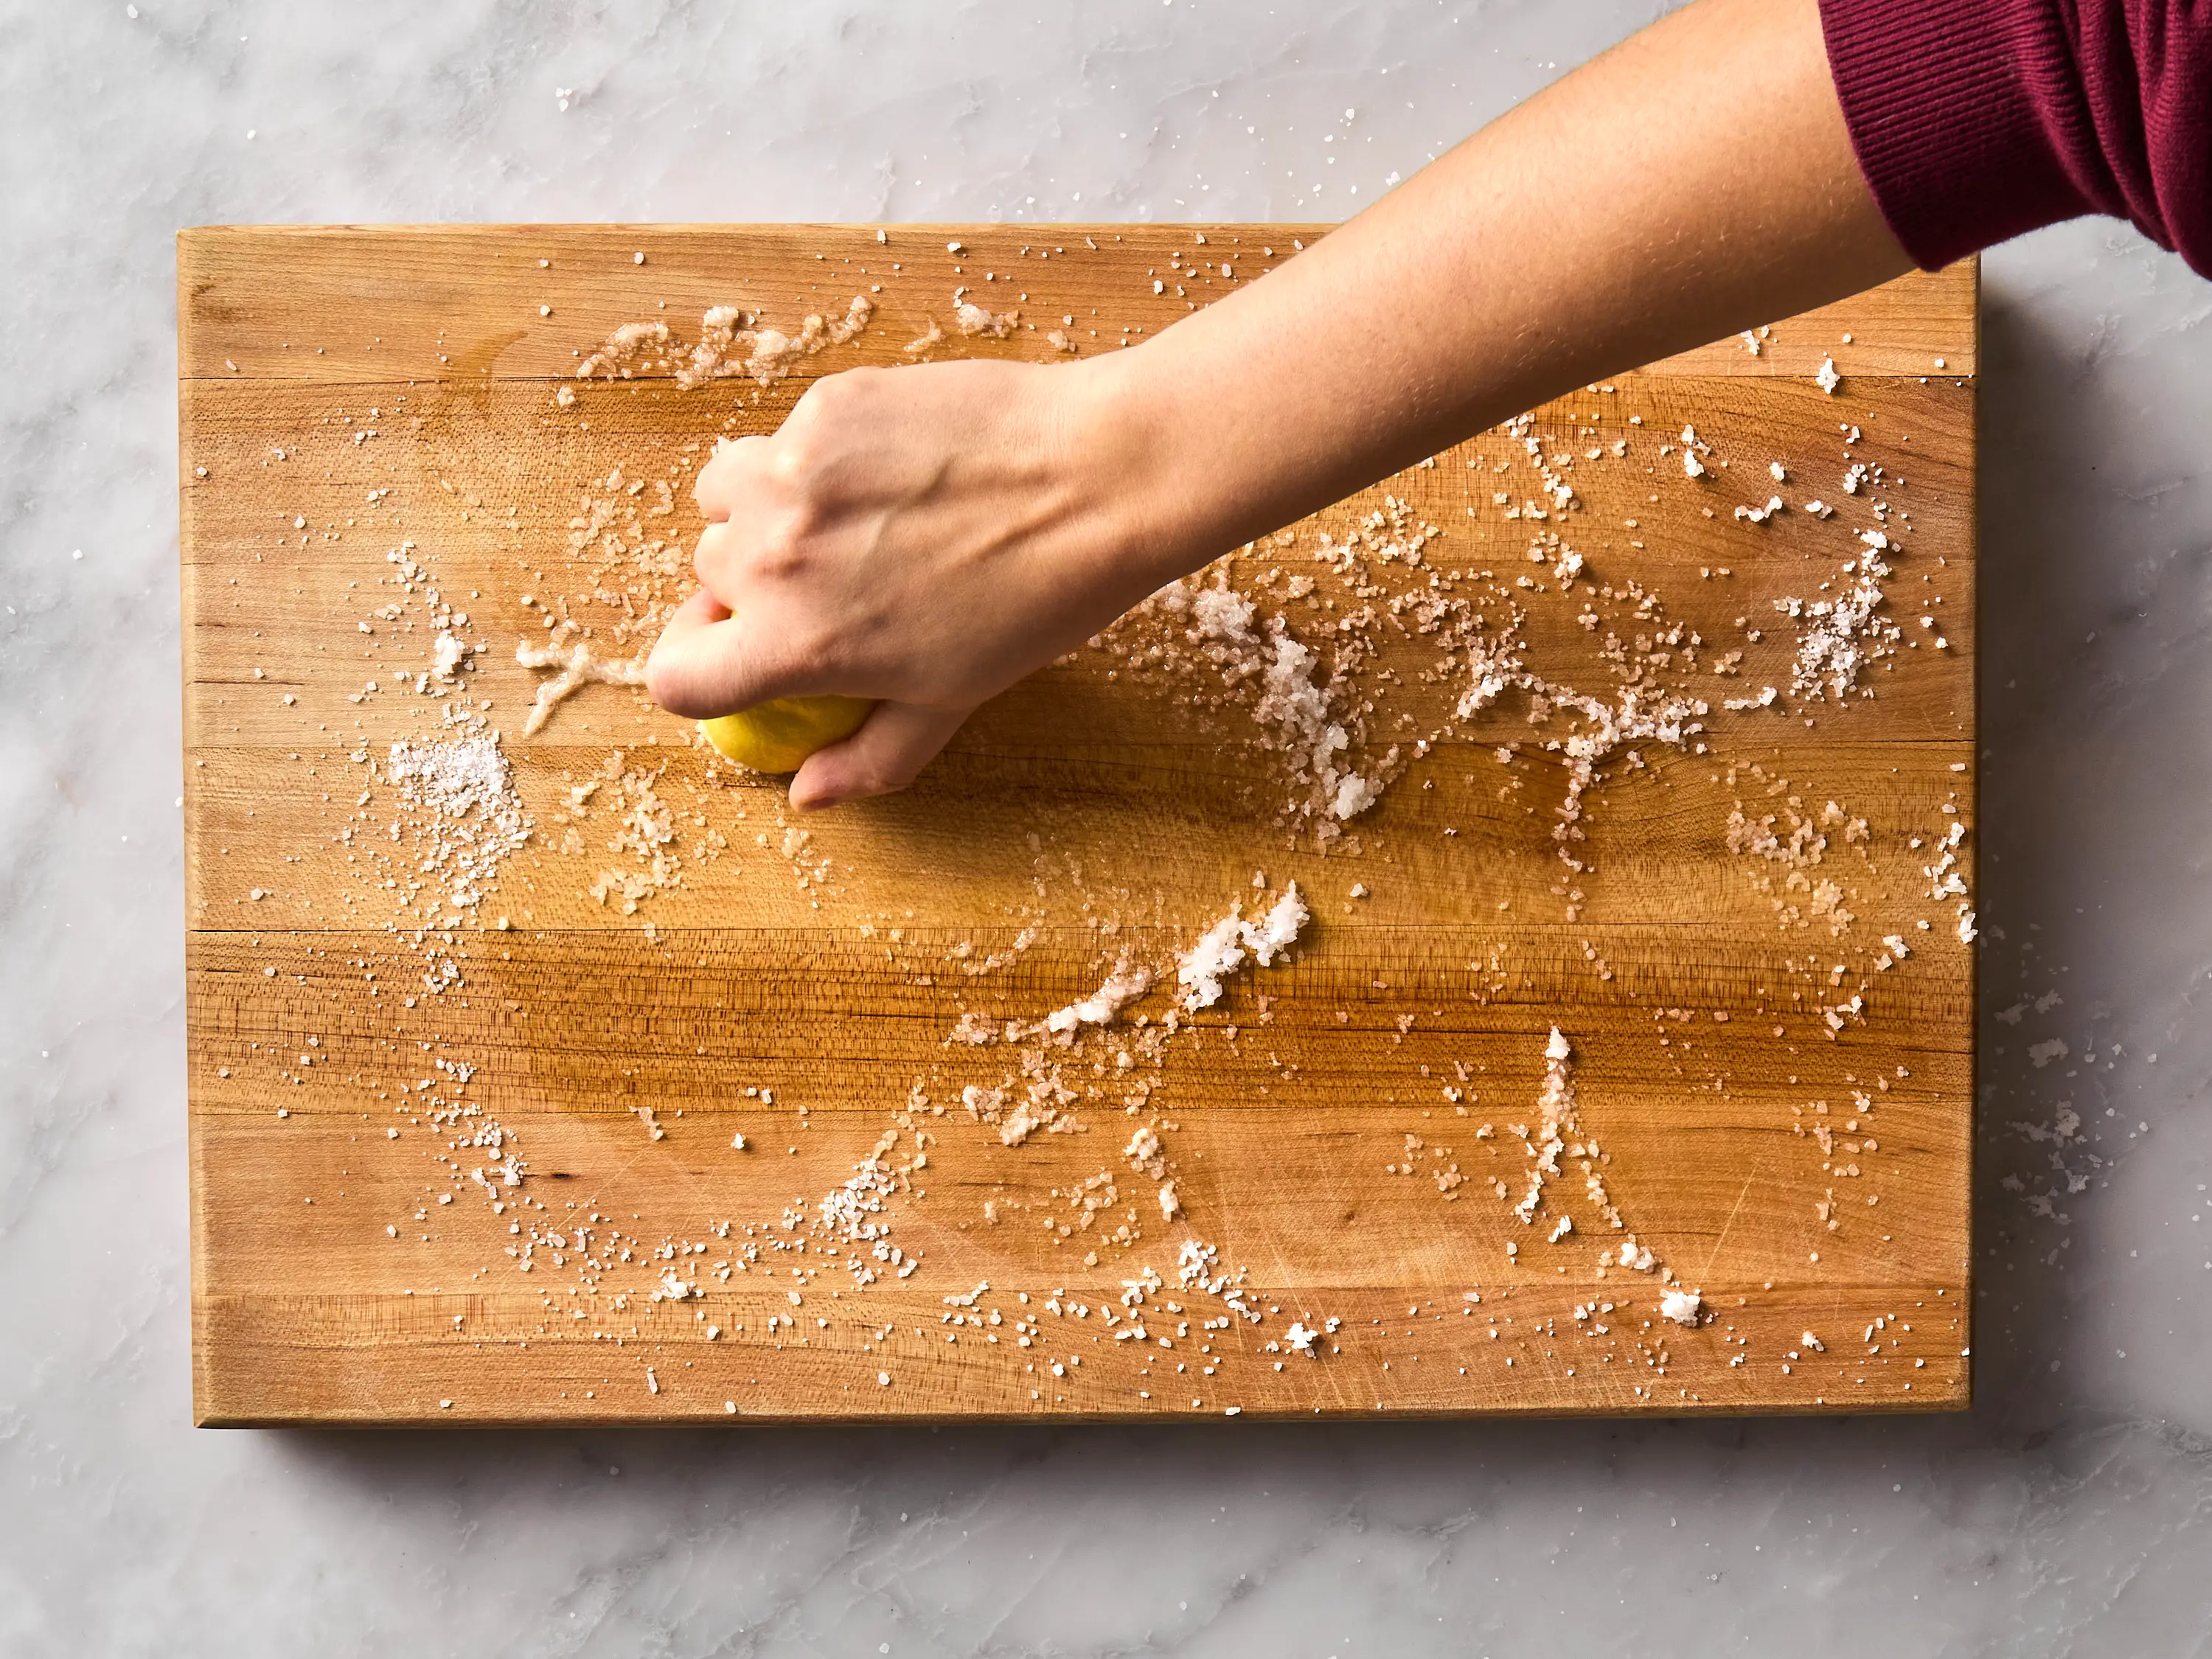
Method 1: Salt and lemon
- Sprinkle coarse salt over the board.
- Cut a lemon in half and scrub the surface with the cut side, squeezing lightly as you go.
- Let it sit for 5 to 10 minutes.
- Rinse and dry upright.
This is my favorite because it is simple and leaves the board smelling bright, not chemically “clean.”
Method 2: Baking soda paste
- Make a paste with baking soda + a splash of water.
- Rub it in gently, especially where you chopped aromatics.
- Let sit for 10 minutes, then rinse and dry.
Method 3: Coffee grounds
If the smell is deep and persistent, damp used coffee grounds can absorb odors.
- Spread a thin layer of damp grounds on the board.
- Let sit for 30 to 60 minutes.
- Rinse well and wash lightly with soap, then dry upright.
Fix a slight warp
If your board rocks on the counter, it is usually because one side absorbed more moisture than the other. Good news: mild cupping can often be coaxed back.
Gentle flattening
- Dry it thoroughly first. Stand it upright for 24 to 48 hours in a well-ventilated spot.
- Lightly dampen the concave side (the side that caves inward). Use a barely damp cloth, not running water.
- Lay it flat with the concave side down on a towel.
- Add even weight. A heavy pan or a few cookbooks on a baking sheet works well.
- Leave it for 24 hours, then check.
Once it is flatter, oil it. Conditioning helps the wood move more evenly with future humidity swings.
When it is bigger trouble
- Deep cracks that catch your fingernail.
- Seams separating on a laminated board.
- A twist (one corner lifted) that does not improve after drying.
Deep clean and smooth
If your board feels fuzzy, has visible staining, or has knife grooves that seem to hold smells, a light refresh can make it feel brand new.
Quick deep clean
- Wash with soap and hot water.
- Scrub with coarse salt and half a lemon for a few minutes.
- Rinse quickly and dry completely.
Keep all of this as low-water as possible. You want clean wood, not a saturated sponge.
Light sanding
This is optional, but it is a renter-friendly upgrade that costs almost nothing.
- Use 220-grit sandpaper and sand with the grain.
- Wipe away dust with a barely damp cloth, then dry.
- Oil generously after sanding.
If your board is a thin, inexpensive one, skip aggressive sanding. You want to smooth, not erase it.
When to replace
I love a well-worn board, but there is a point where “character” becomes “hard to keep truly clean.” Replace it if you notice:
- Deep splits that open and close with humidity.
- Black spots that keep returning after cleaning and thorough drying (possible mold in cracks).
- Loose seams on laminated boards.
- Persistent musty odor that returns quickly after cleaning and drying.
- Excessive gouges where food debris gets trapped.
If it is sentimental, retire it to a dry job: bread, pastries, or as a tray for salt and oil by the stove.
A simple schedule
If you want the low-effort version, here is the rhythm that keeps boards happy without turning your kitchen into a woodworking shop.
- Every use: wash quickly, dry immediately, store upright.
- After raw meat: sanitize with diluted bleach (per label) or hydrogen peroxide.
- Weekly or as needed: deodorize with salt and lemon if smells linger.
- Monthly: mineral oil refresh, then optional wax buff (more often for end-grain or boards that look thirsty).
- Twice a year: light sanding if it feels rough, then oil.
Storage tips
- Give it air. Avoid storing a damp board in an enclosed cabinet or pressed flat against a wall.
- Keep it away from heat. Radiators, oven vents, and sunny windows can dry it unevenly and encourage cracking.
Done right, your board will last for years and it will quietly make your rental kitchen feel more grounded and loved. Which is, honestly, the whole point.