Window AC in a Rental: Seal Gaps, Protect the Sill, Avoid Damage
Clara Townsend
Clara Townsend is an interior stylist, vintage furniture enthusiast, and the creative voice behind Velvet Abode. With over a decade of experience transforming both cramped city apartments and sprawling fixer-uppers, she believes that a beautiful home is built on personal stories rather than massive budgets. When she isn't hunting for the perfect brass sconce at a local flea market, she can usually be found rearranging her living room for the third time this month.
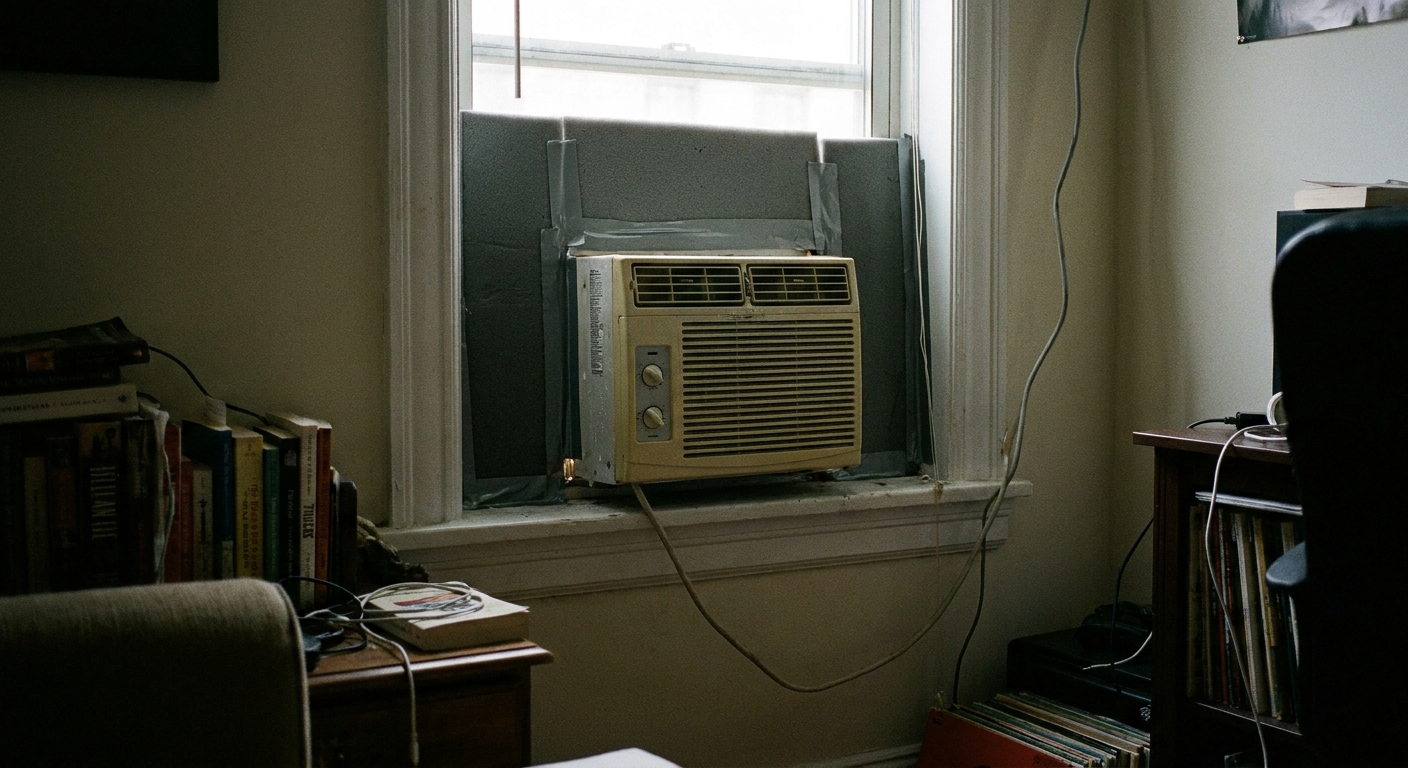
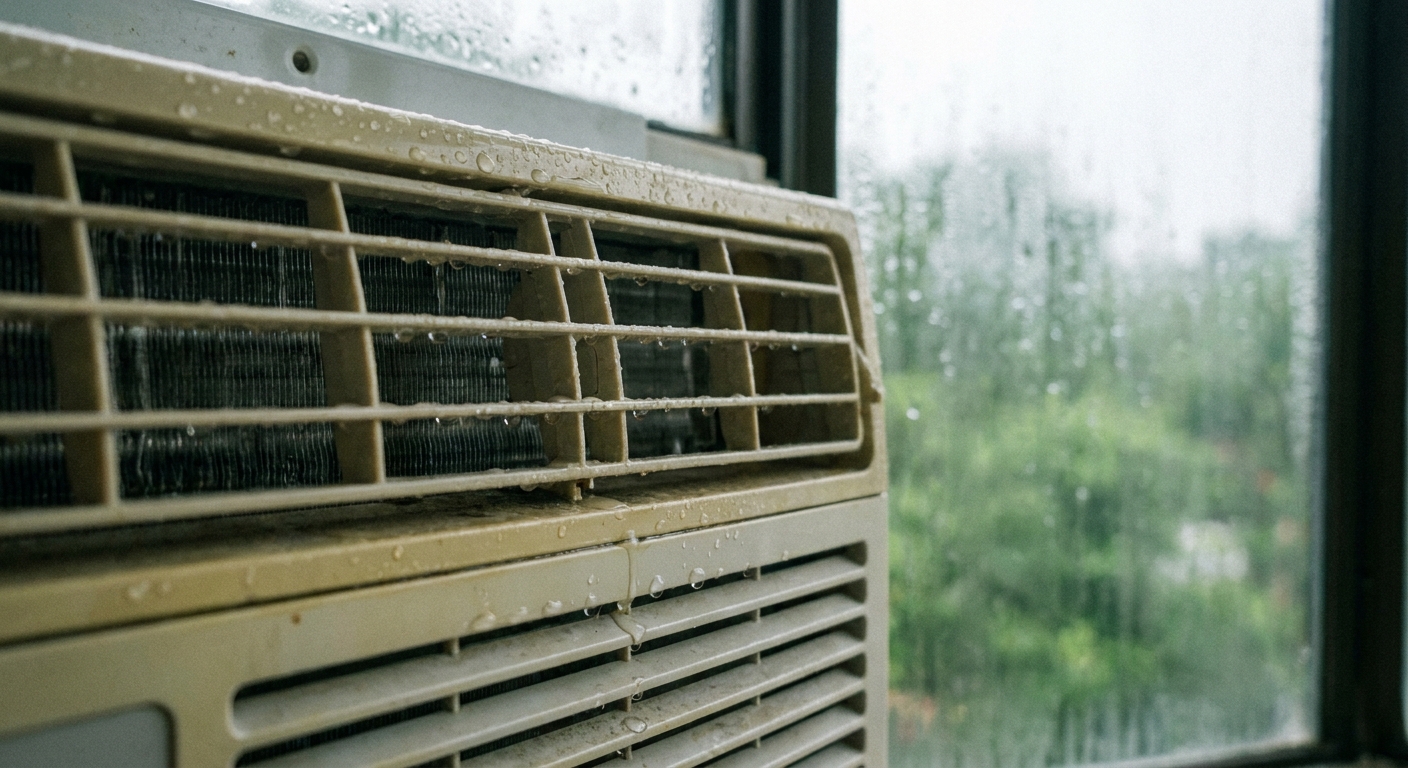
There are few modern luxuries I love more than a window AC humming away while I light a candle and pretend my tiny rental is a breezy seaside cottage. But the romance fades fast when you notice daylight sneaking in around the side panels, condensation dripping onto a painted sill, or your landlord emailing you about “unauthorized alterations.”
The good news: you can make a window unit feel secure, quiet, and properly sealed without drilling random holes or sacrificing your security deposit. Below is my lease-friendly, stylist-approved approach to sealing gaps, protecting the sill, handling drainage, staying safe, and leaving zero drama for move-out day.
Before You Start: A Quick Rental-Safe Reality Check
First, let’s set you up for success and keep you out of lease-trouble.
Skim your lease, then email one calm question
Look for terms like window units, HVAC, alterations, exterior appearance, drilling, or façade. Even if window ACs are allowed, some buildings require a bracket, prohibit units on certain elevations, or have strict “no drip” rules.
If the lease is vague, send a simple note: “Hi, I plan to install a standard window AC. I will not drill into the window frame and will use removable sealing materials. Do you have any building requirements (bracket type, drainage rules, or placement restrictions)?”
Confirm your window type
Most “standard” window ACs are made for double-hung windows (the ones that slide up and down). If you have a slider, casement, or awning window, you may need a dedicated casement AC, a slider kit, or a different solution entirely.
Measure like you mean it
- Window opening width (minimum and maximum if it’s a sliding sash).
- Window opening height (how far the sash can lower and still sit snugly on the unit).
- Sill depth and whether it’s wood, metal, or vinyl.
- Outlet location so you are not tempted to use an extension cord (most manufacturers advise against them).
If your unit is slightly too small for the opening, you can seal it. If it’s too large, no amount of foam will make that safe.
Brackets: What Works in Rentals
A support bracket is less about being fancy and more about preventing three expensive problems: a unit tipping outward, a bent window frame, or a cracked sill. Brackets also signal “I installed this responsibly,” which never hurts in a rental.
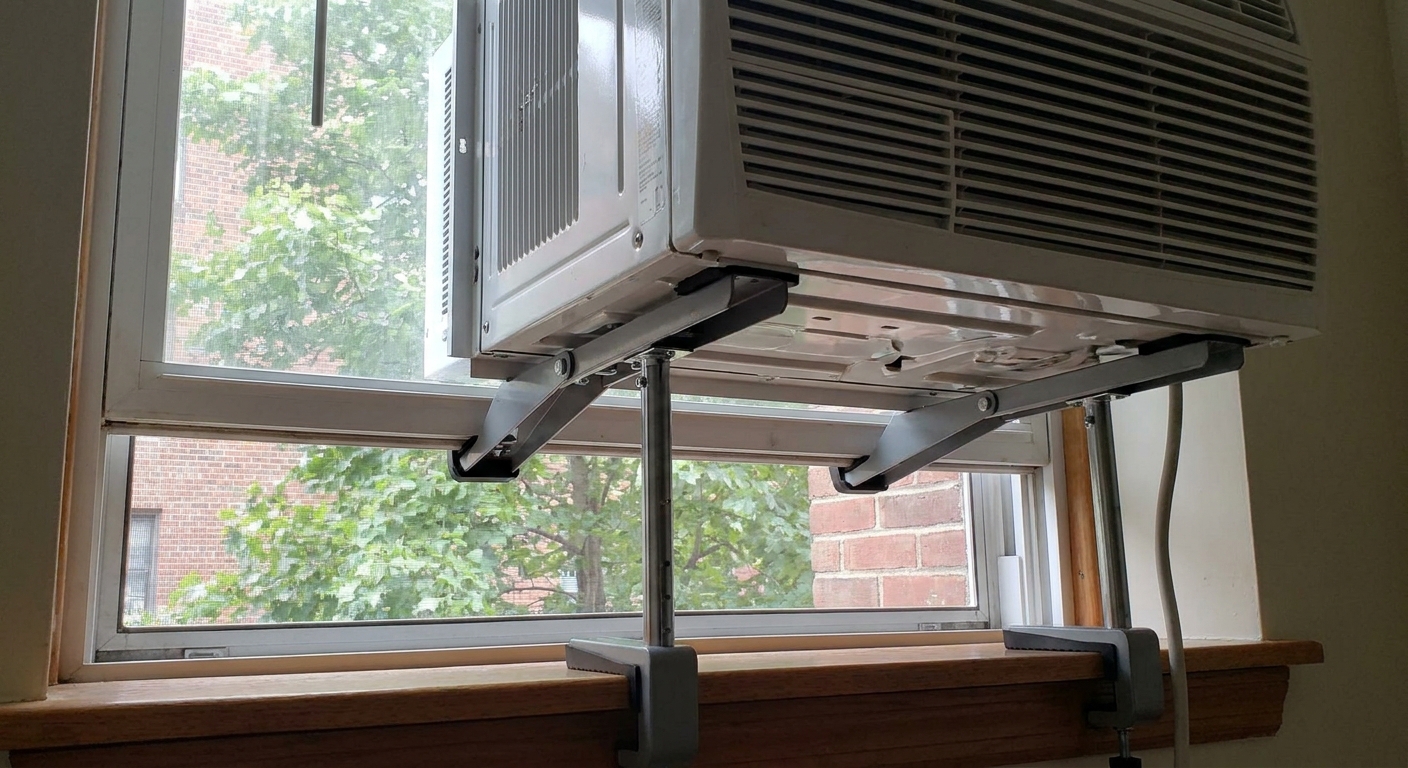
No-drill support brackets (often best for rentals)
Look for brackets that brace against the exterior wall and hook or clamp in place without permanent fasteners. Many modern models use adjustable arms and rubberized contact points to protect surfaces.
Important nuance: some “no-drill” brackets still use set screws in the window track, or they press against exterior stucco, brick, or trim. Before you buy, confirm exactly where the bracket bears weight, and make sure your building allows contact with those exterior surfaces.
- Pros: often lease-friendly, easier removal, less risk to the frame.
- Cons: still needs careful setup and may not fit every window style or building rule.
Sill-mounted brackets with screws (ask first)
Some brackets screw into the sill or window frame. They are sturdy, but in a rental they can create obvious patch-and-paint work, or worse, split old wood.
- Pros: extremely secure for heavier units.
- Cons: likely considered an alteration, may trigger deposit deductions.
When a bracket is non-negotiable
Consider a bracket mandatory if:
- Your unit is heavy. Check the actual weight and compare it to the bracket’s weight rating.
- Your window frame is older or a little wobbly.
- You are above the ground floor and you want peace of mind.
BTUs can hint at size, but weight varies a lot by design (including inverter and U-shaped models). Trust the weight specs, not just the BTU number.
Seal the Gaps: Block Heat, Bugs, and Noise
This is the part that makes your space feel calm. A well-sealed unit cools better, runs less, and blocks that summer parade of dust and tiny insects.
What you want in your sealing kit
- Foam weatherstripping (various widths and thicknesses).
- Foam side panel seal strips (often included, but aftermarket is usually better).
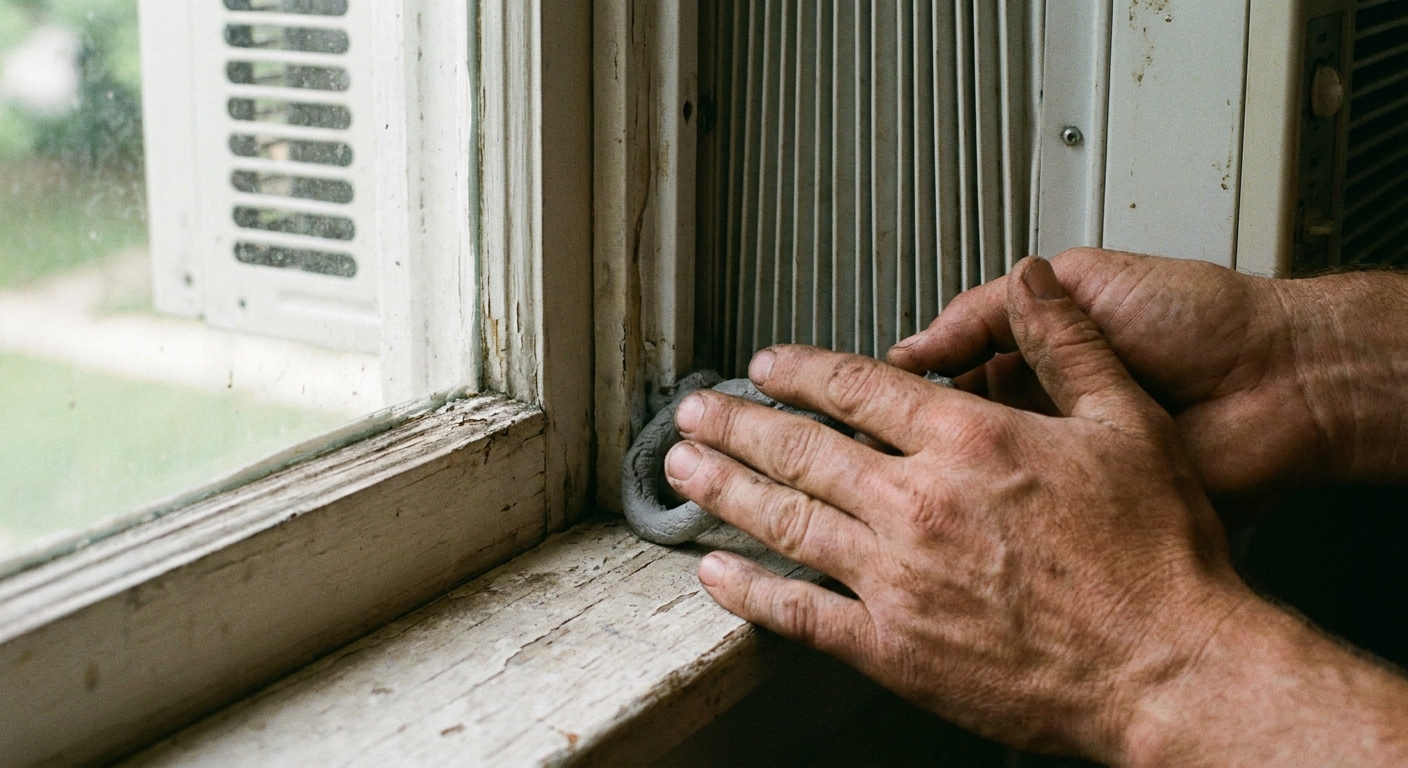
- Removable caulk cord (also called rope caulk) for temporary cracks.
- Clear removable mounting tape for stabilizing side panels (use sparingly).
- Scissors and rubbing alcohol for clean adhesion.
Step-by-step sealing that looks tidy
- Clean contact points on the frame and sill with rubbing alcohol and let dry.
- Fill the top gap between the lowered sash and the unit using foam weatherstripping. This is where a surprising amount of hot air sneaks in.
- Seal the meeting rail and lock area (where the sash meets the frame and where the latch sits). These tiny gaps leak more than you think.
- Seal the side panels by adding foam strips where the accordion panels meet the window frame. If you can see light, you need more thickness.
- Use rope caulk for thin, uneven cracks. It presses in easily and peels out later.
Stylist tip: If the accordion panels look flimsy, you can cut a piece of rigid foam insulation board to fit the side gaps instead. It seals better and feels less “temporary.” Measure carefully and keep the cuts clean.
Do not forget security: your window should still be able to lock after sealing. If the sash will not lock, use a removable window security bar or a removable sash lock designed for rentals.
Protect the Sill: Avoid Scratches and Stains
Rental sills take a beating because they are usually painted wood, and painted wood does not love pressure, vibration, or moisture.
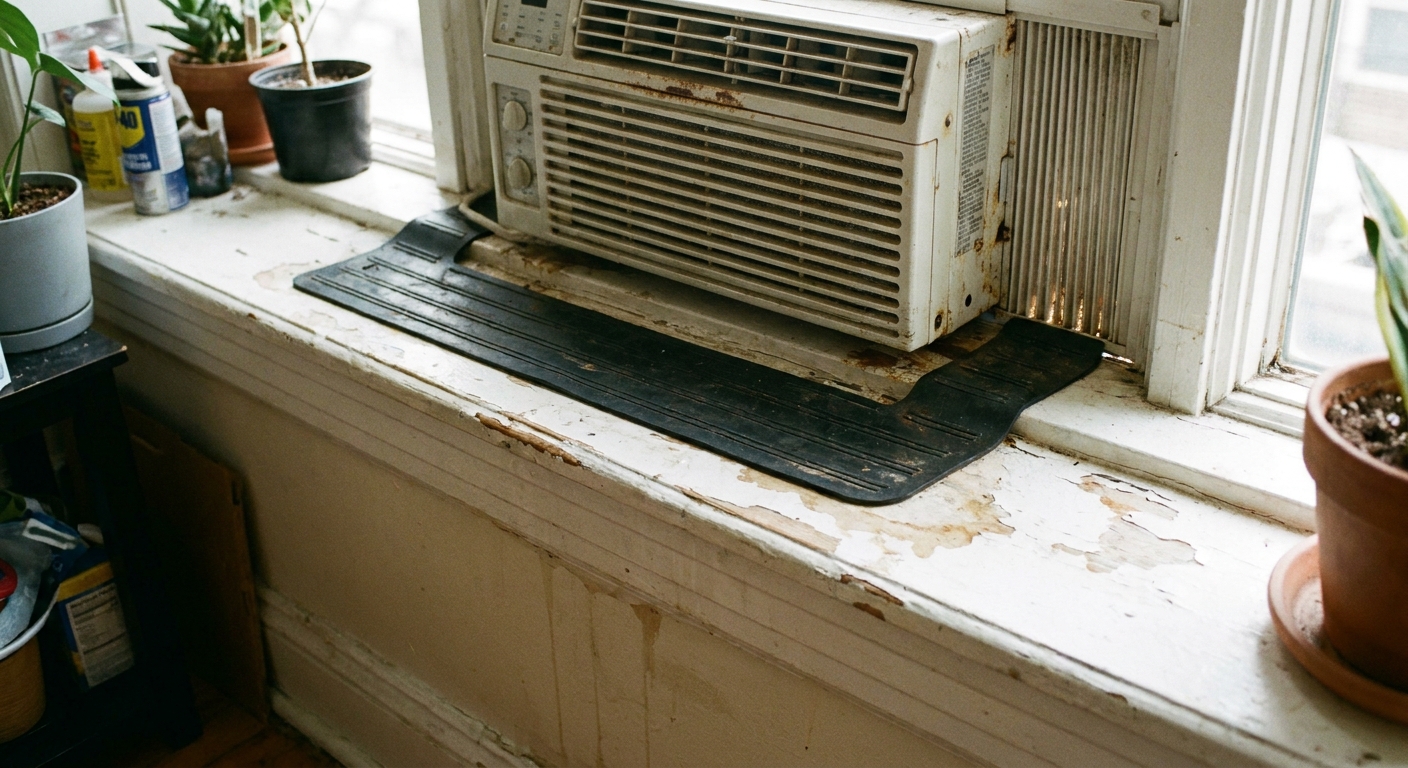
Create a removable barrier layer
Before the unit goes in, add a protective layer where it will sit:
- Non-slip shelf liner cut to size (great grip, easy removal).
- Thin rubber mat (excellent for vibration and small leveling adjustments).
- Clear furniture film on painted sills (test a small area first to ensure it removes cleanly).
Avoid anything aggressively adhesive that can pull paint, especially on older windows.
Prevent dents and pressure marks
If the unit’s feet are narrow and heavy, place small squares of rubber or felt under the contact points. Think of it like coasters for your AC.
Drainage: Keep Water Where It Belongs
Most window units dehumidify as they cool. That moisture has to go somewhere. Mismanaged condensation is one of the most common reasons renters end up with peeling paint, swollen trim, or a musty smell that lingers long after summer.
Set the correct tilt
Many units are designed to sit with a slight tilt downward toward the exterior so condensation drains outside. Too flat can cause water to pool inside. Too steep can strain the frame and look alarming.
Check the manual, then use a small level if you have one. If you need a micro-adjustment, a thin rubber shim under the interior edge can help.
Do not add a drain hole unless the manual says so
Some models are designed to keep water in the pan and sling it onto the condenser for efficiency. Drilling or removing plugs can reduce performance and create surprise drips. In a rental, surprise drips usually become surprise deductions.
Is dripping outside normal?
Sometimes, yes. Some units drip outside by design. Others should drain more quietly, or only under very humid conditions. Use your manual as the source of truth and pay attention to where the water is landing. If it is dripping onto a neighbor’s ledge or window below, you may need to adjust placement, tilt, or choose a model with different drainage behavior to comply with building rules.
Protect interior surfaces from sneaky sweat
- Wipe the sill weekly during humid stretches.
- Keep curtains from resting against the unit where they can trap moisture.
- If the room feels clammy, run the unit on a dehumidify or dry mode if available.
Security: Lock It Down
A window AC should not make your apartment easier to break into. The goal is simple: the sash stays shut, the unit cannot slide, and the window remains secure.
Keep the sash locked
- Use the existing window lock if it still aligns properly after installation.
- If it does not, add a removable window lock or a tension security bar in the track so the sash cannot lift.
Prevent shifting
- Make sure the unit is seated firmly on the sill and supported by the bracket.
- If your model includes small frame locks or panels that screw into the unit itself, use them as directed. Avoid screws into the window frame unless you have written approval.
Electrical: Keep It Safe (and Quiet)
Window ACs pull real power. A little planning prevents hot cords, tripped breakers, and that mid-heatwave “why did everything go dark?” moment.
Plug it in the right way
- Plug directly into a properly grounded outlet whenever possible.
- Avoid extension cords unless the manufacturer explicitly allows it and the cord is heavy-duty and correctly rated. Even then, it is still not ideal.
- Do not run the cord under rugs or pinch it behind furniture.
Watch the circuit load
If the breaker trips, or the outlet feels warm, stop and reassess. Some apartments need a dedicated circuit for an AC, especially if you are also running a microwave, toaster oven, or portable heater on the same line. When in doubt, ask building maintenance or an electrician.
If your outlet is GFCI (common in kitchens or near sinks) and it trips repeatedly, that is a signal to troubleshoot, not to override.
Noise: Make It Less… Loud
Window units are not known for their subtlety, but you can soften the sound dramatically with a few tweaks.
Stabilize the unit to stop rattles
- Confirm it is seated firmly on the sill and bracket.
- Add thin foam strips where plastic meets metal if you hear buzzing.
- Tighten accessible screws on the side panels (do not open the unit casing).
Seal gaps for sound, not just air
Air gaps are also noise gaps. Upgrading from the flimsy included foam to denser weatherstripping can make street noise feel noticeably more distant.
Add soft textiles nearby
This is my homebody trick: add softness nearby so the sound feels less sharp. A thicker rug pad, linen curtains, or even a quilt folded over the back of a nearby chair helps absorb some of that hard mechanical hum.
Exterior Rules: The Stuff People Forget
This is where renters get surprised, because the rules are often building-specific.
- Do not block a fire escape or restrict an egress window. If your window is part of your only escape route, verify what is allowed.
- Follow façade rules for what can be visible from the street (and whether brackets can touch exterior surfaces).
- Mind the drip line so you are not watering your neighbor’s sill below. Some buildings have explicit “no drip” requirements.
Documentation: Your Future Self Will Thank You
If you take nothing else from this article, take this: document the condition before and after. It is simple, fast, and wildly effective.
What to photograph
- The window sill and trim before installation (close-up and wider shot).
- The unit installed, showing that it is supported and sealed.
- Any protective layers you used (liner, rubber mat, etc.).
- The sill and trim again at the end of the season after you clean it.
What to keep
- Receipt for the unit and any bracket.
- The manual (or a PDF link saved in your notes).
- A short email thread with your property manager if you asked for approval.
It is not about being paranoid. It is about being prepared.
End-of-Season Checklist
Whether you are taking the unit out for winter or moving across town, removal is where renters accidentally scratch paint, gouge sills, or leave sticky residue. Here is the clean, calm way.
Removal steps
- Turn off and unplug the unit.
- Let it run on fan-only for 30 to 60 minutes if possible to dry interior moisture.
- Remove side panels carefully and set hardware in a bag.
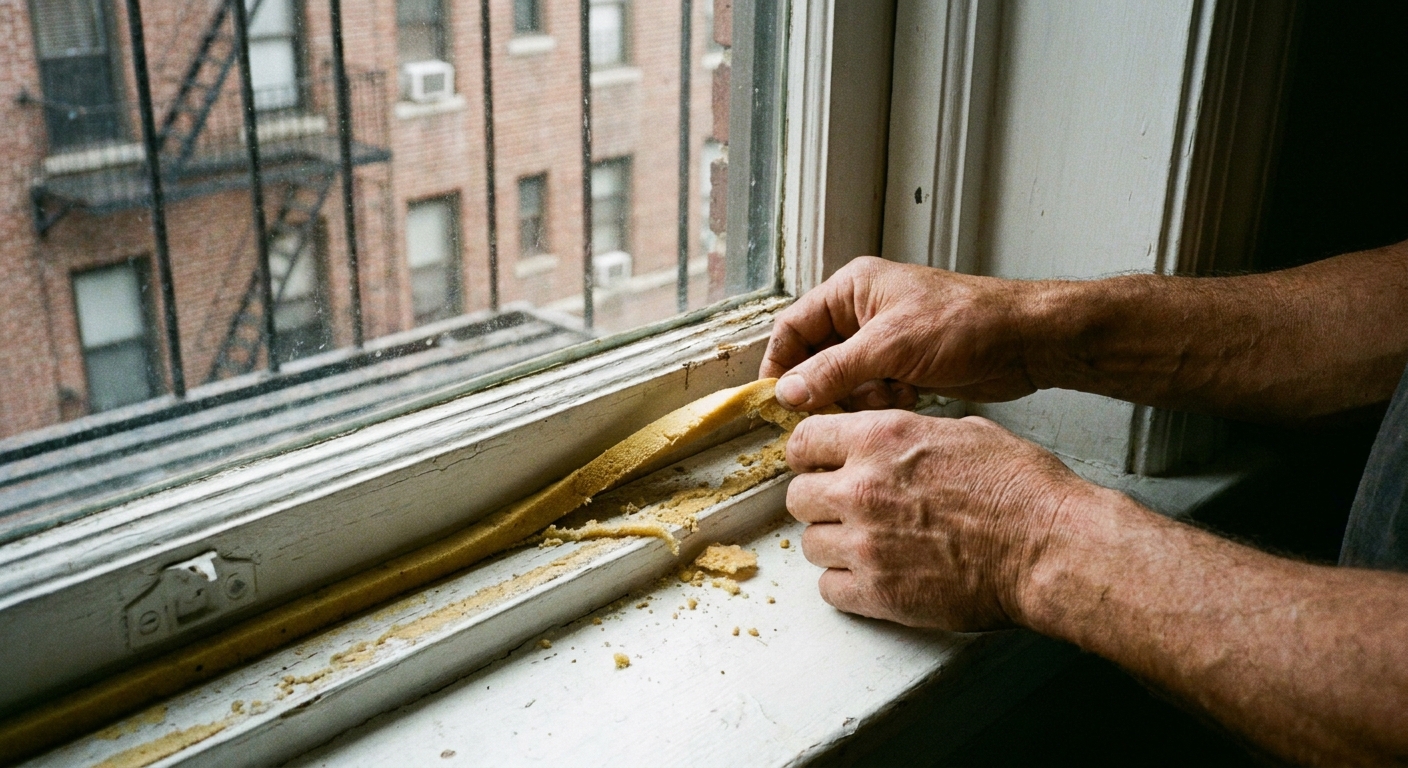
- Peel away foam and rope caulk slowly. If residue remains, use warm soapy water or a small amount of rubbing alcohol on a cloth (spot test first).
- Lift the unit with help if it is heavy. This is not the moment to prove you are stronger than physics.
- Wipe the sill and surrounding trim. Look for scuffs or damp spots.
- Touch-up only if required and only with landlord-approved paint. Otherwise, leave it clean and documented.
Quick maintenance while you are here
- Clean or replace the filter (most slide out from the front). A clean filter helps performance and smell.
- Check for mildew on the front grille and surrounding seal area, and wipe with a mild cleaner.
- Store it upright if possible. If it must be laid on its side for transport, check the manual for how long to wait before powering it back on.
Final walk-through check
- No screw holes in the frame or sill (unless explicitly approved).
- No adhesive stuck to paint.
- No water stains or bubbling paint.
- Window opens, closes, and locks smoothly.
Common Mistakes That Cost Deposits
- Using permanent adhesives on painted wood and tearing paint at removal.
- Skipping sill protection and leaving dents, scratches, or worn-through paint.
- Incorrect tilt leading to interior water damage.
- Improvised supports like stacked books or loose scrap wood (unstable and looks unsafe).
- Ignoring building rules about brackets, exterior appearance, fire escapes, or drainage.
- Overloading a circuit and repeatedly tripping breakers.
If you want a simple guiding principle: anything that creates water damage, holes, or peeled paint is where deposits go to die.
A Cozy, Cool Home Without Move-Out Regret
A window AC does not have to feel like a necessary evil. With the right bracket, a thoughtful seal, and a little sill protection, it can be just another quiet, functional layer in your home.
And when you are ready to move, you will not be staring at a scuffed windowsill thinking, “Well, that was an expensive summer.”
If you are unsure what to buy first, start with: a no-drill support bracket that matches your window and exterior rules, quality foam weatherstripping, and rope caulk. Those three do most of the heavy lifting in rentals.