Weighted Blanket Care
Clara Townsend
Clara Townsend is an interior stylist, vintage furniture enthusiast, and the creative voice behind Velvet Abode. With over a decade of experience transforming both cramped city apartments and sprawling fixer-uppers, she believes that a beautiful home is built on personal stories rather than massive budgets. When she isn't hunting for the perfect brass sconce at a local flea market, she can usually be found rearranging her living room for the third time this month.
A weighted blanket is basically a cozy little engineering project. It is part comfort, part construction, with pockets of beads or glass pellets that behave beautifully when they are evenly distributed and a bit… dramatic when they are not. The good news: many weighted blankets can be cleaned at home if you treat them less like regular bedding and more like a structured textile that needs support.
First, the non-negotiable: always check the care tag and follow it. If your label says spot clean only or dry clean only, do not machine wash, even if the steps below sound reasonable. Some heavy inserts, certain linings, and many knitted weighted blankets are specifically not built for a washer or dryer.
This guide is manufacturer-agnostic, so you can use it whether your blanket is cotton, minky, microfiber, linen blend, or something in between. Unlike sheepskin and wool throws, weighted blankets rely on internal structure and fill distribution, so the care priorities are different.

Before you wash: 2 minutes that prevent 2 hours of regret
1) Identify what you are washing
Weighted blankets are usually built one of three ways:
- Duvet-style with a removable cover: Wash the cover often, the insert rarely. This is the easiest setup.
- One-piece blanket: The outer fabric and weighted insert are sewn together. You will be washing the whole thing.
- Knitted weighted blanket: Chunky knit style, often with weight created by the yarn itself rather than loose beads. These can snag and stretch, so they often need hand-washing and flat drying if the label allows washing at all.
2) Check your washer capacity (not just the blanket weight)
This is the make-or-break detail. A weighted blanket gets significantly heavier when it absorbs water, and that wet weight is what strains machines. Check your washer manual for max load guidance, and be realistic about what your drum can tumble without forcing it.
As a practical rule of thumb, many home washers struggle once you get into the 15 to 20 lb dry range, and some struggle sooner. If your blanket is 20 to 25 lb dry, assume a typical home washer may be the wrong tool.
If your machine groans, thumps, walks , or you cannot comfortably close the door without forcing it, stop and do not start the cycle. Use a laundromat with a large-capacity front load washer or choose spot-cleaning.
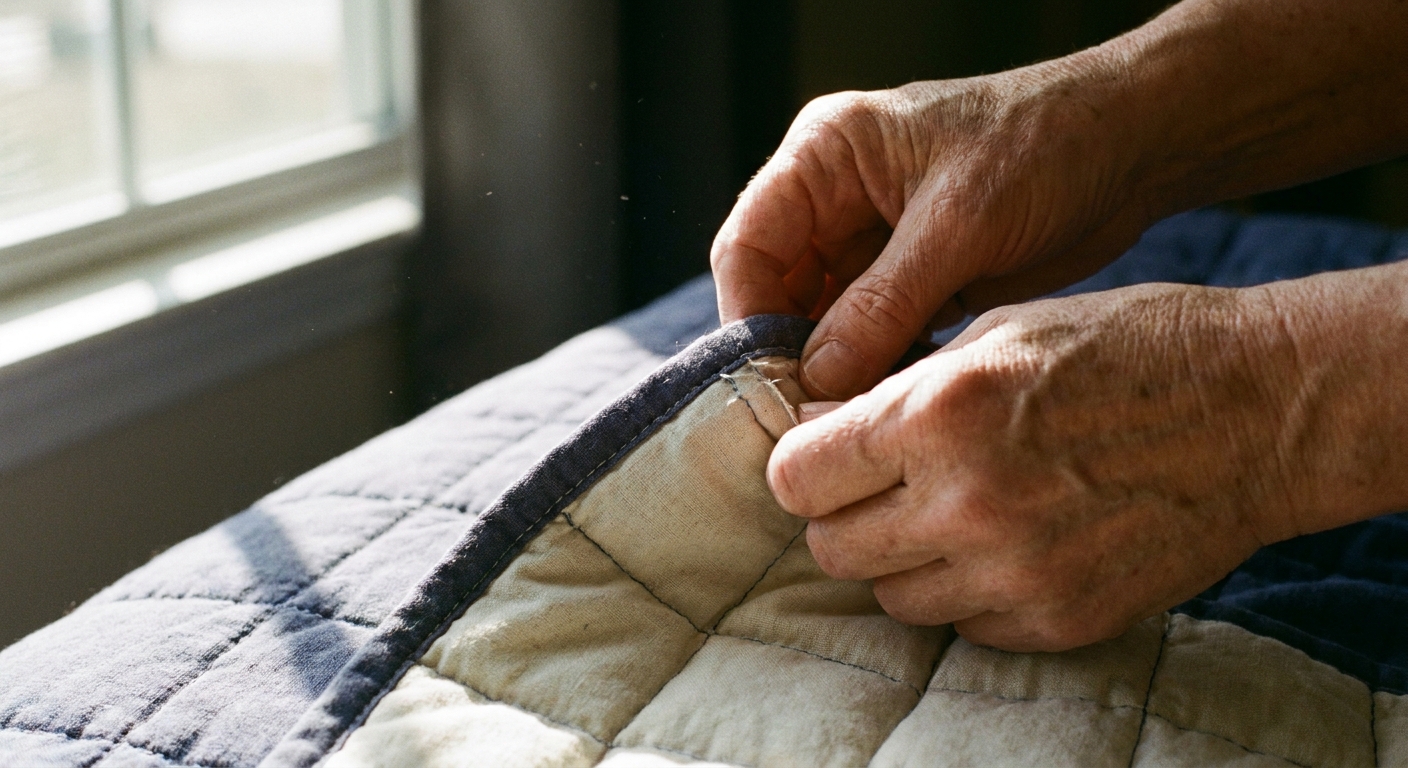
3) Do a quick seam and pocket check
Turn the blanket over and look for popped stitches, thin spots, or open corners. If you see damage, do not machine wash yet. Water and agitation will push beads toward any weak seam like they have a plan.
4) Pre-treat like you mean it
Spot-treat stains before the blanket goes in the wash so you can use a gentler cycle overall. Use a small amount of mild liquid detergent on a damp cloth and blot, not scrub. For body oils at the neck edge, a tiny drop of dish soap can help, but rinse that area well so it does not leave residue.
Washer type: why it matters
Front-loading washers are usually safer
Front load washers tumble the blanket through water rather than twisting it around an agitator. That gentler movement helps protect:
- Internal baffles and pocket stitching
- Outer fabrics like minky and brushed microfiber
- Even distribution of beads or pellets
Top load washers can be risky
A top load washer with a center agitator can grab a heavy blanket and torque it hard. That is how you get:
- Stress on seams and corner stitching
- Balling up where weight collects in one area
- Machine imbalance that can damage both the blanket and the washer
If a top load washer is your only option, choose a model without a center agitator if possible, and use the gentlest cycle with the lowest spin speed your machine allows.
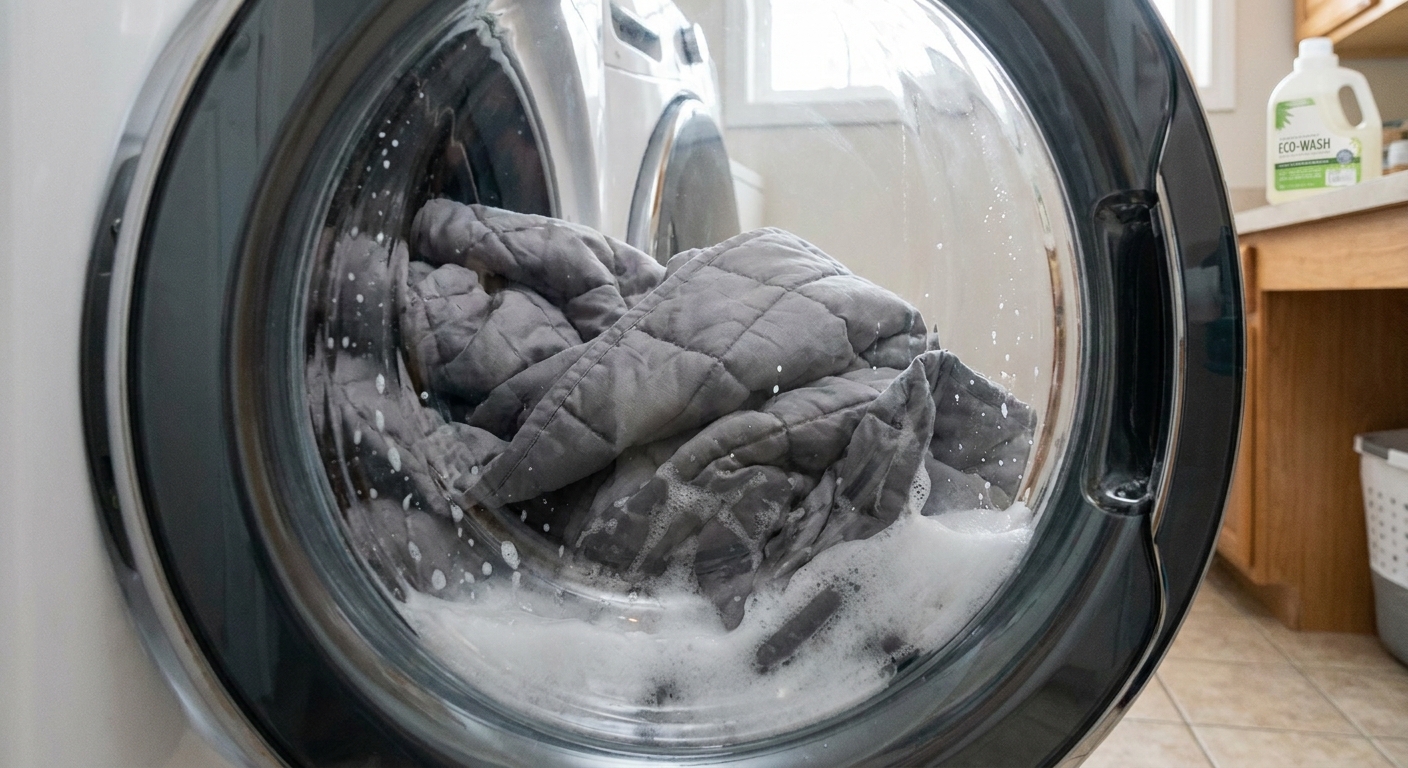
How to machine wash a weighted blanket
Step 1: Balance the load
Wash the blanket alone. Adding towels seems smart, but it often makes the load heavier, more uneven, and harder for the drum to spin smoothly.
Step 2: Choose cold or cool water
Cold or cool water helps prevent shrinking, dye bleed, and texture changes. Heat can also soften or warp some synthetic fibers over time.
Step 3: Pick a gentle cycle and use less detergent
- Cycle: Delicate, gentle, or bedding cycle.
- Detergent: Mild liquid detergent, about half of what you would use for a normal load.
- Avoid: Bleach, fabric softener, and heavy scent boosters. They can leave residue that reduces softness and wicking, and may trap odors over time.
Step 4: Use a low-spin strategy
High spin is where clumping and seam stress love to happen. Choose:
- Low spin, or
- No spin plus an extra drain if your machine offers it
If your washer does a mandatory high spin, you can sometimes pause before the final spin and switch to a drain-only setting. Do this only if your machine allows mid-cycle changes (many lock the door and will not cooperate). If you cannot change it, reduce spin speed as much as possible and let drying do the slow work.
Step 5: Add an extra rinse
Weighted blankets can hold detergent in their quilting and fill layers, so residue is common. An extra rinse helps keep the fabric soft and helps prevent that slightly stiff, coated feel after drying.
Drying: avoid clumping and damage
If washing is about being gentle, drying is about being patient. Most clumping happens because the fill shifts while damp and then sets that way as it dries. Your goal is even support and thorough drying.
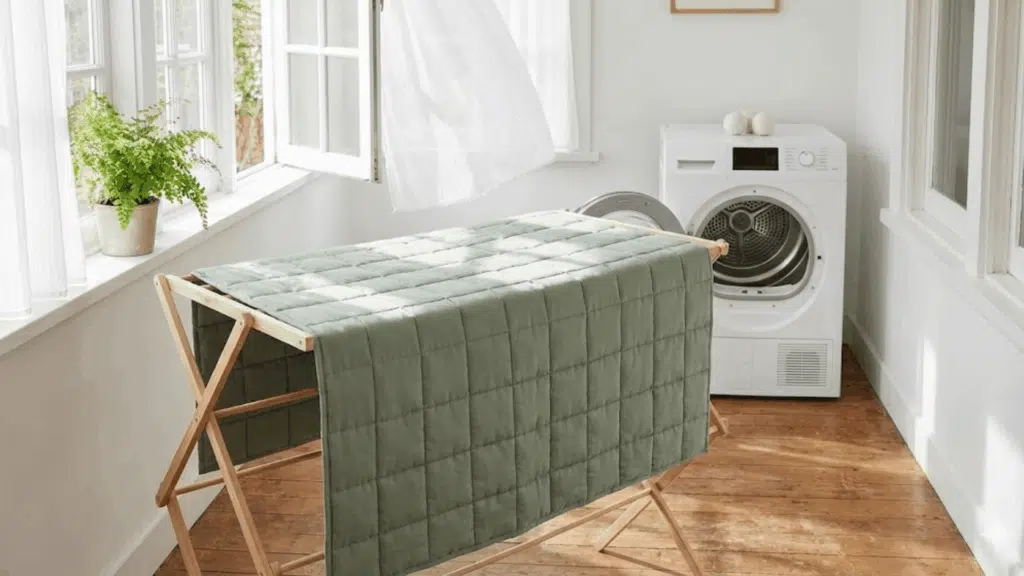
Option A: Air-dry (most foolproof)
Air-drying is slower but kinder on pocket stitching and fabrics.
- Best setup: Lay the blanket flat on a large drying rack or on top of several clean towels on a bed.
- Support matters: Avoid hanging a very wet weighted blanket by one edge. It can stretch the outer shell and pull fill downward.
- Flip and re-shape: Every few hours, flip the blanket and gently pat the pockets to keep the fill spread out.
- Airflow: Use a fan, run a dehumidifier if you have one, and crack a window if weather allows.
Time expectations: indoors, it can take 24 to 48 hours depending on humidity and thickness. Do not put it back on the bed until it is fully dry to the core, or you risk mildew and that stubborn “it never quite smells clean” odor.
Option B: Tumble dry low (only if the label allows)
Some one-piece weighted blankets can be tumble dried on low heat or air fluff. Others cannot, even on low, especially if they use certain plastic pellets, adhesives, or laminated linings. Always follow the care tag.
If you choose the dryer route:
- Use low heat only or air fluff.
- Add wool dryer balls to encourage gentle movement and reduce clumping.
- Stop the cycle every 15 to 20 minutes to redistribute the fill by hand.
If the blanket feels hot, the cycle is too aggressive. Heat is what quietly shortens the lifespan of plush fabrics and can weaken internal components over time.
Option C: Hybrid method (best for heavy blankets)
Air-dry until the blanket is no longer dripping and feels about 70 percent dry, then finish with 10 to 20 minutes on air fluff or low heat (if allowed) to soften the surface. This reduces the time the fill is mobile while still wet.
How to fix clumping
Clumping usually means moisture plus gravity plus time. The fix is basically the reverse: support plus patience plus a little hands-on redistribution.
Clump recovery for bead or pellet fill
- Lay it flat on a bed or clean floor.
- Find the pocket lines with your fingertips so you are moving fill within the stitched channels, not fighting them.
- Massage outward from the clump toward emptier pockets using short, firm pushes.
- Shake gently while holding two corners, then lay it flat again.
- Repeat while drying. Clumps are easiest to break up when the blanket is slightly damp, not soaking wet and not bone dry.
If the blanket is fully dry and still clumped
Lightly mist the clumped area with water (a spray bottle is perfect), then repeat the massage method. Keep it light. You want flexibility, not a re-soak. Afterward, dry that area fully with good airflow to avoid mildew.
When clumping means something else
If you feel sharp, crunchy, or uneven spots that do not redistribute, you might be dealing with:
- Broken internal baffles that allow fill to migrate
- Compacted fiberfill in mixed-fill designs
- Warped knit structure in chunky knit weighted blankets
In those cases, stop tugging hard. Aggressive pulling can pop seams. A local alteration or upholstery shop can sometimes repair channels and reinforce stitching.
Spot-cleaning and deodorizing
If your weighted blanket is too heavy for your machine or you just want to wash it less often, in-between care makes a big difference.
Spot-clean the right way
- Blot spills quickly with a dry towel.
- Use a damp cloth with a small amount of mild detergent.
- Rinse the area with a clean damp cloth.
- Press with a towel to remove moisture, then air-dry flat with airflow.
Freshen without soaking
- Air out: Drape it over a railing indoors near an open window for a few hours.
- Baking soda: Lightly sprinkle, let sit 30 to 60 minutes, then vacuum with an upholstery attachment.
Avoid heavy fragrance sprays. They tend to cling to plush fibers and can leave a sticky feel over time.
How often to wash it
If your blanket has a removable cover
- Cover: Every 1 to 2 weeks, like regular bedding (more often if you sleep hot or have pets).
- Insert: Every 2 to 4 months, or seasonally, unless there is a spill or odor issue. Spot-clean and air out in between.
If your blanket is one-piece
- Wash every 1 to 3 months depending on use, and lean on spot-cleaning and airing out to stretch the time between washes.
Material notes (quick but useful)
- Minky and microfiber: Heat and fabric softener can mat the texture. Stick to cool water, gentle cycles, and low or no heat drying if allowed.
- Cotton and linen blends: More prone to shrinkage and wrinkles with heat. Cool water helps.
- Knits: Often stretch when wet. If washing is permitted, use very gentle handling and dry flat with full support.
Common mistakes
- Skipping the care tag: some are spot-clean only or dry-clean only.
- Using hot water or high heat drying: can shrink covers, dull softness, and stress stitching.
- High spin cycles: encourages clumping and can create seam strain.
- Overloading the washer: risks machine damage and poor cleaning.
- Fabric softener: leaves residue, reduces softness and wicking, and can trap odors.
- Hanging a soaking-wet blanket: can stretch the shell and pull fill downward.
- Putting it away damp: invites mildew and lingering odor.
Quick care cheat sheet
If your blanket has a removable cover
- Wash the cover like regular bedding on gentle, cold to cool.
- Spot-clean and air out the insert.
If your blanket is one-piece
- Front load washer preferred.
- Cold water, gentle cycle, minimal detergent.
- Low spin or no spin when possible.
- Air-dry flat, flipping and patting pockets.
If clumps happen
- Redistribute while slightly damp.
- Massage along pocket seams.
- Use airflow and flat drying support to prevent re-clumping.
Final note
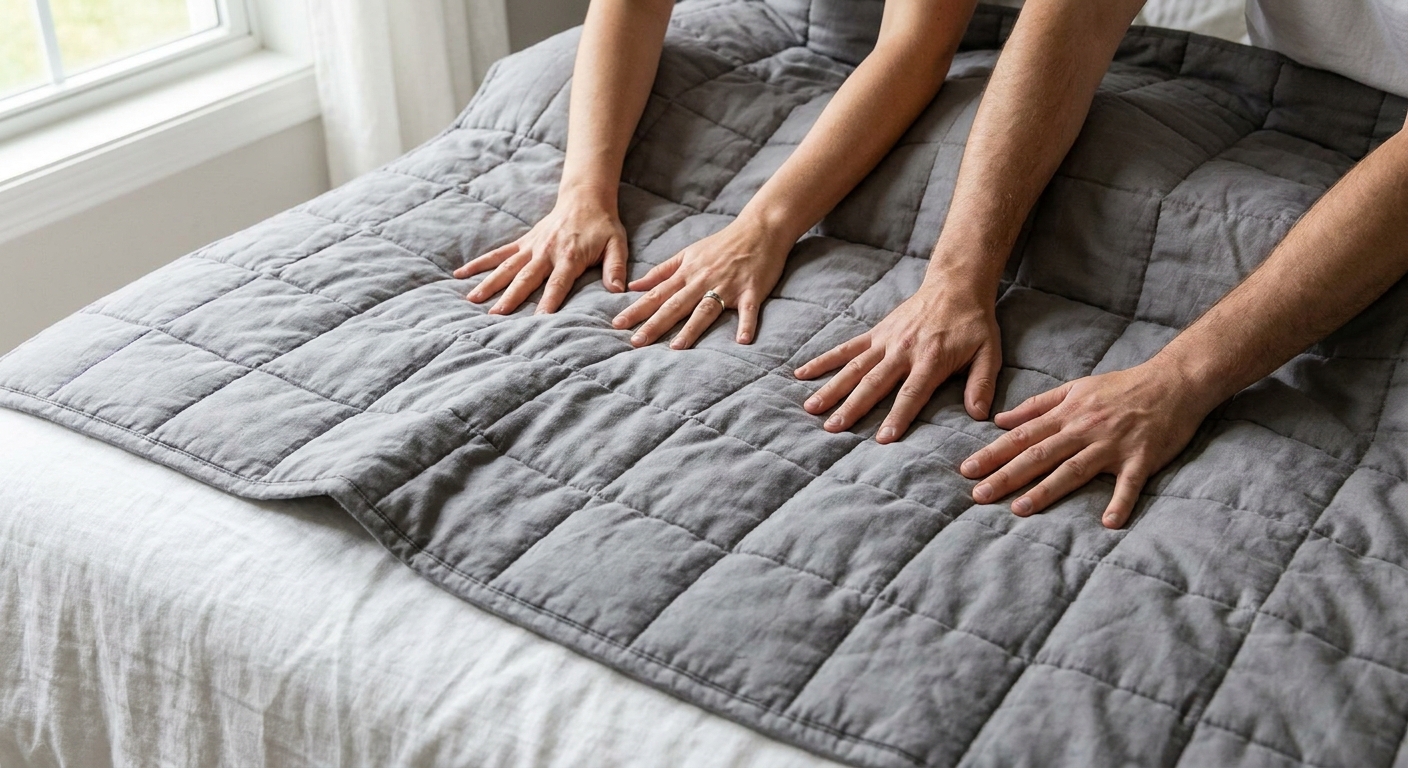
I love anything that makes a home feel like a soft landing, and weighted blankets really do. Treat yours like a well-made vintage quilt: follow the care tag, wash gently, dry patiently, and support its shape while it dries. The reward is that delicious, even drape that makes the whole bed feel calmer the second you walk into the room.