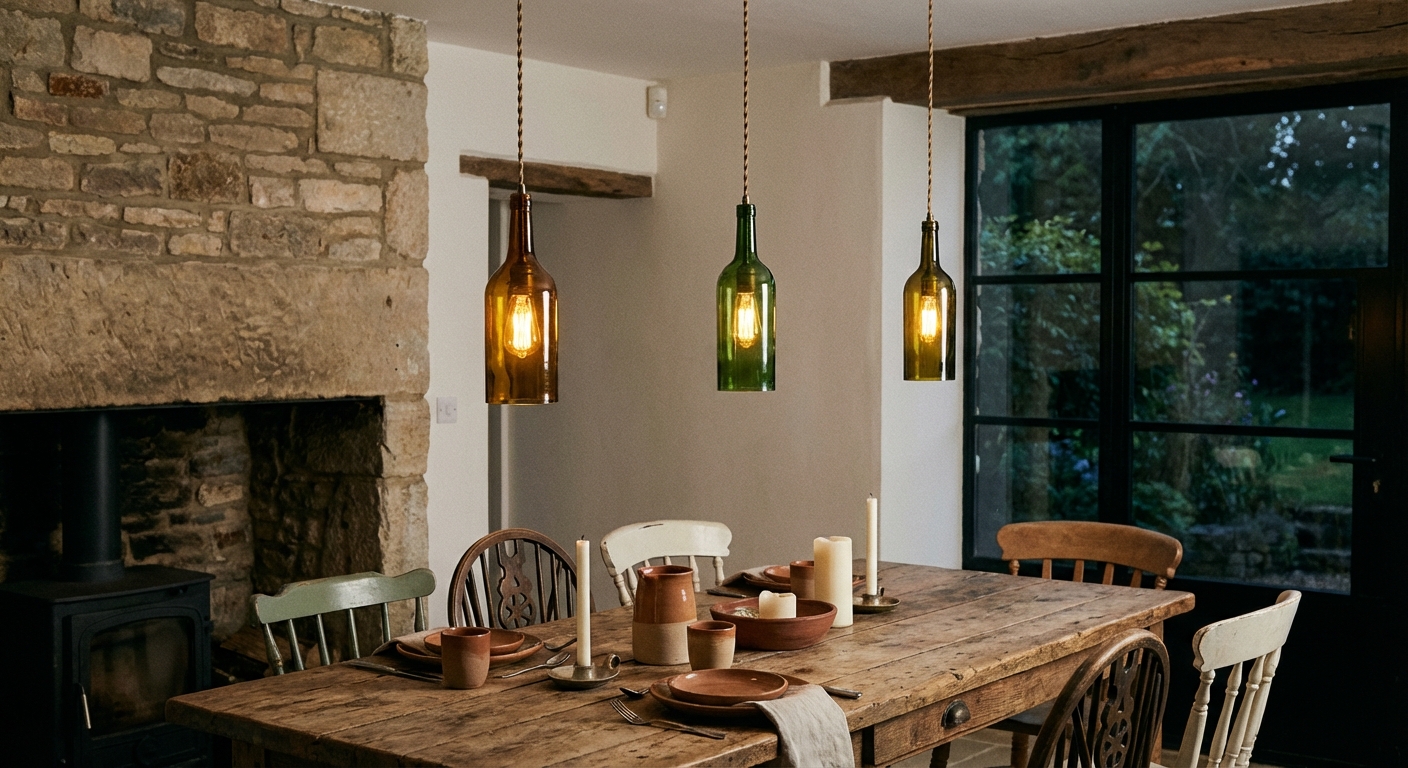
Vintage Bottle Pendant Lights
Clara Townsend
Clara Townsend is an interior stylist, vintage furniture enthusiast, and the creative voice behind Velvet Abode. With over a decade of experience transforming both cramped city apartments and sprawling fixer-uppers, she believes that a beautiful home is built on personal stories rather than massive budgets. When she isn't hunting for the perfect brass sconce at a local flea market, she can usually be found rearranging her living room for the third time this month.
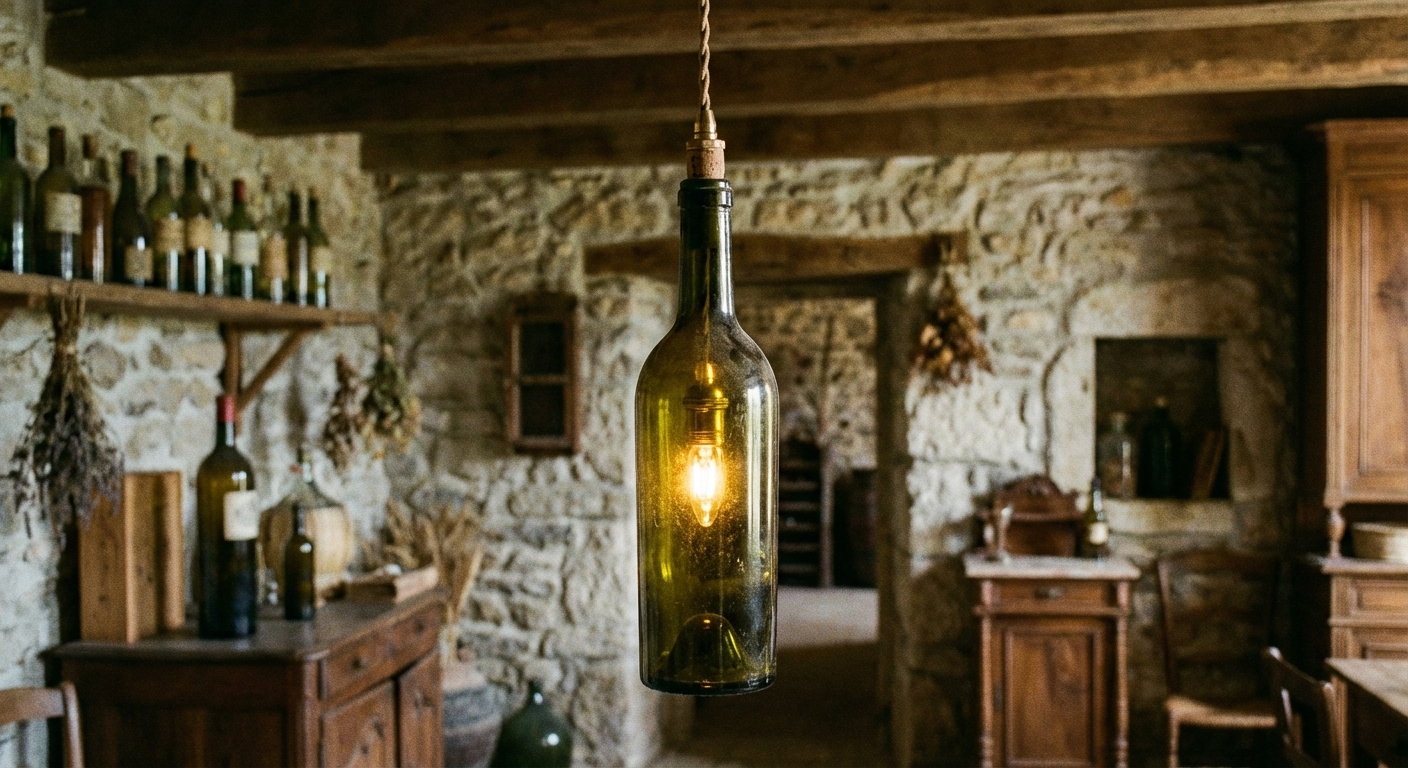
There is something quietly magical about vintage glass. The faint waves in the surface, the little bubbles caught mid-century, the way the color deepens when the light hits just right. Turn that into a pendant light and suddenly your kitchen corner or reading nook has a mood and a story.
This guide walks you through two ways to cut a bottle, plus an easier “no cut” pendant approach, how to wire a pendant safely, and how to hang it with confidence. If you can follow a recipe and use a screwdriver, you can absolutely do this.

Before you start: safety checks
Let’s get the unglamorous part out of the way, because glass and electricity deserve respect.
- Turn off power at the breaker before touching any ceiling wiring. Test with a non-contact voltage tester.
- Wear eye protection and cut-resistant gloves any time you are scoring, snapping, or sanding glass.
- Use components rated for your voltage (typically 120V in the US, 230V in many other regions). When in doubt, ask at your local hardware store or hire an electrician.
- Use LED bulbs only. They run cool, which protects your cord, socket, and your gorgeous bottle.
- Check local code. Some areas require a junction box cover, strain relief, or specific fixture ratings.
If your ceiling box has crumbling insulation, aluminum wiring, or anything that looks like it belongs in a haunted house, pause and call a pro. You are not failing. You are being smart.
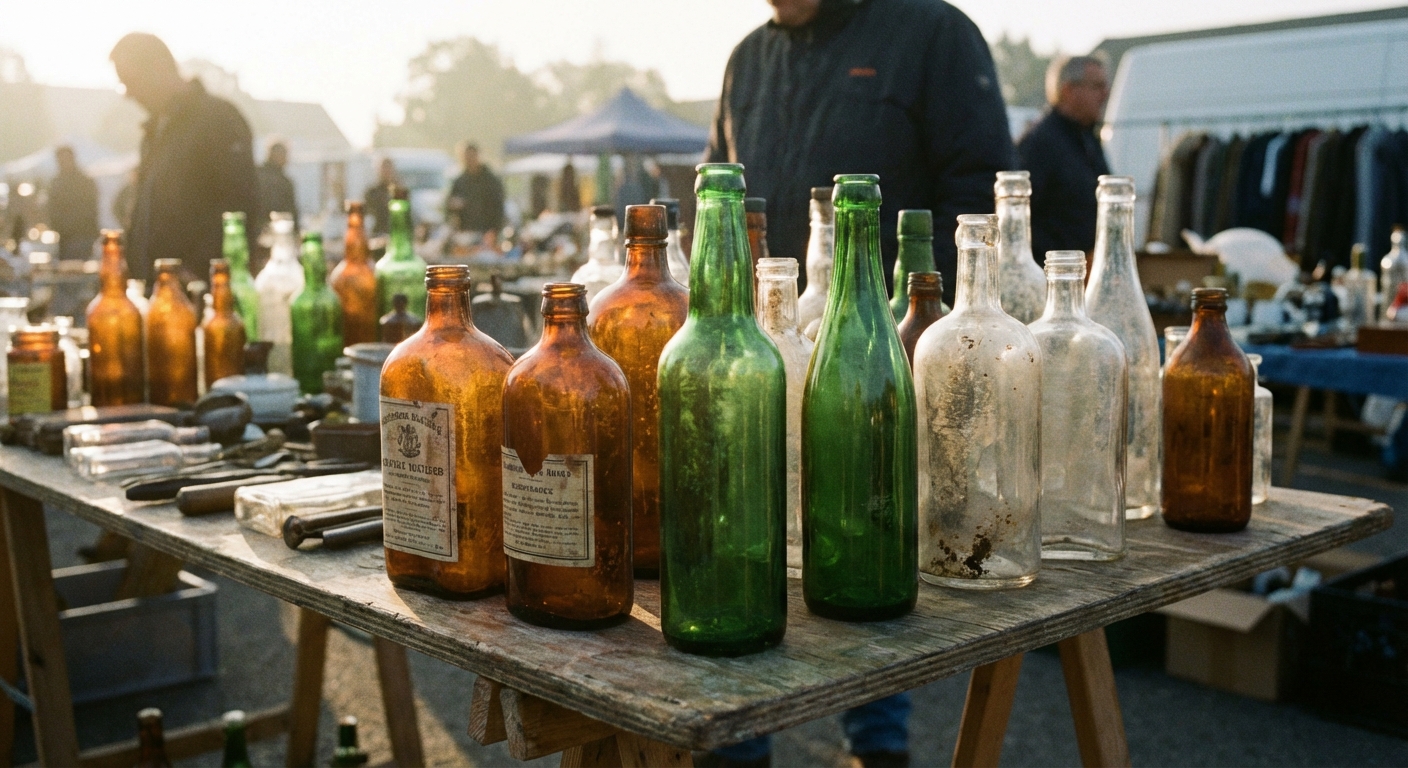
Choose the right bottle
The best bottles for pendant lights have thick-ish glass, a pleasing shoulder shape, and a neck that will either hide the socket or look intentional around it.
Great candidates
- Wine and champagne bottles (thicker glass, forgiving to cut)
- Apothecary-style bottles (beautiful silhouettes, often tinted)
- Old seltzer bottles (statement shapes, heavier feel)
- Colored glass like amber, olive, cobalt, or smoke (instant mood)
Skip these
- Very thin glass that feels lightweight and fragile
- Cracked or heavily chipped bottles (they can fail during cutting or heating)
- Bottles with deep embossing right where you want to cut (your score line may wobble)
Quick styling tip: A slightly imperfect bottle reads charming when the cord and canopy are simple. If the bottle is plain, you can go a little richer with a brass canopy or a linen-wrapped cord.
Tools and supplies
You can make this as minimal or as deluxe as you want. Here is the core kit.
For the bottle
- Dish soap, bottle brush, and rubbing alcohol (for cleaning)
- Painter’s tape and a marker (for a straight guide line)
- Option A: Bottle cutting jig + scoring wheel (most beginner-friendly)
- Option B: Bottle cutter tool without a jig (takes a steadier hand)
- Option C: No cut: micro light source (tiny LED bulb socket or fairy light module)
- Wet/dry sandpaper (220, 400, 800 grit)
- Small sanding block or diamond hand pad (nice to have)
- A large bowl or tub of water (for sanding and cooling)
For the light
- Pendant light kit with cord set (socket, cord, strain relief, canopy)
- LED bulb (A15, A19, or a small globe depending on bottle size)
- Wire strippers, screwdriver
- Non-contact voltage tester
- Wire nuts (often included with canopy kits)
Note: Many pendant kits come pre-wired. If yours does, your job is mostly threading and connecting at the ceiling.
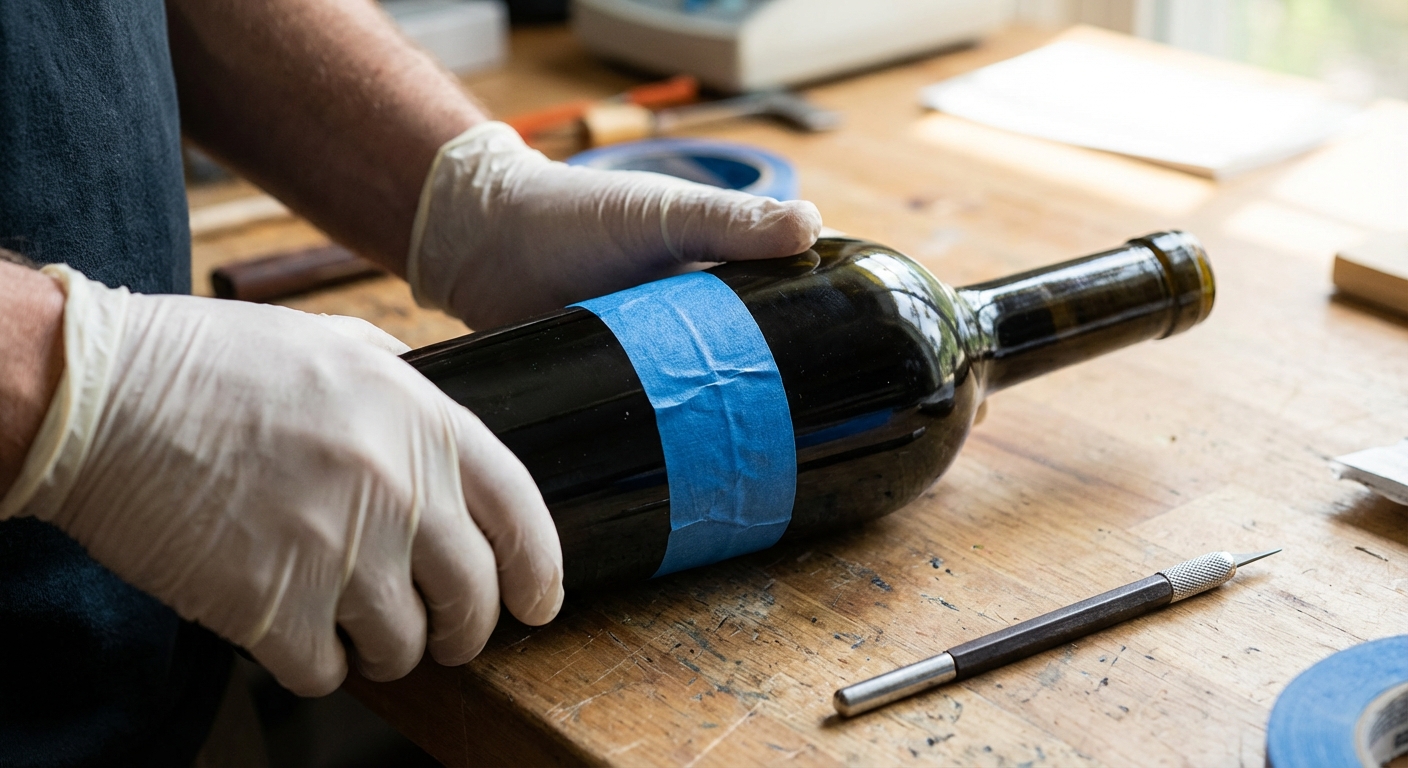
Prep the bottle
- Remove labels by soaking in warm water with dish soap. For stubborn glue, use rubbing alcohol or an adhesive remover.
- Clean the glass thoroughly. Any oil can cause an uneven score.
- Plan your approach. Most people cut the bottom off so the light can shine downward and you can access the bulb. If you want a fully intact bottle look, plan for a micro light source that can fit through the neck.
I like to wrap painter’s tape around the bottle as a visual guide. If the tape meets cleanly, you know your line is level.
Three ways to modify the glass
Option A: Cut the bottom with a jig
This is the classic method for a reason. A jig helps you keep the score line even, which makes the break predictable.
- Score once, with steady pressure. Rotate the bottle against the scoring wheel until you complete one continuous line. Do not double-score.
- Separate the glass using your cutter’s method. Many people alternate hot and cold water over the score line to encourage a clean break.
- Sand the cut edge starting with 220 grit wet, then 400, then 800. Keep everything wet to reduce glass dust and heat.
Note: If the break looks a little jagged, do not panic. Sanding does a lot of heavy lifting. Put on a cozy playlist and treat it like a slow craft moment.
Option B: Cut the bottom by hand
Same idea, less structure. If you have good hand control, it works beautifully.
- Take extra time aligning your tape guide.
- Keep your pressure consistent.
- Expect to practice on a “learning bottle” first.
Option C: No cut pendant (intact bottle)
If cutting feels intimidating, you can keep the bottle intact and still make a pendant. The key detail: a standard bulb will not fit through most bottle necks. So instead of trying to feed an A15 or A19 inside, you use a micro light source that can slide through the opening.
You have two practical routes:
- Micro socket + tiny LED bulb: Use a small pendant kit designed for narrow necks (often marketed as “bottle pendant kits”) paired with a tiny LED bulb that fits through the neck. These kits are made for this exact look.
- Low-voltage fairy light module: Use a UL-listed plug-in or hardwired low-voltage LED “cork light” style module that feeds through the neck and sits inside the bottle. This creates a soft lantern glow and is gorgeous with amber or olive glass. (If you go this route, follow the product’s installation instructions to the letter and do not improvise electrical connections.)
In this version, the cord still enters from the neck, because it is a pendant. No side hole is needed for hanging.
How to wire the pendant
If your pendant cord set is pre-wired, follow the manufacturer instructions and skip to installation. If you are wiring a socket yourself, here is the general approach. Always confirm with your kit’s directions, since terminals can vary.
Understand the cord
- Ribbed or marked wire is typically neutral.
- Smooth wire is typically hot.
Basic wiring steps
- Unplug everything. This should go without saying, but I am saying it.
- Thread the cord through the bottle neck (or through the cut bottom and up through the neck, depending on your kit), then through any strain relief parts.
- Strip the cord ends carefully with wire strippers.
- Connect neutral to the silver terminal and hot to the brass terminal (common standard for many sockets).
- Tighten screws firmly so the wire is secure and no copper is exposed.
- Assemble the socket shell and confirm the strain relief is doing its job. Tug gently. The terminals should not take the strain.
Bulb tip: A small warm LED (around 2200K to 2700K) gives that honeyed glow that makes colored glass look expensive.
Install it safely
Option 1: Plug-in pendant
If you cannot hardwire, use a plug-in pendant kit and hang it from a ceiling hook designed for the weight. Route the cord neatly along the ceiling and down the wall using paintable cord covers.
- Choose a hook with the right weight rating.
- Use an LED bulb to minimize heat.
- Keep cords away from high-traffic snag zones.
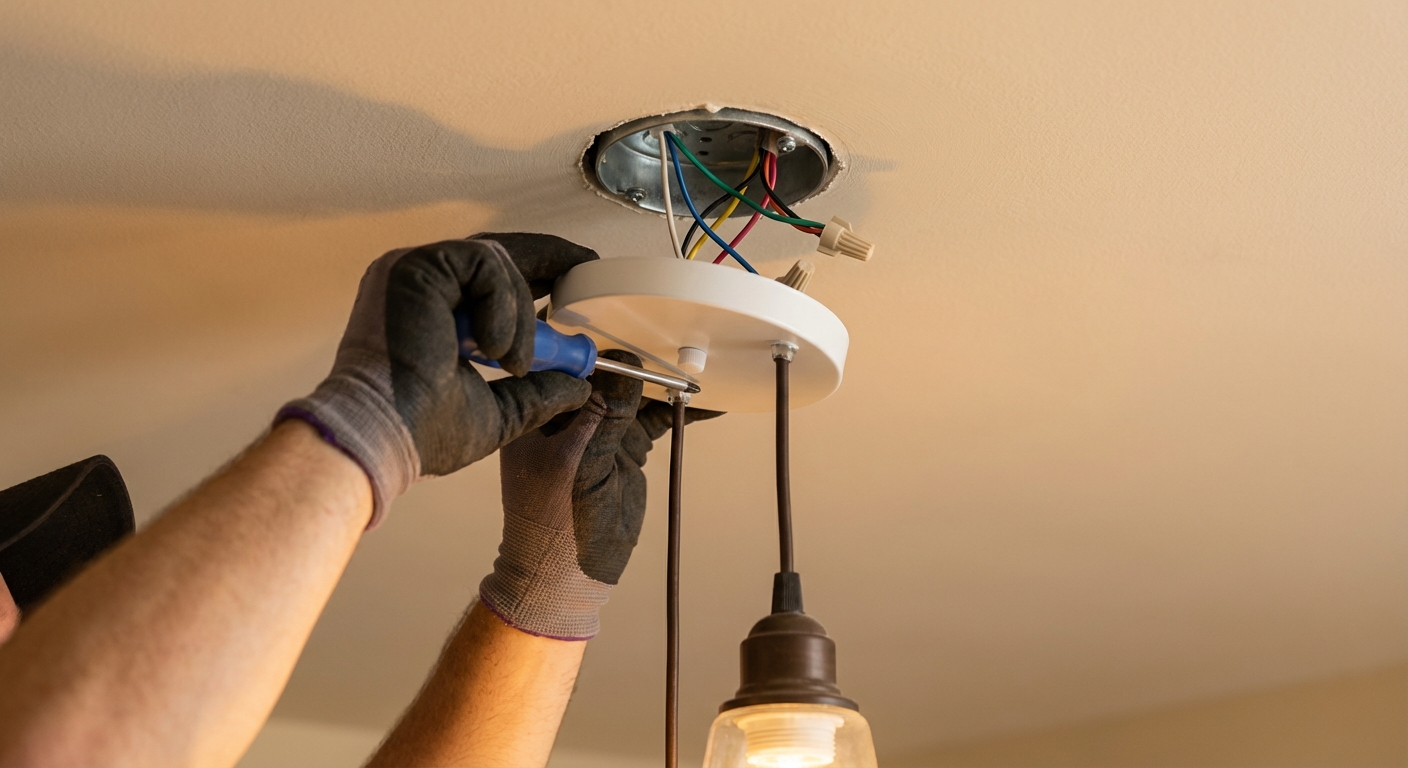
Option 2: Hardwired pendant
If you have an existing ceiling light box, you can swap the fixture. If you are adding a new junction box, that is electrician territory for most people.
- Turn off the breaker for that circuit and test the wires.
- Remove the old fixture.
- Connect the pendant wires: typically hot to hot (often black), neutral to neutral (often white), and ground to ground (bare or green). Use wire nuts.
- Tuck wires into the box and secure the canopy.
- Turn power back on and test.
If any of your ceiling wires do not match common colors, or you see multiple cables in the box and feel unsure, pause and call an electrician. This is a normal place to ask for help.
Make it look intentional
- Repeat the metal finish somewhere else in the room. If you use brass at the canopy, echo it with a drawer pull or picture frame.
- Mind the cord color. Black feels modern, white disappears, linen-wrapped feels softly vintage.
- Scale matters. A petite bottle can get lost over a big island. Group three smaller pendants for impact.
- Height sweet spot: Over a dining table, start around 28 to 34 inches from tabletop to the bottom of the bottle and adjust for sightlines.
- Use the right bulb shape. A small globe bulb inside a rounded bottle looks dreamy. A long filament-style LED suits tall bottles (as long as it fits).
Troubleshooting
The bottle did not separate cleanly
- Make sure you scored only once and in one continuous line.
- Try a more controlled temperature change and take your time.
- Sand down small uneven areas. If it is truly sharp or cracked, retire that bottle for a different project.
The cut edge still feels sharp
- Go back to a lower grit (220) and work longer, then step up gradually.
- Sand under water. Dry sanding can glaze the edge instead of smoothing it.
The bulb will not fit
- If you kept the bottle intact, switch to a micro pendant kit and tiny LED bulb, or use a purpose-made low-voltage fairy light module.
- If you want a standard bulb, you will need to cut the bottom off.
The light flickers
- Check bulb seating first.
- Confirm connections are tight at the socket and ceiling.
- If you are on a dimmer, make sure the bulb is dimmer-compatible.
Care and maintenance
Dust shows up quickly on glass, but the fix is easy. Turn the power off, let the bulb cool, then wipe the bottle with a microfiber cloth. For greasy kitchen pendants, a tiny bit of dish soap in warm water works wonders. Dry immediately to avoid streaks.
One last cozy note
The best part about bottle pendant lights is that they never look like you bought them in a rush. They look collected. They look like you noticed something beautiful on a shelf somewhere and decided it deserved a second life.
If you make one, take a moment at night, turn off the overheads, and let that bottle glow. That little pool of warm light is the whole point.