Touch Up Chipped Cabinet and Trim Paint
Clara Townsend
Clara Townsend is an interior stylist, vintage furniture enthusiast, and the creative voice behind Velvet Abode. With over a decade of experience transforming both cramped city apartments and sprawling fixer-uppers, she believes that a beautiful home is built on personal stories rather than massive budgets. When she isn't hunting for the perfect brass sconce at a local flea market, she can usually be found rearranging her living room for the third time this month.
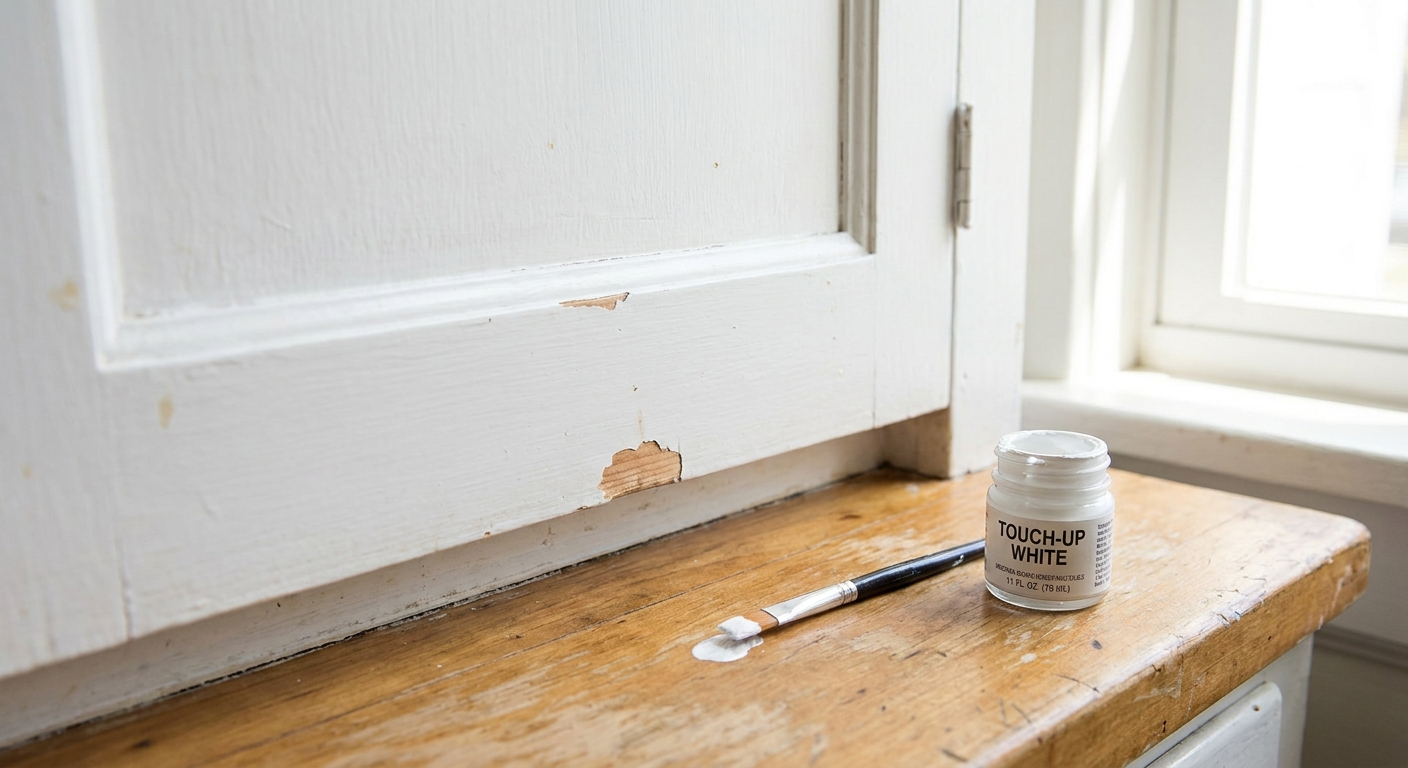
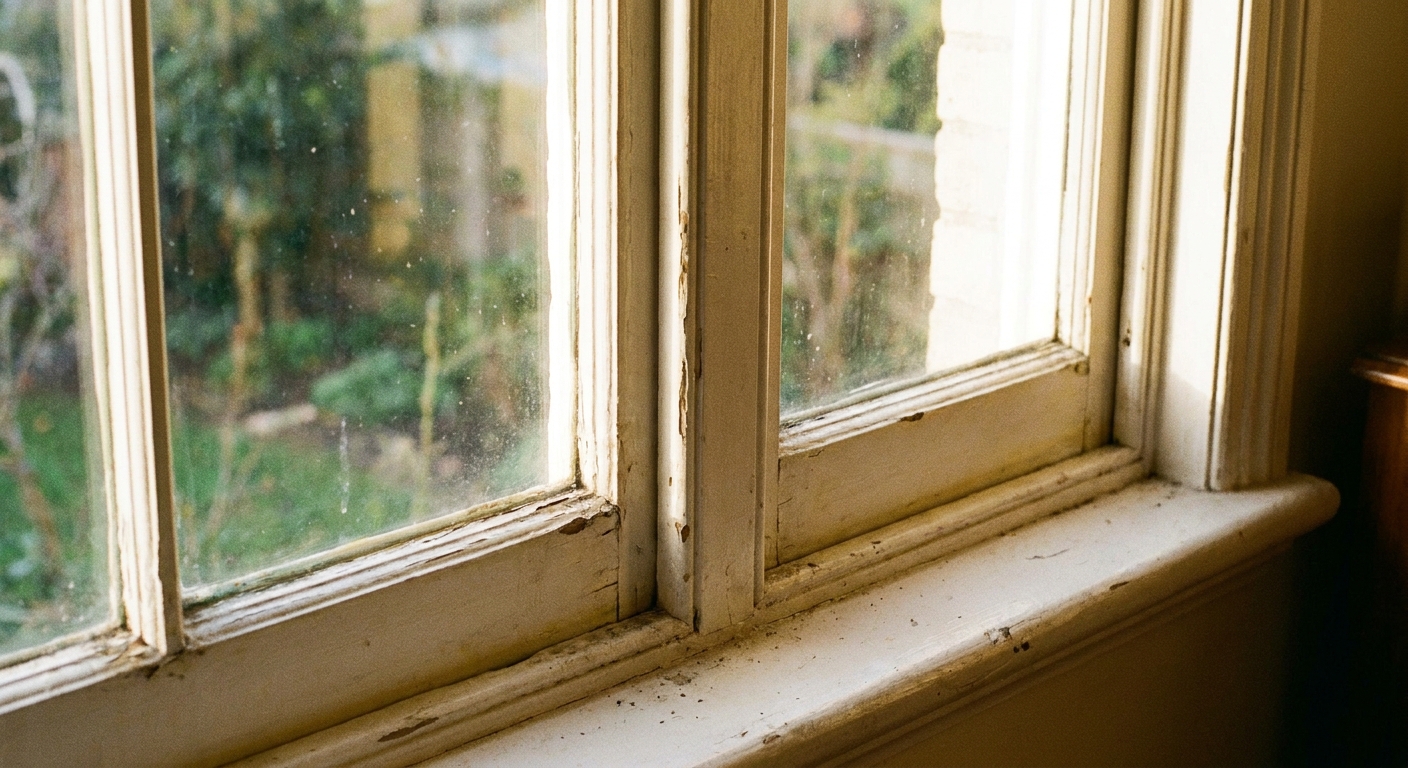
Paint chips on cabinets and trim are like a snag in a favorite sweater. Small, annoying, and somehow your eyes find them every single time you walk by. The good news is that most touch-ups fail for predictable reasons (dirty surface, hard edges, wrong sheen, wrong tool), not because you are “bad at DIY.”
Below is my go-to method for making touch-ups melt back into the finish, whether you are dealing with one tiny nick on a door edge or a whole constellation of little dings along baseboards.
Quick note from Clara: If your home was built before 1978, assume paint dust could contain lead. Skip dry sanding unless you can do it safely (HEPA vacuum, containment, proper PPE), or get a pro to test. Either way, keep kids and pets away, and ventilate well.
Before you start
Touch-ups can be nearly invisible, but only when you match four things: cleanliness, edge profile, color, and sheen. If one is off, your eye reads “patch.”
- Small chips and scuffs: perfect for touch-up.
- Long cracks, peeling, or lots of alligatoring: usually means adhesion issues. You may need to sand, prime, and repaint the whole piece of trim run or the whole door.
- Sun-faded paint or heavily yellowed whites: a touch-up can still work, but it often takes tinting or repainting the full section for a seamless look.
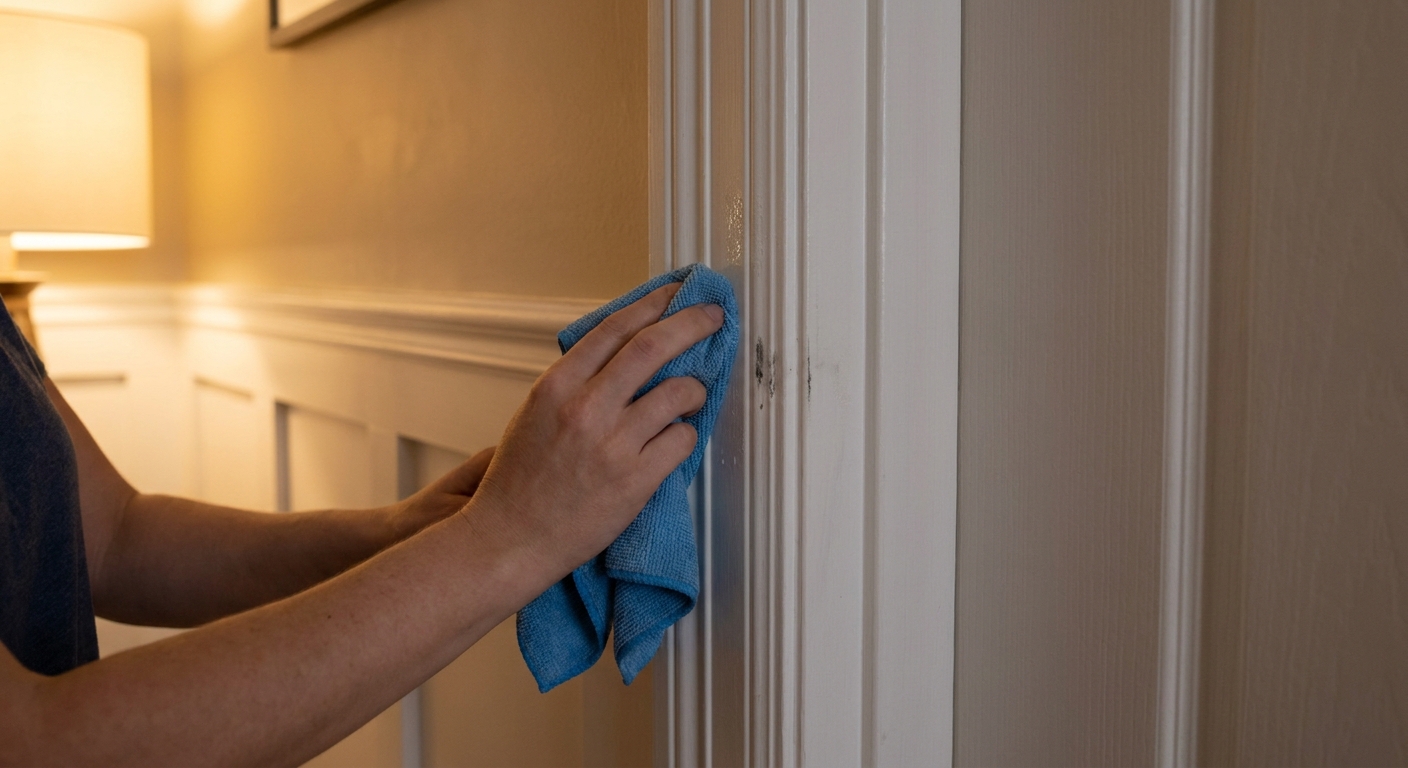
Step 1: Clean well
Kitchen cabinets and trim collect invisible grime, especially around knobs, light switches, and door casings. Paint does not stick well to cooking oils, hand lotion, or cleaning product residue.
What to use
- Warm water + a few drops of dish soap for most areas.
- Degreaser (a gentle household one) for cabinets near the stove or pulls that feel tacky.
- Rinse water and a clean microfiber cloth afterward. This step matters because some degreasers need a thorough rinse to avoid adhesion problems.
What to avoid
- Waxy cleaners or polishes on the repair area. They can cause fisheyes in paint.
- Over-soaking MDF or raw wood at a chip. Keep moisture controlled and dry thoroughly.
Dry time: wait until the surface is fully dry. If you can feel cool dampness, give it longer.
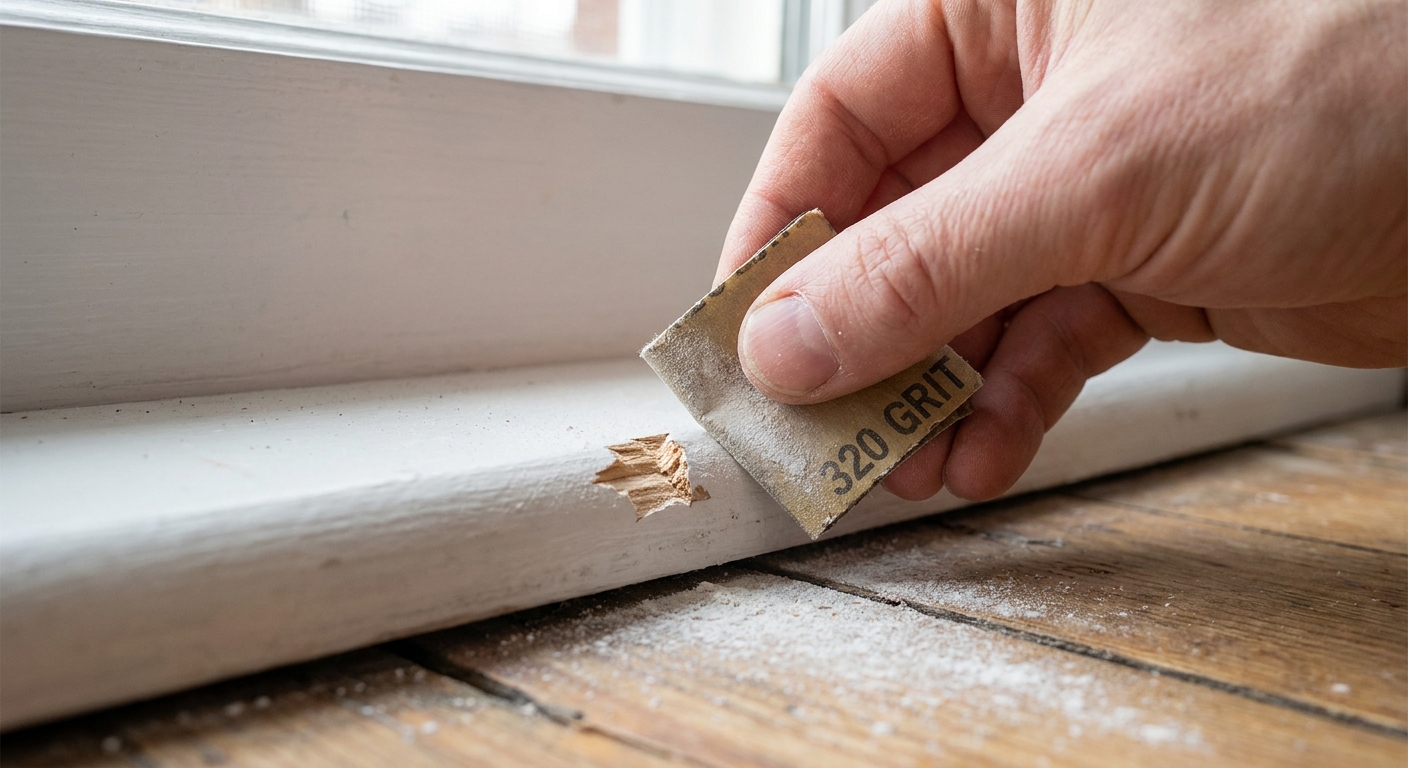
Step 2: Feather the edges
The biggest giveaway in a touch-up is a hard ridge where new paint meets old paint. Your goal is a gentle slope, not a cliff.
For a clean chip
- Lightly sand the perimeter with fine sandpaper (around 220 grit). Just kiss the edge until it feels smooth to the fingertip.
- Remove dust with a slightly damp cloth, a tack cloth (a sticky dust cloth), or a vacuum with a brush attachment.
For a ragged chip
- Scrape only what is loose with a putty knife or a 5-in-1 tool. Stop when it feels firmly attached.
- Sand to feather so the transition is gradual.
- Spot prime if you see bare wood, raw MDF, filler, or stained areas.
Clara tip: Close your eyes and run a fingertip over the spot. Your fingers catch what your eyes miss.
Step 3: Fill if needed
If the chip is deeper than the surrounding paint film, a little filler keeps your touch-up from looking like a dark crater.
- Shallow chips: often fine without filler.
- Deeper dings or dents: use lightweight spackle for trim, or a sandable wood filler for cabinets that take abuse.
Apply a thin layer, let it dry fully, then sand flush. If you can see or feel a mound, you will see it after paint too.
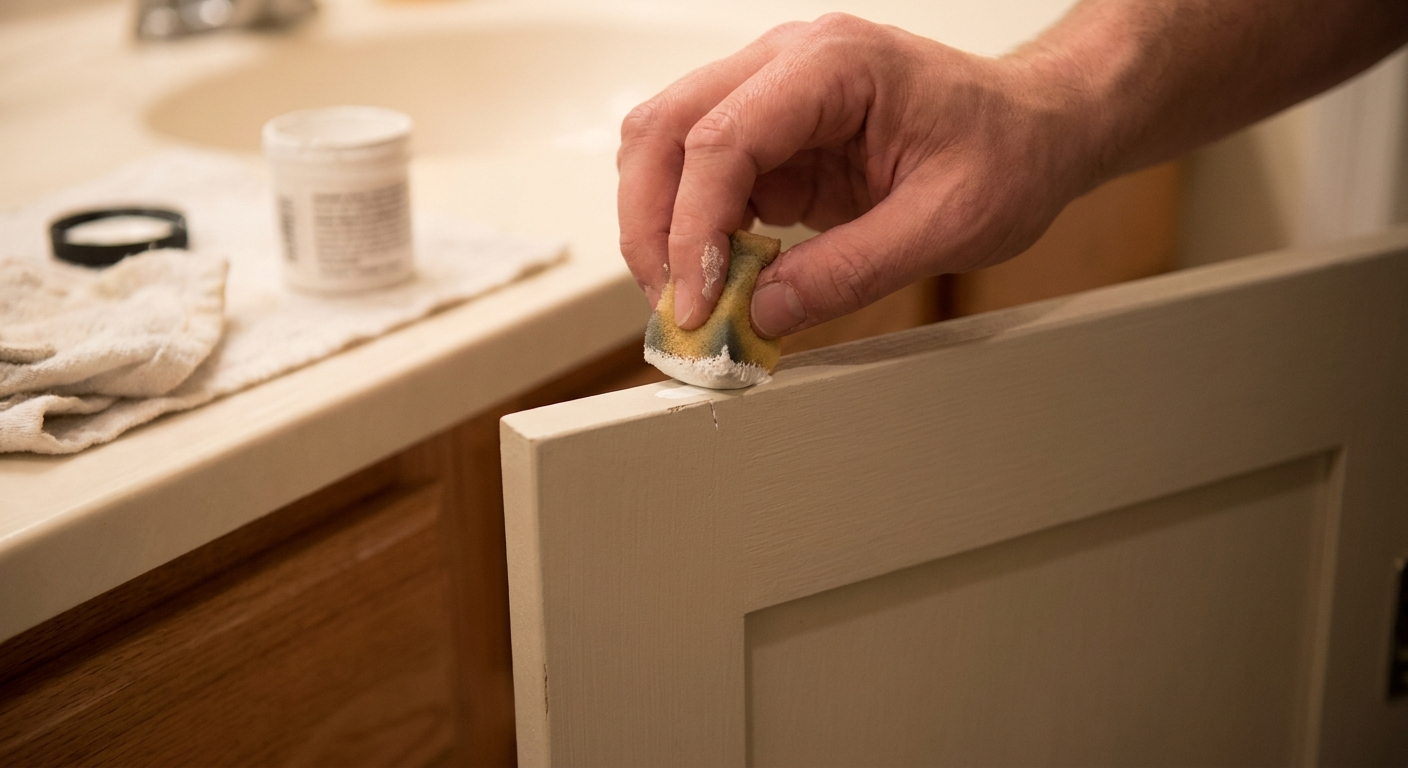
Brush vs sponge
Think of tools like makeup. A brush is precise liner. A sponge is blending.
Use a small brush when
- The chip is on a sharp corner or a detail like trim profiles.
- You need to rebuild a crisp line, especially along door casings or cabinet door edges.
- You are using enamel-style paint and want a smooth finish.
Best brush types: a small angled sash brush (around 1 inch) for trim lines, or an artist brush for tiny nicks.
Use a sponge when
- You are trying to soften the boundary of the touch-up so it fades into the surrounding paint.
- The existing finish has subtle texture (orange peel, rolled texture, older brush marks) and you want to mimic it.
- You are fixing micro-scuffs where paint is intact but marred.
Sponge technique: dab, do not swipe. Load a tiny amount of paint, blot most off onto a paper towel, then tap lightly, working outward to stipple the edges.
Match the sheen
Color can be perfect and the touch-up still flashes if the sheen is off. A glossier patch catches light like a wet spot. A flatter patch looks dusty.
How to figure out what you have
- Look at the reflection in the daytime. Semi-gloss gives a clearer highlight. Satin is softer. Eggshell is very subtle. Flat is almost no shine.
- Compare planes: trim often has a higher sheen than the walls next to it.
- Test board trick: paint a little sample on a primed scrap, let it dry fully, and hold it next to the trim from different angles.
If you cannot match perfectly
- Often, going one step lower in sheen is less noticeable on small areas, but it is not a law of physics. Under raking light, lower sheen can also read as a dull dead spot. If you have time, test both directions on a scrap.
- Consider repainting the entire trim run (for example, the full baseboard between two corners) if the light hits it hard.
Important: Sheen can shift as paint cures. Give it at least 24 hours before deciding it is “wrong.”
Match the color
White paint is rarely just white. It is a whole mood. And time changes it. Oil-based finishes can amber. Latex can collect grime and warm up. Sunlight can bleach some areas while corners stay cozy and creamy.
Why your “same paint” still looks different
- Age: old white may have yellowed, especially if it is oil-based or near heat.
- Batch differences: even the same color name can vary slightly by formula changes.
- Sheen shift: old paint may have been scrubbed, dulled, or polished over time.
Three ways to handle yellowed white
- Feather and micro-tint the touch-up paint: If you have fresh white that is too cool, add the tiniest drop of warm tint (often a touch of yellow or raw umber) and test on a scrap. Go slowly. You can always add, you cannot subtract.
- Steal a sample for a true match: If possible, remove a small piece like a switch plate cover or a hinge-side door stop that has the same paint. Many paint stores can color match.
- Repaint the whole section: Sometimes the cleanest fix is painting the entire door, face frame, or full casing leg from top to bottom. That way your eye does not compare a new island to old paint right next to it.
Clara tip: For trim, color mismatch is most obvious in long raking light, like a sunny hallway. Check your test spot in the morning and again at night under warm lamps.
The method I trust
- Spot prime bare wood, filler, or any area that looks stained. If you are seeing brown bleed (tannins or water staining), choose a stain-blocking primer.
- Lightly sand the primer if it feels rough, then wipe dust.
- Apply paint in thin coats. One thick blob dries raised and obvious.
- Blend the edges with a nearly dry brush or a sponge dab to soften the perimeter.
- Let it dry, then reassess. Add a second coat only if needed.
If you are touching up a cabinet edge that gets grabbed daily, use a paint designed for cabinets or trim. Look for labels that mention hardness, enamel, or trim and cabinet use.
Dry vs cure: dry-to-touch is not the same as fully cured. Many trim and cabinet paints keep hardening for days (sometimes longer). Baby the area for a bit if you can, especially around pulls and door edges.
Troubleshooting
The touch-up looks like a darker dot
- Cause: paint is too thick or the chip is a crater.
- Fix: fill and sand flush, then repaint in thin layers. Blend a little wider than you think.
The touch-up is a different shine
- Cause: wrong sheen, or paint not cured yet.
- Fix: wait 24 to 48 hours, then reassess in the same lighting. If it still flashes, repaint the full board or door section in a consistent sheen.
The paint beads up or pulls away
- Cause: grease, polish, or cleaner residue.
- Fix: wash again with soap and water, rinse well, let dry, then try a bonding primer before paint.
You can see brush texture in the patch
- Cause: wrong tool, too much paint, or overworking as it dries.
- Fix: use a higher quality small brush, apply thinner coats, and stop fussing once it starts to set. For blending, dab the outer edge with a sponge.
Latex over oil fixes
This is the classic scenario: older trim or cabinets were painted with oil-based enamel years ago. Then someone touched it up with latex paint. The latex looks fine for a minute, then starts to scratch, peel, or flake because it cannot properly grip the slick oil surface.
Signs you might have a mismatch
- Paint peels in sheets or chips easily with a fingernail.
- Edges around the repair lift instead of wearing down gradually.
- The surface underneath looks glossier and harder than the new paint.
What to do next
- For a tiny failed patch: scrape back to a stable edge, sand to dull the surrounding sheen, then use a bonding primer designed to adhere to glossy or oil-based surfaces. After it dries, paint with your finish coat.
- For widespread peeling: you will usually get better results by addressing the whole door or trim section. Clean, scuff sand, prime with bonding primer, then repaint.
If you are unsure whether the old paint is oil-based, a common field test is rubbing alcohol on a cotton ball in an inconspicuous area. Latex often softens or transfers. Oil typically will not. Caveat: it is not foolproof. Some newer acrylics, alkyd hybrids, factory finishes, or very well-cured films can behave differently. When in doubt, scuff sanding plus a quality bonding primer is the safer path. A paint store or pro can also help you identify what you have.
Final note
Touch-ups look best when you treat them like a tiny paint job, not a quick dab. Clean first. Feather the edges. Match the sheen. And if your white has aged into a warm, buttery story, do not fight it. Match the story, not the label on the can.
When you are ready for a bigger refresh, save that matched paint formula and label your jar. Future-you will thank you the next time a cabinet corner meets a cast iron pan.