Touch Up Chipped Cabinet and Trim Paint
Clara Townsend
Clara Townsend is an interior stylist, vintage furniture enthusiast, and the creative voice behind Velvet Abode. With over a decade of experience transforming both cramped city apartments and sprawling fixer-uppers, she believes that a beautiful home is built on personal stories rather than massive budgets. When she isn't hunting for the perfect brass sconce at a local flea market, she can usually be found rearranging her living room for the third time this month.
Chipped paint on cabinets and trim has a special talent for catching your eye at the worst times, usually when the afternoon light hits just right. The good news is that most chips can be touched up so they quietly disappear into the background. The not-so-fun truth is that the “secret” is rarely the paint. It is the prep, the feathered edge, and a little patience with sheen.
This is how I touch up kitchen cabinets, baseboards, door casings, and built-ins so they look cared for, not dotted with obvious patches.
Quick safety note: Wear gloves when using degreasers, ventilate the room, and control dust when sanding. If your home could have old lead paint (common in homes built before 1978 in the US), follow local guidance before scraping or sanding.
Before you start: what you are touching up
Take 60 seconds to identify what you are dealing with. It saves you from the most common touch-up failures, like paint that beads up, flashes, or peels later. (Flashing = a visible difference in sheen or reflectivity when light hits the area.)
- Location: Cabinets get more oils and hand grime. Trim gets more scuffs and vacuum kisses.
- Damage depth: Is it a chip (missing paint), a gouge (wood dent), or a flaking edge (loose paint still attached)?
- Paint type: In many older homes (especially pre-1980s in the US), trim and cabinets may have oil-based or alkyd layers under there, even if someone top-coated with latex later. It varies by age, region, and what previous owners did.
- Sheen: Cabinets are often satin or semi-gloss. Trim is often semi-gloss. Walls are often eggshell or matte. Touch-up sheen mismatch is one of the most common reasons a repair screams “patch.”
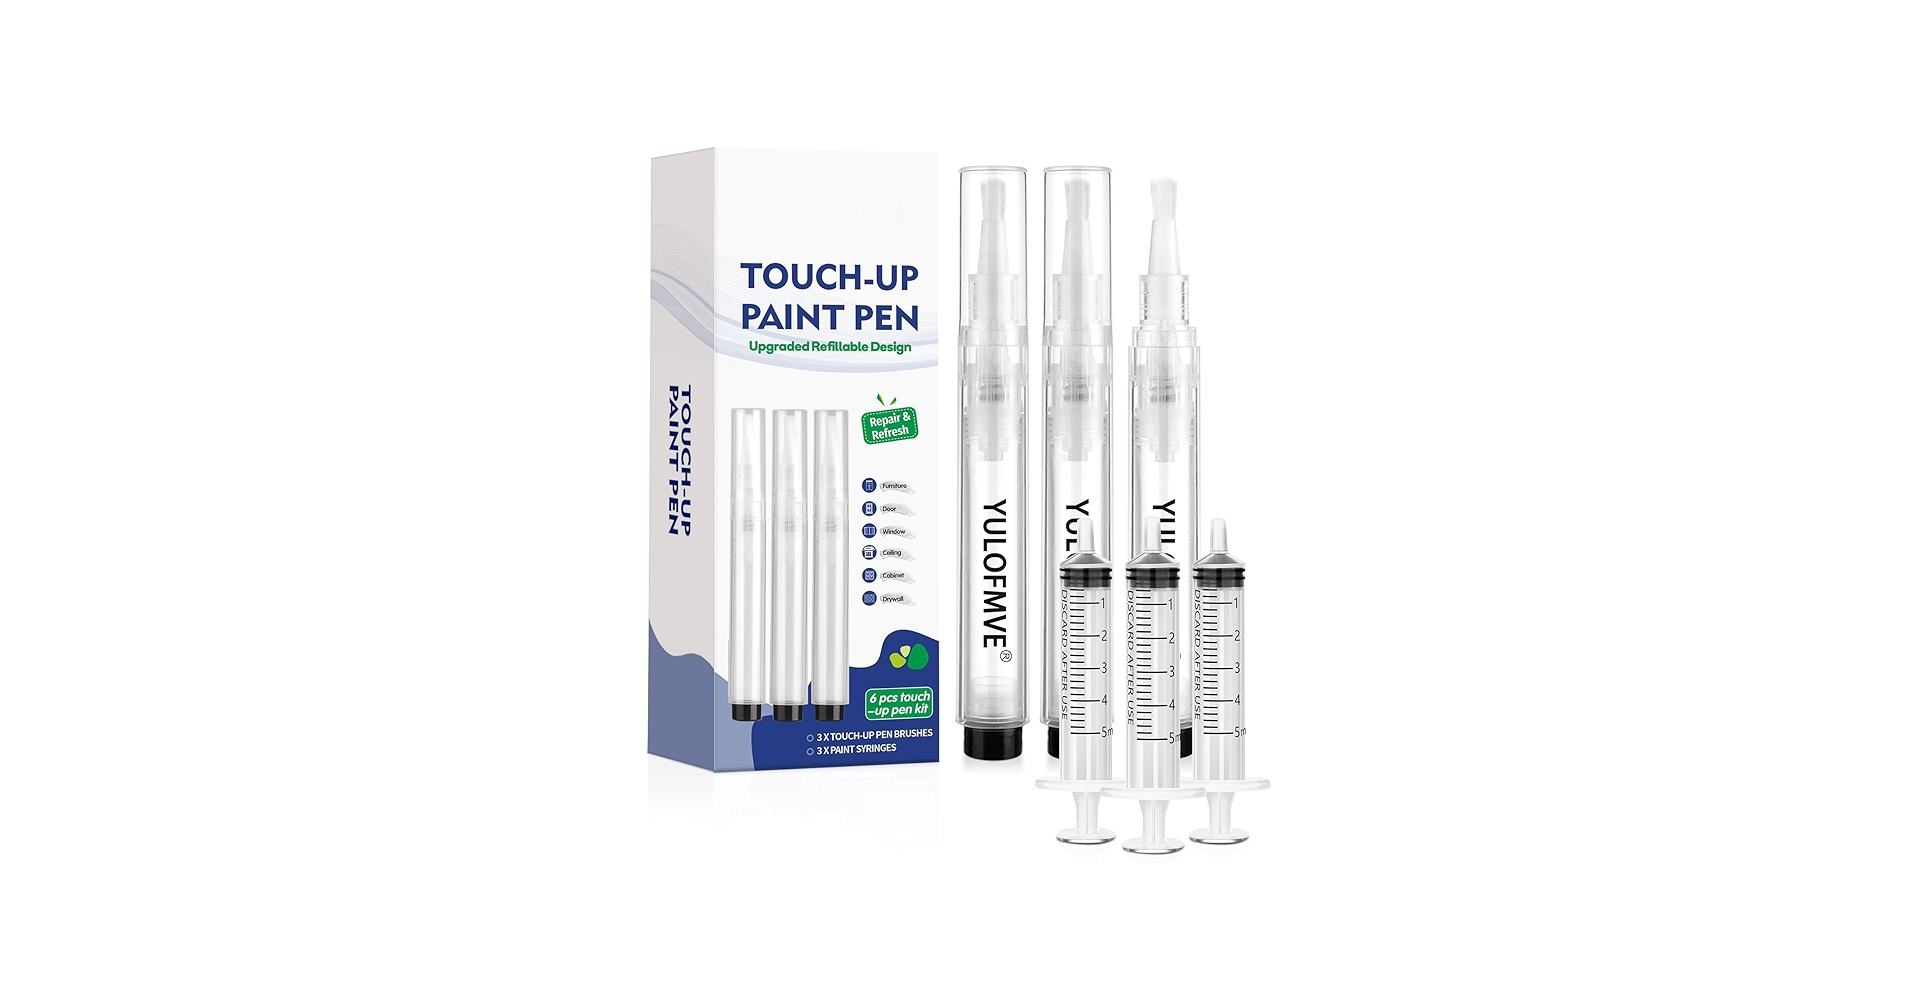
Tools and materials (what matters)
You do not need a studio full of supplies. You do need the right few things.
- Cleaner: Warm water plus a few drops of dish soap for most situations. For greasy cabinets, use a degreaser labeled safe for painted surfaces and rinse well.
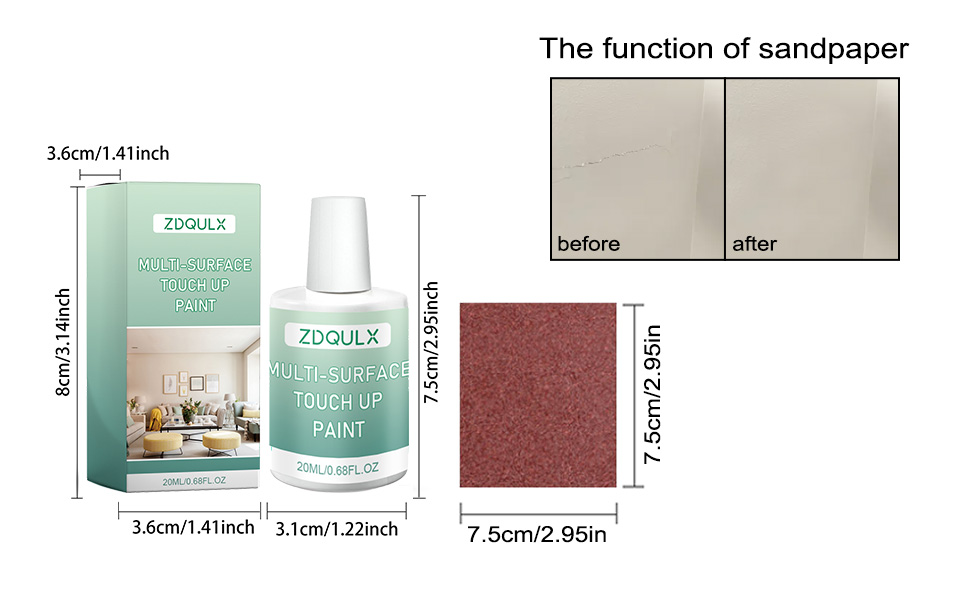
- Sandpaper: 180 to 220 grit for feathering and deglossing slick paint. 320 grit for ultra-light smoothing between micro coats.
- Putty: Lightweight spackle for small dings in trim, or wood filler for deeper chips and corners (especially on cabinets).
- Primer: Choose based on the problem you are solving:
- Bonding primer (waterborne): best when adhesion is the concern (slick old enamel, cabinet doors, trim that feels glossy).
- Stain-blocking primer (shellac or oil-based): best for tannin bleed, knots, water stains, and mystery stains that keep coming back.
- Touch-up tools: A small angled sash brush (my default), a small artist brush for tight profiles, and a dense makeup sponge or micro roller for certain textures.
- Paint: Ideally the original paint from the job, stirred thoroughly. If it is old, strain it through a paint strainer or nylon stocking to remove dried bits.
Step-by-step: a touch-up that blends
1) Clean like you mean it
Paint does not bond to kitchen hand oils, cooking residue, or the invisible film from cleaning sprays.
- Wash the area with mild soapy water.
- On cabinets near the stove, use a degreaser, then rinse with clean water.
- Dry fully. Give it 15 to 30 minutes, longer if humidity is high.
2) Remove anything loose
If the paint edge is lifting, you have to deal with it now. Otherwise your touch-up will look like a little paint “ledge.”
- Gently scrape loose flakes with a putty knife.
- If the chip edge is sharp, lightly sand to soften it.
3) Feather the edge (this is the game)
Feathering means you are turning a harsh chip edge into a gradual slope, so the new paint can visually melt into the old.
- Use 180 to 220 grit sandpaper.
- Sand outward from the chip in a 1–2 inch halo, using light pressure.
- Wipe dust with a damp microfiber cloth and let dry.
If you can close your eyes, run a fingertip over the repair area, and it feels smooth instead of step-like, you are on the right track.
4) Fill dents and missing corners (if needed)
If wood is dented or you are missing a tiny corner of paint and substrate, filler makes the repair look intentional.
- For trim: lightweight spackle is usually enough.
- For cabinets: use wood filler for durability, especially on edges that get bumped.
- Let it dry fully, then sand flush and feather again.
5) Prime bare spots
Primer prevents picture framing, flashing, and stain bleed. It also helps new paint grab when you are working over slick older finishes.
- Spot-prime only the exposed substrate and any filler.
- Let it dry per label, then lightly sand with 320 grit to remove texture.
6) Paint in thin layers, wider than the chip
Instead of plopping paint only inside the chip, build thin coats that extend just beyond the damage. You are creating a gentle transition, not a hard circle.
- Stir paint well. If it was shaken, let it sit 10–15 minutes so foam and microbubbles calm down.
- Load your brush lightly and dab off excess.
- Apply a thin coat, then tip off the edges with almost no pressure.
- Let it dry, then repeat. Follow the label for recoat time. As a rough guide, many water-based paints need 1–4 hours between coats depending on humidity and airflow.
- Two to three thin coats beat one thick coat every time.
Cabinet handling note: Even when the paint feels dry, it is still tender. Avoid scrubbing or snapping doors against bumpers for at least 24 hours, and treat the area gently for several days. Full cure can take days to weeks (often 2–4 weeks) depending on the product.
Brush vs sponge: which hides better?
I keep both on hand because different surfaces show touch-ups differently.
Use a brush when:
- You are touching up trim profiles, corners, and grooves where you need control.
- The existing finish looks smooth and brushed.
- You need to blend with visible brush strokes already on the piece.
Use a dense sponge (or tiny foam pouncer) when:
- The surface has a subtle orange peel or rolled texture.
- You are getting visible brush marks on a flat cabinet panel.
- You need to stipple the edge to break up a perfect outline.
My favorite blend trick: brush the center to cover, then gently tap the perimeter with a barely damp sponge to soften the boundary. The goal is a fuzzy edge, not a crisp ring.
One realism note: If the original finish was sprayed (common on factory cabinets), a tiny brushed touch-up can still catch the light. When “invisible” is the goal, recoating the full door, drawer front, or trim section is often the cleanest fix.
How to match sheen (so it does not flash)
Even if the color is perfect, the wrong sheen will show up when light hits at an angle. Think of sheen as how the surface throws light back at you.
1) Identify the existing sheen
- Matte to eggshell: soft, low reflection.
- Satin: gentle glow, common on cabinets.
- Semi-gloss: crisp shine, common on trim.
2) Use the same product line if possible
Different brands’ “satin” can look wildly different. If you have the original can, you are golden. If not, bring a removable piece like a hinge-side cabinet door or a spare piece of trim to a paint store for sheen guidance.
3) Expect it to change as it cures
Water-based paints can take days to weeks to settle into their final sheen. What looks slightly too shiny on day one can calm down later.
4) When sheen mismatch is unavoidable
If the touched-up spot is perfect in color but wrong in sheen, you have two options:
- Expand the blend: feather the repair larger so the transition is gradual.
- Recoat the whole section: on trim, that might be the full casing leg. On cabinets, it might be the whole door or drawer front. It sounds bigger, but it often looks more invisible.
Dealing with yellowed old white paint
White paint is never just white, especially after years of cooking, sunlight, and time. Many older whites shift warmer and creamier. When you patch with a fresh bright white, it can look like a tiny sticky note.
First, decide what you want
- Match the aged look: best for small touch-ups when you are not repainting soon.
- Return to crisp white: best if you are willing to repaint full doors or full runs of trim for consistency.
How to get a better match
- Try to use the original paint if you have it. It may have aged in the can too, which can actually help.
- Color match the current surface: a paint store can scan, but white is tricky. Ask them to manually adjust if the first match looks too clean.
- Warm it up subtly: if you are tinting yourself, a tiny amount of warm tint can help, but go slowly. It is easier to add warmth than take it away.
Clara note from too many late-night touch-ups: If your cabinets are noticeably yellowed and there are multiple chips, touch-up becomes a game of whack-a-mole. At that point, a full door repaint or a full trim repaint is often the more peaceful choice.
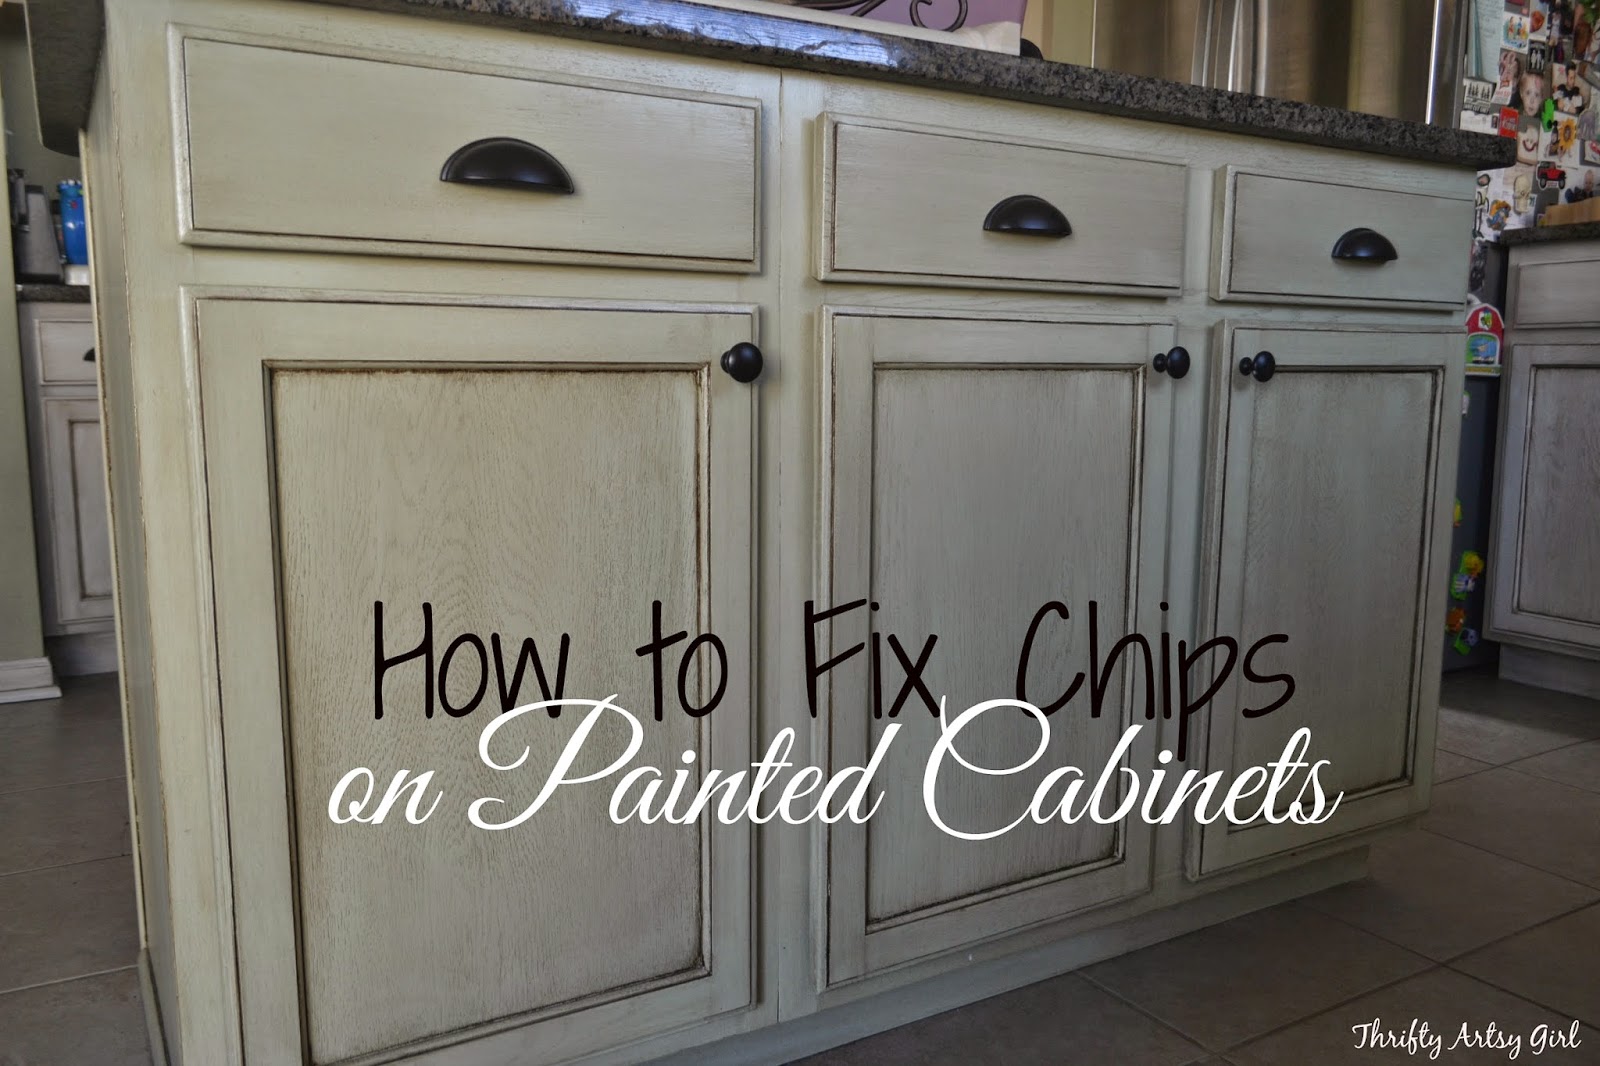
Cabinets vs trim: what changes
Cabinets
- Degrease carefully, especially near pulls and around the stove.
- Edges take abuse, so consider a harder enamel (cabinet paint) for durability if you are mixing a new batch.
- Blend with the door profile to mimic the original application.
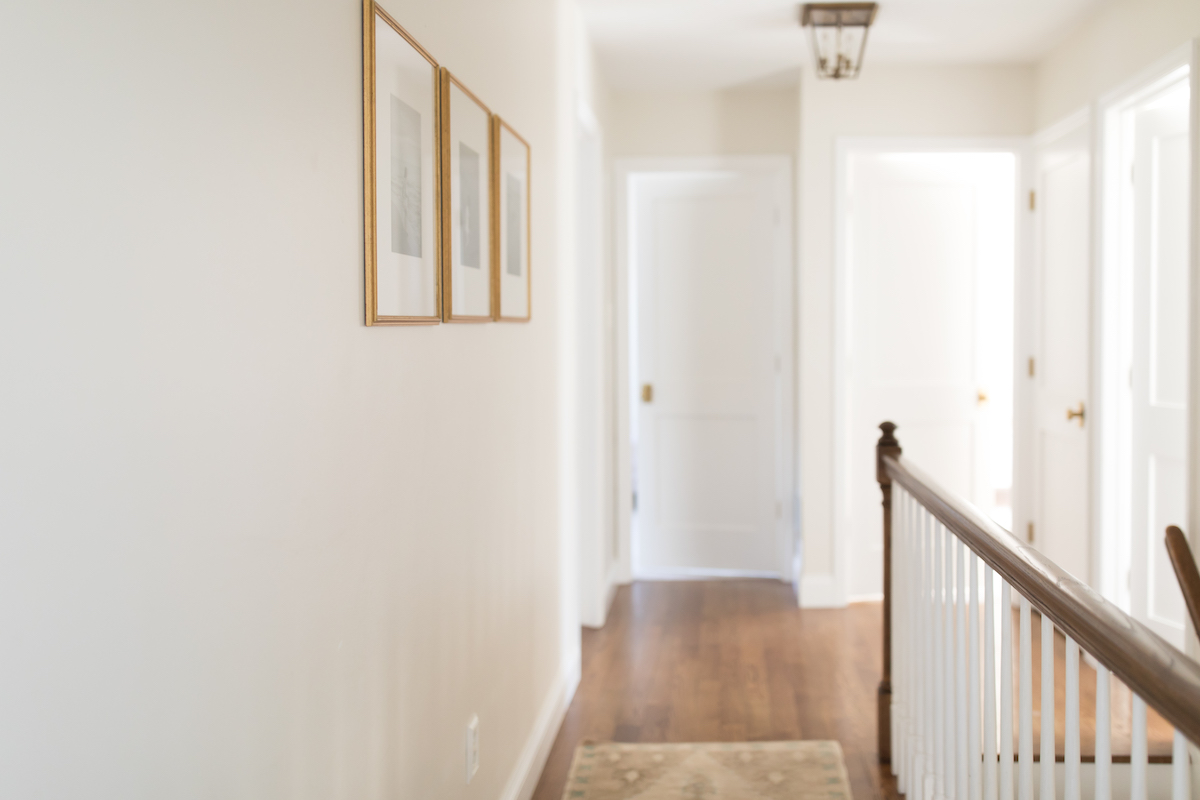
Trim
- Feather wider than you think, because trim catches raking light.
- Watch the caulk line where trim meets wall. Do not paint over cracked caulk hoping it disappears. Re-caulk if needed.
- Keep a steady hand on corners, where paint build-up can look lumpy.
Troubleshooting: common issues
The touch-up looks like a shiny dot
- Wrong sheen, or the paint is still curing.
- Once fully dry, try lightly scuffing the spot with 320 grit, then apply a thinner coat and feather wider.
- If it still flashes, repaint the whole section or whole door face for uniform sheen.
The touch-up looks darker or cleaner
- Color mismatch, or your existing paint is aged and yellowed.
- Feather the repair larger, or repaint the full piece for a consistent field of color.
The patch feels bumpy
- Too much filler, or paint applied too thick.
- Let it dry, sand smooth, spot-prime if you hit bare substrate, then recoat in thin layers.
The new paint beads up or will not stick
- Surface contamination or residue from cleaners.
- Clean again, rinse, dry, then scuff-sand and prime with a bonding primer.
Latex over oil issues (quick fix)
If your trim or cabinets were originally oil-based and someone applied latex paint without proper prep, you may see peeling, cracking, or sheets of paint lifting when you try to touch up. A touch-up alone will not solve adhesion failure, but you can stabilize small areas.
How to tell
- The top layer peels off in flexible strips, almost like a skin.
- You can sometimes lift an edge with a fingernail near chips.
- In many older homes, oil-based layers are common under newer paint.
What to do for small spots
- Remove all loose paint until you reach firmly bonded layers.
- Feather the edges thoroughly.
- Prime with a bonding primer designed for slick surfaces and challenging substrates.
- Recoat with a compatible finish.
If peeling is widespread across doors or long runs of trim, the more lasting fix is to strip failing layers or sand thoroughly, then prime properly before repainting. If you suspect lead paint in very old layers, pause and follow local safety guidance before sanding or scraping.
A simple touch-up kit
If you want future chips to be a two-minute job, set yourself up once:
- Label a small jar with the paint name, sheen, and room.
- Store a tiny angled brush and a makeup sponge in a zip bag.
- Keep a small piece of 220 grit sandpaper folded in the bag.
A home that feels like a comforting hug is not a home with perfect paint. It is a home where the little dings get handled with care, then you move on with your life and light a lamp you love.