Stainless Sink Stains and Hard Water Spots
Clara Townsend
Clara Townsend is an interior stylist, vintage furniture enthusiast, and the creative voice behind Velvet Abode. With over a decade of experience transforming both cramped city apartments and sprawling fixer-uppers, she believes that a beautiful home is built on personal stories rather than massive budgets. When she isn't hunting for the perfect brass sconce at a local flea market, she can usually be found rearranging her living room for the third time this month.
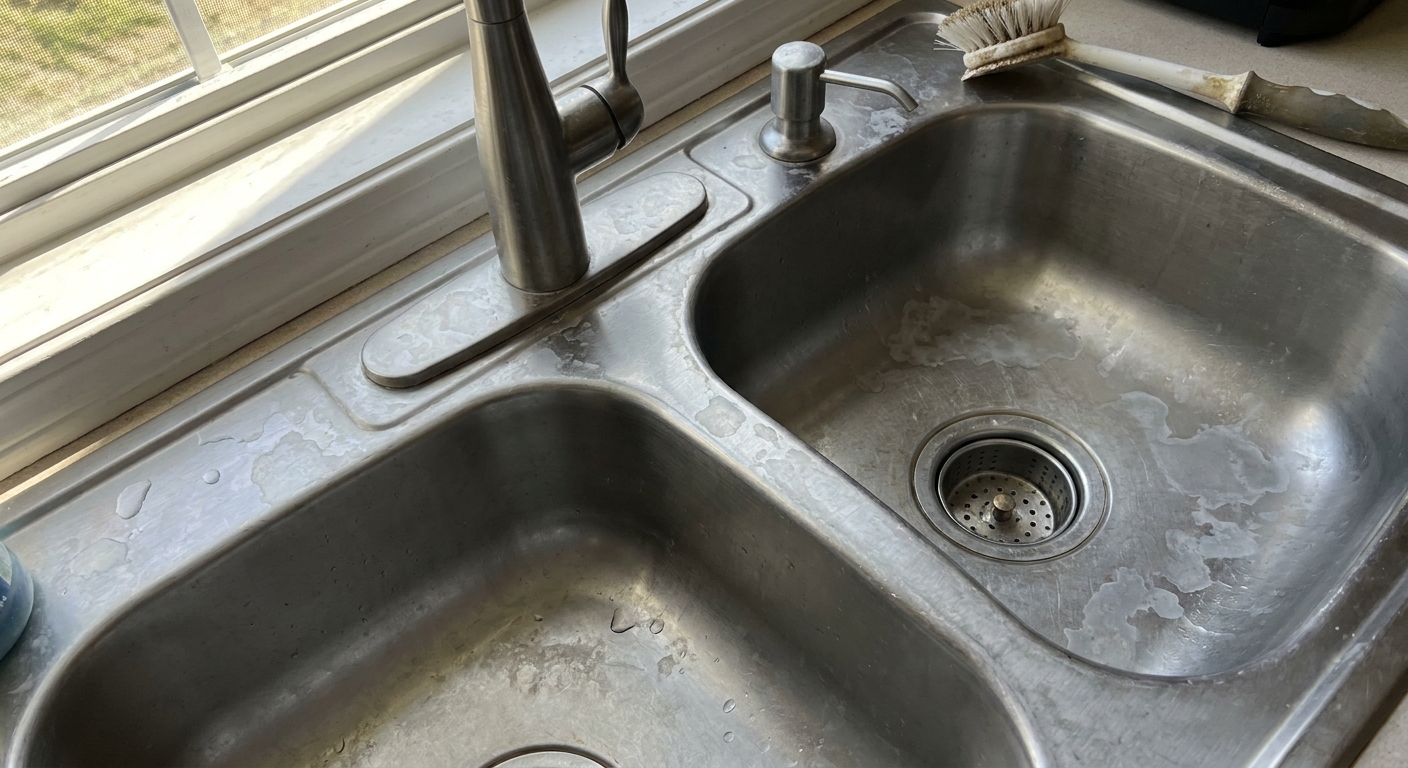
Stainless steel sinks are the workhorses of the kitchen, which means they collect every little souvenir of daily life: cloudy hard water spots, rainbow film, mystery gray scuffs (hello, aluminum pan marks), and that dull haze that makes a “clean” sink still look tired. The good news is you can get a bright, brushed finish again without sanding your sink into submission, and without doing anything a renter would lose sleep over.
Let’s treat this like styling a room: we respect the material, we work with its natural direction, and we choose the gentlest tool that gets the job done.
First, know what you are looking at
Different marks need different approaches. If you try to “polish everything,” you often end up with scratches and still-visible spots.
- Hard water spots : chalky, cloudy dots or rings left behind after water evaporates. These are mineral deposits, usually calcium and magnesium.
- Soap film: a hazy layer that feels slightly draggy under your fingers, often around the faucet and where dish soap drips.
- Rust-colored stains: orange or brown spots. Stainless can stain from iron particles (like a cast iron pan or steel wool fragments) sitting wet on the surface.
- Dark scuffs: gray marks from cookware, especially aluminum, or from rubber feet on drying racks.
- Rainbow or bluish tint: often a thin film from minerals, soap, or cleaner residue. True heat tint is oxidation from very high heat, which is more common on cookware than on sinks, but it can happen near hot pans or boiling-water dumps.
If you can scrape a spot gently with a fingernail and it feels raised, think “deposit” and reach for mild acid (like vinegar or citric acid). If it is flat and looks like a transfer mark, think “scuff” and use a soft polish step.
The golden rule: follow the grain
Most kitchen sinks have a brushed grain , meaning the tiny lines you see are the finish itself. Cleaning across that grain is how people accidentally create that dull, swirly “I scrubbed too hard” look.
How to find the grain direction
- Look closely under good light and tilt your head a bit. You will see fine, consistent lines.
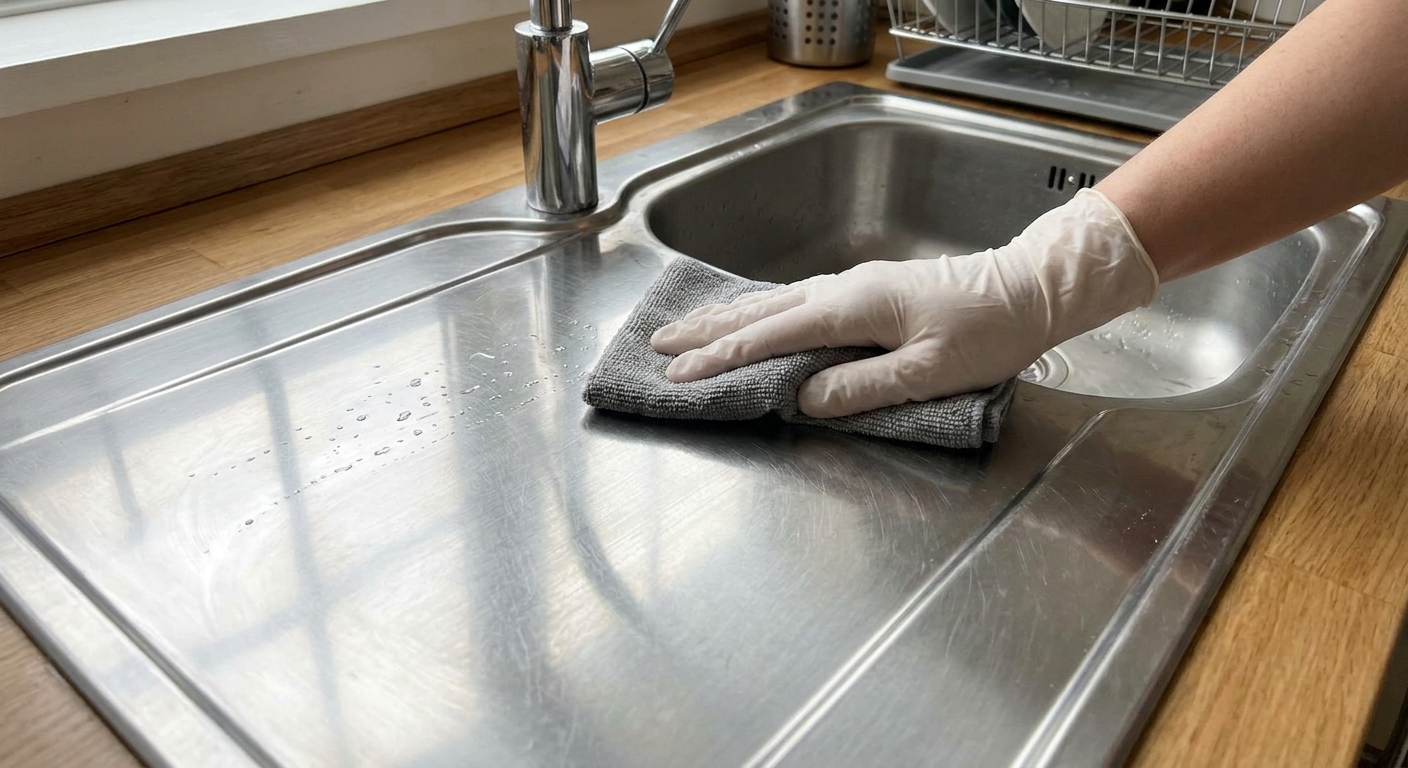
- Run a damp microfiber cloth lightly in one direction, then the other. One direction will feel smoother. That smoother direction is typically “with the grain.”
- Note: Some sinks have different grain directions on different planes (basin vs. deck). Follow the grain in each area.
Any time you use a cloth, sponge, or gentle abrasive, move with the grain, not in circles.

Renter-safe supplies that work
You do not need a cabinet full of specialty bottles. Here is a simple, non-brand toolkit.
- Microfiber cloths (at least two: one for cleaning, one for drying and buffing)
- Non-scratch sponge (no green scouring pad)
- Dish soap
- White vinegar or citric acid (for mineral spots)
- Baking soda (mild abrasive, best used as a paste)
- A gentle oxalic-acid cleanser (the “Bar Keepers Friend class” of products) for stubborn stains, used carefully
- Mineral oil or a stainless-safe polish (optional, for a final glow and short-term water beading)
Quick caution on the Bar Keepers Friend class: These cleaners can be extremely effective, but they are still abrasive and acidic. Translation: you use them sparingly, you follow the grain, you do not let them dry on the surface, and you rinse like you mean it.
Also: If you have a decorative drain cover or plated drain hardware, keep acids and abrasive cleansers off it when you can, and do not leave products sitting there. Rinse promptly.
Everyday routine that prevents spots
If your water is hard, prevention is the prettiest “polish.” This takes under a minute and makes a surprising difference.
After dishes
- Rinse the sink with warm water.
- Add a dot of dish soap to a damp non-scratch sponge and wipe with the grain.
- Rinse well.
- Dry the sink with a microfiber cloth, especially around the drain and faucet base.
Drying is the whole secret. Hard water cannot leave a spot if you do not let the water sit there and evaporate.
How to remove hard water spots without scratching
Mineral spots dissolve best with mild acid. Think of this as “melting” the deposit instead of sanding it off.
Method 1: Vinegar compress
- Rinse the sink and lightly dry so the vinegar is not instantly diluted.
- Soak a paper towel or cloth in white vinegar.
- Lay it over the spotted area for 5 to 10 minutes.
- Remove, then wipe with the grain using a microfiber cloth or non-scratch sponge.
- Rinse, then dry completely.
Tip: If your sink is very spotty, do the vinegar step first, then wash with dish soap afterward to remove loosened film.
Method 2: Citric acid solution
Dissolve 1 teaspoon citric acid in 1 cup warm water. Dampen a cloth, lay it over the spots for 5 to 10 minutes, then wipe with the grain. Rinse and dry.
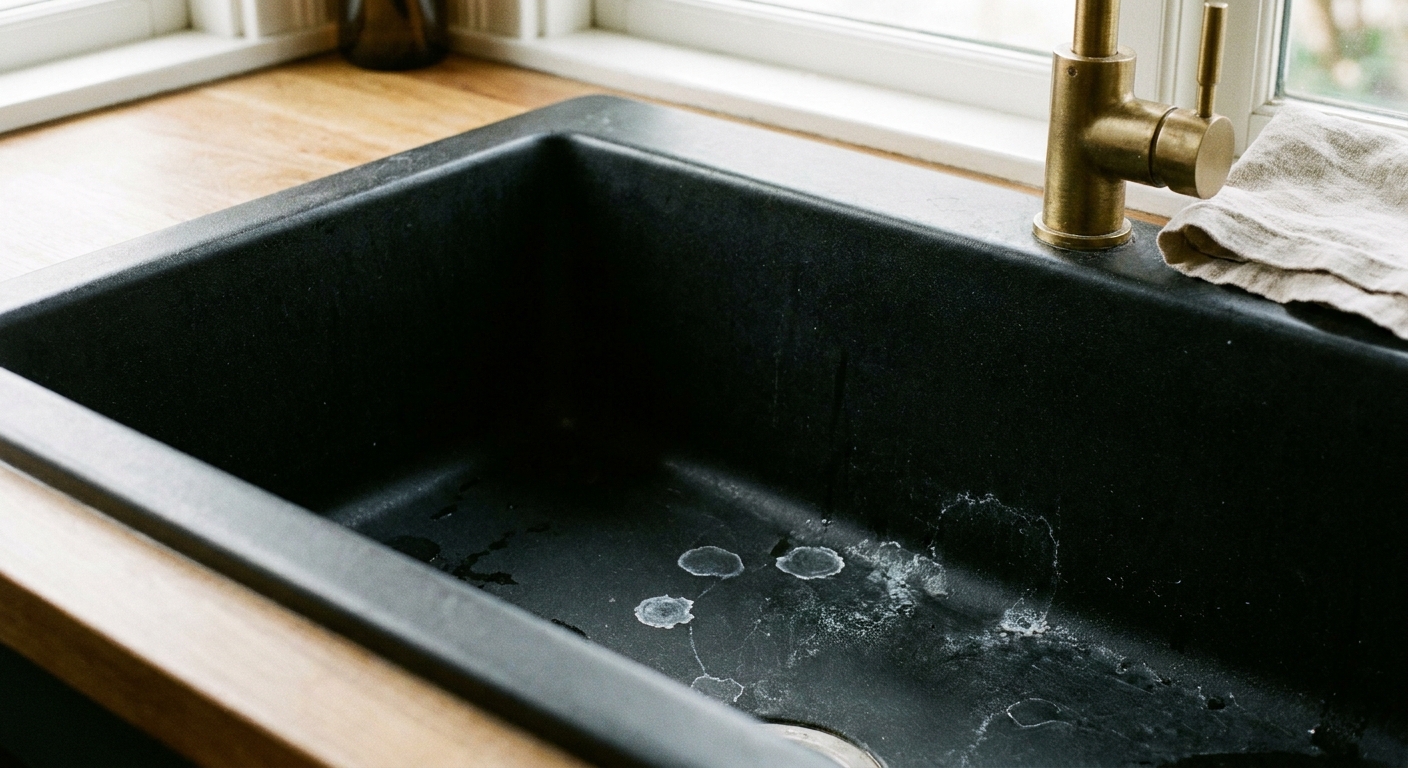
Do not use acid methods on surfaces that are not bare stainless, like certain coated or color-finished sinks. If your sink is matte black, “graphite,” or has a special coating, jump to the coated finishes section below. And as always, check your sink manufacturer’s care guidance if you have it.
Stubborn stains: gentle abrasive, used the right way
When spots have built up for weeks or you are dealing with rust-colored staining, you may need a mild abrasive cleanser. This is where technique matters more than muscle.
How to use a gentle oxalic-acid cleanser safely
- Wet the sink first.
- Sprinkle a small amount of cleanser onto a damp non-scratch sponge or cloth.
- Rub with the grain using light pressure.
- Work in small sections so nothing dries.
- Rinse very well.
- Dry and buff with a clean microfiber cloth.
Important cautions:
- Never mix this type of cleanser with bleach or ammonia.
- Do not leave it sitting on the surface.
- Spot test first, especially if your sink has an unknown finish or you are in a rental with builder-grade fixtures that scratch easily.
If you have deep scratches, cleaning will not truly remove them. At that point, only a stainless refinishing kit (used carefully) or professional refinishing can meaningfully change the surface.
What not to do
- No steel wool or wire brushes. They can scratch and leave behind iron particles that later rust.
- No green scouring pads or heavy-duty abrasive sponges unless the manufacturer explicitly allows it.
- Avoid chlorine bleach and chloride cleaners, especially soaks or prolonged contact. Chlorides can cause pitting and staining. Some manufacturers allow brief, diluted use with immediate rinsing, but it is rarely worth the risk in daily cleaning.
- No harsh limescale removers unless you are sure the sink is bare stainless and you can control contact time. Many are too aggressive for everyday use.
- No circular scrubbing. It creates visible swirls, especially on brushed finishes.
- Do not let cleaners dry on the sink. Dried product can leave its own residue or uneven sheen.
If your “stainless” sink is coated or colored
Not all sinks that look modern are bare stainless. Some have coatings, PVD finishes, or special color treatments. These finishes can be beautiful, but they are less forgiving with acids and abrasives.
Safe approach for coated finishes
- Use warm water + dish soap + a soft cloth.
- For mineral spots, try plain water first, then a tiny amount of vinegar on a cloth only if the manufacturer allows it. Keep contact time very short and rinse immediately.
- Skip abrasive powders and “Bar Keepers Friend class” cleansers unless the sink maker explicitly says it is safe.
If you are renting and unsure what you have, assume it is coated. Gentle is the safest policy.
Finishing touch: a soft glow
This step is optional, but if you love that fresh, styled look, it is the little detail that makes stainless feel intentionally cared for.
How to buff and protect
- Make sure the sink is completely clean and fully dry.
- Put a drop or two of mineral oil (or a stainless-safe polish) on a microfiber cloth.
- Wipe a very thin layer with the grain.
- Buff with a clean dry cloth until it looks natural, not greasy.
Note: This is a short-term cosmetic finish that can help water bead, but too much oil can attract grime. Apply extremely thin, reapply only as needed, and keep it off food-prep surfaces if that concerns you. If slipperiness is a worry, apply mainly to the walls and rim, not the sink floor.
Troubleshooting
My sink looks scratched after cleaning
Often those are new cross-grain marks from abrasive scrubbing. From here on, clean strictly with the grain. Very fine scratch patterns can sometimes be softened visually by consistent with-the-grain cleaning and buffing, but deep scratches usually do not disappear fully without refinishing.
Orange spots keep coming back
That is usually iron contamination. Avoid leaving cast iron pans, steel cans, or metal scrubbers sitting wet in the sink. Rinse and dry after use. A gentle oxalic-acid cleanser can help remove existing spots, followed by thorough rinsing.
Cloudy haze won’t budge
Try this order: vinegar compress (to dissolve minerals), then dish soap wash (to remove soap film), then a light pass with a gentle cleanser if needed. Always dry at the end.
Water spots return overnight
That is hard water doing its thing. The fastest fix is a nightly 30-second dry-down with microfiber, especially around the drain flange and faucet base where water loves to sit.
A simple weekly sink reset
- 2 minutes: Dish soap wash, rinse, dry.
- 5 to 10 minutes: Vinegar compress on any spots while you wipe counters.
- 1 minute: Wipe with the grain, rinse, dry, buff.
Your sink does not need to look like a showroom. It just needs to look cared for, like it belongs in a home where real life happens and the light still catches on the steel in a way that feels clean and calm.