Squeaky Interior Door Hinges: Renter-Safe Fixes

Clara Townsend
Clara Townsend is an interior stylist, vintage furniture enthusiast, and the creative voice behind Velvet Abode. With over a decade of experience transforming both cramped city apartments and sprawling fixer-uppers, she believes that a beautiful home is built on personal stories rather than massive budgets. When she isn't hunting for the perfect brass sconce at a local flea market, she can usually be found rearranging her living room for the third time this month.
A squeaky door has a special talent for making your home feel less calm, no matter how pretty your throw pillows are. The good news is that most interior door squeaks are simple friction problems, and you can often fix them quickly with renter-safe tools and a little patience. (Time varies if pins are painted over, screws are stripped, or the door is sagging.)
This guide helps you figure out where the sound is coming from (hinge, latch, or frame), then walks you through the safest fixes first, with a few “call maintenance” moments clearly flagged.
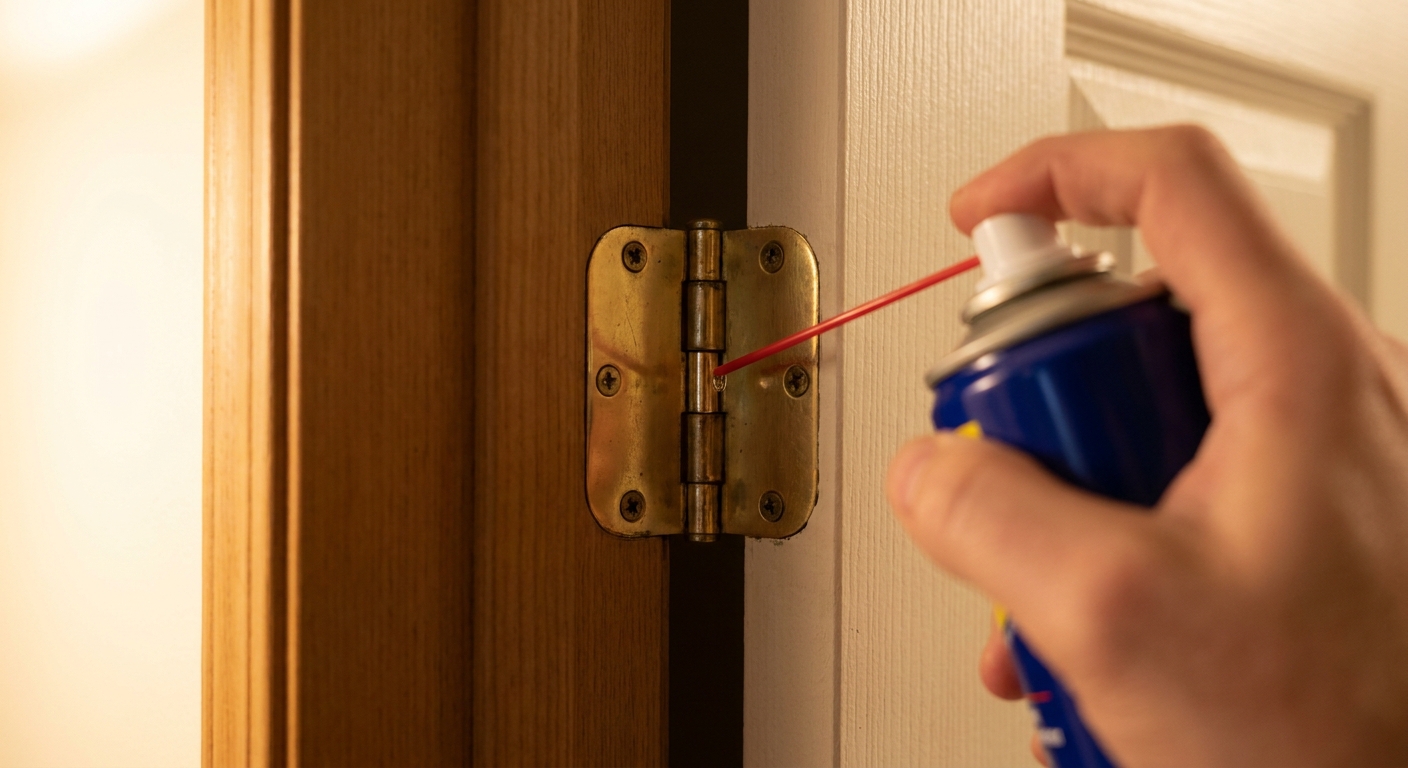
First: confirm it's the hinge (not the latch)
Before you spray anything, do a quick listening test. Different noises point to different fixes.
Signs it's the hinges
- The squeak happens throughout the swing as the door opens and closes.
- The sound seems to come from the vertical line of hinges, not the latch side.
- If you gently lift up on the doorknob while moving the door, the squeak changes pitch.
Signs it's the latch or strike plate
- You only hear noise at the very end when the latch hits the strike plate.
- It sounds like scraping, clicking, or metal-on-metal rather than a squeal.
- The door needs a push to latch, or it bounces back open.
Signs the door is rubbing the frame
- You see fresh scuffs on the door edge or paint rubbed off the jamb.
- You feel resistance at one spot in the swing.
- The noise is more of a wood scrape than a squeak.
Quick pinpoint trick: Open the door halfway. Put one finger lightly on each hinge (one at a time) while you gently move the door. The “noisy” hinge often buzzes under your fingertip.
Renter-safe supplies that actually work
You don't need a toolbox the size of a suitcase. Here's what I keep in my “quiet house” kit.
- Microfiber cloths or paper towels for drips and cleanup.
- Cardboard or an old towel to protect flooring.
- Small flathead screwdriver for prying up a stubborn hinge pin cap (if present).
- Hammer or rubber mallet for tapping hinge pins out and back in gently.
- WD-40 Specialist Silicone or another silicone spray with a straw nozzle.
- White lithium grease (spray or tube) for persistently squeaky hinges.
- Dry PTFE (Teflon) spray if you want a less oily finish.
Lubricants to avoid (especially in rentals)
- Cooking oils (olive, canola): they gum up, attract dust, and can stain paint and trim.
- Vaseline: it holds grit and can migrate onto the door and jamb.
- Graphite powder: great for locks, messy on painted hinges and light trim.
- Classic WD-40 as a “forever” fix: it can help short-term and is useful for cleaning and freeing sticky parts, but it's not the longest-lasting hinge lubricant. If it's all you've got, use it to clean, then follow with silicone, dry PTFE, or lithium grease.
Small safety note: Spray in a ventilated area, aim carefully, and if you're unsure about a finish, test any lubricant on a less-visible spot first.
Fix #1 (easiest): clean and lubricate the hinge knuckles
Most squeaks are simply dry metal-on-metal friction inside the hinge barrels (the knuckles). Here's the clean, renter-friendly way to handle it.
Step-by-step
- Protect the floor. Slide cardboard or a towel under the hinge area.
- Wipe the hinge. Remove dust and any sticky buildup so your lubricant isn't mixing with grit.
- Apply lubricant sparingly. Use the straw nozzle and aim at the top of the hinge knuckle so gravity helps it wick down.
- Work the door. Open and close the door 10 to 20 times, slowly. You're “pulling” the lubricant into the hinge.
- Wipe drips right away. Any excess left on the hinge will collect dust and look grimy fast.
Slip hazard warning: If you're using silicone spray, clean up any overspray on hard floors immediately. Silicone overspray can make tile, wood, laminate, and vinyl dangerously slippery.
My practical rule: If the hinge is on a painted door and you care about a clean look, choose silicone or dry PTFE first. If the squeak keeps coming back, step up to white lithium grease.
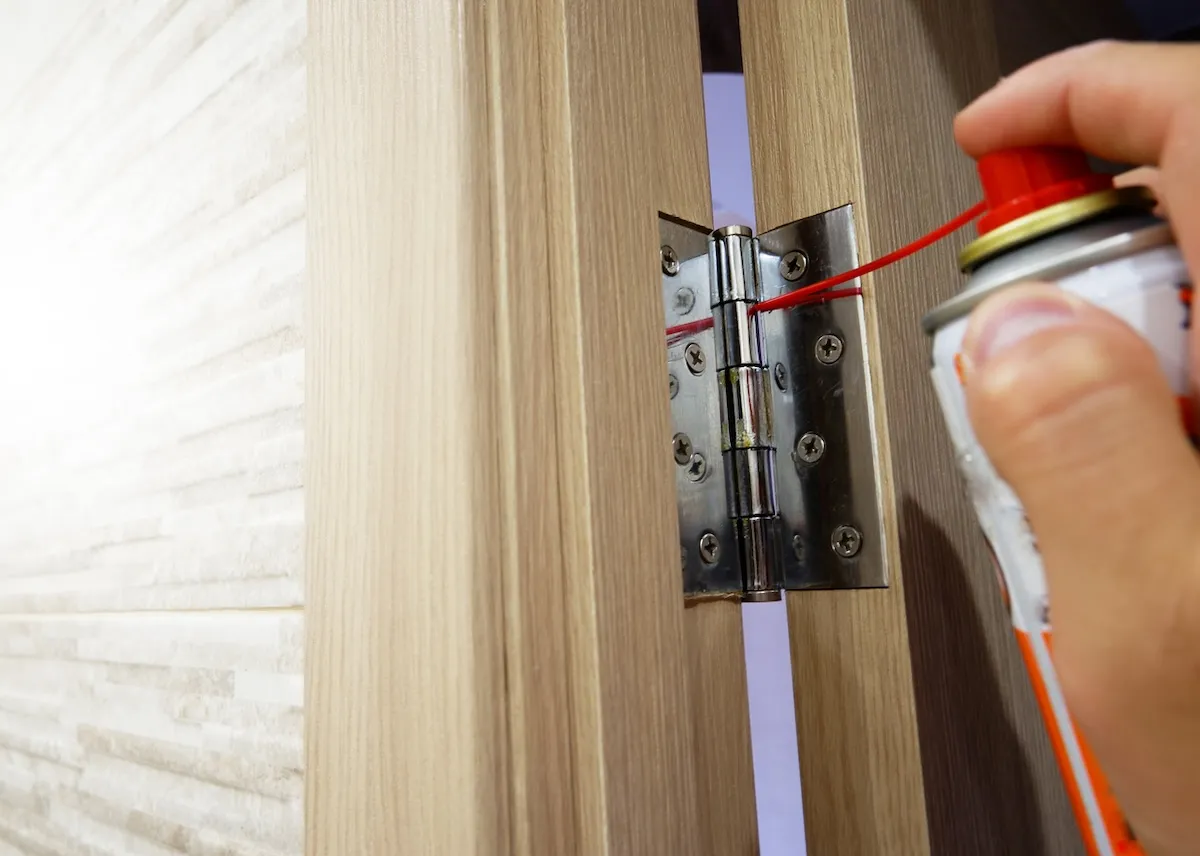
Fix #2: lubricate the hinge pin (without removing the hinge)
If spraying the knuckles helps but the squeak returns quickly, the hinge pin itself may be dry or slightly corroded. You can often address this without taking the door off.
How to do it
- Check your hinge pin style first. Most interior hinges have removable pins, but some are non-removable (peened ends, security hinges) or covered by decorative finials. If there's a cap, pry gently with a small flathead and protect the finish with a cloth.
- Support the door. Keep one hand under the knob or lightly lift the door edge so it doesn't shift while the pin is loosened, especially on the top hinge.
- Open the door. This takes pressure off the hinge.
- Nudge the pin in the correct direction. Many pins are driven out upward. Tap gently from the bottom using a hammer and a flathead screwdriver (or nail set). If your pin is clearly designed to come out the other way, follow that design. If you can't tell, don't force it.
- Lift the pin slightly. Tap until the pin rises about 1/4 to 1/2 inch (6 to 12 mm).
- Add a small amount of lubricant to the exposed pin. A few drops or a light spray is plenty.
- Tap the pin back down. Make sure it seats fully.
- Repeat on the other hinges. The top hinge is often the loudest because it carries more load.
Renter note: This is reversible and low-risk if you're gentle. If your hinge pins are painted over and stuck solid, skip ahead to the “when to call maintenance” section rather than wrestling with it.
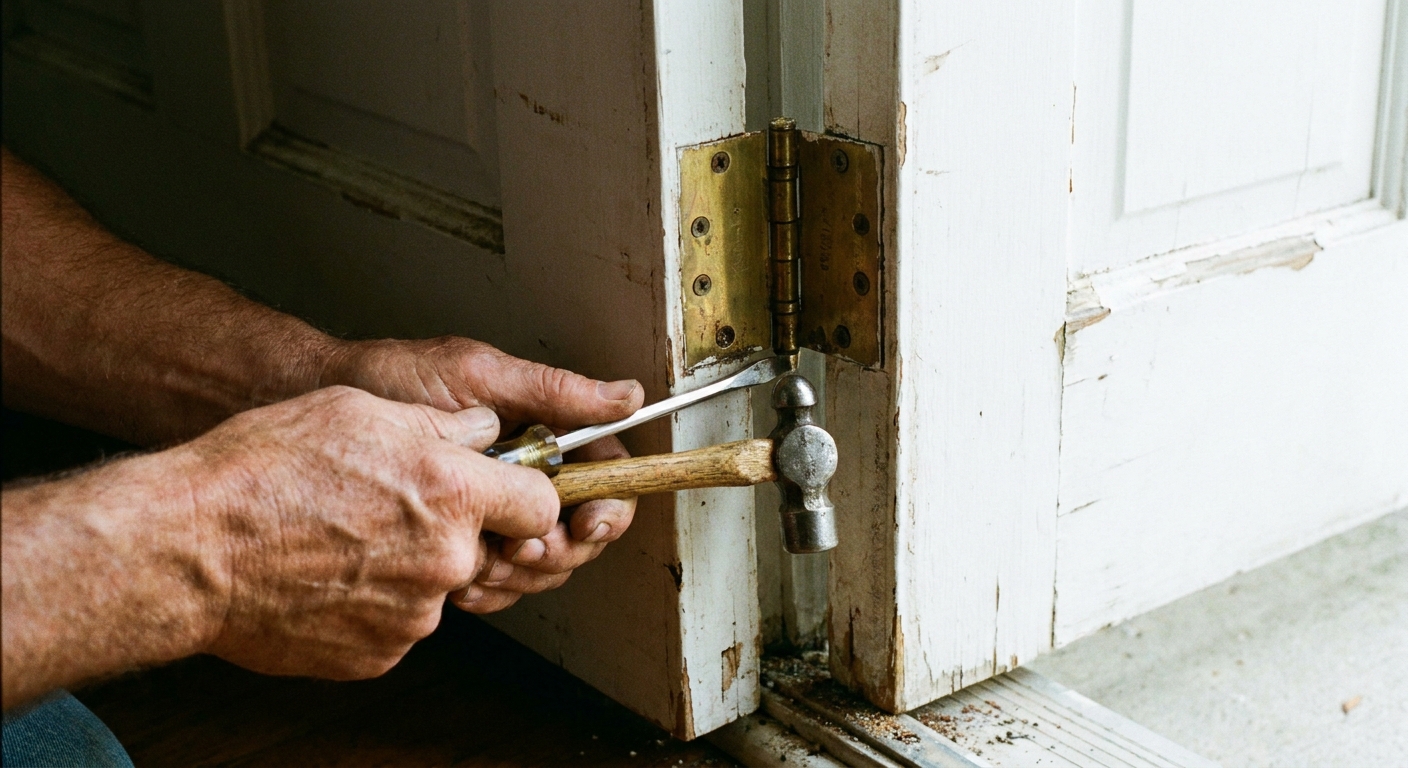
Fix #3: tighten screws (and why that stops squeaks)
A surprising number of “hinge squeaks” are actually tiny movements from loose screws. When the hinge shifts under weight, you get that creaky complaint every time the door moves.
What to do
- Check each hinge screw. Use a screwdriver (not a drill if you can avoid it) so you don't strip anything.
- Tighten snug, not aggressive. You want the hinge flat to the door and jamb.
- Watch for spinning screws. If a screw turns but never tightens, the hole may be stripped.
Renter-safe option for a stripped hinge screw
- Temporary toothpick fix: Remove the screw, insert 1 to 3 wooden toothpick pieces (optionally dipped in a tiny bit of wood glue), snap flush, and reinstall the screw. This can be reversible, but glue is a gray area in some leases. If you use glue, use very little.
- No-glue version: Use toothpicks dry. It often works well enough for an interior door.
If the top hinge screws are stripped and the door feels heavy or saggy, that can mean the frame isn't holding properly. That's a good moment to put in a maintenance request instead of escalating DIY.
Fix #4: check for a pin that's crept up
If your door squeaks and also rubs the frame, the hinge may be binding. A full fix is often about hinge position, a bent hinge, or a door that needs rehanging. But there's one small, renter-safe thing that's worth checking first: sometimes the hinge pin has walked up slightly and is no longer seated.
Try this quick check
- Close the door most of the way. Leave it slightly ajar.
- Look at the hinge pins. If any pin is sitting proud at the top, tap it down gently until it's fully seated.
- Test the swing. If the squeak changes or the rub improves, great. If not, don't force the hinge into alignment.
If the hinge looks visibly twisted, don't bend it with pliers in a rental. That can chip paint, mar the hinge, and create a bigger door alignment problem. This is a good “maintenance request” point.
If the noise is the latch (not the hinge)
For latch squeaks or scraping, skip lubricating the hinges and focus on the latch area. This is often a five-minute fix.
Quiet the latch safely
- Clean first: Wipe the latch bolt and strike plate. Paint and grime cause friction.
- Do a quick alignment check: Look for rub marks on the latch bolt or on the inside lip of the strike plate. Those shiny scuffs usually show where it's catching.
- Try re-centering the strike plate: Slightly loosen the two strike plate screws, nudge the plate just a hair in the direction it needs to go, then retighten. Small adjustments can stop scraping without any permanent changes.
- Use a dry lubricant: A light shot of dry PTFE on the latch bolt is less messy than oil.
Avoid: Filing the strike plate or cutting the jamb in a rental. If the latch still doesn't line up, document it and request maintenance.
If the door is rubbing the frame
This is common in older buildings and in humid seasons when wood swells. Lubricant won't solve a rubbing door for long.
Renter-safe checks
- Look for hinge looseness first. Tightening screws often fixes minor rub.
- Check for paint ridges. Thick paint along the door edge can catch. Don't sand it yourself in a rental unless your lease explicitly allows it.
- Test with a piece of paper. Close the door on paper at different spots to find where the tight contact is.
If the door has shifted enough that it won't latch smoothly, this is typically a landlord adjustment (rehanging, longer screws into the stud, or planing the door). The best renter move is to document and request maintenance.
Document your fix
I know, I know. Nobody wants “door hinge paperwork.” But a tiny bit of documentation makes move-out easier and helps you remember what you used.
- Take a quick before photo of each hinge and the surrounding paint.
- Note what you applied (silicone, lithium grease, PTFE) and the date in your phone notes.
- Wipe everything clean so hinges don't attract dust and look “tampered with.”
Pro tip: If you used any method that alters the screw hole (like toothpicks), take an after photo too. It shows the hinge is still secure and visually intact.
When to stop DIY and call maintenance
Renter-safe fixes are meant to be light-touch. Put in a maintenance request if you notice any of the following:
- The door is sagging and the top hinge is pulling away from the jamb.
- Screws won't tighten and the hinge shifts when the door moves.
- The hinge pin is painted shut and won't budge without force.
- The door sticks badly or won't latch even after tightening screws.
- You see cracks in the jamb wood around hinge screws.
These issues often need longer screws anchored into framing, hinge replacement, or a proper rehang. All of that is landlord territory in most leases.
Quick troubleshooting cheat sheet
- Squeak during the entire swing: lubricate hinge knuckles, then the hinge pin.
- Squeak comes back in a day: clean hinge, switch to lithium grease, check for loose screws.
- Click or scrape only when closing: latch and strike plate alignment (try loosening and re-centering the strike plate).
- Wood scraping, visible scuffs: rubbing door, tighten hinges, then maintenance if it persists.
If you try Fix #1 and #3 and the door is still singing its little haunted-house song, you're not failing. You're just dealing with a door that needs a more structural adjustment than renters should be responsible for.