Spot-Clean Cellular and Roman Shades Without Warping
Clara Townsend
Clara Townsend is an interior stylist, vintage furniture enthusiast, and the creative voice behind Velvet Abode. With over a decade of experience transforming both cramped city apartments and sprawling fixer-uppers, she believes that a beautiful home is built on personal stories rather than massive budgets. When she isn't hunting for the perfect brass sconce at a local flea market, she can usually be found rearranging her living room for the third time this month.
Cellular and Roman shades are the quiet workhorses of a cozy home. They soften light, hide a little street chaos, and make a room feel finished. They are also famously easy to mess up with “just a little water.” Too much moisture can leave tide marks (water rings or water lines), distort Roman folds, or make honeycomb cells pucker like they have lost their confidence.
The good news is you do not need to soak anything. You just need the right order of operations, a light hand, and a drying plan before you start.
Before you clean: know what you have
“Cellular” usually means honeycomb shades with hollow cells that trap air for insulation. “Roman” shades are fabric panels that stack into horizontal folds when raised. Both can be spot-cleaned safely, but the risk points are different.
- Cellular shades: vulnerable to water lines and cell collapse if water gets inside the chambers or the fabric stays wet too long.
- Roman shades: vulnerable to rippling, shrink marks, puckered seams, and uneven folds if the face fabric gets over-wet or dries unevenly.
If your shade has a sewn-in care label, follow it. If it says “dry clean only,” you can still do dry dusting and very conservative spot work, but skip anything that saturates or requires scrubbing.
Also worth a pause: silk, wool, rayon or viscose, and some textured linens can watermark or change color with water. Blackout liners and shades with stiffeners (wood, cardboard, or inserts) can also react poorly to moisture. When in doubt, keep it dry or call a pro.
Test first (do this every time)
This is the cardinal rule of fabric cleaning: spot-test in an inconspicuous area first. Pick a hidden edge, the back side, or the lower hem where it will not show.
- Dab your diluted solution on with a well-wrung white cloth.
- Wait 5 to 10 minutes, then blot dry.
- Check for color transfer, lightening, rippling, or a new ring as it dries.
If the test area looks worse, stop and switch to dry methods only or professional cleaning.
The golden rule: dry first, damp second, never drenched
Almost every shade cleaning disaster begins with skipping dusting. Dust plus water turns into a gray paste that you then spread into the fabric. Start dry. Always.
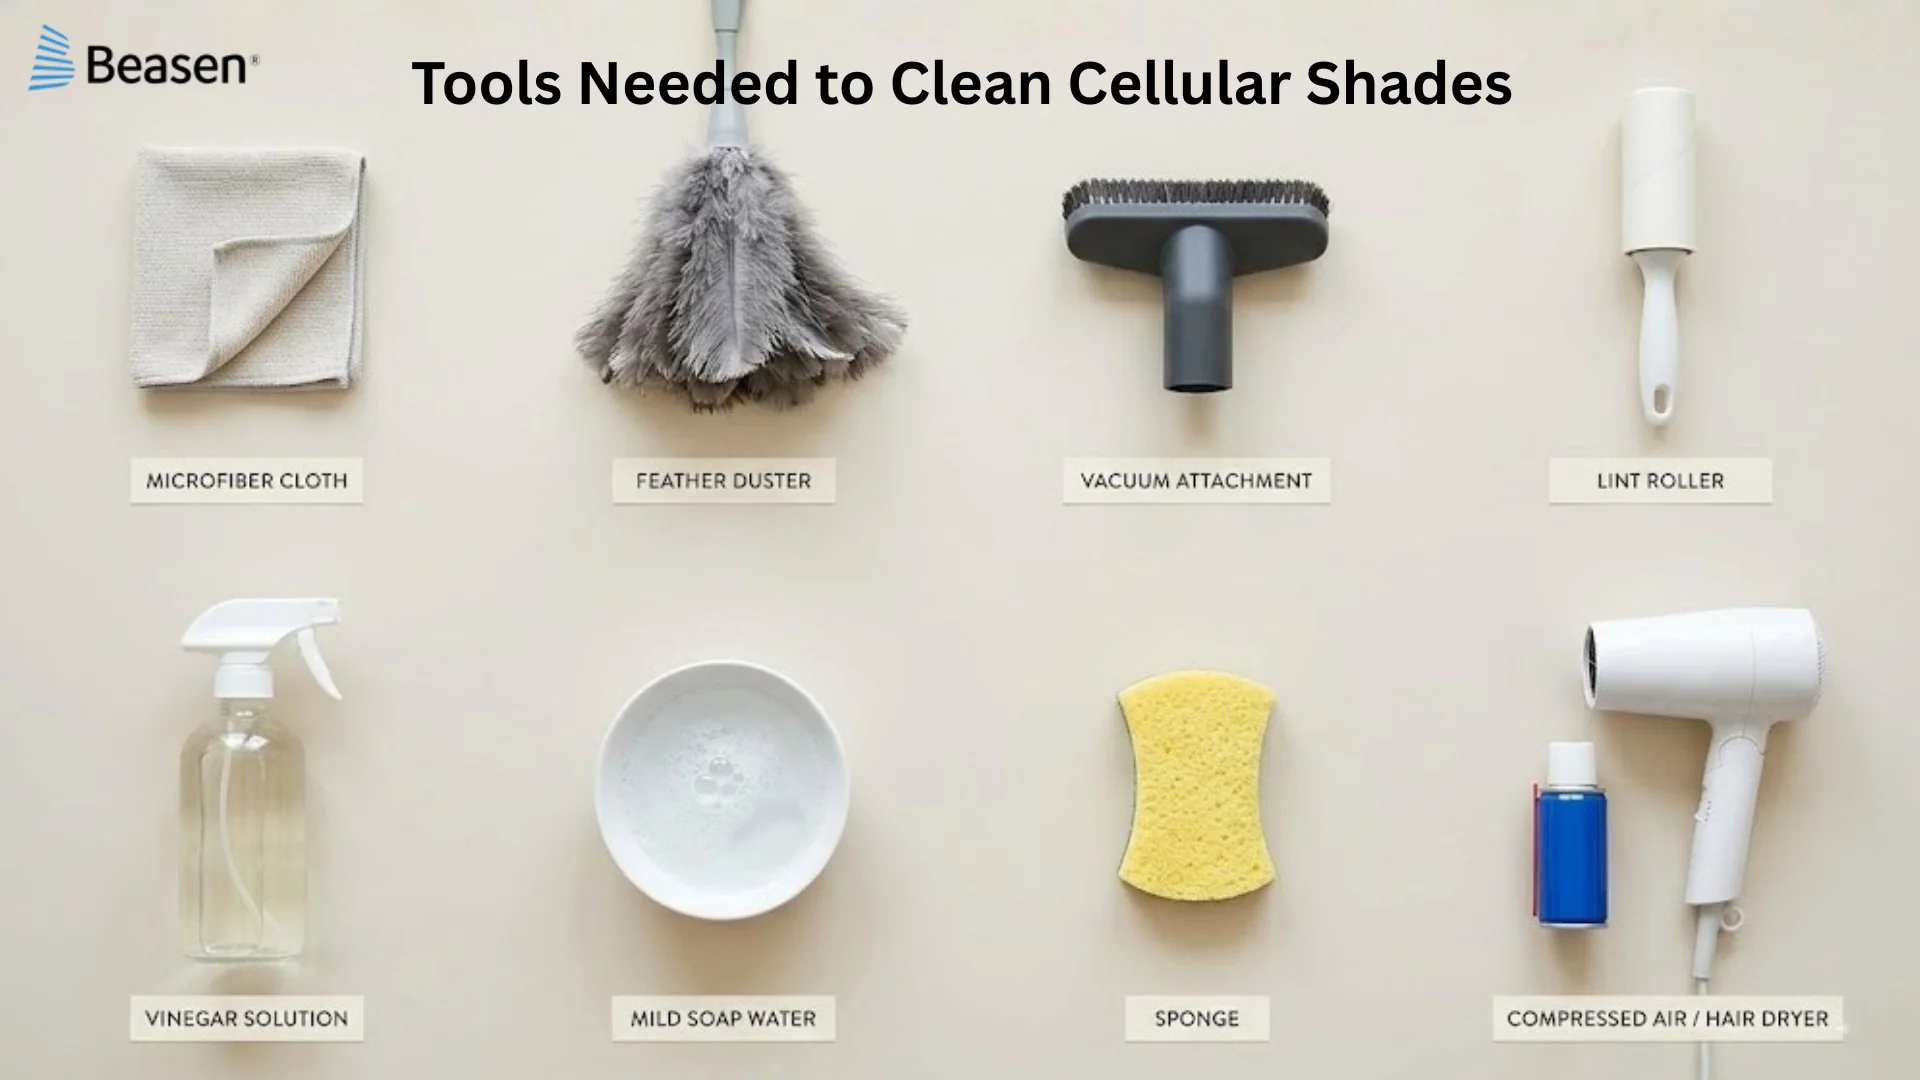
Dry dusting checklist (safe for both types)
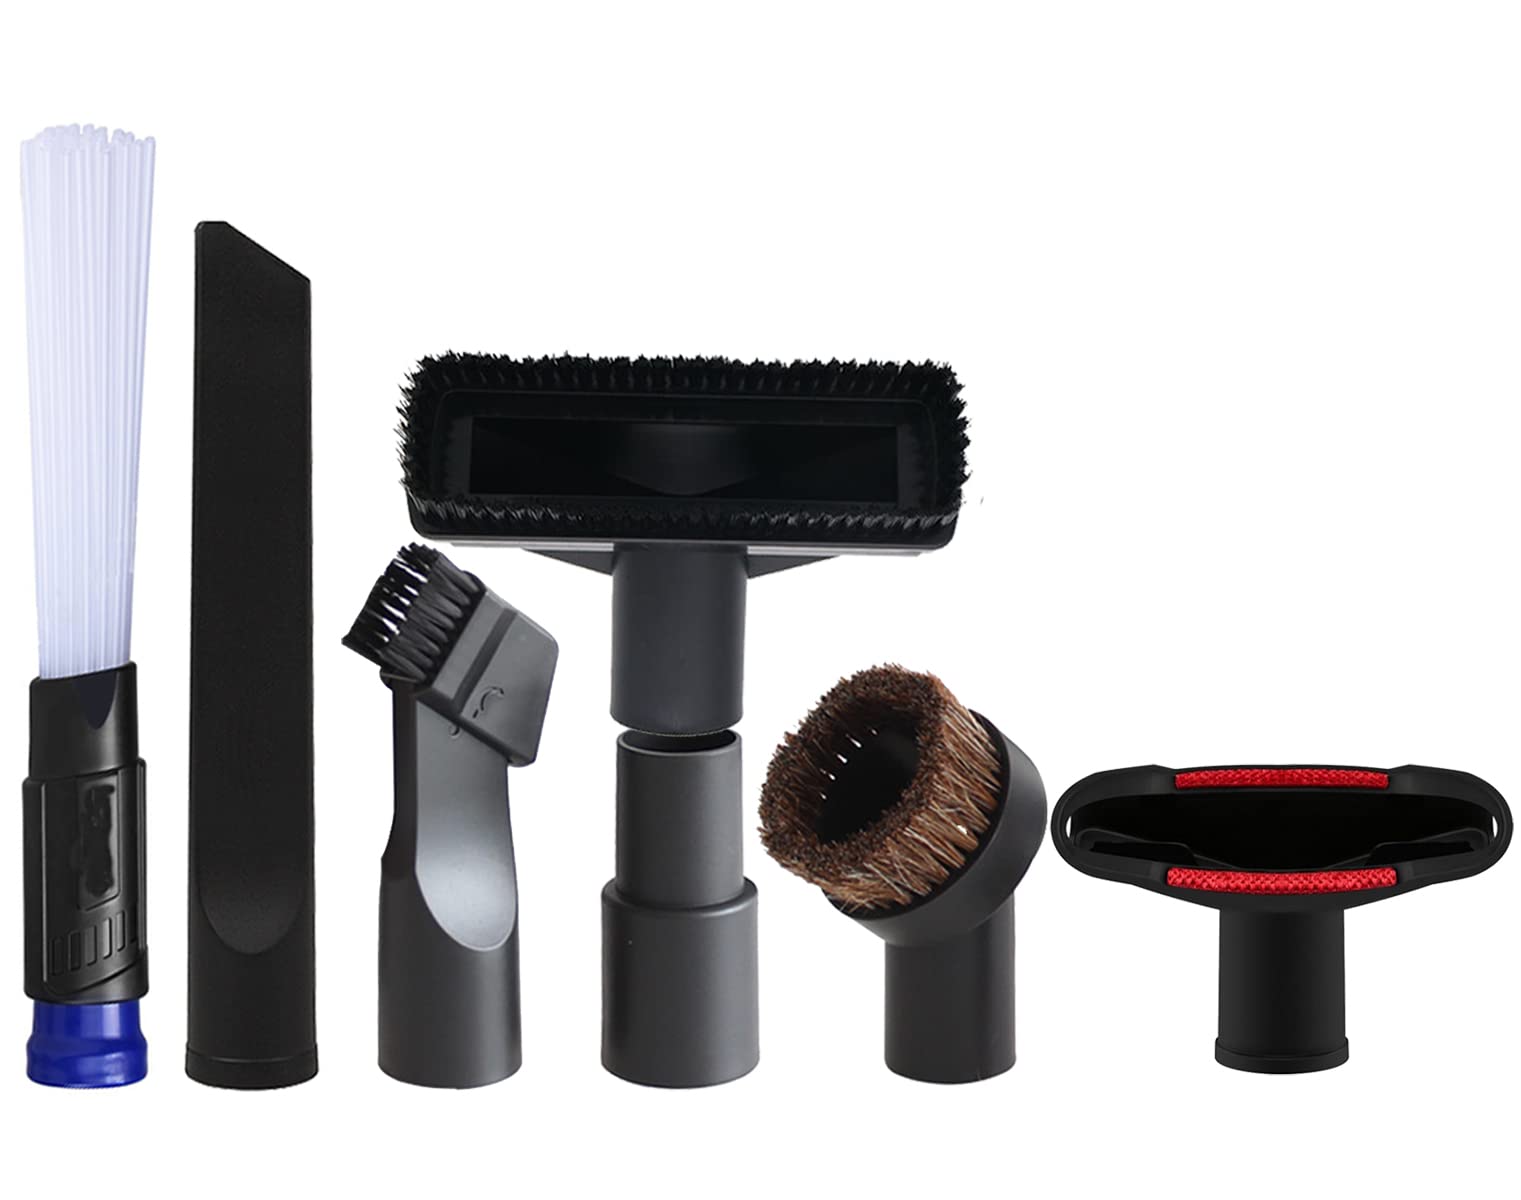
- Vacuum with a brush attachment on the lowest suction setting. Support the fabric with your free hand so the vacuum does not pull on seams.
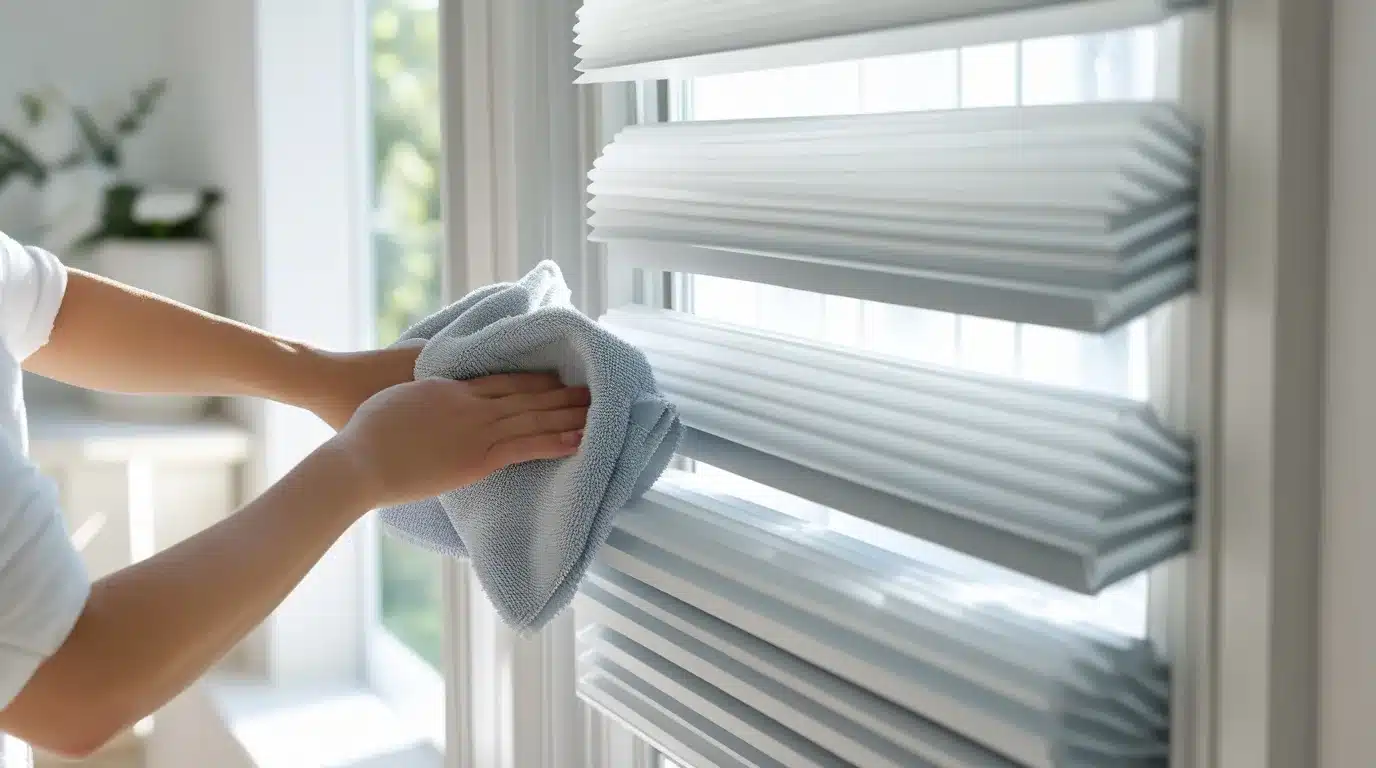
- Microfiber cloth or electrostatic duster for quick weekly passes.
- Compressed air (optional) for cellular shades: use short bursts from a distance and aim along the pleats. Do not blast up close, and stop if you notice the dust being driven deeper or any loosening in the material.
Mix a low-moisture spot-clean solution
You want a cleaner that lifts oils without leaving residue. Keep it gentle and dilute.
My go-to solution for most shade fabrics
- 2 cups lukewarm water
- 1 to 2 drops clear, fragrance-free dish soap
That is it. If you can see bubbles sitting on the cloth, you used too much soap. Soap residue is a sneaky cause of new water lines because it attracts dust later.
Avoid: bleach, ammonia, heavy degreasers, and “miracle” stain sprays. They can strip finishes, weaken fibers, or leave halos.
Cellular shades: spot-clean gently
With honeycomb shades, your job is to clean the surface while keeping moisture out of the cells.
Step-by-step cellular spot clean
- Lower the shade fully so the fabric is taut and supported.
- Dip and wring a white microfiber cloth until it is barely damp. If you can squeeze out a drop, it is too wet.
- Blot first (do not rub) to lift the stain.
- Light passes only along the pleat direction. Think: pat and glide with minimal friction, no back-and-forth scrubbing.
- Change cloth sections often so you are not re-depositing grime.
- Immediately follow with a dry cloth to pull moisture back out.
For greasy fingerprints near the bottom rail, add one extra soap drop to your bowl, but keep the cloth equally wrung out. Grease needs a little surfactant, not extra water.
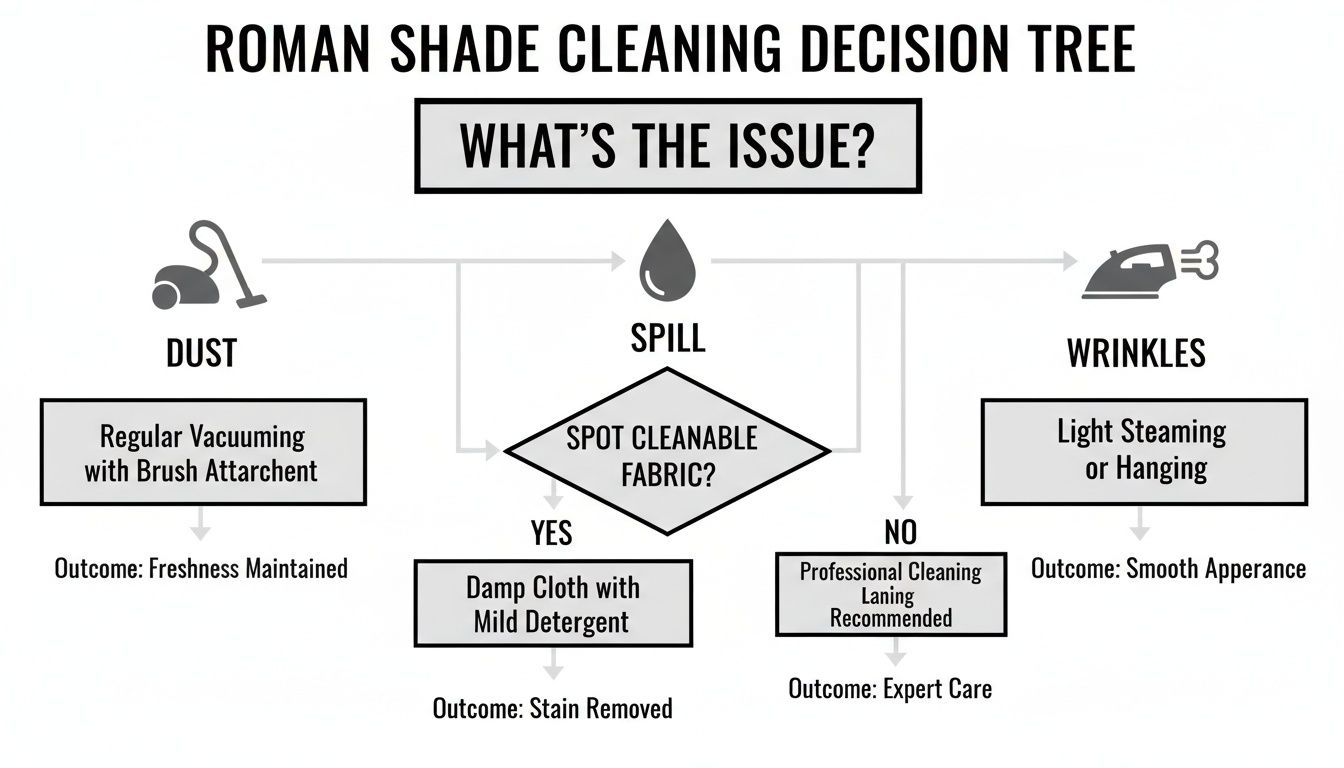
Roman shades: clean the face fabric
Roman shades read every decision you make. Over-wet one area and it can dry darker, lighter, or slightly wavy, especially on linen blends and textured weaves.
Step-by-step Roman spot clean
- Lower the shade to expose the full panel and reduce tension on stitching.
- Support the fabric with your hand behind the spot so you are not grinding the stain into the weave.
- Blot with a barely damp cloth, working from the outside of the stain toward the center to prevent spreading.
- Rinse-pass with plain water on a new barely damp cloth. This helps prevent soap rings.
- Press dry with a clean towel, then let it air dry fully while lowered so the panel dries flat.
- Change cloth sections often to avoid spreading soil.
If your Roman shade is lined, keep moisture on the face fabric only. Liner fabric can dry at a different rate and cause puckering if both layers get wet.
Cord stains and grime lines
Cords collect hand oils, kitchen air, and that mysterious gray film that appears near every window. The trick is to clean the cord without soaking the shade fabric around it.
For cord grime (most common)
- Wrap a barely damp microfiber cloth around the cord.
- Pinch lightly and slide down the cord in one direction.
- Switch to a dry section of cloth and repeat.
For stubborn gray marks near cord routes
Make a thick paste of baking soda and water (think toothpaste). Use a cotton swab to touch the paste to the mark only, wait 2 to 3 minutes, then lift it with a barely damp cloth and dry immediately.
Two cautions: Baking soda is mildly abrasive and can lighten some fabrics, so this is best for colorfast, non-delicate materials and only after a spot-test. Also, wipe until all residue is gone. Dried baking soda can leave a chalky white crust.
Important: Keep paste away from the inside of cellular cells and away from Roman seams. You are targeting a pinpoint mark, not “scrubbing the area.”
Stop water lines before they start
Water lines happen when moisture spreads beyond the cleaned spot and dries with a hard edge. You can prevent them with two habits: minimal moisture and feathered edges.
- Work small: clean a little larger than the stain, then feather outward with a barely damp plain-water cloth.
- Dry right away: press with a towel, then use airflow.
- Do not over-soap: residue dries as a ring even if you used very little water.
If you already have a faint ring, lightly re-wet the entire ring area with plain water on a well-wrung cloth and feather farther out, then dry aggressively. The goal is an even moisture gradient, not a hard border.
Drying that protects structure
Drying is where you save the structure. Especially with cellular shades, you want fast, even drying without heat that can warp synthetic fibers.
Best drying setup
- Keep the shade fully lowered until it is completely dry.
- Use a fan pointed across the shade, not directly blasting one spot.
- Open the window slightly if humidity is low, or run a dehumidifier nearby if it is not.
- No hair dryers on hot. If you must, use the cool setting from a distance and keep it moving.
Cellular-specific tip: If a pleat edge looks slightly softened after cleaning, you can very gently re-crisp the fold with dry fingers once everything is fully dry. Skip this on delicate fabrics or anything that seems prone to creasing.
What not to do (learn from my past self)
- Do not dunk cellular shades in a tub. Water gets into the cells and drying becomes a long, streaky saga.
- Do not steam unless the manufacturer explicitly allows it. Steam can relax adhesives in some cellular shades and can also shrink or watermark certain Roman fabrics.
- Do not scrub with a brush on Roman shades. It can fuzz the fabric and create shiny spots.
- Do not use colored cloths or paper towels that can transfer dye or lint.
- Do not raise the shade to dry. Wet folds dry into creases and uneven bands.
Quick maintenance routine
A little consistency keeps you out of stain triage mode.
- Weekly: microfiber dusting or vacuum on low with a brush attachment.
- Monthly: detail the bottom rail and cords where hands touch most.
- Seasonally: inspect for kitchen film, pet nose smudges, and any spots near windows you open often.
If you have a kitchen window, a bathroom window, or a very affectionate dog, bump everything up one notch. Humidity and oils are the usual culprits.
When to call a pro (or replace)
Sometimes the most budget-friendly choice is handing it off.
- Heirloom Roman fabric, silk, wool, rayon or viscose, or anything labeled dry-clean only and heavily stained.
- Cellular shades with yellowing from smoke or cooking oils that has penetrated the material.
- Severe water staining across large sections. Spot cleaning will not blend it.
- Mechanical issues like frayed cords or uneven lift. Cleaning will not fix function.
- Mildew, nicotine, or pet accidents that have soaked in. These often need professional treatment, and sometimes replacement is kinder to your time.
If you are replacing, take it as an invitation to choose something that fits your real life, not your fantasy life. Washable Romans or easy-wipe rollers exist for a reason.
My gentle cheat sheet
- Test first in a hidden spot.
- Dust first, always.
- Use a barely damp cloth, not a wet one.
- Blot, then light passes in the fabric direction.
- Rinse-pass with plain water to prevent rings.
- Dry immediately, shade fully lowered, with airflow.
Your shades should look quietly refreshed, not like they just survived a DIY car wash. Slow hands, little water, and a good fan are the whole secret.