Slow or Clogged Kitchen Sink Drain: Renter-Safe Fixes First

Clara Townsend
Clara Townsend is an interior stylist, vintage furniture enthusiast, and the creative voice behind Velvet Abode. With over a decade of experience transforming both cramped city apartments and sprawling fixer-uppers, she believes that a beautiful home is built on personal stories rather than massive budgets. When she isn't hunting for the perfect brass sconce at a local flea market, she can usually be found rearranging her living room for the third time this month.
There are few household sounds that make my shoulders climb to my ears faster than a kitchen sink that starts to gurgle. It is right up there with a smoke detector chirp at 2 a.m. The good news is that many kitchen clogs are simple, local, and renter-safe to troubleshoot without turning your under-sink cabinet into a plumbing crime scene.
This guide is designed like triage. We will start with the safest, least invasive checks, then move to a few practical fixes you can do with basic tools and a towel. You will also get clear stop rules for when it is time to call maintenance, and how to document the issue so you are protected.
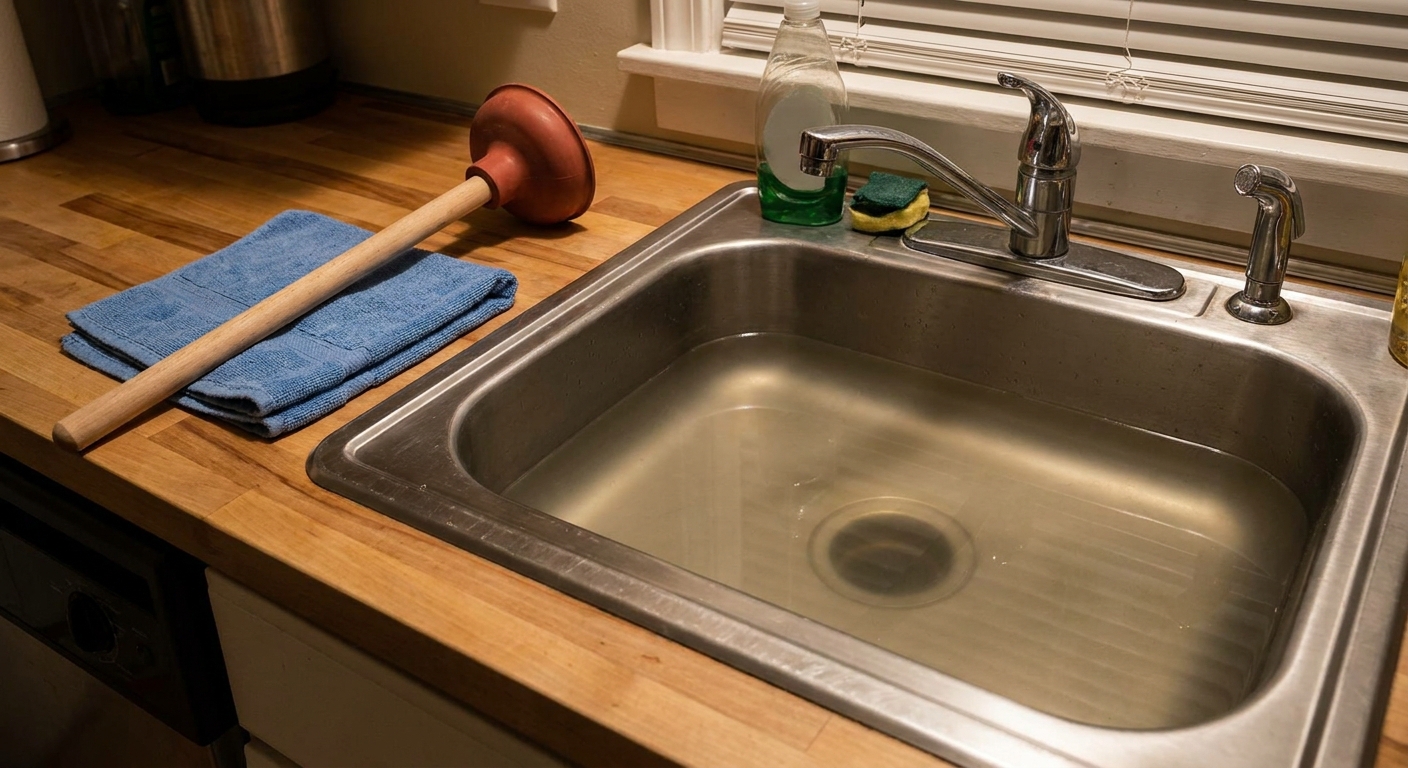
First: a quick 2-minute diagnosis
Before you do anything, answer these three questions. They point you toward the right fix and keep you from making the clog worse.
- Is it one bowl or both? If you have a double sink and both sides are slow, the clog is usually after the point where the drains join, often in the P-trap or the branch drain in the wall. If only one bowl is slow, the clog is often in that side’s drain line or at the disposal inlet.
- Did it happen suddenly or gradually? Sudden clogs often come from a single culprit (rice, pasta, potato peels, a label, a lemon rind). Gradual slowing tends to be grease plus food sediment building up.
- Any smell, gurgling, or backup elsewhere? Bad sewer odors, loud gurgling, or water backing up in another fixture can hint at venting or a main line issue. That is a maintenance call, not a DIY marathon.
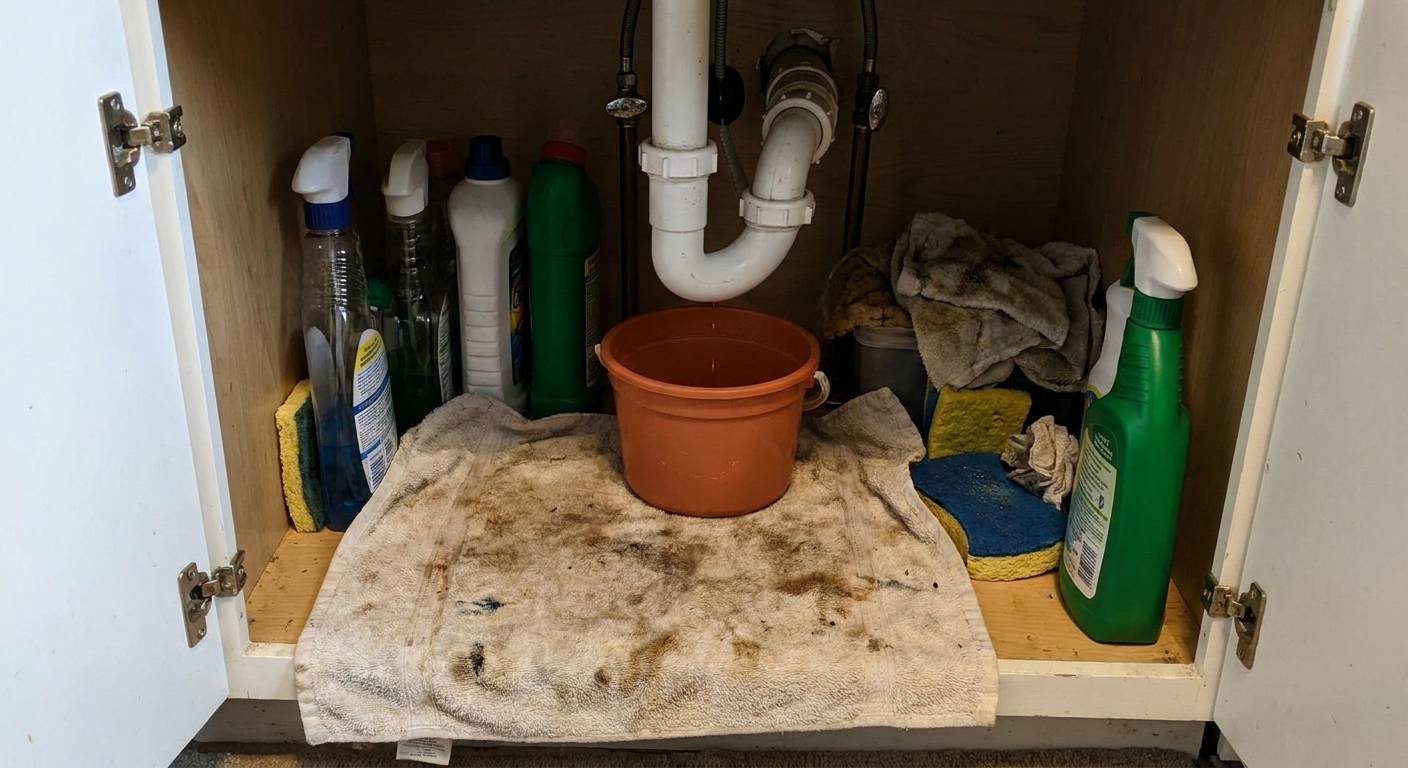
Prep (renter-friendly): Put on gloves, clear the cabinet, lay down a towel, and keep a small bucket or bowl nearby. If you have a garbage disposal, switch off the disposal at the wall and avoid putting your hand in the opening.
The renter-safe order of operations
1) Start with the simplest: remove the stopper, basket, and visible gunk
Kitchen sinks collect the grossest greatest hits: coffee grounds, onion skins, sticker glue, and soap scum that somehow feels like paste. Pull out the sink strainer basket, any removable stopper, and clean the rim and drain opening with a paper towel.
- Use a flashlight and look for a visible plug right at the top of the drain.
- If you see food packed near the opening, lift it out with a bent plastic utensil or a zip tie with small notches cut into it. Avoid metal tools that can scratch enamel or stainless.
- Rinse with hot water for 30 to 60 seconds to see if the flow improves.
2) If you have a disposal: check the disposal-side clog first
If your sink is the disposal style where one bowl drains through the disposal, clogs often form right where the disposal meets the sink drain, or in the short elbow that follows it.
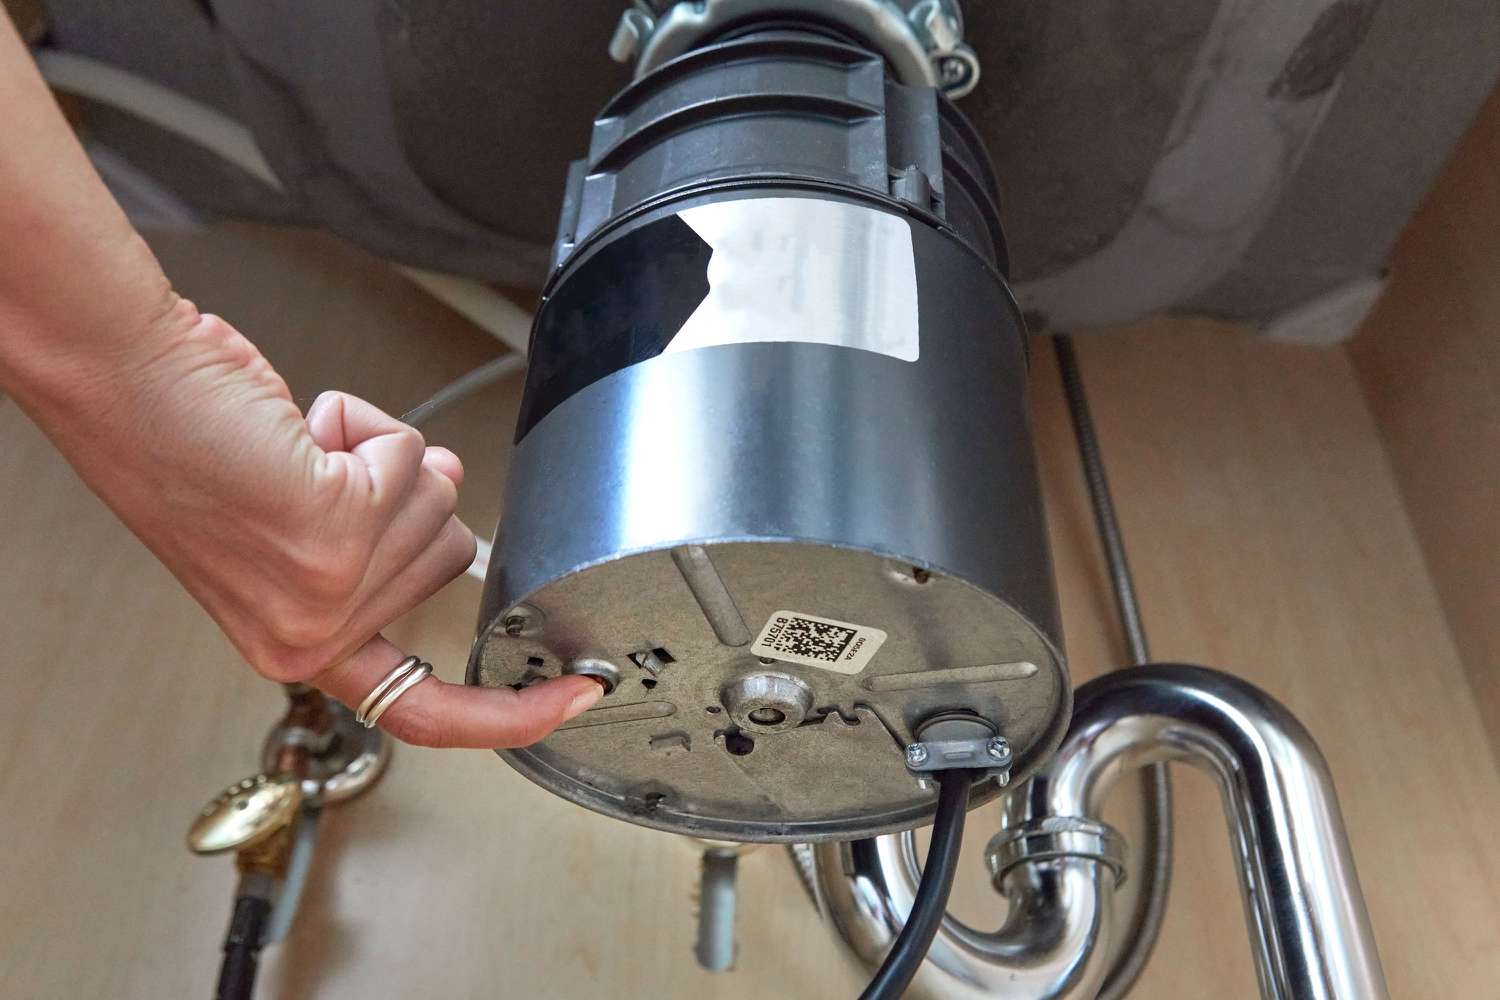
- Reset first: If the disposal hummed or stopped mid-use, press the reset button on the bottom of the unit (a small button, often red).
- Free the jam safely: Many disposals have a hex socket on the underside. Insert an Allen key (commonly 1/4 inch) and gently turn back and forth to free the plate. If your model uses a disposal wrench, use that.
- Flush smart: Run cold water, then turn the disposal on for short bursts. If the water begins to drain normally, keep cold water running for 20 to 30 seconds after to clear the line.
Do not: pour drain cleaner into a disposal. It can damage internal parts and makes the unit dangerous for whoever has to service it later.
3) Plunge it, but do it the double-bowl way
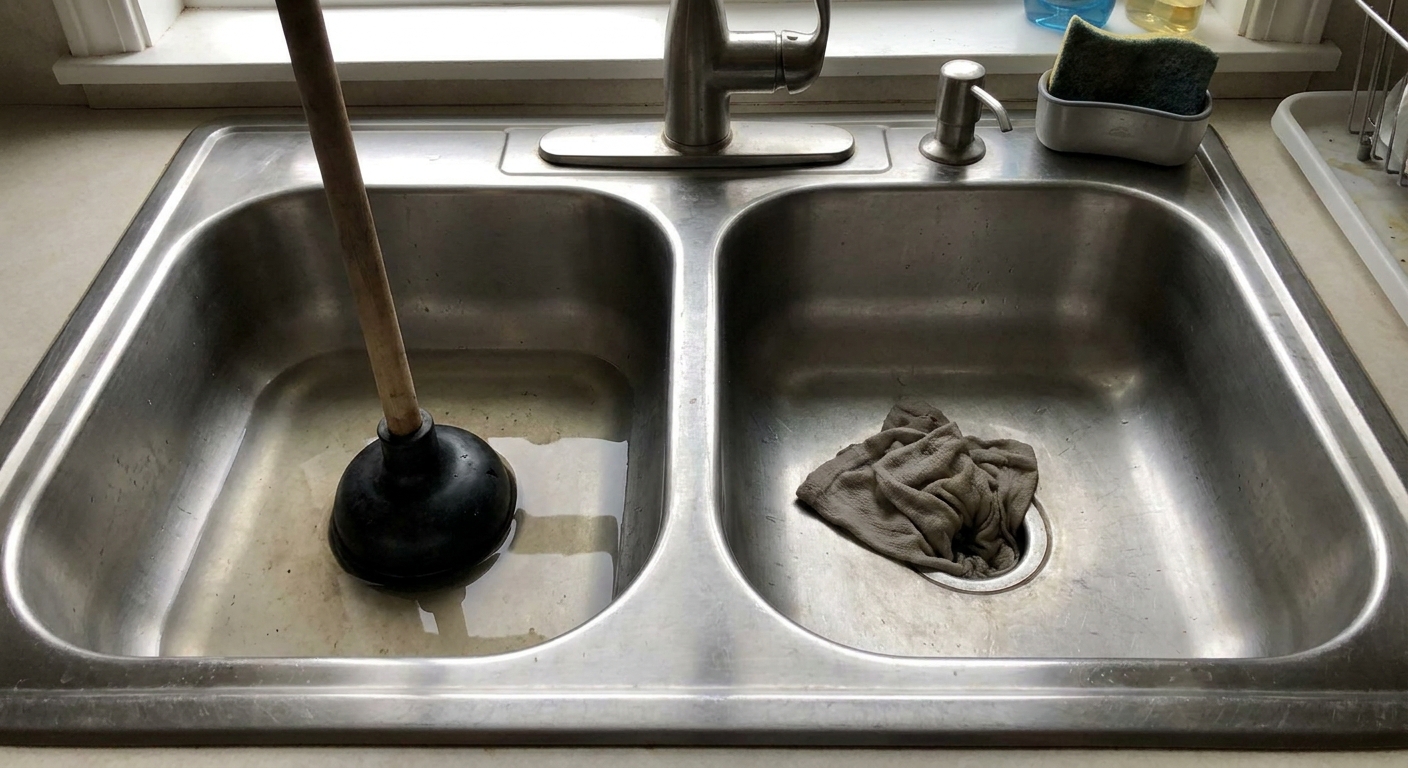
Plunging a kitchen sink works best when you create a strong seal and force the pressure to go down the pipe rather than escaping out the second bowl.
Single-bowl sink
- Add enough water to cover the plunger cup by about 1 inch.
- Seal the overflow opening if your sink has one (a wet rag works).
- Plunge with quick, controlled pushes for 15 to 20 seconds, keeping the cup sealed.
- Lift the plunger to break the seal and see if the water drains. Repeat 2 to 3 rounds.
Double-bowl sink (this is the part most people skip)
- Plug the other drain firmly with a stopper or a wet rag pressed down tight.
- If one side has a disposal, plunge the non-disposal side first (it often gives better sealing).
- Add water to the plunged bowl so the cup is submerged.
- Plunge 15 to 20 seconds, then check flow. If nothing changes, swap sides and repeat while keeping the opposite side sealed.
Tip: If you have a dishwasher, make sure it is off. Strong plunging can push water back toward the dishwasher line in some setups. That is not dangerous, but it can create surprise pooling if the clog is stubborn.
P-trap basics
The P-trap is the curved section of pipe under your sink that holds a little water to block sewer gases. It is also where heavier debris tends to settle. If your landlord allows basic maintenance, cleaning the P-trap is often the most effective renter-safe fix, as long as you stop the moment you see corrosion, glued joints, or signs of leakage.
Know what you have
- PVC with slip nuts (common and renter-friendly): White plastic with large hand-tightened nuts. This is the easiest style to remove and reinstall.
- Metal trap (chrome or brass): Can be renter-safe if it is in good condition, but older metal can crumble at the threads. Proceed gently.
- Glued fittings: Smooth connections with no removable nuts. Do not attempt disassembly. Call maintenance.
Renter-safe P-trap cleanout steps
- Place a bucket under the curve of the trap and lay a towel around it.
- Turn off the hot and cold shutoff valves under the sink (turn clockwise) so an accidental faucet bump does not turn your cabinet into a waterfall. If your valves are stuck, leaking, or look corroded, do not force them. Skip this step and call maintenance.
- Hand-loosen the slip nuts on both sides of the P-trap. If it is tight, use a towel for grip. Avoid over-torquing with tools.
- Lower the trap carefully. Water and debris will spill into the bucket.
- Remove gunk by hand or with a bottle brush.
- Rinse the trap in a different sink, a bathtub, or outside. Do not rinse it in the same kitchen sink while the trap is removed unless you have a temporary cap on the open pipe and a plan for where that water will go (hint: it will go into your cabinet).
- Check the washers (small rubber or plastic rings) are seated correctly, then reattach and hand-tighten.
- Turn the shutoff valves back on and run water for 30 to 60 seconds while you watch for drips. Tighten a tiny bit more if needed.
What you are likely to find: greasy sludge, coffee grounds, rice, and sometimes a surprise like a produce sticker that has traveled farther than it should.
Baking soda: help or hype
I love a pantry fix as much as anyone, but kitchen drains are not the same as a lightly grimy bathroom sink. Food oils behave differently, and some combos create a bubbly mess that feels productive while doing very little.
When baking soda can help
- For mild smells and slow drainage caused by surface film, a gentle flush can freshen things up.
- Try: pour 1/2 cup baking soda into the drain, then 1 cup hot water. Wait 10 minutes. Flush with more hot water.
When baking soda and vinegar is not your hero
- For thick grease clogs, the foam does not cut through like you want it to. It can also loosen debris and push it into a tighter spot.
- If you might need maintenance soon, avoid adding extra substances. A plumber will thank you, and you will avoid the awkward question of what you poured in.
- If you have already used a chemical drain opener (even once), do not add baking soda, vinegar, or boiling water. Mixing products can create fumes or splashes.
A better kitchen-specific habit: For a sink that is merely slow, run very hot tap water for a minute while you wipe greasy pans with a paper towel first. It is boring, but it is the kind of boring that prevents clogs.
Common advice, renter notes
- Boiling water: Skip it if you have PVC pipes. Very hot water can soften plastic or stress older joints. Hot tap water is safer.
- Ice and salt in the disposal: Fine for deodorizing and knocking loose light buildup in the disposal chamber, but it will not clear a real clog in the drain line.
- Chemical drain cleaners: In rentals, this is usually a no. They can damage pipes, void lease terms, and create a hazard for maintenance. If you already poured some in and the sink is still clogged, stop and notify maintenance so they can service it safely.
Stop rules: call maintenance
I am all for confidence, not chaos. Stop DIY and put in a maintenance request if you notice:
- Water backing up into another fixture (tub, shower, or bathroom sink) when you run the kitchen sink.
- Standing water that will not budge at all after plunging and clearing the visible drain area.
- Leaks under the sink, especially at the wall connection or any corroded metal fittings.
- Sewage smell that persists, or you suspect the P-trap is not holding water.
- Glued plumbing, a garbage disposal hardwired setup you are not comfortable with, or anything that looks nonstandard.
- You used a chemical cleaner and the clog remains. This is a safety issue for anyone working on the line.
Tenant note: Many leases require you to notify the landlord promptly to prevent water damage. If water is threatening to overflow onto floors or cabinets, call it in.
Documentation photos
Think of documentation as being politely thorough. You are creating a quick, clear record that shows you acted responsibly and did not ignore a leak until it became a ceiling stain for your downstairs neighbor.
What to photograph
- The sink condition: standing water level and whether one or both bowls are affected.
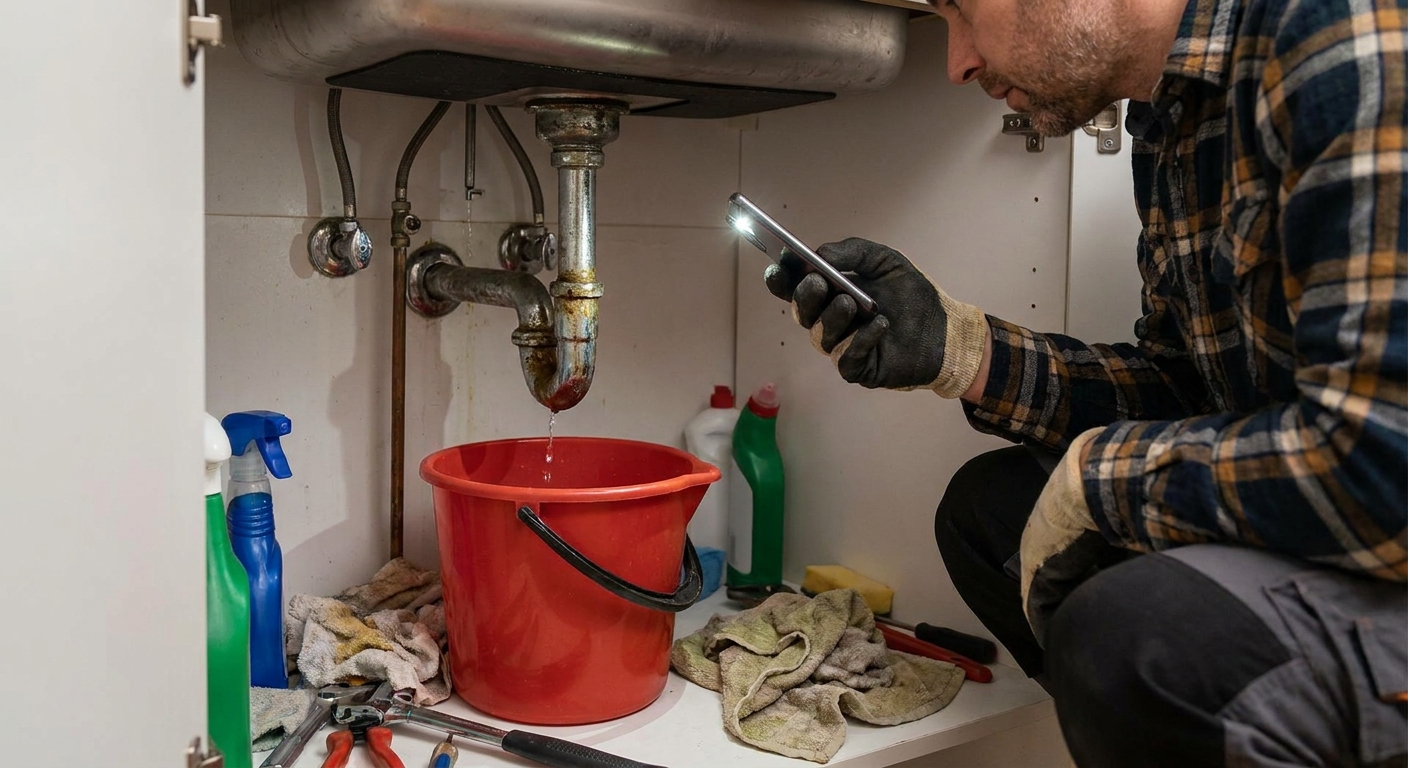
- Under-sink overview: one wide shot showing pipes, disposal (if any), and the cabinet floor.
- Close-ups of any leaks: drips at a slip nut, water pooling on the cabinet base, or moisture at the wall connection.
- Disposal info plate: a clear photo of brand and model if visible.
How to make it useful
- Use natural light or turn on a bright lamp nearby. Darkness makes everything look like a mystery novel.
- Take one wide shot, then two close-ups from different angles.
- If water is actively leaking, take a short 5 to 10 second video showing the drip.
- Do not disassemble anything solely for photos. Document what you see.
Message maintenance (copy and paste)
If you want to sound calm, clear, and hard to ignore, send a message like this:
Hi, my kitchen sink is draining very slowly / fully clogged. It affects one bowl / both bowls. I tried renter-safe steps (cleared the strainer, plunged with the other drain sealed, ran hot tap water). No chemical drain cleaner was used. There is / is not a leak under the sink. Photos and a short video are attached. Please advise next steps and schedule service.
Prevent the next clog
- Grease goes in the trash, not the drain: Wipe pans with a paper towel first, then wash.
- Use a good strainer basket: The cheap ones that pop out and let rice escape are not doing their job.
- Cold water for disposal use: It helps fats stay solid so they get chopped and flushed rather than smeared.
- Weekly hot-water rinse: Hot tap water for 30 seconds after heavy cooking days helps prevent buildup.
- Be cautious with “compostable” labels and stickers: They love to cling to pipe walls.
A kitchen sink is a hardworking little stage for everyday life. Give it a bit of low-drama maintenance, and it will keep your space feeling calm, clean, and very much like the comforting hug you deserve at the end of a long day.