Sink Disposal Not Working
Clara Townsend
Clara Townsend is an interior stylist, vintage furniture enthusiast, and the creative voice behind Velvet Abode. With over a decade of experience transforming both cramped city apartments and sprawling fixer-uppers, she believes that a beautiful home is built on personal stories rather than massive budgets. When she isn't hunting for the perfect brass sconce at a local flea market, she can usually be found rearranging her living room for the third time this month.
There are few kitchen interruptions as oddly personal as a garbage disposal that quits mid-rinse. One minute you’re in a cozy, candlelit reset mode, the next you’re staring into a sink that feels like it’s holding a grudge. The good news is that many “sink disposal not working” moments come down to a few fixable culprits: power, a jam, an overheated motor, or a clog downstream.
Let’s walk through a simple, safe order of operations so you don’t accidentally turn a small nuisance into a soggy cabinet situation.
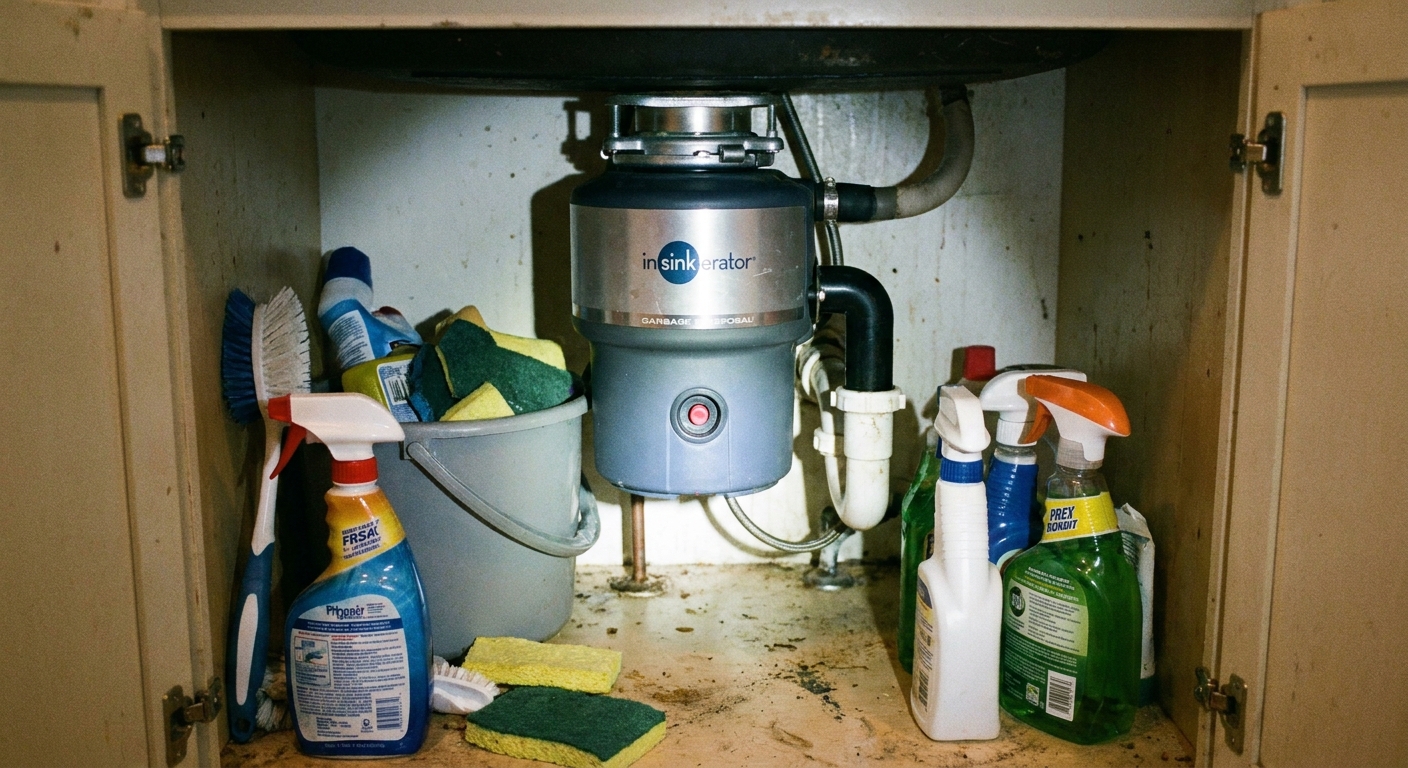
First, a quick safety reset
Before you touch anything under the sink:
- Turn the disposal switch off.
- Unplug the disposal from the outlet under the sink. If it’s hardwired, turn off the correct breaker.
- Never put your hand inside the disposal, even if it “seems” off.
- Grab a flashlight. Most fixes are easier when you can actually see what’s happening.
If there’s standing water in the sink, scoop some out into a bucket first. It keeps things calmer and cleaner while you troubleshoot.
What is it doing (or not doing)?
Most disposal problems fall into one of these scenarios. Find yours and follow the matching steps.
1) It won’t turn on
- Check the plug. Sounds obvious, but under-sink outlets get bumped loose surprisingly often.
- Test the outlet. Plug in a small lamp or phone charger to confirm power.
- Check the wall switch. If it feels loose or crackly, stop and call an electrician. Switch issues aren’t a DIY guessing game.
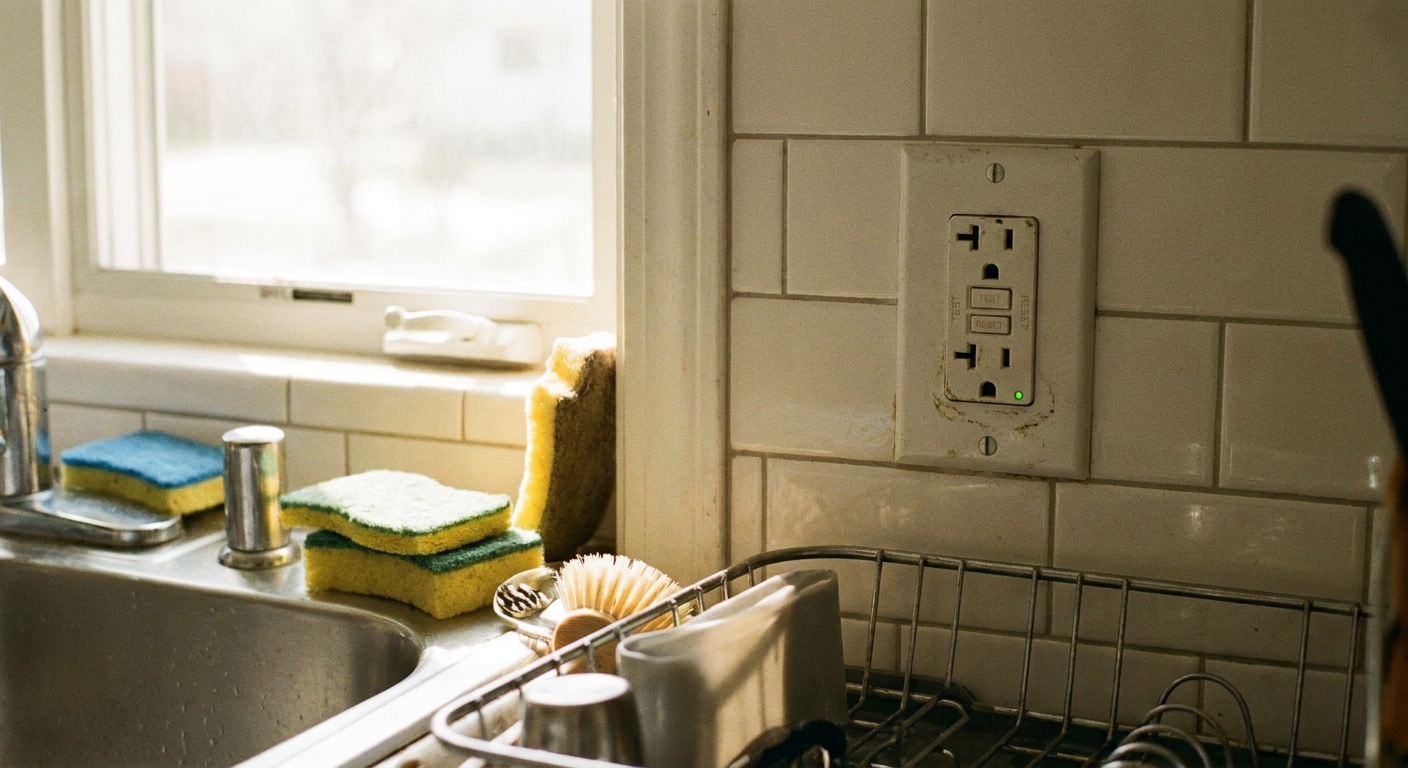
- Look for a tripped GFCI. Many kitchens have a GFCI outlet that trips and kills power to downstream outlets. Reset any tripped GFCI you find (often on the backsplash or near the sink).
- Reset the disposal. On the bottom of the unit, press the small reset button (often red or black). You may feel a soft click.
- Check your breaker panel. If the disposal circuit tripped, reset it once. If it trips again, pause and call a pro.
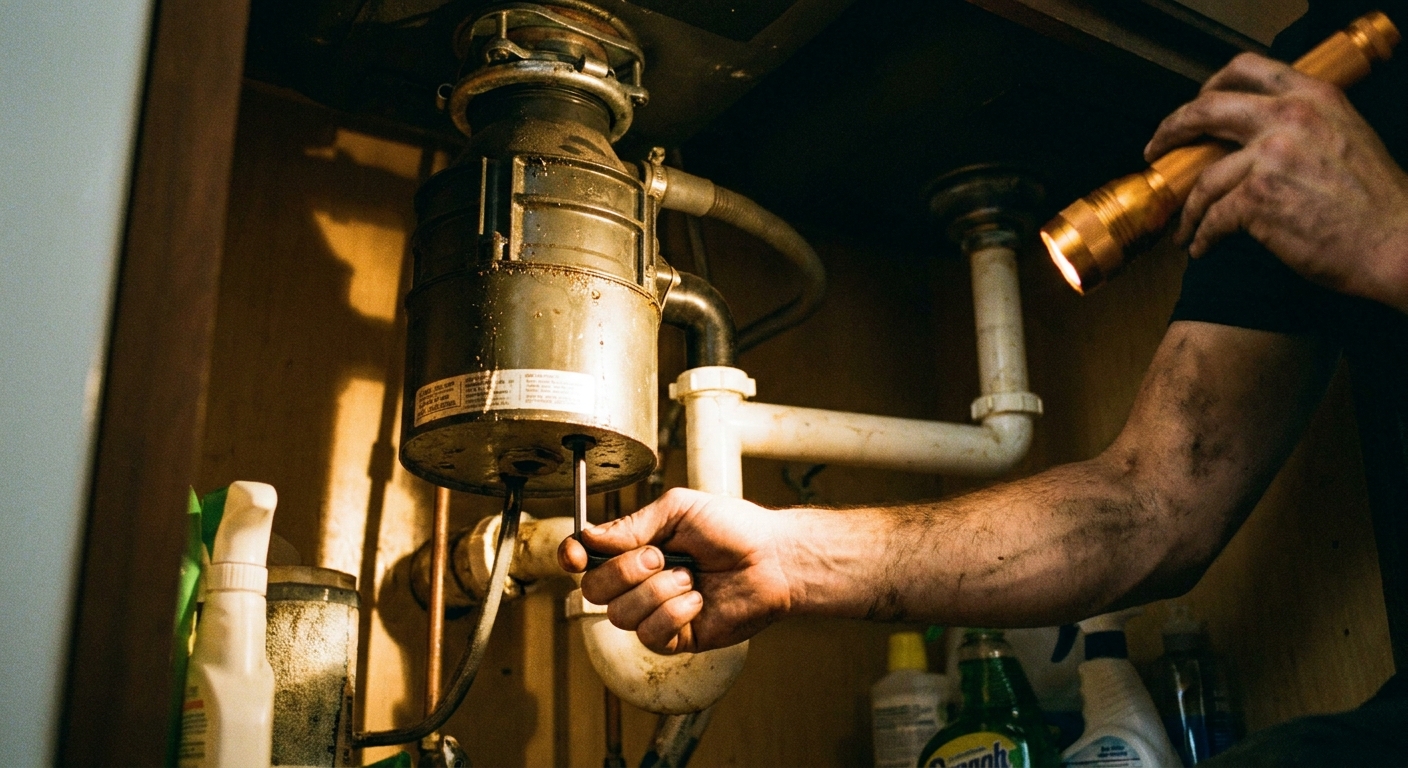
2) It hums but doesn’t spin
A humming disposal usually means the motor is trying, but something is jammed. This is one of the most fixable situations.
- Cut power (unplug or breaker off).
- Look inside the drain opening with a flashlight. Common offenders include a lemon wedge, a spoon, a piece of glass, or a too-thick peel.
- Use tongs or needle-nose pliers to remove anything visible. Don’t use your fingers.
- Try the manual unjam method. Many models have a hex socket underneath. Insert the correct Allen wrench (often 1/4 inch, but it varies) and turn it back and forth to free the impellers. Some units use a proprietary “jam buster” tool instead, and a few don’t have an easy-access hex port at all.
- Press the reset button on the bottom again.
- Restore power, then run cold water and test briefly.
If you don’t have the disposal wrench, a standard Allen key set often works. If you can’t find a matching size or your model doesn’t have that socket, don’t force it. At that point, it’s smarter to call a pro than to crack something you can’t see.
3) It runs but drains slowly or backs up
If the motor runs but water rises in the sink, you’re usually looking at one of two things: a clog in the disposal itself, or a clog in the P-trap or drain line after it. In a Velvet Abode kind of kitchen, the most common culprits are the cozy-but-messy ones: coffee grounds, rice, pasta, potato peels, and grease.
Quick clue: If you have a double-basin sink and both sides are backing up, the clog is often past the disposal (in the shared drain line), not inside the unit.
Clear clogs, easiest first
- Run cold water and turn the disposal on for 10 to 15 seconds. Sometimes it just needs a proper flush.
- Check the stopper and splash guard. Built-up sludge can act like a filter. Clean it with a dish brush and hot soapy water.
- Plunge the sink. If you have a double-basin sink, seal the other side with a wet rag or a sink stopper. Use a sink plunger (not a toilet plunger) and give firm pushes.
- Inspect the P-trap. Place a bucket under the curved pipe, then carefully loosen the slip nuts. Clear debris, rinse, and reassemble. (If you’re not comfortable with this, skip to “When to call a pro.”)
- If the dishwasher backs up into the sink, check the dishwasher drain hose and the disposal inlet connection. If a disposal was installed recently, make sure the dishwasher knockout plug inside the disposal inlet was removed. Also confirm the hose has a high loop under the counter (or an air gap, if your setup requires one) to help prevent backflow.
A gentle note on chemicals: Skip harsh drain cleaners in a disposal. They can damage seals and pipes, and they make any later hands-on work more dangerous. If you think you might take apart the P-trap, avoid chemical cleaners entirely.

4) It stops mid-use
This often means it overheated or jammed, then tripped its internal protection.
- Turn it off and let it cool for 10 to 20 minutes.
- Press the reset button on the bottom.
- Check for a jam using the Allen wrench method above.
- Restart with cold water running and feed scraps slowly.
If it keeps shutting off, don’t keep hitting reset over and over. Repeated trips usually mean a persistent jam, an electrical issue, or a motor that’s on its way out.
Common causes (so it doesn’t happen again)
Once you’re back in business, a few small habits keep the disposal happier:
- Use cold water when running the disposal. Cold water can help keep fats from smearing and coating the grinding chamber. Still, the best move is to keep grease out entirely.
- Feed slowly. Think “sprinkle,” not “dump.”
- Avoid the usual troublemakers: potato peels, rice, pasta, coffee grounds, eggshell membranes, fibrous celery, onion skins, and large bones.
- Skip grease down the drain. Wipe oily pans with a paper towel first and toss it.
- Freshen gently. A few ice cubes plus a little dish soap can help clean the chamber. Citrus peels are fine in small amounts, but don’t pack them in.
- Don’t do this: don’t stick utensils inside while it’s powered, don’t run hot water to “melt” grease, and don’t keep resetting a unit that keeps tripping.
When to call a plumber (or electrician)
Sometimes the most stylish choice is simply knowing when to hand it off. Call a professional if:
- The breaker trips repeatedly, the outlet is warm, or you smell burning.
- The disposal leaks. If it’s dripping from connections, it may be a loose fitting, gasket, or dishwasher hose issue. If it’s truly leaking from the bottom of the unit, that often points to an internal seal failure and replacement is usually the fix.
- There’s persistent leaking at connections you can’t tighten without forcing.
- Multiple fixtures are backing up (sink, dishwasher, and a nearby drain). That can signal a larger clog in the branch line.
- You cleared a jam, but it still only hums or it shuts off again immediately.
- It “runs” but doesn’t grind like it used to (or you hear new rattling). That can point to worn or broken internal components.
If you rent, this is also a good moment to loop in your landlord or property manager, especially if the unit is older or you see any cabinet-floor water damage.
A quick checklist
- Power: outlet, GFCI, breaker, switch
- Reset button on the bottom
- Humming: jam, try the underside hex (if your model has it)
- Slow drain: clean splash guard, plunge, check P-trap
- Dishwasher backup: hose, high loop or air gap, knockout plug
- Leaks or repeated trips: call a pro
Once it’s working again, take a second to wipe the cabinet floor, straighten the under-sink items, and light a small lamp if you’ve got one nearby. It sounds silly, but restoring that tidy little zone makes the whole kitchen feel calm again, like it’s on your team.