Shower Curtain and Liner Mold in a Rental

Clara Townsend
Clara Townsend is an interior stylist, vintage furniture enthusiast, and the creative voice behind Velvet Abode. With over a decade of experience transforming both cramped city apartments and sprawling fixer-uppers, she believes that a beautiful home is built on personal stories rather than massive budgets. When she isn't hunting for the perfect brass sconce at a local flea market, she can usually be found rearranging her living room for the third time this month.
If your shower curtain has started growing that unmistakable pink ring at the hem or those pepper-like black specks along the folds, you are not alone. Bathrooms are basically tiny greenhouses, and rentals often have ventilation that is, charitably, not doing its job. The good news: you can usually fix this without wrecking a liner coating, bleaching your favorite fabric curtain into oblivion, or getting into a weird security-deposit standoff.
This is my renter-friendly game plan for cleaning shower curtains and liners safely, deciding when it is time to replace, and building a few low-effort habits that keep mildew from treating your tub like a long-term lease.
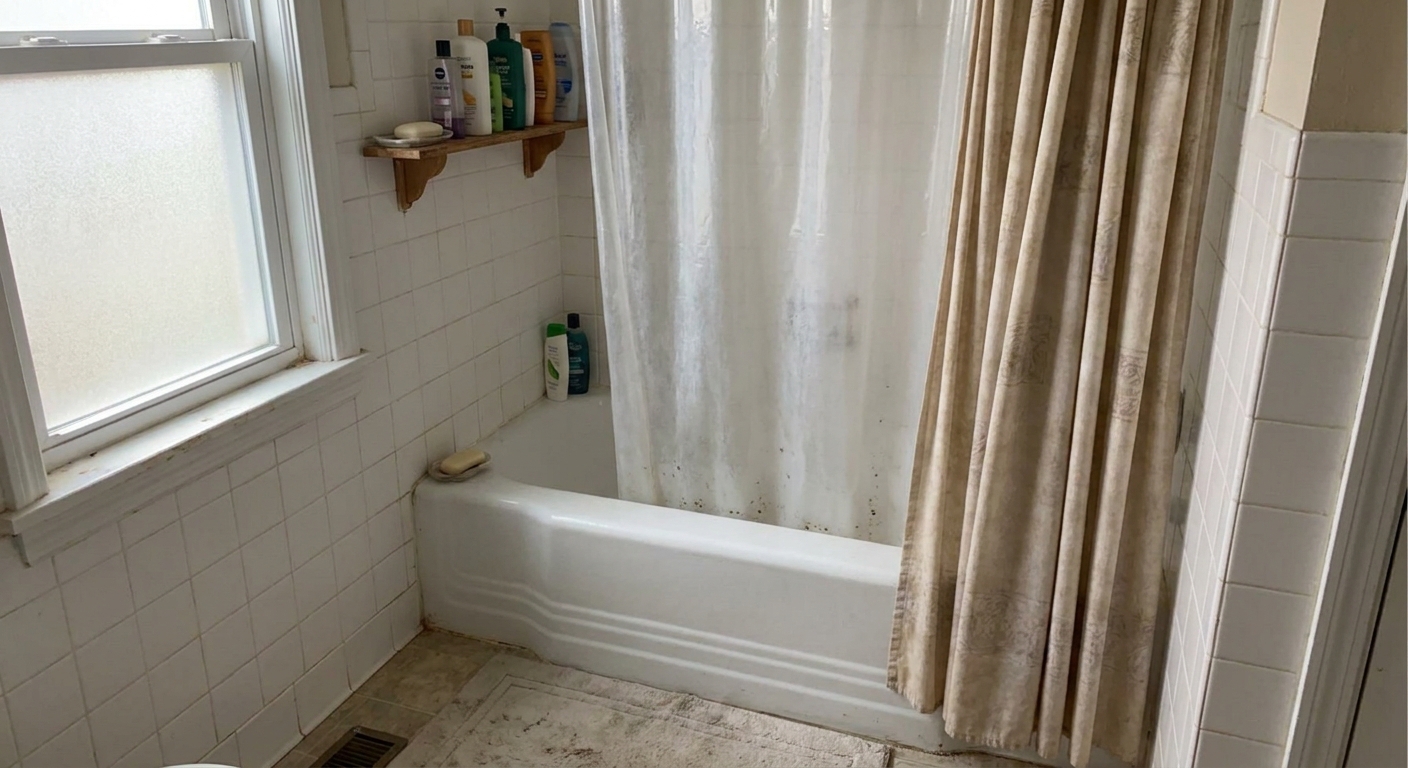
First: what you are actually seeing (pink vs black)
Pink slime
That pinkish film is often bacterial (commonly associated with Serratia) rather than “true mold,” though mixed growth can happen depending on moisture, soap scum, and ventilation. Either way, it spreads fast, can irritate skin, and loves the lower edge of liners where water sits.
If you are higher-risk: If you are immunocompromised, have severe asthma, or get recurrent skin irritation, wear gloves, ventilate well, and consider replacing the liner sooner rather than fighting a recurring science project.
Black spots
Black spotting is often what people call “mildew,” which is basically early-stage surface mold. On a liner, it usually starts in the folds and at the bottom edge. On fabric, it loves the stitched hem where water lingers.
Rental note: If you see widespread dark growth on drywall, the ceiling, grout lines, or the back side of baseboards, that is beyond “curtain maintenance” and should be documented and reported to your landlord or property manager.
Identify your materials before you clean
This matters because “one-size-fits-all” cleaning advice can strip a water-repellent coating or cloud plastic so it looks permanently dirty.
- Fabric curtain: cotton, polyester, linen blends. Often machine washable, sometimes with a water-repellent finish.
- Plastic liner: PVC or vinyl, usually tougher but can yellow or harden over time.
- PEVA or EVA liner: a vinyl alternative that is common in rentals. It can be more sensitive to high heat and harsh solvents. It can also get cloudy if scrubbed aggressively with abrasives.
Quick check: Look for a tag along the top edge. If there is no tag, do not guess the material. Just treat it like heat- and abrasion-sensitive plastic: cold wash or warm (not hot) soak, no dryer, and no abrasive scrubbers.
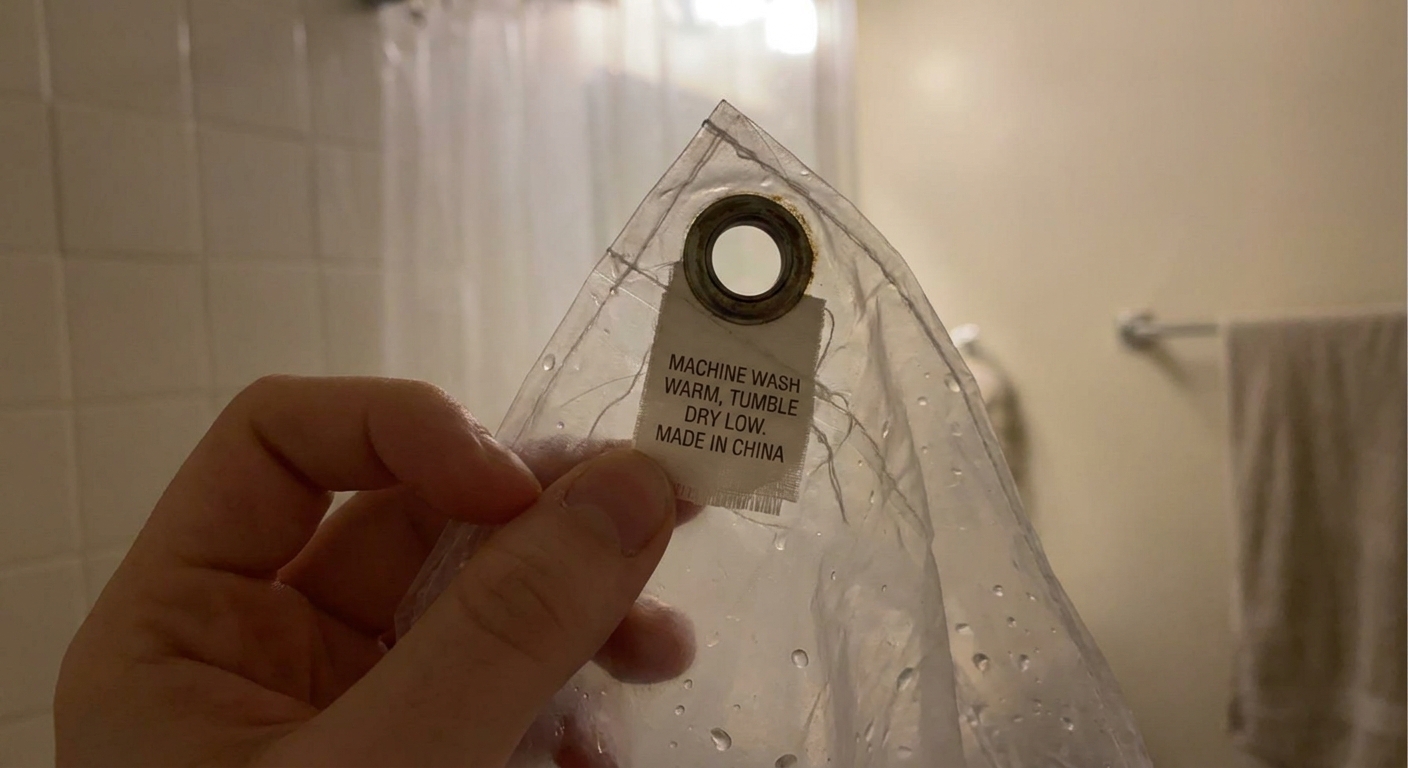
Wash vs replace: a simple renter-friendly rule
Cleaning is worth it when the liner is structurally fine and the growth is surface-level. Replacing is smarter when you will spend an hour scrubbing something that is already at the end of its life.
Usually worth washing
- Light pink film or small scattered black specks
- No cracking, stiffness, or flaking
- No lingering odor after a basic rinse
Usually time to replace
- Heavy black spotting that has spread into seams or deep creases
- Liner is cloudy, stiff, cracked, or tearing at grommets
- Growth returns within a week even with good drying and ventilation
- You cannot remove odor after cleaning and full drying
Rental reality: Many leases treat shower curtains and liners as tenant-maintained consumables. If your move-in checklist notes a dirty or moldy liner, keep that paper trail so you are not “charged for history.”
Before you start: a quick safety reset
- Ventilate: Run the fan or open a window while you clean.
- Protect your skin: Wear gloves if you have sensitive skin or if you are using peroxide or bleach.
- Do not mix cleaners: More on this below, but seriously, keep it one product at a time.
- Go easy on prints and coatings: Skip abrasive scrubbers and aggressive powders on liners, especially printed ones.
How to clean a fabric shower curtain (machine method)
If your curtain is fabric, the washing machine is your best friend because it agitates the hem and folds where gunk hides.
What you need
- Mild laundry detergent
- White vinegar (optional booster)
- Two light-colored towels
- A soft brush for any remaining spots
Steps
- Take it down and shake it out. Do this outside the bathroom if you can.
- Remove hooks or rings. This helps prevent tearing and keeps metal from banging around in the washer.
- Wash on warm or cold. Add detergent as usual. Toss in two towels to help scrub without being harsh.
- Optional boost for odor and residue: Add 1 cup white vinegar to the rinse cycle compartment (not mixed directly with other chemicals).
- Skip high heat drying. Heat can set stains and can damage some water-repellent finishes. Hang it back up to air dry.
- Spot treat if needed. For stubborn dots, use a soft brush with a small amount of detergent and water, then rinse.
Coating-friendly tip: If your fabric curtain is labeled “water-repellent” or “treated,” avoid chlorine bleach unless the care label explicitly allows it. Bleach can degrade finishes and weaken fibers over time.
How to clean a PEVA or plastic liner (gentle and coating-safe)
Liners get gross because soap scum makes a sticky layer that holds moisture and feeds growth. Your goal is to dissolve that film without sanding the liner into a permanent haze.
Temperature note: For PEVA and EVA, avoid hot water, sanitize cycles, and anything that resembles a high-heat dry. If you are not sure what it is, keep it cold and gentle.
Option A: Machine wash (if tag allows)
Many PEVA liners can be machine washed on cold, but always check the tag first. If there is no tag, you can still try a careful cold wash, just skip heat and skip anything abrasive.
- Remove hooks or rings. This prevents tearing at grommets.
- Wash on cold, delicate. Use a small amount of gentle detergent.
- Add towels. Two towels help rub the liner clean without aggressive scrubbing.
- No dryer. Hang it immediately so it can dry fully.
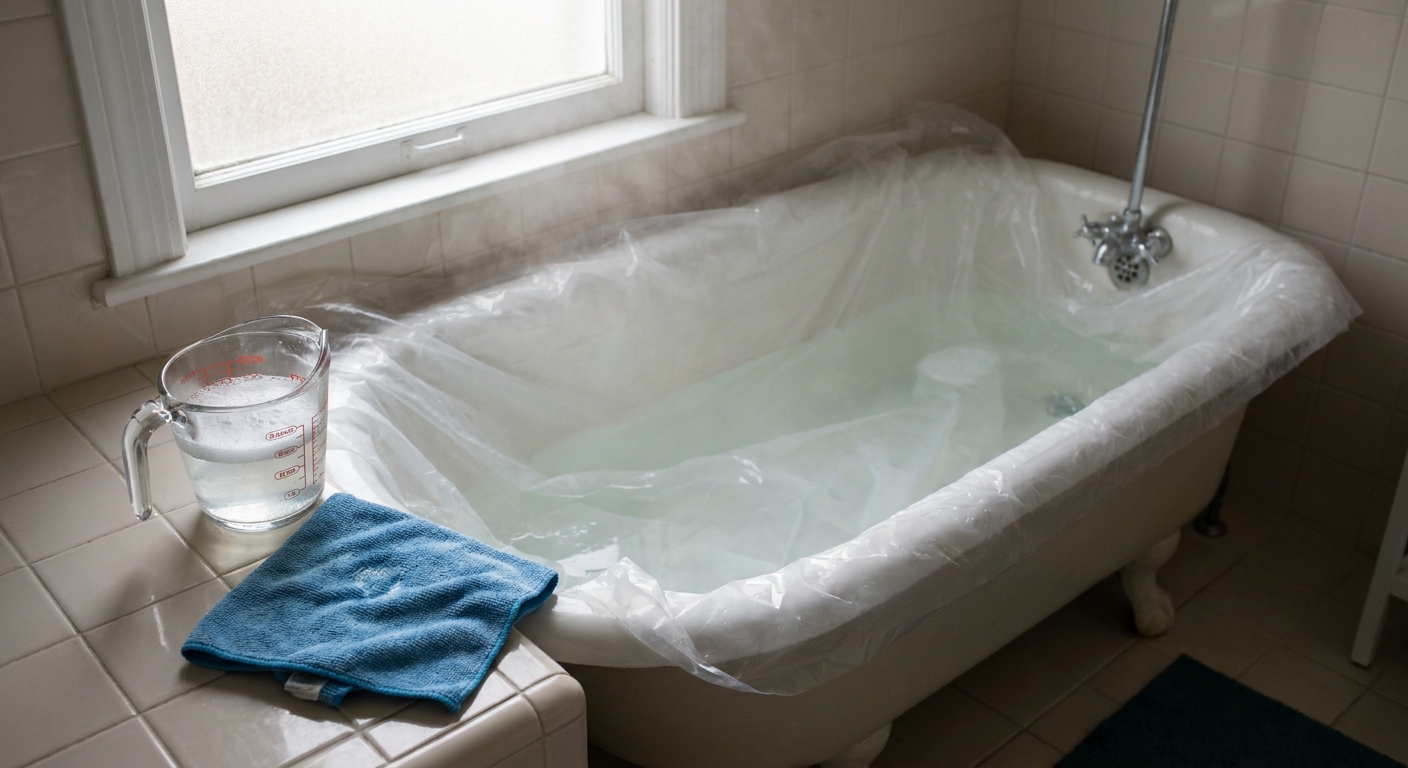
Option B: Tub soak (when you want maximum control)
- Close the drain. Lay the liner flat in the tub.
- Fill with warm (not hot) water. Add a few drops of dish soap to cut residue.
- For pink film: Add 1 to 2 cups white vinegar, then let soak 20 to 30 minutes.
- Wipe, do not scour. Use a microfiber cloth or soft sponge. Focus on the hem and folds.
- Rinse thoroughly. Soap and cleaner residue attracts grime later.
- Hang to dry completely.
Hard-water bonus: If you get a white or gray crust at the bottom hem, that is usually mineral buildup. Vinegar helps break that down, but you still need a thorough rinse after.
Hydrogen peroxide vs vinegar: what to use and what not to mix
Both white vinegar and hydrogen peroxide can be helpful, but treat them like two separate tools, not a chemistry experiment.
Hydrogen peroxide (3%)
- Best for: spot treating black specks on liners and brightening on some fabrics
- How to use: spray on the affected area, let sit 10 minutes, then rinse well
- Patch test: always test on an inconspicuous corner first, especially on printed fabric curtains
White vinegar
- Best for: pink film, odor, and cutting mineral plus soap buildup
- How to use: soak or wipe, then rinse thoroughly
Critical caution
Do not mix or store vinegar and hydrogen peroxide together in the same container. Mixing can create peracetic acid, which can irritate skin, eyes, and lungs and can damage surfaces.
If you use them one after the other, rinse thoroughly between products and keep the bathroom well ventilated. Do not “layer” them and walk away.
Also never mix any of the above with bleach. If you choose bleach for a white fabric curtain that allows it, use bleach alone, rinse extremely well, and ventilate.
Stubborn mildew: a safe escalation ladder
I like a step-up approach so you do not accidentally damage a liner that was one gentle wash away from being fine.
- Step 1: Detergent or dish soap plus warm water to remove the soap-scum layer.
- Step 2: Vinegar soak for pink film, odor, and mineral buildup.
- Step 3: Hydrogen peroxide spot treatment for remaining dark dots.
- Step 4: Replace the liner if staining persists or returns quickly.
That last step is not “giving up.” In a rental, it is often the most time-effective, deposit-protecting move you can make.
Drying habits that stop mildew from coming back
Cleaning is the reset. Drying is the prevention. These take less than a minute but make the biggest difference.
- After each shower, fully extend the liner. No folds. You can pull it closed across the tub so it dries flat, or drape it wide so air can reach both sides. The goal is the same: no trapped creases.
- Run the fan for 20 to 30 minutes. If your fan is weak, crack the bathroom door once you are done so moist air can escape.
- Squeegee the tile and tub edge. You do not have to be perfect. Just remove the standing water line where slime forms.
- Keep the hem from puddling. If the liner is too long and bunches on the tub floor, it will stay wet. Consider trimming if the liner is yours, or swap in a correctly sized replacement.
- Wash monthly in humid seasons. A quick cold wash with towels is often enough to prevent buildup.
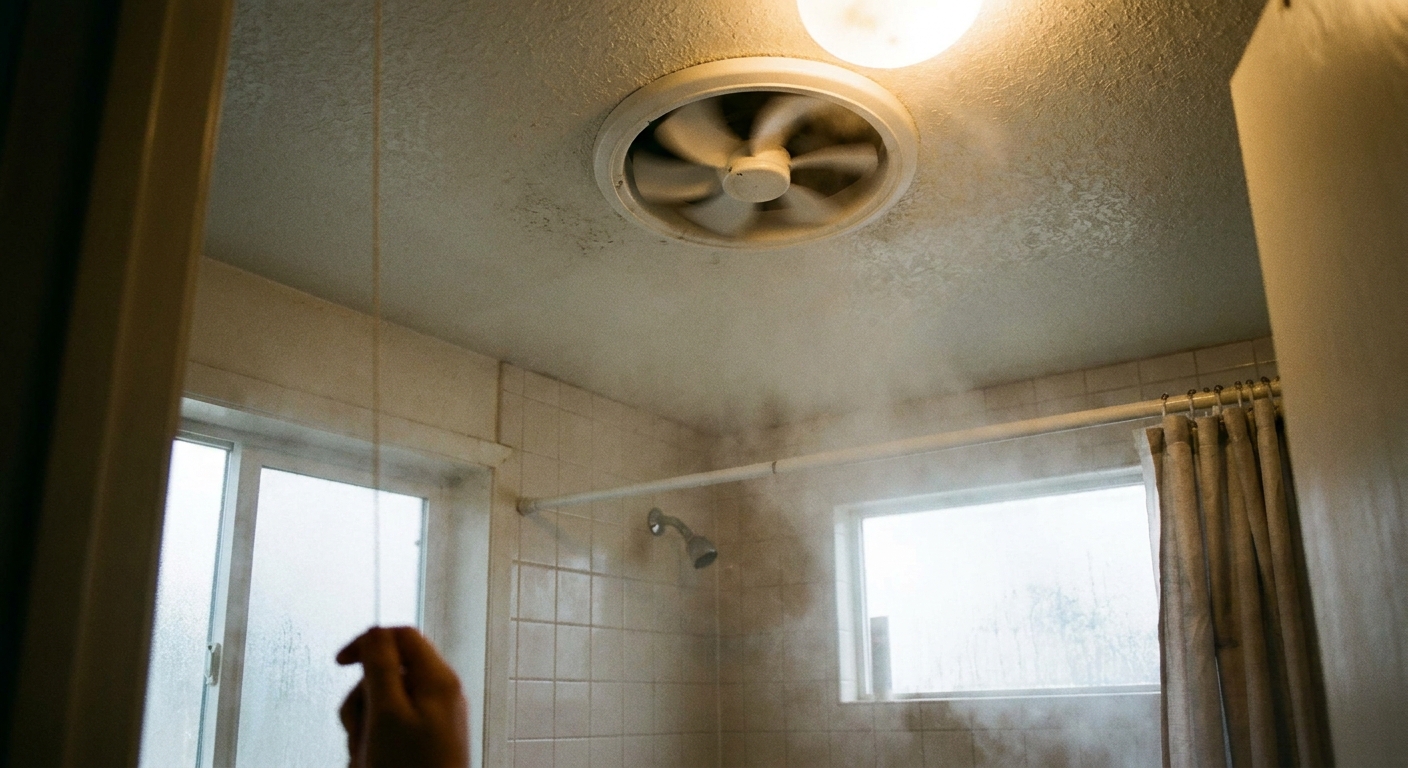
If you suspect a ventilation problem (and you rent)
Sometimes you are doing everything right and the bathroom still stays damp for hours. That is when it helps to think like a calm, organized grown-up with receipts.
Signs it is not just your curtain
- Paint feels tacky or peels near the ceiling
- Persistent condensation on walls long after showering
- Mold recurring on grout, caulk, or the ceiling
- Fan is loud but does not seem to move air, or there is no fan at all
Lease-friendly documentation tips
- Take clear photos in good light of the liner and any bathroom surfaces affected. Include one wider shot showing the location in the room.
- Write down dates. When you noticed it, when you cleaned it, and when it returned.
- Keep it factual in messages. “Noticed recurring mildew despite weekly cleaning and fan use. Requesting maintenance check of ventilation.”
- Ask for the fan to be inspected or the duct to be cleaned. Sometimes the issue is a disconnected or clogged vent.
Good to know: Bringing a simple log and a few photos keeps the conversation practical. It also protects you if the issue turns out to be building-related rather than housekeeping.
A quick shopping note (when replacing is the best option)
If you do replace, look for a liner that is:
- Correct length so it does not puddle
- Weighted hem to reduce cling and folding
- Machine washable if you want the easiest maintenance routine
And if you have a fabric curtain you love, keep it. Swap only the liner. A beautiful curtain with a fresh, clear liner behind it is one of those small homebody joys that makes a rental feel cared for.
Mini checklist for next time you shower
- Extend the liner fully (no folds) so it can dry
- Run fan 20 to 30 minutes or crack the door
- Quick squeegee at the tub edge
- Monthly wash: curtain and liner with towels, cold or warm as allowed
If you want, tell me what kind of liner you have (PEVA, vinyl, unknown) and what the spotting looks like (pink film, black dots, both). I can help you choose the gentlest cleaning route that still works.