Sheet Vinyl and Linoleum Floor Care for Rentals
Clara Townsend
Clara Townsend is an interior stylist, vintage furniture enthusiast, and the creative voice behind Velvet Abode. With over a decade of experience transforming both cramped city apartments and sprawling fixer-uppers, she believes that a beautiful home is built on personal stories rather than massive budgets. When she isn't hunting for the perfect brass sconce at a local flea market, she can usually be found rearranging her living room for the third time this month.
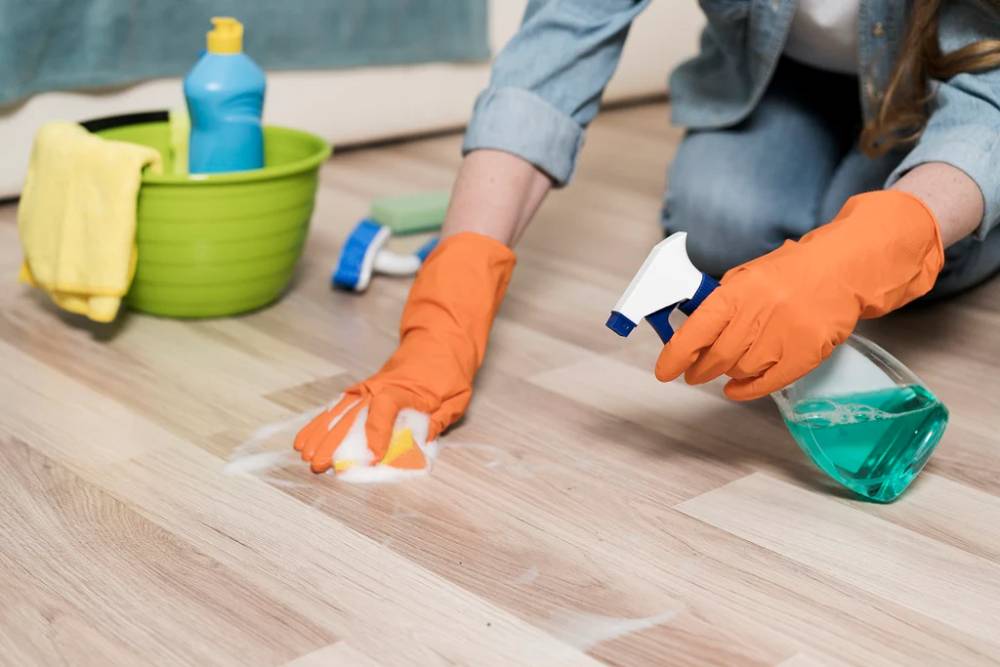
Rental kitchens have a certain greatest-hits soundtrack: the hum of the fridge, the clink of dishes, and that unmistakable squeak of older sheet flooring underfoot. If your place has sheet vinyl or real linoleum, you already know it behaves differently than LVP or laminate. It can look amazing when it is clean, but it also loves to hold onto grime, show dull traffic paths, and collect every drop of “miracle shine” product into a sticky film.
The goal here is simple and very renter-friendly: clean, lightly brighten, and keep the finish even without adding anything that will build up, attract dirt, or create a problem at move-out.
First, figure out what you have
“Vinyl” and “linoleum” get used interchangeably in listings, but they are not the same. The good news is that lease-friendly care overlaps. The main difference is how sensitive they are to certain cleaners and how they age.
Quick clues (not a science project)
- Sheet vinyl is plastic-based and often has a printed pattern under a clear wear layer. It tends to be more water-resistant, but it is also notorious for showing a cloudy film when products build up.
- Linoleum is made from natural materials (linseed oil, resins, cork dust or wood flour, pigments, and a backing). It is more sensitive to extreme pH, and it can amber or yellow with age and sun exposure.
If you cannot tell, treat it as linoleum for safety. That means: mild cleaner, minimal water, and avoiding both strong alkalines and strong acids. No “shine coat” shortcuts.
The rental-safe routine
If I could bottle one habit that makes old sheet floors look instantly more cared-for, it is this: dry clean first, then a gentle damp clean, then rinse if needed. Most “dull floor” complaints are really “floor with trapped dust and cleaner residue.”
Step 1: Dry clean like you mean it
- Use a soft broom or vacuum with a hard-floor setting.
- Hit edges, around the fridge, and the stove gap. That gritty line is what makes floors look tired.
Step 2: Damp mop with a mild cleaner
Choose one gentle option, not a rotating cast of products:
- pH-neutral floor cleaner diluted per label (best all-around choice).
- Dish soap for greasy kitchens: a few drops in a bucket of warm water. Keep it light. Too much soap equals film.
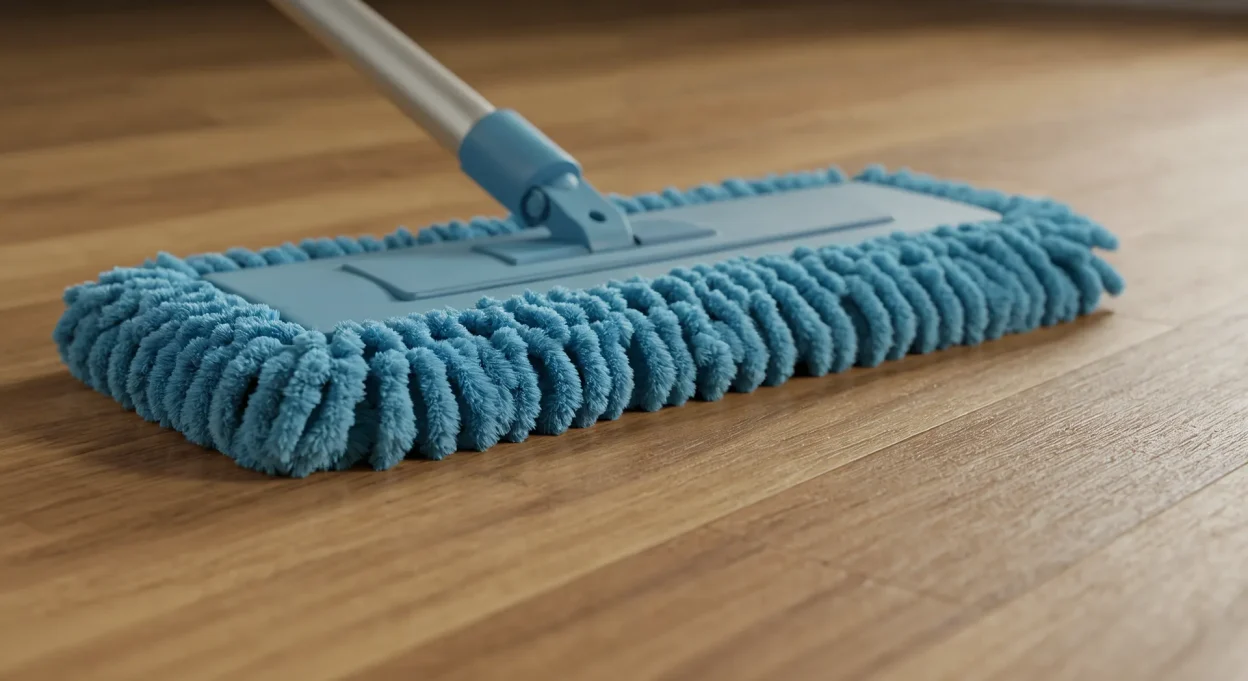
Use a microfiber mop or a well-wrung sponge mop. You want “just damp,” not puddles that seep into seams and edges.
Step 3: The unglamorous secret: rinse
If your floor still looks a little hazy after it dries, you are seeing residue. Do one quick pass with plain warm water and a clean mop pad. This is especially helpful in kitchens where grease mixes with cleaner and turns into that dull, sticky veil.
Soft shine, no buildup
Older rentals often have a history. Sometimes that history is three different tenants layering “quick shine” over an already-coated floor. The result is usually the same: it looks shiny for about five minutes, then it grabs dirt like a magnet.
What to avoid
- Shine sprays and one-step “mop and shine” products. They often leave polymers that build up and turn cloudy.
- Paste wax or acrylic floor finish unless your landlord specifically approves it in writing. Removal can be labor-intensive and risky at move-out.
- Steam mops on older sheet vinyl or linoleum. Heat and moisture can soften some adhesives and encourage edge lifting. If you happen to know the exact flooring brand and it explicitly allows steam, follow that guidance. Otherwise, skip it.
What to do instead
- Rely on cleanliness for the shine: dust-free, residue-free floors reflect light better than any coating.
- Buff dry: after mopping, use a clean, dry microfiber pad and do a quick pass. It is oddly satisfying and it evens out streaks.
- Use a doormat and a runner in high-traffic paths. The prettiest “shine” is actually a consistent finish, and textiles protect that.
My rule: if a product makes the floor feel slick, it will probably make it look dirty faster.
Sticky or cloudy floors
If your mop water turns gray instantly, or the floor feels tacky even after drying, you likely have buildup. You often do not need heavy-duty stripper to make a difference, and in a rental I prefer not to go nuclear unless you have permission.
Lease-friendly reset
- Mix: warm water + a small amount of pH-neutral cleaner.
- Mop a small area (like 3 ft x 3 ft).
- Let it sit 2 to 3 minutes to soften residue. Do not let it dry.
- Gently scrub with a soft nylon brush or a non-scratch scrub pad.
- Wipe up the dirty solution with towels, then rinse with clean water.
Work in sections so you are lifting residue, not spreading it around.
Spot test anything stronger
If you are tempted by vinegar or baking soda, pause. People love these because they are “natural,” but they are not always kind to floors. Vinegar is acidic and can dull some finishes over time, and baking soda can be abrasive. If you try either, do it on an inconspicuous corner first and keep it occasional, not weekly.
Also: Magic Erasers (melamine sponges) are micro-abrasive. They can remove scuffs, but they can also quietly dull the finish. If you use one, do it lightly, only on the mark, and rinse after.
When to stop
Stop and call maintenance (or at least pause and document) if:
- You see color transferring to your pad (you may be removing finish, not just dirt).
- The floor feels spongy, bubbles, or seems soft underfoot.
- Seams are opening, edges are lifting, or water seems to be coming from below.
Yellowing near windows
That warm rectangle near a sliding door that looks a little more… mustard than the rest? You are not imagining it. Sunlight can discolor older sheet vinyl, and linoleum can naturally amber as it ages. Sometimes what looks like yellowing is also a mix of UV change plus old finish buildup that darkened.
Try this first
- Deep clean and rinse the area thoroughly to remove film that can make the color look worse.
- Rotate rugs and mats so you do not create a “tan line” effect where one spot stays protected and the rest changes.
- Add UV-filtering curtains or a simple window film if allowed. This is prevention more than cure, but it helps.
Set expectations
True UV discoloration is often permanent. In a rental, the most practical goal is to make the floor look evenly cared-for. A well-placed washable runner can make the whole room feel intentional, not like you are hiding a problem. (I call this “styling as damage control,” and I say it with love.)

Stains and scuffs
Heel marks and rubber scuffs
- Start with a damp microfiber cloth and a drop of mild cleaner.
- If needed, try a white pencil eraser for gentle rubbing on a small scuff.
Grease near the stove
- Use warm water + a few drops of dish soap.
- Let it sit briefly, wipe, then rinse. Grease loves to cling to cleaner residue, so the rinse matters.
Rust marks (around metal furniture or laundry areas)
Rust removers can be harsh and may bleach patterns. For rentals, I recommend documenting the spot and asking maintenance first. If you do anything DIY, test extremely carefully and keep it minimal.
Sticky spills
- Lay a warm, damp cloth over the spot for a minute to soften.
- Wipe up, then rinse with clean water so it does not re-sticky itself.
Water, seams, and edges
Sheet vinyl and linoleum usually fail first in the same places: at the tub edge, under the dishwasher, and along baseboards where water sneaks in. Your cleaning method should respect that.
- Never flood mop. Wring your mop until it feels almost too dry.
- Wipe up standing water immediately, especially around the sink and fridge.
- Use a bath mat outside the shower or tub. It is decor and damage prevention in one.
Weekly and monthly schedule
Weekly (10 to 15 minutes)
- Sweep or vacuum.
- Damp mop with mild cleaner.
- Rinse if your floor looks hazy or feels tacky.
Monthly (30 to 45 minutes)
- Move a couple of items (trash can, small cart) and clean underneath.
- Do a buildup reset on the traffic path if needed.
- Check seams and edges for lifting or dark lines. If you see swelling, soft spots, or persistent moisture, notify your landlord early.
Move-out friendly habits
Quick “do not use” list
- Bleach or ammonia for routine mopping.
- Highly alkaline degreasers unless the label says it is safe for vinyl or linoleum, and you dilute correctly.
- Vinegar as a weekly cleaner, especially on linoleum.
- Powder scrubbers that can scratch.
- Skip permanent coatings. If you did not apply it on day one with written permission, do not apply it on day 300.
- Keep receipts or photos of any product you used if your building is strict.
- When in doubt, use less. Less product, less water, more microfiber. That trio is how you keep older floors looking calm and clean.
If your rental floor has seen decades of life, that is not a design death sentence. With gentle cleaning and a no-buildup mindset, sheet vinyl and linoleum can look softly luminous, the kind of “clean” that feels like fresh sheets and an amber lamp at dusk.