Repair Cat Scratches on Leather Sofas
Clara Townsend
Clara Townsend is an interior stylist, vintage furniture enthusiast, and the creative voice behind Velvet Abode. With over a decade of experience transforming both cramped city apartments and sprawling fixer-uppers, she believes that a beautiful home is built on personal stories rather than massive budgets. When she isn't hunting for the perfect brass sconce at a local flea market, she can usually be found rearranging her living room for the third time this month.
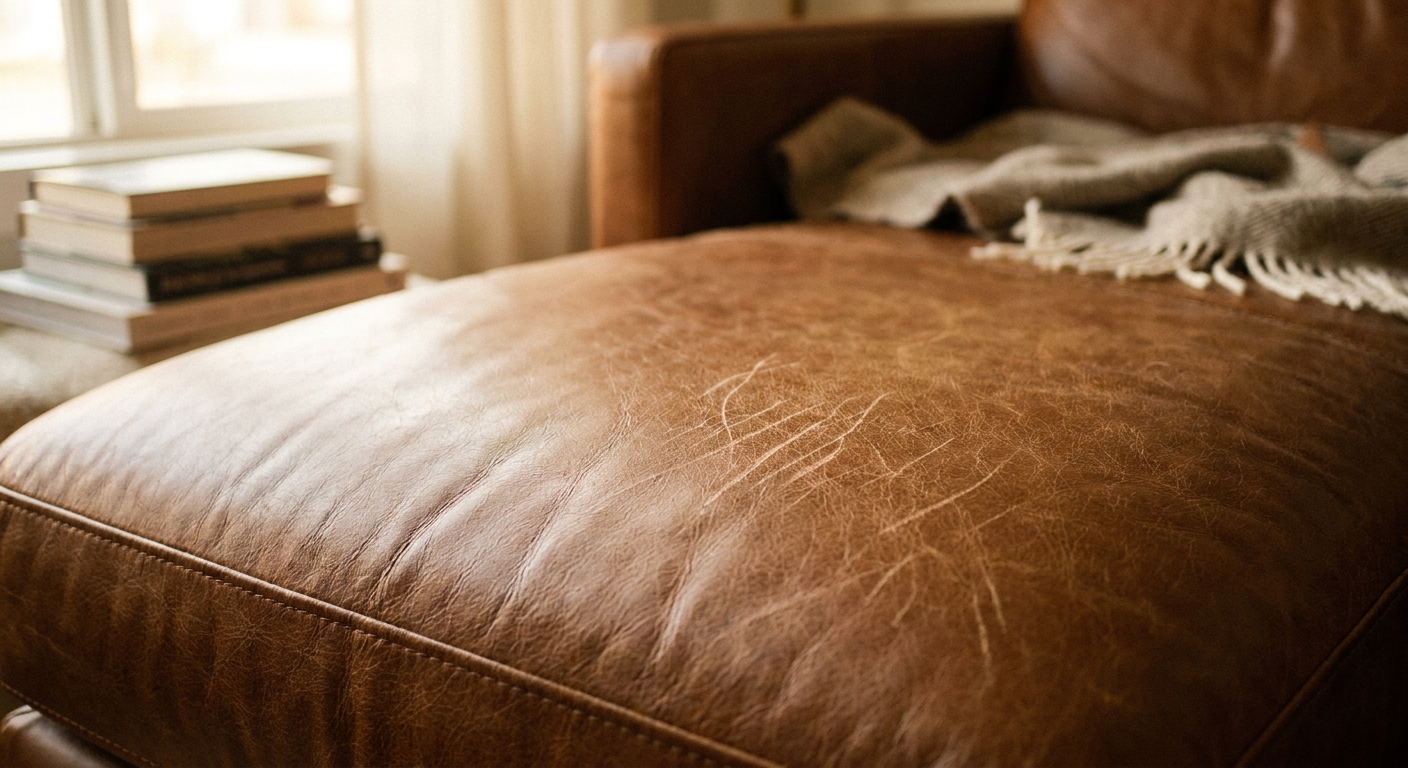
Cat scratches on leather feel personal, don’t they? One minute you’re basking in that soft, broken-in patina, and the next you’ve got a pale little constellation of claw marks catching the light. The good news: a lot of cat damage on leather is more surface drama than structural disaster. The trick is knowing when you can gently buff and rehydrate, and when you’re looking at a cut that needs filling, patching, or professional recoloring.
This article is specifically about leather. If your sofa is woven (like tweed, linen, or performance fabric), the repair path is totally different because you’re dealing with pulled threads and snags. Likewise, prevention tips like scratch posts and couch corner guards are helpful, but they will not fix what’s already there. Here we’re focusing on repair choices: buffing light scuffs vs patching tears, and how leather type changes everything.
Before you start
- Spot-test everything. Pick a hidden area (under a cushion or along the back) and test cleaner, prep, color, and finish before you commit.
- Go light on liquids. Leather doesn’t like being soaked. Use a barely damp cloth, not a wet one.
- Ventilate and protect. If you use alcohol or a prep/degreaser, open a window and keep it off stitching, wood trim, and nearby fabric.
- Mask the area. Painter’s tape and a drop cloth keep colorant and finish where you want them.
First, identify your leather
Before you buy a “leather scratch kit” at midnight, do a quick reality check: not all leather can be repaired the same way, and some products that look harmless can permanently darken or stain certain finishes.
Top-grain and full-grain
- What it is: Real hide with a durable surface. Full-grain keeps more natural texture; top-grain is the upper hide layer and is typically finished. Some top-grain is lightly sanded or embossed depending on the look.
- How cat scratches behave: Often shows as lighter scuffs or raised roughness. If the scratch didn’t cut through the finish, it can improve dramatically with gentle buffing and conditioning.
- Best DIY outcome: High, especially for light scuffs.
Corrected-grain or pigmented leather
- What it is: Real leather with a protective color coating and top finish.
- How cat scratches behave: Scratches can look pale because you’re seeing disruption to the coating. Conditioning helps soften the look, but it can’t replace missing pigment.
- Best DIY outcome: Good for superficial marks; deeper ones may need dye or a color coat.
Aniline and semi-aniline
- What it is: More natural, more absorbent leather with less protective coating. Beautiful, but easier to blotch when spot-treated.
- How cat scratches behave: Scuffs can darken temporarily with oils or conditioner, but the area can also stain unevenly if you’re not careful.
- Best DIY outcome: Mixed. Gentle cleaning and conditioning can help, but color work is trickier and often looks obvious without pro blending.
Suede and nubuck
- What it is: Leather, but with a brushed, velvety surface.
- Important note: Do not treat suede or nubuck like finished leather. Most leather repair kits, conditioners, and sealers will darken it and flatten the nap. Use suede-specific products and techniques instead.
Bonded leather
- What it is: Leather fibers mixed with binders and pressed with a plastic-like surface layer.
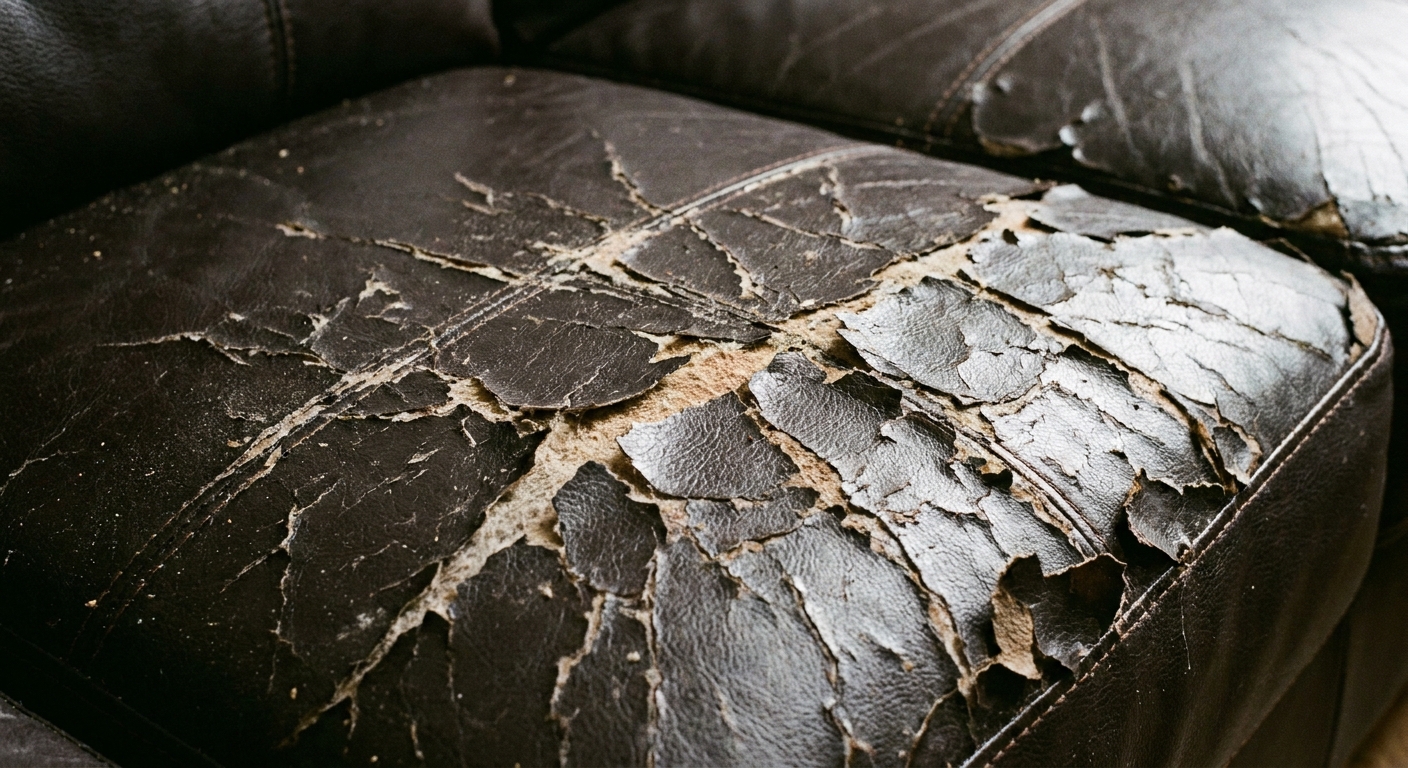
- How cat scratches behave: Once the top layer is compromised, it can peel, flake, or keep lifting around the scratch.
- Best DIY outcome: Limited. Patching and refinishing can be tricky because the surface doesn’t behave like hide.
Quick at-home clues
- Look for a label: “Top grain”, “genuine leather”, “split leather”, “bonded leather”, or a percentage breakdown.
- Touch: Real top-grain often feels warmer and slightly varied; bonded can feel more uniform and plasticky.
- Check hidden areas: Under cushions or along the back panel you might see the underside or a seam that reveals thickness and texture.
- Optional water-drop test (use caution): In a hidden spot, place a tiny drop of distilled water. If it beads for a while, you likely have a coated, pigmented finish. If it absorbs and darkens quickly, you may have aniline or semi-aniline, and you should avoid aggressive prep and spot color work.
If you can’t tell, treat it like a coated, pigmented finish and stay gentle until you confirm otherwise. Better yet, check the manufacturer info or contact the retailer with your model details. You can always do more later, but you can’t un-strip a finish.
Scuff or tear? A fast test
Most cat damage falls into one of three buckets. Knowing which one you’ve got saves you time and prevents “repair” steps that make it worse.
- Light scuffs: The scratch looks pale, but when you rub it with a clean fingertip it becomes less visible for a moment. The surface may feel slightly rough but not broken.
- Deeper scratches (cuts): You can catch a fingernail in the line. The leather is actually cut, even if it’s a thin cut.
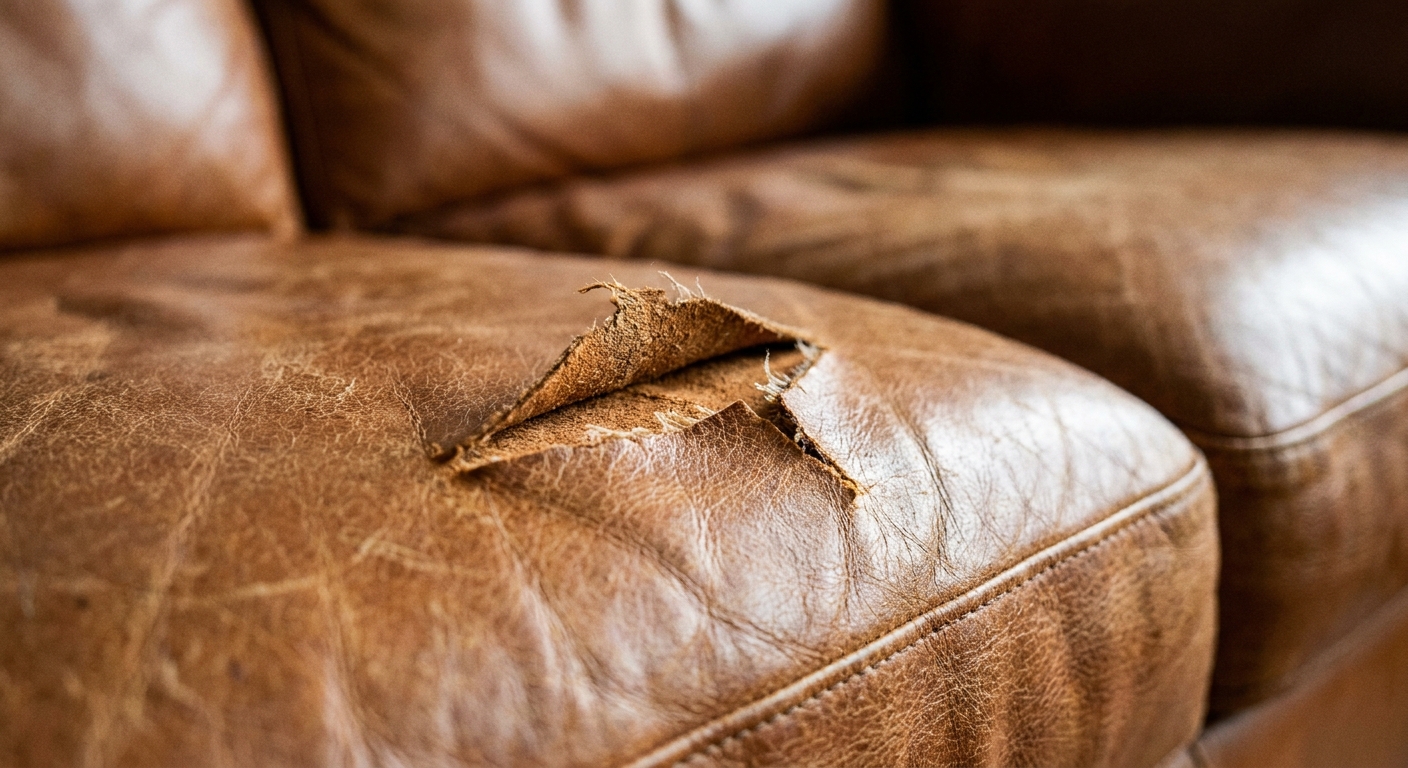
- Tears or missing material: There’s an opening, lifted flap, or a chunk missing. You may see fuzzy substrate, fabric backing, or a split edge.
Conditioner can improve the first category, soften the second, and generally can’t fix the third without patching.
Buffing light scuffs
If the scratches are shallow and mostly cosmetic, this is where you start. Think of it as coaxing the leather fibers back down and rebalancing the surface so it reflects light more evenly.
What you need
- Two clean microfiber cloths (one for cleaning, one for buffing)
- A gentle leather cleaner or a barely damp cloth with distilled water
- A quality leather conditioner (non-waxy, non-silicone is ideal)
- Optional: a soft horsehair brush for textured grain
Step-by-step
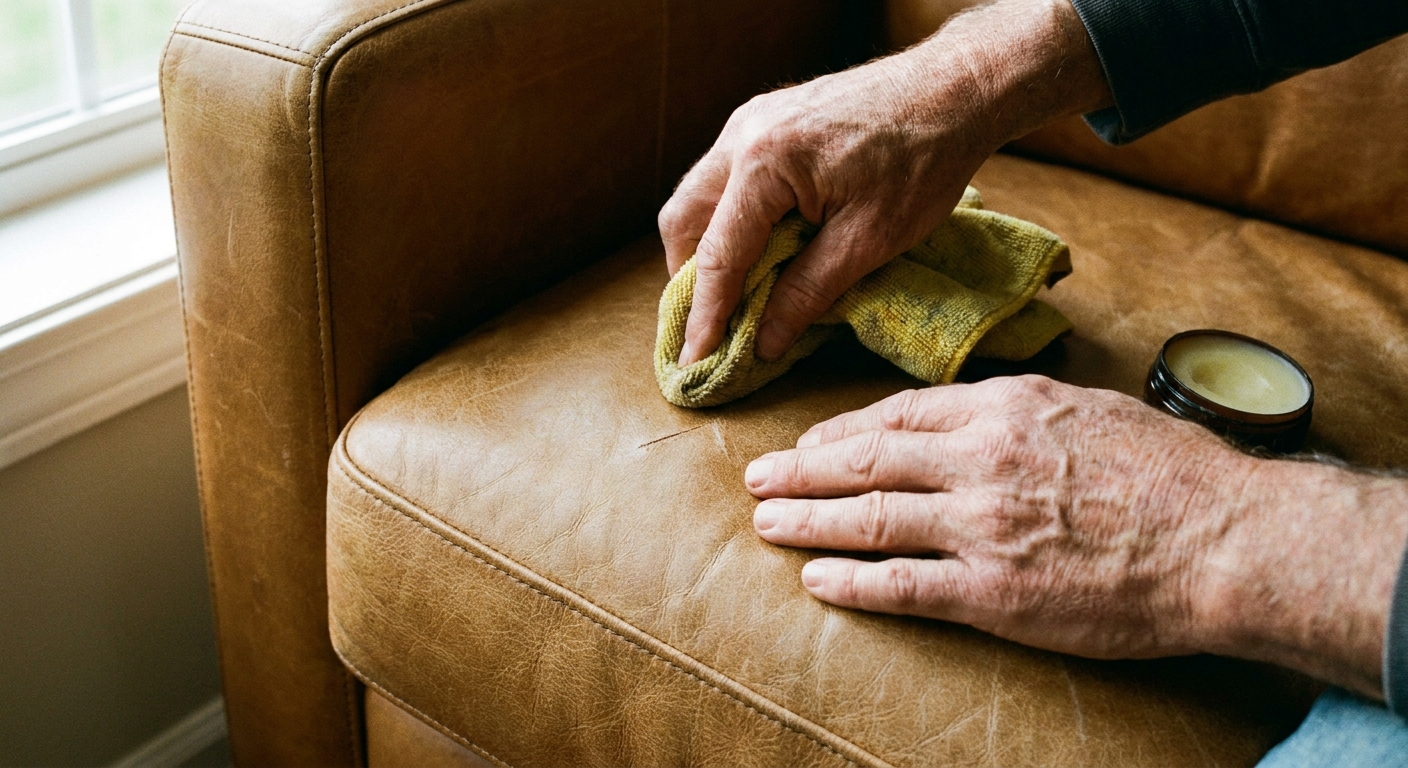
- Clean first. Wipe the area to remove body oils and dust. Dirt can act like sandpaper during buffing.
- Dry fully. Give it 10 to 20 minutes. Don’t trap moisture under conditioner.
- Warm the leather gently with your hand. Place your palm over the scratched area for 20 to 30 seconds. Warmth makes the surface more flexible.
- Buff with light pressure. Use a clean cloth and small circular motions. You’re smoothing, not scrubbing.
- Condition sparingly. Put a pea-sized amount on a cloth, not directly on the sofa. Work it in thinly.
- Let it sit, then buff again. After 30 to 60 minutes, buff to an even sheen.
Why conditioner helps
Conditioner can temporarily darken dry, abraded areas so scratches look less chalky. On real leather, rehydrating the surface also reduces that raised, papery texture. But if pigment or topcoat has been removed, conditioner can’t rebuild color. It’s like lip balm on a chapped spot. It softens and blends, but it doesn’t repaint.
What not to do
- Don’t use olive oil or coconut oil. They can oxidize, go rancid, and leave residue that attracts dirt.
- Be cautious with petroleum jelly. It usually won’t “go rancid”, but it can leave a greasy film that attracts dirt and can interfere with future repairs or recoloring.
- Avoid magic erasers. They’re micro-abrasive and can dull or strip the finish.
- Skip heat tools. Hair dryers and heat guns can dry out leather and crack finishes.
Deeper scratches (cuts)
If you can catch your nail in it, you’re dealing with a cut. You might still improve the look with conditioning later, but you won’t buff it away.
Now the goal shifts to leveling and recoloring.
DIY approach for small cuts
- Clean first, then prep. Start with a leather cleaner to remove dirt. Next, degrease and prep the scratch area so filler and color can bond. Many kits use a leather prep solution or isopropyl alcohol for this step. Always spot-test in a hidden area.
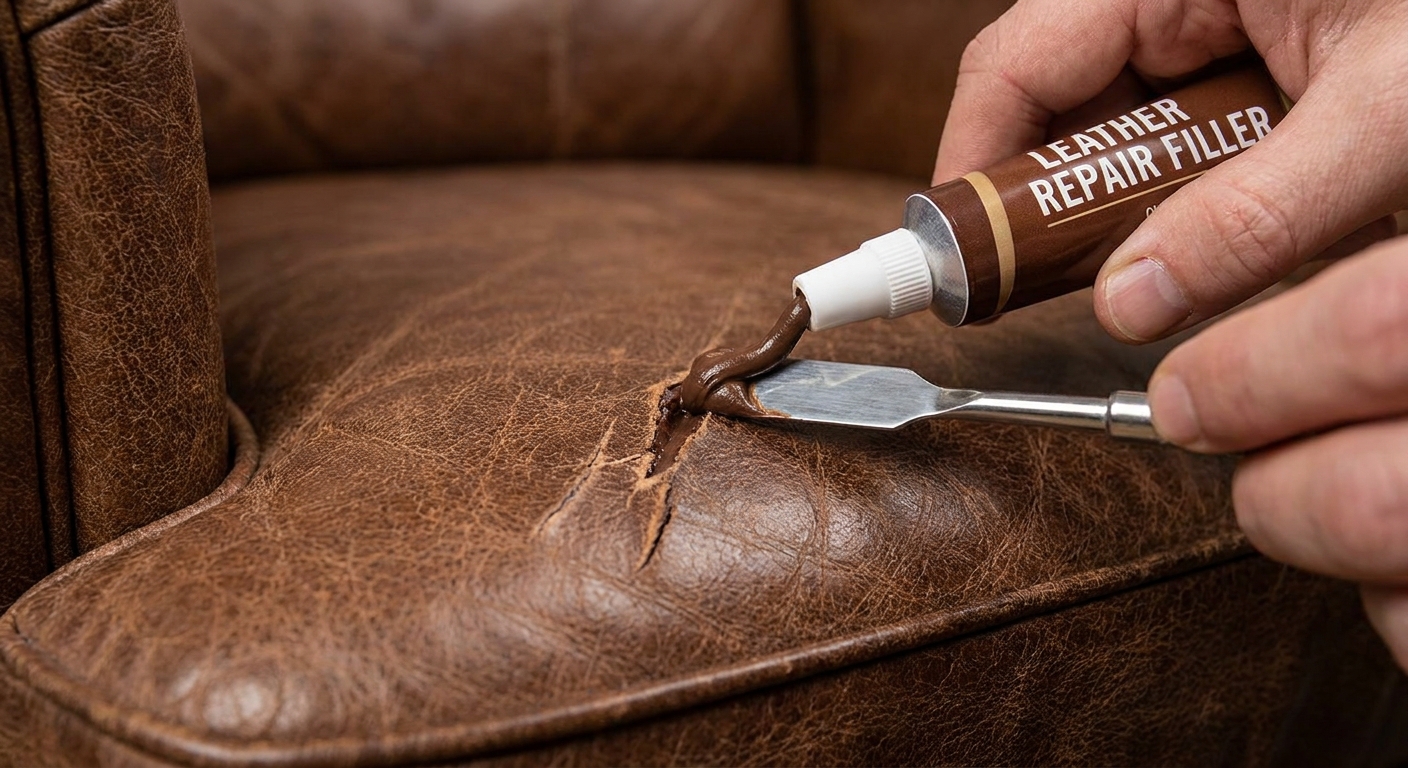
- Apply filler only if you need it. Filler is for leveling a groove. If the cut edges sit neatly together and it’s just a line, you may skip filler and move to color.
- Build thin layers. Multiple light coats beat one thick, rubbery blob. Let each layer dry and lightly smooth if the kit instructs it.
- Recolor, then seal. Color matching matters. A tinted balm can help on some leathers, but on pigmented finishes you may need a colorant designed for leather surfaces. After color, use the matching finish coat so the sheen blends.
- Condition at the end. Once the repair has fully cured (follow your kit’s timing), a light conditioner can help the surrounding leather look even. Conditioning too early can introduce oils that cause filler or color to lift and peel.
Take your time here. Rushing color is how you end up with a darker repair island that catches your eye more than the scratch did.
Color matching tip
If your sofa is a common shade like brown or black, generic kits can be close enough for small areas. For anything noticeable, look for brands that offer a color match service (you send a photo, a sample, or the manufacturer color code) so the repair doesn’t read as a slightly off “paint stripe” in daylight.
When conditioner is misleading
If the scratch looks “gone” right after conditioning but reappears pale the next day, that’s your sign the finish layer is disrupted. You’re not doing anything wrong. You’ve simply reached the point where pigment replacement is required for a true fix.
Patching tears and holes
Tears are a different category. The leather has failed structurally. A patch repair can make it stable and much less noticeable, but invisible isn’t always realistic without professional tools and custom color mixing.
You can consider DIY patching if
- The tear is small (think: under 1 to 2 inches) and not at a high-stress seam
- The leather isn’t actively peeling (common in bonded leather)
- You’re okay with a repair that’s smoother than the surrounding grain
DIY patch basics
- Stabilize the tear. Trim only truly loose fray. Don’t enlarge the hole.
- Insert a backing patch. Many kits use a thin fabric or leatherette patch under the tear to bridge the gap.
- Adhere and align. Carefully bring edges together so they sit flat, not overlapped.
- Build thin layers. Use filler in thin coats, drying between layers, until level.
- Recolor and seal. Match color, then use a compatible finish coat.
- Condition last. After everything cures, a light condition helps blend the panel.
Bonded leather warning
If the “leather” is peeling like paint, patching will often be a short-term solution because the surrounding surface can keep lifting. In that case, a professional may recommend broader refinishing, a slipcover strategy, or upholstery replacement panels depending on the sofa’s value.
When to call a pro
I love a good DIY moment, but I love a sofa that looks good for the next five years even more. Call a leather professional or upholstery shop if you spot any of the following:
- Color loss over a wide area where the scratch looks white or gray and keeps expanding
- Multiple scratches on the same cushion that require full-panel recoloring to look even
- Damage on seams, piping, or corners where tension is high
- Sticky, cracking, or flaking finish (often indicates failing topcoat or bonded leather breakdown)
- Aniline or semi-aniline leather (more absorbent, more prone to blotching if you spot-treat)
- Anything on a very light color like ivory, pale gray, or blush, where color matching is unforgiving
Professional dyeing isn’t just paint. A good tech blends color, restores topcoat, and evens sheen so the repair doesn’t flash under lamps at night.
Cat-specific tips
Once you repair, you want that area to stay calm while it fully cures and settles.
- Keep paws off until fully cured. Follow your kit’s cure time. It’s often 24 to 72 hours, but it varies by product and humidity. Close the room door if you can.
- Trim claws regularly. Even a small reduction in sharpness reduces future cutting.
- Add a decoy scratch zone near the sofa. Cats like to scratch near social areas, not hidden in a corner.
- Use a throw thoughtfully. Drape a textured throw over the cat’s favorite launch corner while you retrain habits. Linen, chunky cotton, or a tightly woven blanket works well.
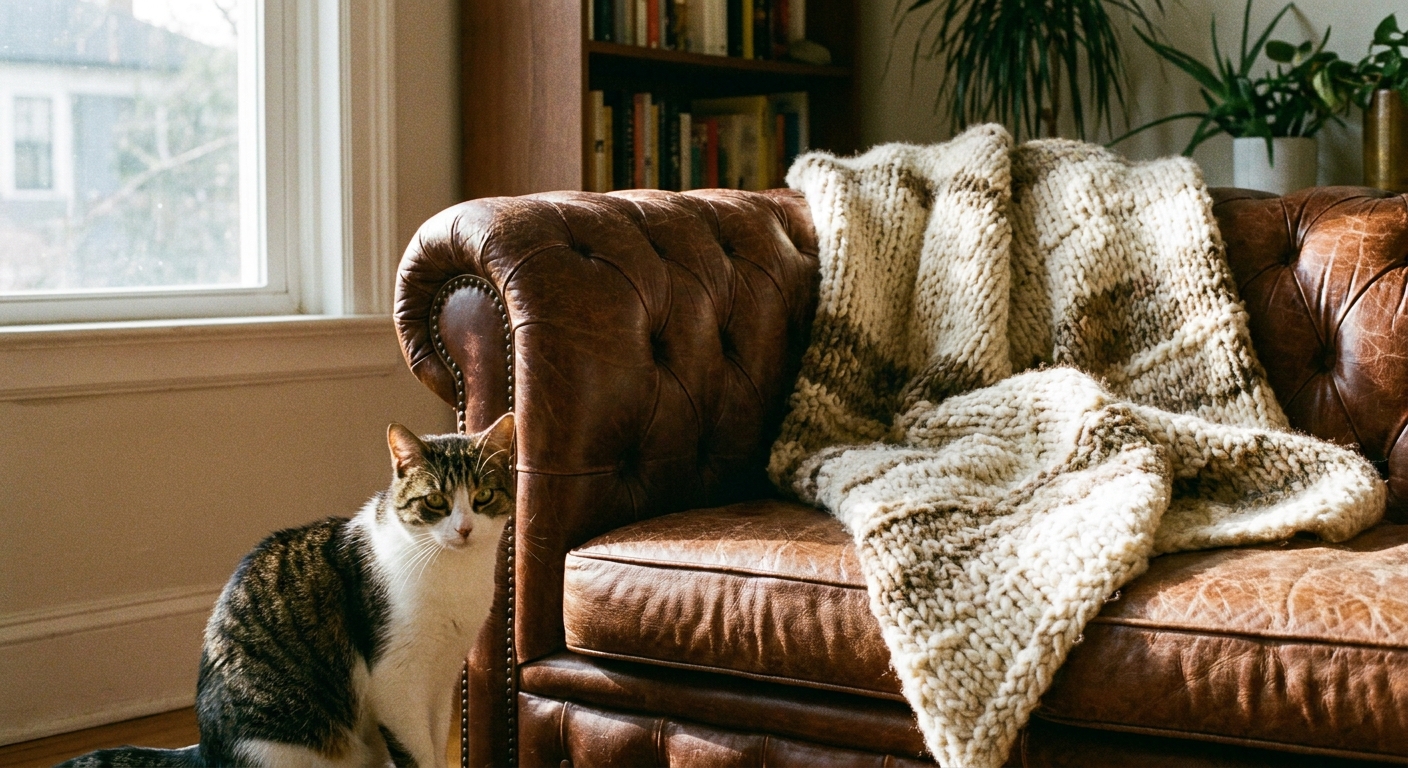
If your damage is happening on one specific front corner, your cat’s picked a ritual spot. Repair the leather, yes, but also change the routine with a nearby scratching post, a more appealing texture, or a temporary barrier while the new habit sticks.
Quick decision guide
- Buff + condition if the scratch is light, feels smooth-ish, and fades when rubbed.
- Prep + fill + recolor if your nail catches and you see a defined groove or repeated pale lines.
- Patch if there’s an opening, lifted edges, or missing material and the surrounding finish is stable.
- Professional dyeing if color is missing across a noticeable area, the sofa is very light, the finish is failing, or you need a seamless look.
Your leather sofa can absolutely survive life with a cat. A few honest repairs, the right prep steps, a little conditioning at the end, and a bit of behavior re-routing can bring it right back to that cozy, lived-in glow that made you fall for it in the first place.