Renter-Friendly Under-Cabinet Kitchen Lighting
Clara Townsend
Clara Townsend is an interior stylist, vintage furniture enthusiast, and the creative voice behind Velvet Abode. With over a decade of experience transforming both cramped city apartments and sprawling fixer-uppers, she believes that a beautiful home is built on personal stories rather than massive budgets. When she isn't hunting for the perfect brass sconce at a local flea market, she can usually be found rearranging her living room for the third time this month.
Nothing makes a rental kitchen feel more “yours” faster than under-cabinet lighting. It turns late-night snack assembly into a little pool of warm glow, and it also fixes the classic rental problem: one lonely ceiling fixture casting a shadow right where you need to chop, stir, and read labels.
The best part is you can do it without an electrician, without hardwiring, and without leaving your landlord a surprise. Below is exactly how I choose renter-friendly under-cabinet lights, how I mount them without drilling (when possible), and how I make the whole setup easy to reverse on move-out day.
Pick a style: puck, bar, or strip
There is no single “best” under-cabinet light. The right choice depends on your cabinet layout, how much light you want, and how invisible you need the setup to be.
Puck lights
Pucks are small round lights, usually battery-powered, that you stick under the cabinet. They are my go-to for renters who want the simplest install and do not need perfectly even light across the whole counter.
- Pros: Fastest install, easy to space around cabinet dividers, often includes tap-on and dimming.
- Cons: “Pools” of light with darker gaps between pucks, batteries can be frequent if you use them daily.
- Best for: Small kitchens, coffee stations, one problem prep zone, or cabinets with lots of breaks.
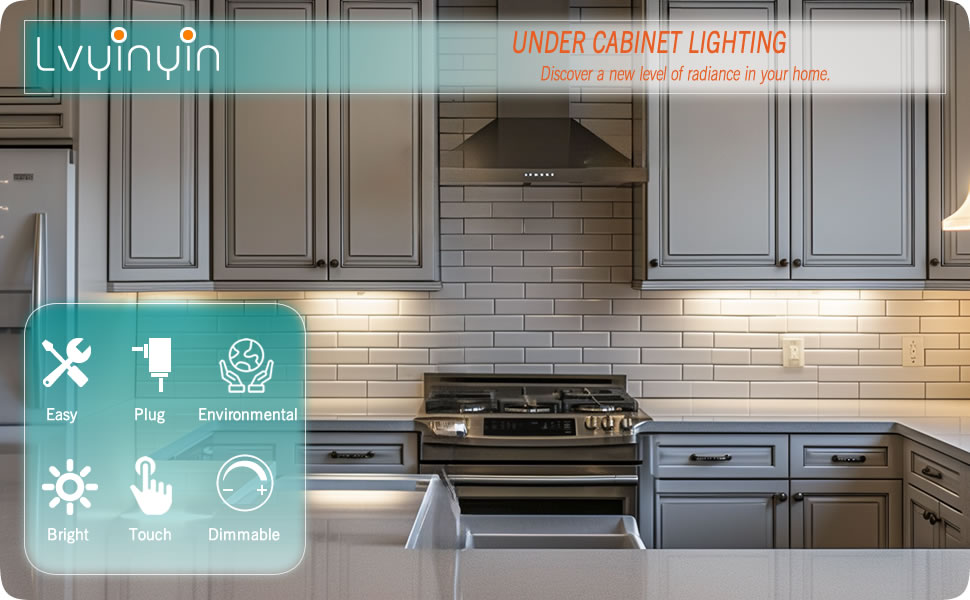
Light bars
Bars are rigid, slim fixtures that create a more continuous wash than pucks, with less fuss than full strip lighting.
- Pros: More even light, often brighter, cleaner look.
- Cons: Lengths are fixed, so you may need multiple bars for a long run.
- Best for: Straight cabinet runs where you want a tidy, “built-in” vibe.
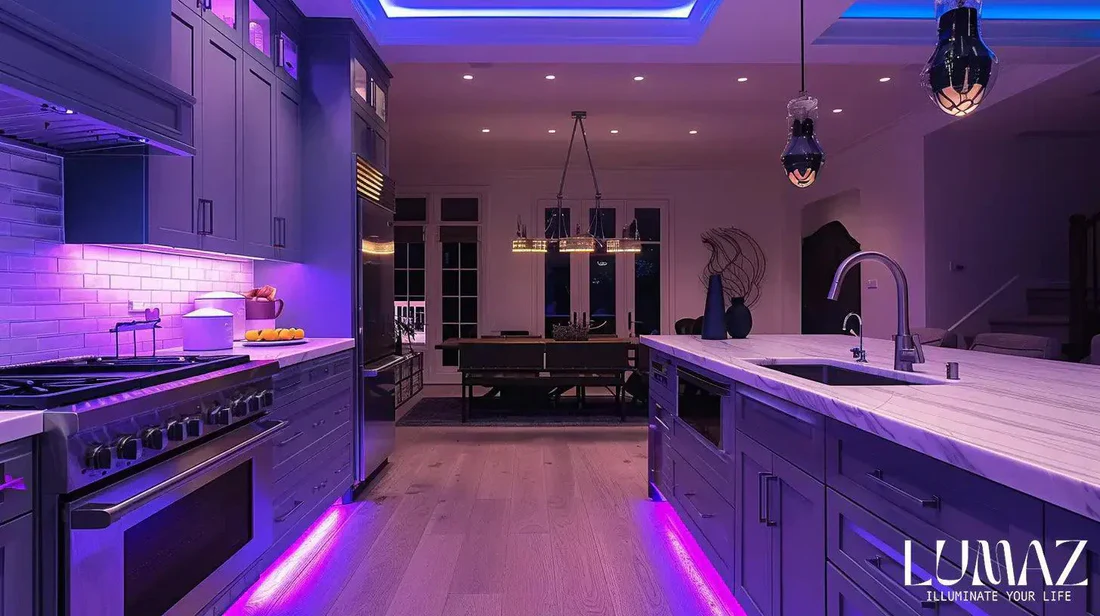
LED strip lights
Strips are the most flexible and the most “designer-looking” when done well. They are also the easiest to tailor to odd cabinet lengths.
- Pros: Most even lighting, can be cut to fit (on marked cut lines), excellent for long counters.
- Cons: You need a plan for power and cable routing, and adhesive quality varies a lot.
- Best for: Long countertops, anyone who wants that smooth glow with no spotlight effect.
Pro move: If you hate seeing individual dots reflected on your backsplash, plan on a strip in a diffuser channel (or a strip that comes with a frosted cover). It is the difference between “temporary upgrade” and “why does my wall look pixelated.”
Power options for rentals
When you cannot hardwire, you are choosing between batteries, rechargeables, and plug-in systems that disguise the cord.
Battery-powered
Battery lights are great for low-commitment installs and low-use areas. If you cook nightly, batteries can become your new part-time job.
- Look for: AA/AAA options with good reviews for battery life, and models with auto-off timers.
- My tip: Keep a small basket in a cabinet with spare batteries so you are not scavenging from remotes.
Rechargeable (USB)
Rechargeable under-cabinet lights are my favorite sweet spot. Many have magnetic mounts, so you can pop the light off to charge it like you would charge a phone.
- Look for: USB-C charging, a battery level indicator, and a magnetic base plate.
- What to expect: Depending on brightness and how long you run them, charging can be anywhere from every few days to every couple of weeks. Motion sensor modes can stretch that out a lot.
- My tip: If you hate frequent charging, choose fewer, brighter fixtures instead of many dim ones.

Plug-in (with renter-friendly cord hiding)
If you want maximum brightness and zero charging, plug-in strips or bars can look surprisingly clean. The trick is routing the cord so it disappears into the “shadow line” under the cabinet and then down a corner toward an outlet.
- Look for: A dimmer (inline or remote), a long enough power lead, and warm-to-neutral color options.
- My tip: Use paintable cord covers only if you can remove them cleanly. Many renters do better with tiny clear cable clips instead. If you do use cord covers, choose one with truly removable adhesive, or be ready to patch and touch up paint later.
- Safety note: Avoid routing cords near heat and water, and do not pinch cords in cabinet doors or drawers.
Light quality basics
This is the part most listings bury in the fine print, but it matters. The wrong light can make food look gray, counters look dingy, and the whole kitchen feel like a break room.
Brightness (lumens)
Brightness is tricky because beam spread, mounting position, and dark finishes change everything. I think in two ways: per linear foot (more universal), and “starter totals” (quick and renter-friendly).
- Helpful rule of thumb: Aim for about 200 to 500 lumens per linear foot of countertop for real task lighting. Dark counters or tall uppers often want the higher end.
- Starter ranges (dimmable is key): A small prep zone can feel better with roughly 300 to 600 lumens total. A longer run often lands around 800 to 2000 lumens total, depending on your kitchen and how much you cook.
- Best renter move: Choose dimmable so you can go bright for chopping and low for ambiance.
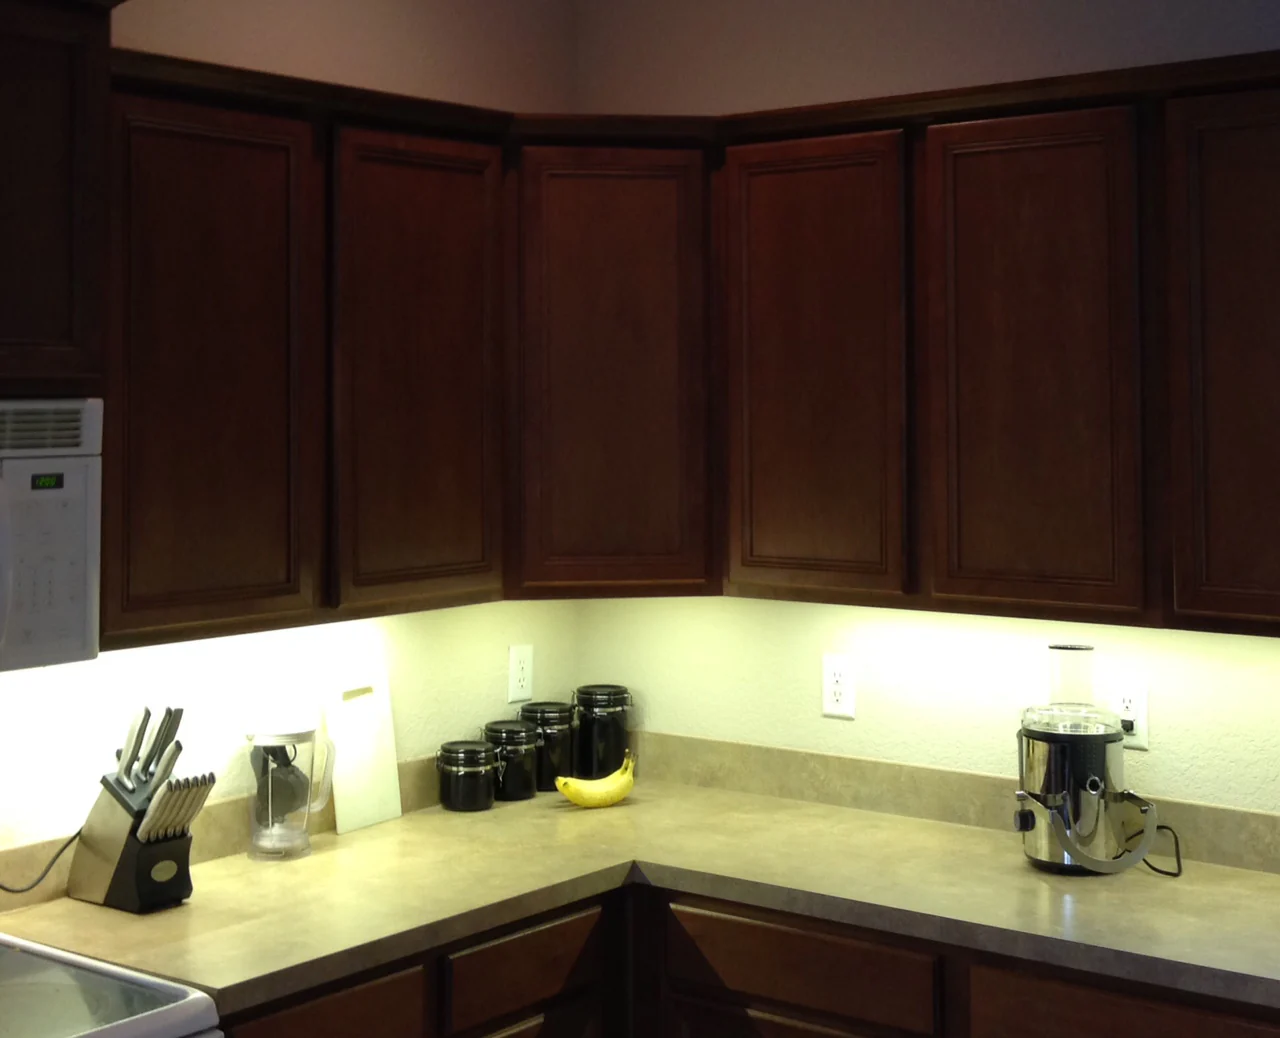
Color temperature (Kelvin)
- 2700K: warm, cozy, flattering. My favorite for vintage-leaning kitchens and nighttime glow.
- 3000K: still warm, but a bit crisper. Great “everyday kitchen” light.
- 4000K: neutral to cool. Practical, but can feel clinical in some rentals.
CRI (color rendering)
If you can find it, aim for CRI 90+. It makes wood look richer, greens look greener, and your countertop less “flat.” If CRI is not listed, it is often a sign you may need to dig a bit deeper. Check the manufacturer spec sheet PDF, the product manual, or the listing details section before you assume the worst.
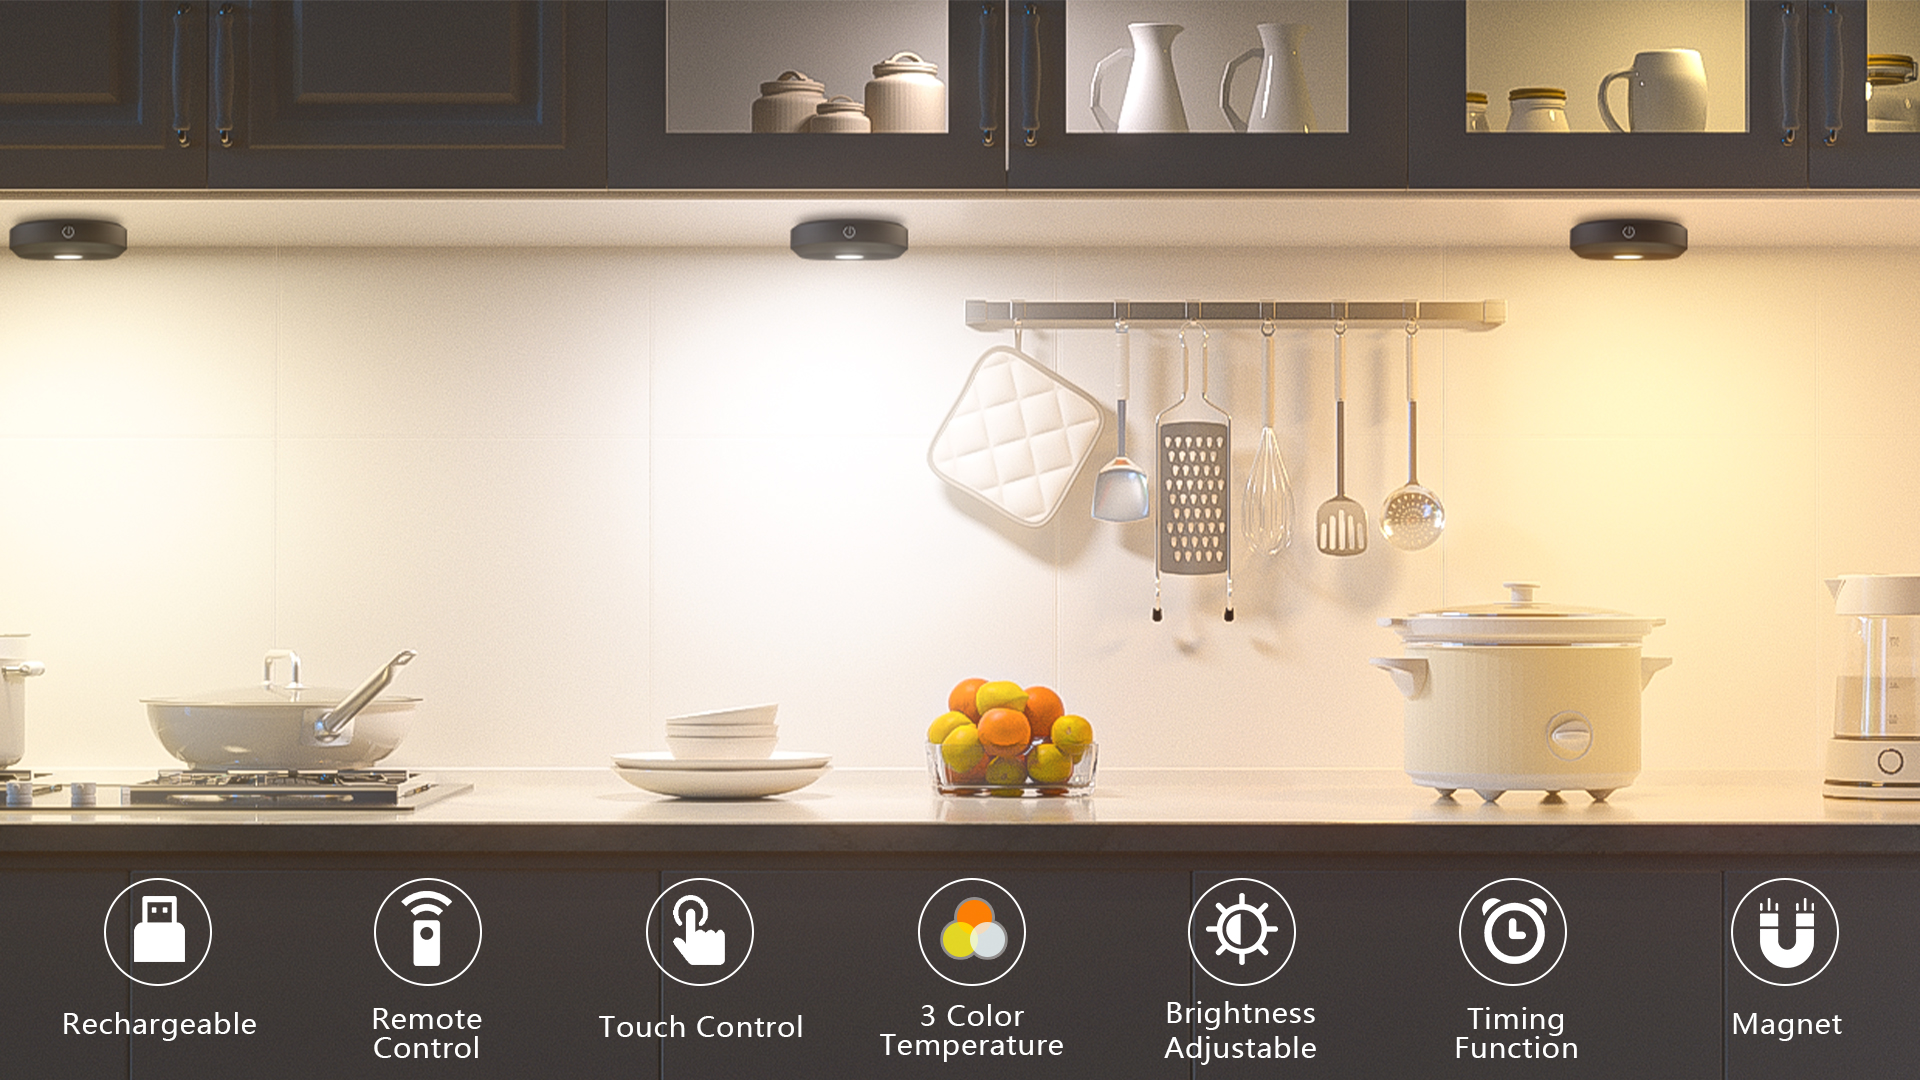
Controls
The best control is the one you will actually use. Under-cabinet lights that are annoying to turn on become invisible clutter.
- Tap on the fixture: Simple, but you have to reach under the cabinet. Works well for pucks.
- Remote control: Great for long runs and for dimming. Dedicate a small dish in a drawer so the remote does not vanish.
- Touch dimmer switch (inline): My favorite for plug-in strips. You can place the dimmer right at cabinet edge level so it is easy to reach but not in your face.
- Motion sensor: Wonderful for nighttime water runs. Less wonderful if your kitchen opens to a hallway and it turns on constantly.
Safety and lease check
This part is not glamorous, but it keeps your upgrade from becoming a hassle.
- Lease and landlord: If your lease is strict about fasteners or adhesives, choose a no-drill system and keep packaging so you can restore everything easily.
- Heat: Avoid placing strips or drivers right next to ranges, toaster ovens, or any spot that gets hot. If you have a hood, keep lights and cords clear of vents and filters.
- Water: Do not route cords across the sink area. Pick a path that stays dry and boring.
- Pinch points: Keep cords out of cabinet doors, drawers, and hinge paths.
Mounting without drilling
Renters often default to “no holes ever,” but there is nuance. A couple of tiny, well-placed holes under a cabinet is sometimes less noticeable than adhesive that fails and takes paint with it. If your lease is strict, stick with no-drill methods and keep everything reversible.
No-drill mounting methods
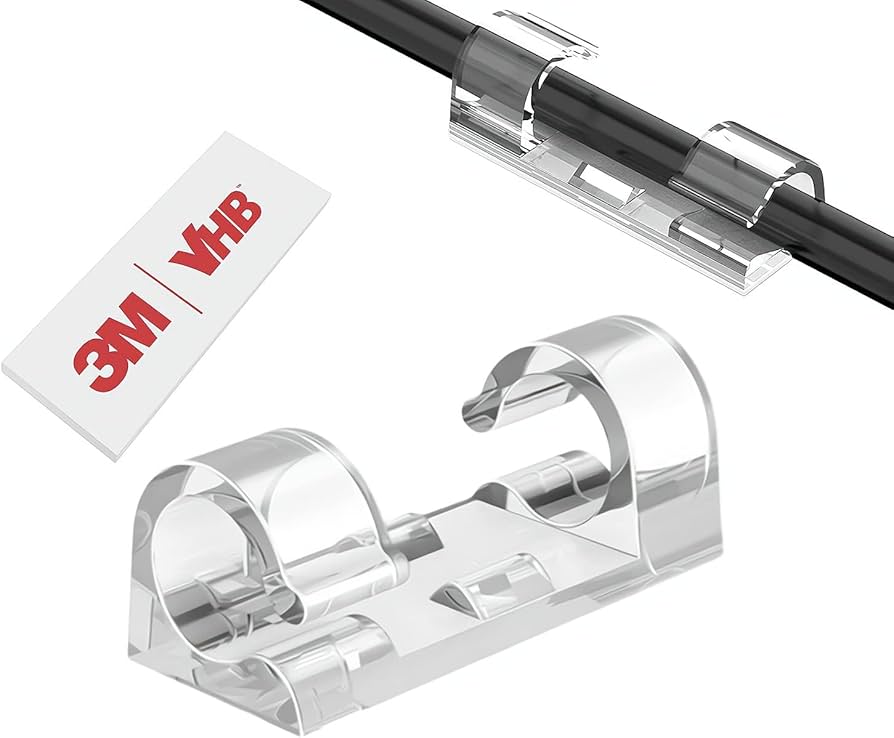
- Removable adhesive strips: Choose ones rated for the weight of your fixture. Clean the cabinet underside first with isopropyl alcohol, then let it dry fully before sticking.
- Magnetic mounts: Many rechargeable bars come with a thin metal plate that sticks up with adhesive, then the light snaps on magnetically. This is ideal for charging.
- Removable mounting tape: Strong, but use sparingly and test in an unseen corner first. Some finishes do not love it.
- Command-style clips for strips: For LED strips, I prefer a few small clips over relying on the strip’s factory adhesive alone.
Surfaces that fight adhesives
Adhesives struggle on dusty, textured, or slightly greasy surfaces, which is…most kitchens. They also struggle on raw MDF, unfinished wood, and some laminate finishes.
- Clean first: Alcohol wipe, then let it fully dry.
- De-dust raw wood: A dry cloth first, then alcohol. If the underside is very rough, clips or screw mounts are usually more reliable than tape.
- Steam and warmth: Kitchens are humid and warm. Give adhesives time to cure before you hang anything heavy or tug on cords.
When a couple of screws are kinder
If your cabinet underside is raw, dusty, or textured, adhesives struggle. Also, kitchens get steamy and warm. If you have permission, using the included screw mounts for bars and then patching tiny holes later can be the most reliable and the least messy long-term.
Cable routing
The difference between “cute upgrade” and “why is there a cord dangling” is routing. Here is my renter-friendly approach.
Step-by-step plan
- Start at the outlet: Identify the closest outlet you can use without crossing the sink or stove area.
- Dry fit first: Before you stick anything, loosely place the lights and run the cords where you think they will go. Open cabinet doors and drawers to make sure nothing catches.
- Run along the cabinet underside: Keep cables tucked toward the back where they fall into shadow.
- Use clear cable clips: Place clips every 6 to 12 inches, more often around corners.
- Drop down in a corner: Choose the least visible corner, often where a backsplash meets a tall appliance or pantry side.
- Hide slack: Coil extra cable and secure it on top of the cabinet or on the inside wall of a cabinet using a removable hook.
Little stylist trick: If your backsplash is busy, your eye forgives more. If it is a clean white subway tile, be extra careful to keep cords tight and minimal.
Install checklist
This is the quick, non-intimidating version. Put on a podcast, clear the counter, and treat it like a tiny Saturday project.
- Measure each cabinet run you want to light. For a cleaner look, plan to stop a little short of the cabinet edges so the fixture stays hidden from most angles.
- Choose color temperature: 2700K for cozy, 3000K for a classic kitchen glow.
- Decide on brightness: use the per-linear-foot guideline above, then choose dimmable so you can fine-tune.
- Test the lights on the counter first to confirm brightness and warmth.
- Clean the cabinet underside with isopropyl alcohol and let it dry.
- Do a “tape mockup” using painter’s tape to mark where each light will go.
- Mount lights or mounting plates. Press adhesive firmly for 30 to 60 seconds each.
- Route cables with clear clips, keeping lines straight and tucked toward the back.
- Turn on, dim, adjust placement, then commit.
Move-out removal
I like to think of renter upgrades as temporary tattoos for your home. Beautiful, personal, and removable with patience.
Remove adhesive safely
- Warm it up: A hairdryer on low can soften adhesive.
- Pull correctly: For stretch-release adhesive strips, pull slowly downward, parallel to the surface. Do not yank outward.
- Go slow: If it resists, warm it again and keep tension gentle.
- Remove residue: Start with warm soapy water. If you need more help, try a small amount of a gentle citrus-based remover (like Goo Gone) on a cloth, and spot-test first, especially on painted cabinets or laminate.
Pack it like a pro
Save the box if you can, or at least keep the charging cable and remote in a labeled bag. Under-cabinet lights are one of those upgrades you will absolutely want to take to your next place.
Common problems
My cabinets are glossy and nothing sticks
Clean thoroughly with alcohol, then use a clip-based mount or a magnetic base plate. If the surface is silicone-coated or very slick, clips tend to outperform tape.
The lights look dotty on my backsplash
That is usually an LED strip with visible diodes and no diffuser. Look for strips with a diffuser channel, or choose a light bar with a frosted cover. Also try mounting slightly farther back under the cabinet to soften the effect.
My countertop still feels shadowy
Increase brightness, but also check placement. Lights mounted too far toward the wall can cast shadows from small appliances. Aim for the front half of the cabinet underside so the light lands where your hands work.
I want cozy at night, bright in the morning
Dimmable is your friend, and so is layering. Use under-cabinet lighting as the “glow,” then add a warmer bulb in a nearby lamp or pendant to keep the whole room from feeling like a spotlight.
A quick feature checklist
If you are comparing a bunch of options that all look identical online, this is what I actually care about:
- Dimming: remote, inline touch switch, or app
- Color temp: 2700K to 3000K for most rentals
- CRI: 90+ if you can find it
- Diffuser: especially for strips and reflective backsplashes
- Auto-off or motion mode: helpful for battery and rechargeable lights
- Mounting method: magnetic base plates or clip support for strips
My renter formula
If you want a simple decision that works in most rentals, this is the combo I reach for:
- Rechargeable magnetic light bars for ease and clean lines.
- 3000K color temperature for a welcoming kitchen that still feels clear for cooking.
- Dimming so you can switch from meal prep to soft evening glow.
- Clear cable clips only where absolutely necessary.
- Optional: a smart plug for plug-in setups, so you can turn everything on with one button (or on a schedule) without adding more switches.
Under-cabinet lighting is not just about seeing better. It is about changing how your kitchen feels at 9 p.m. when the rest of the apartment is winding down.
If you tell me what your cabinets are like (wood, laminate, painted) and whether you have an outlet nearby, I can help you pick between pucks, bars, or strips and map a cable route that will look intentional, not temporary.