Renter-Friendly Grout Whitening and Resealing
Clara Townsend
Clara Townsend is an interior stylist, vintage furniture enthusiast, and the creative voice behind Velvet Abode. With over a decade of experience transforming both cramped city apartments and sprawling fixer-uppers, she believes that a beautiful home is built on personal stories rather than massive budgets. When she isn't hunting for the perfect brass sconce at a local flea market, she can usually be found rearranging her living room for the third time this month.
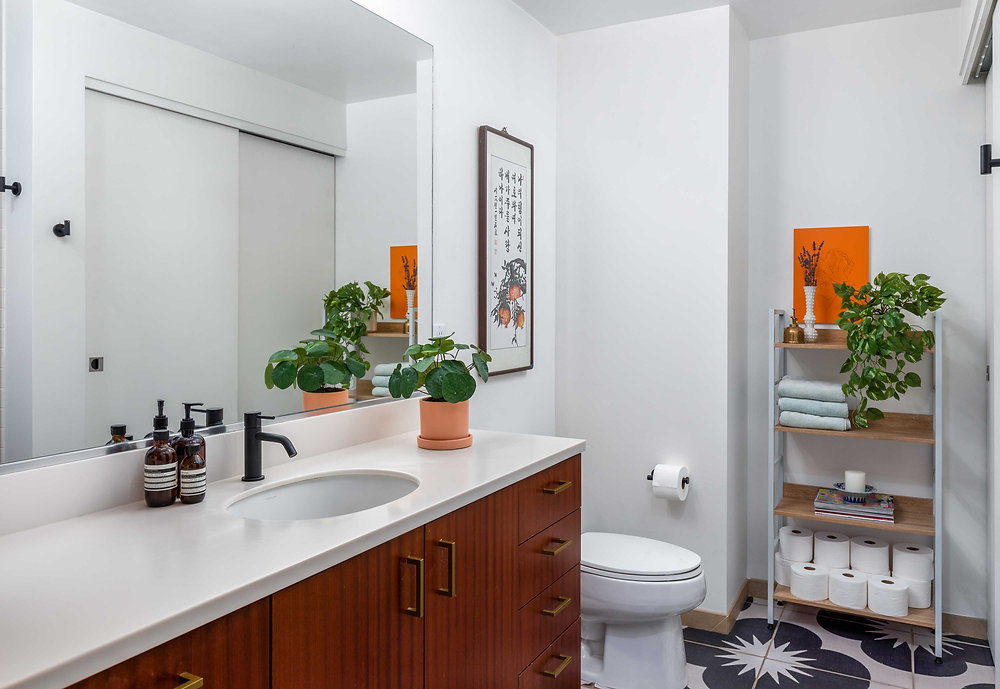
Grout has a special talent for making a perfectly clean bathroom or kitchen look like it is quietly losing a fight. The good news is you usually do not need a full renovation or aggressive chemicals to get it looking fresh again. With a little patience and the right products, you can brighten stained grout, remove surface mold and mildew staining, and reseal so it stays cleaner longer, all in a way that is realistic for renters.
This guide focuses on true grout maintenance. No peel-and-stick backsplash talk, no “just cover it up,” just the satisfying, practical stuff.
Quick note: Every lease and landlord is different. Before you seal or do any repairs, take a look at your lease and, when in doubt, ask.
Before you start: What you can change as a renter
Most landlords are thrilled if you improve cleanliness without altering the surfaces. Whitening and sealing grout often falls under normal maintenance, but there are a few lines you do not want to cross without permission.
- Generally renter-safe (often): Cleaning grout with non-acidic products, removing surface mold or mildew staining, applying a clear penetrating grout sealer, and replacing a small section of failing silicone caulk if your lease allows minor maintenance.
- Ask first: Changing grout color with a grout colorant, using any acid-based cleaner (even “natural” ones), regrouting large areas, or anything that changes the finish or sheen.
- Avoid: Anything that can etch tile or stone, anything abrasive on polished surfaces, or anything that creates strong fumes in a poorly ventilated space.
Identify what you are dealing with
Grout haze vs stains
If the grout looks uniformly dull, you might be seeing leftover soap scum or cleaner residue, not deep staining. That is great news because it often lifts with gentle cleaning and a thorough rinse.
Mold and mildew at corners and edges
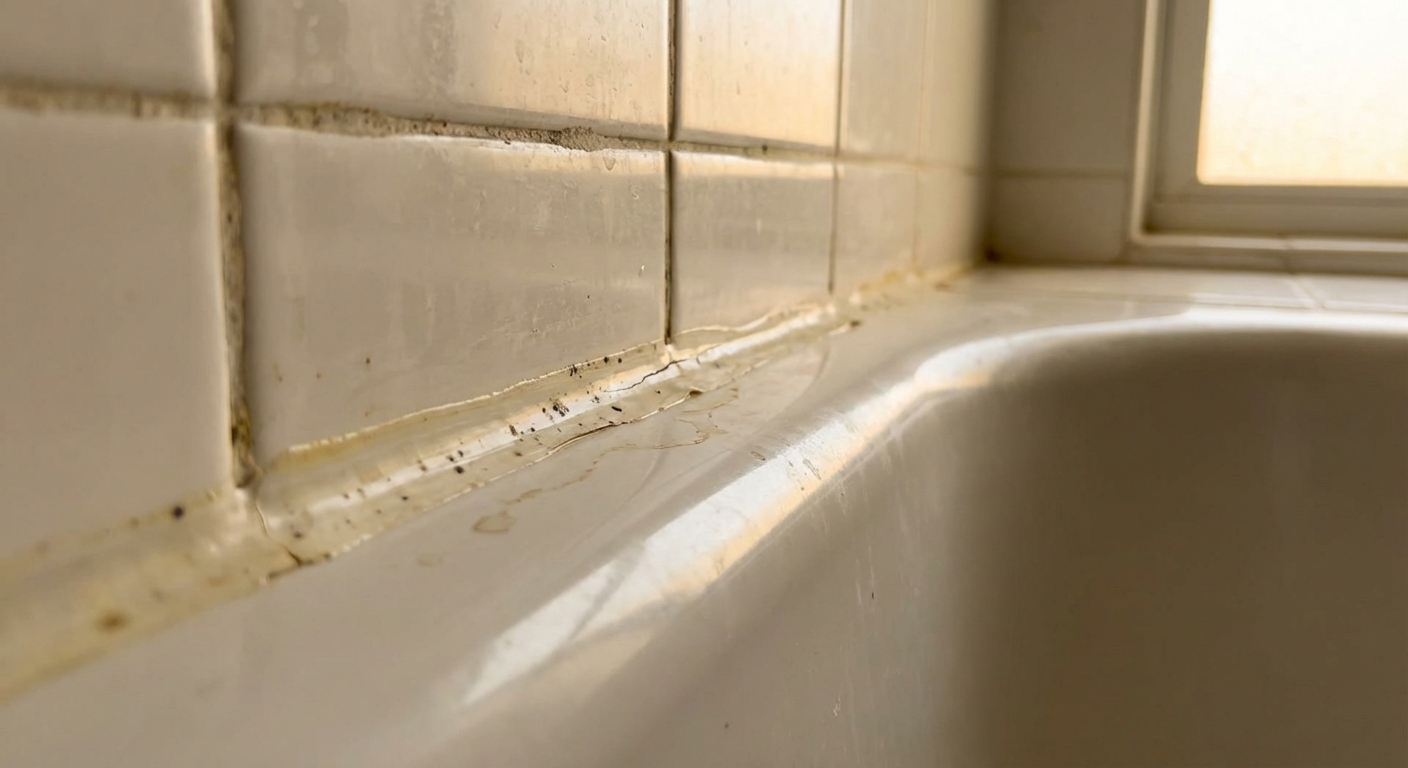
Black spots near the tub, shower threshold, or sink backsplash are often mold or mildew on the surface, or growth feeding on soap scum. If it is mostly at the seam where tile meets tub or countertop, that is usually a silicone caulk issue, not a grout issue. If growth keeps coming back quickly, it can also be a ventilation or moisture problem worth addressing.
Know your tile type
If you have natural stone (marble, travertine, limestone), be extra cautious. Acidic cleaners can etch stone and leave a permanently dull patch.
A quick visual guess can help, but it is not foolproof. Stone often has natural variation, but so do some ceramics. More dependable checks include: looking for a spare tile box or label, checking building or unit records, or asking your landlord. When in doubt, treat it as stone and keep everything non-acidic.
Safe surface prep
If you apply a whitening paste or sealer over soap scum, body oils, or cleaner residue, you get patchy results and the grime gets sealed in. Prep is the unglamorous part, but it is what makes the “after” last.
What you need
- Dish soap or a gentle, pH-neutral tile cleaner
- Baking soda (optional)
- Microfiber cloths
- A soft grout brush or old toothbrush
- Warm water
- Fan or open window for ventilation
Prep steps
- Dry sweep or vacuum floor tile to remove grit.
- Wash the tile and grout with warm water plus a few drops of dish soap (or a pH-neutral tile cleaner). Focus on areas that get product buildup, like around a tub ledge or behind a kitchen faucet.
- Rinse well with clean water until there is no slick feel and the water runs clear. Residue is the enemy of even whitening and good sealing.
- Let it dry as much as possible before whitening. If you can, wait a few hours. Overnight is even better.
My styling-minded tip: Lay down an old towel at the doorway. Not for aesthetics. It keeps your socks from picking up cleaner and tracking it into the hall like a little chemical breadcrumb trail.
Does your grout need sealing?
Not all grout behaves the same. This is the small detail that saves you from doing extra work.
- Cement-based grout (most common): Usually benefits from a penetrating sealer, especially in showers and kitchens.
- Epoxy grout (common in some newer installs): Often does not need sealing and is more stain-resistant, but can still get film and grime on the surface.
A simple water-drop test: Put a few drops of water on a clean, dry grout line. If it darkens quickly, the grout is absorbing water and sealing may help. If the water beads for a while, it may already be sealed or it may be epoxy grout. Either way, still do a test spot before applying anything.
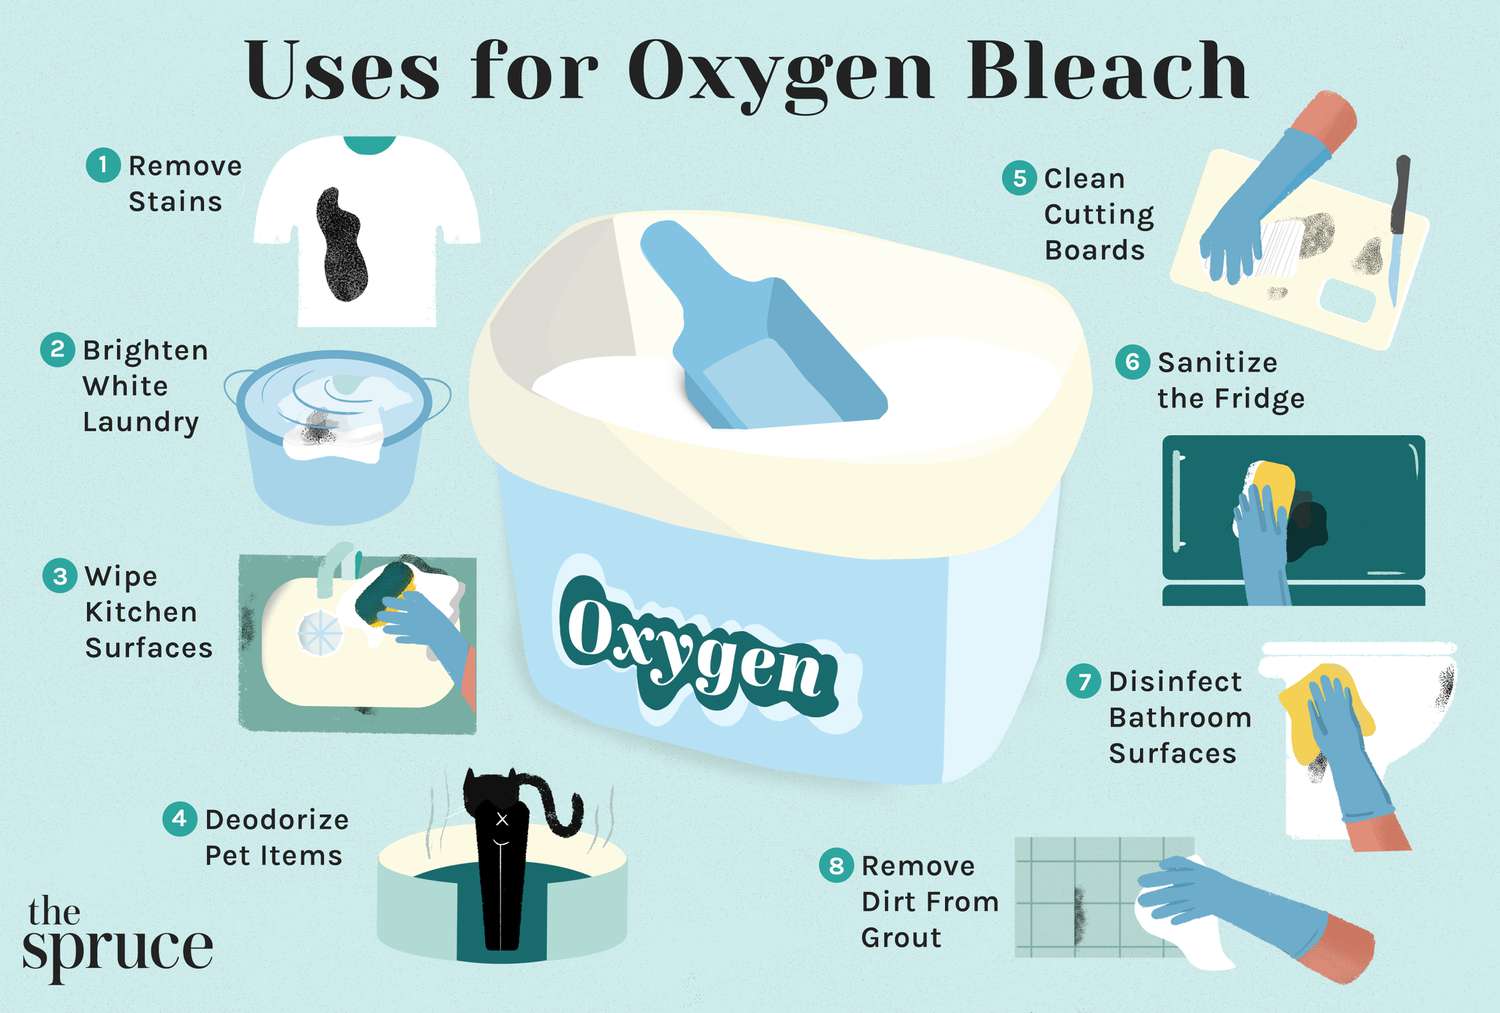
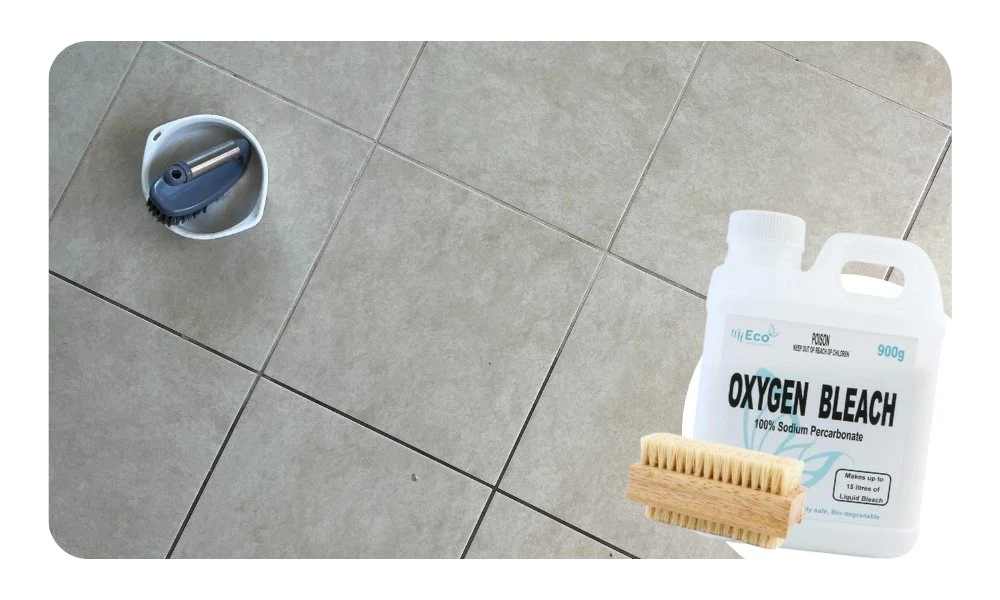
Oxygen bleach: A renter-friendly way to whiten grout
For most apartments, an oxygen-bleach approach is the sweet spot. It is effective on organic staining and everyday dinginess, and it is generally less harsh than acid cleaners or straight chlorine bleach.
Safety and compatibility
- Wear gloves, and consider eye protection if you are working overhead or in a splash zone.
- Ventilate the room and follow the label directions.
- Never mix cleaners. Do not combine oxygen bleach with chlorine bleach, ammonia, or acids.
- Test a small spot first, especially on natural stone, older finishes, or if you are not sure what the tile is.
Oxygen bleach vs acids (why it matters)
- Oxygen bleach (often sodium percarbonate) dissolves in water and releases a hydrogen-peroxide-like solution that helps lift stains and deodorize.
- Acid cleaners (including vinegar and many “grout brighteners”) can damage certain surfaces, especially natural stone, and can contribute to grout deterioration with frequent use.
- Chlorine bleach can whiten, but it is fume-heavy, can discolor some materials, and does not always play nicely with old grout. It also should never be mixed with other cleaners.
How to do it
- Mix a paste with oxygen bleach powder and warm water. Aim for a thick yogurt texture so it stays on the grout line.
- Apply to grout only with a spoon or gloved finger. Do not worry if some gets on tile, but keep it focused where it is needed.
- Let it dwell 10 to 20 minutes. Drying out is less effective, so if your bathroom is very warm, shorten the dwell time or lightly mist with water.
- Scrub gently with a soft brush. Think steady circles, not angry sanding.
- Rinse well with clean water until it feels clean and not slick, then wipe dry.
If you have very stubborn staining, repeat once rather than reaching for something harsher. Two gentle passes beat one scorched-earth pass almost every time.
What about vinegar and lemon?
I love a homespun tip as much as anyone, but here is the honest truth: acid is still acid, even if it comes from your pantry.
- Skip vinegar and lemon on grout if you do not know your tile type, and always skip them on natural stone.
- If you already used vinegar once and nothing bad happened, that does not mean the surface loves it. Etching can be subtle and cumulative.
- Choose oxygen bleach when you want something effective that stays in the renter-friendly lane.
When whitening is not enough
If the grout is cracked or missing
Cleaning cannot fix structural issues. If you have missing grout between tiles, water can get underneath and cause bigger problems. For a small gap, ask your landlord for a repair or request permission to do a small patch.
If the dark spots are at the tub or countertop seam
That line is usually silicone caulk, not grout. If the caulk is peeling, moldy, or separated, no sealer will help. You either need a landlord repair or written permission to replace it, because removing and re-caulking changes the waterproofing at a key joint.
Resealing: The step that keeps grout from re-staining
Once grout is clean and fully dry, sealing is the quiet hero. Think of it like a raincoat for a fabric sofa. It does not make grout invincible, but it buys you time and makes routine cleaning easier.
Grout sealer vs silicone
- Penetrating grout sealer soaks into cement-based grout and helps repel water and oils. It is used on grout lines between tiles.
- Silicone caulk is a flexible waterproof joint used where surfaces meet or move, like tub-to-tile and counter-to-backsplash seams.
Choosing a renter-friendly grout sealer
Look for a clear, penetrating sealer. These typically do not change the look much and are less likely to trigger “you altered the finish” concerns.
- Water-based penetrating sealer: low odor, easy cleanup, usually a great choice for small bathrooms and kitchens.
- Solvent-based penetrating sealer: can be stronger and longer-lasting in some cases, but often smells more and needs better ventilation.
- Topical sealers: can leave a film or sheen. I usually avoid these for renters unless your landlord specifically wants that finish, because it can look uneven as it wears.
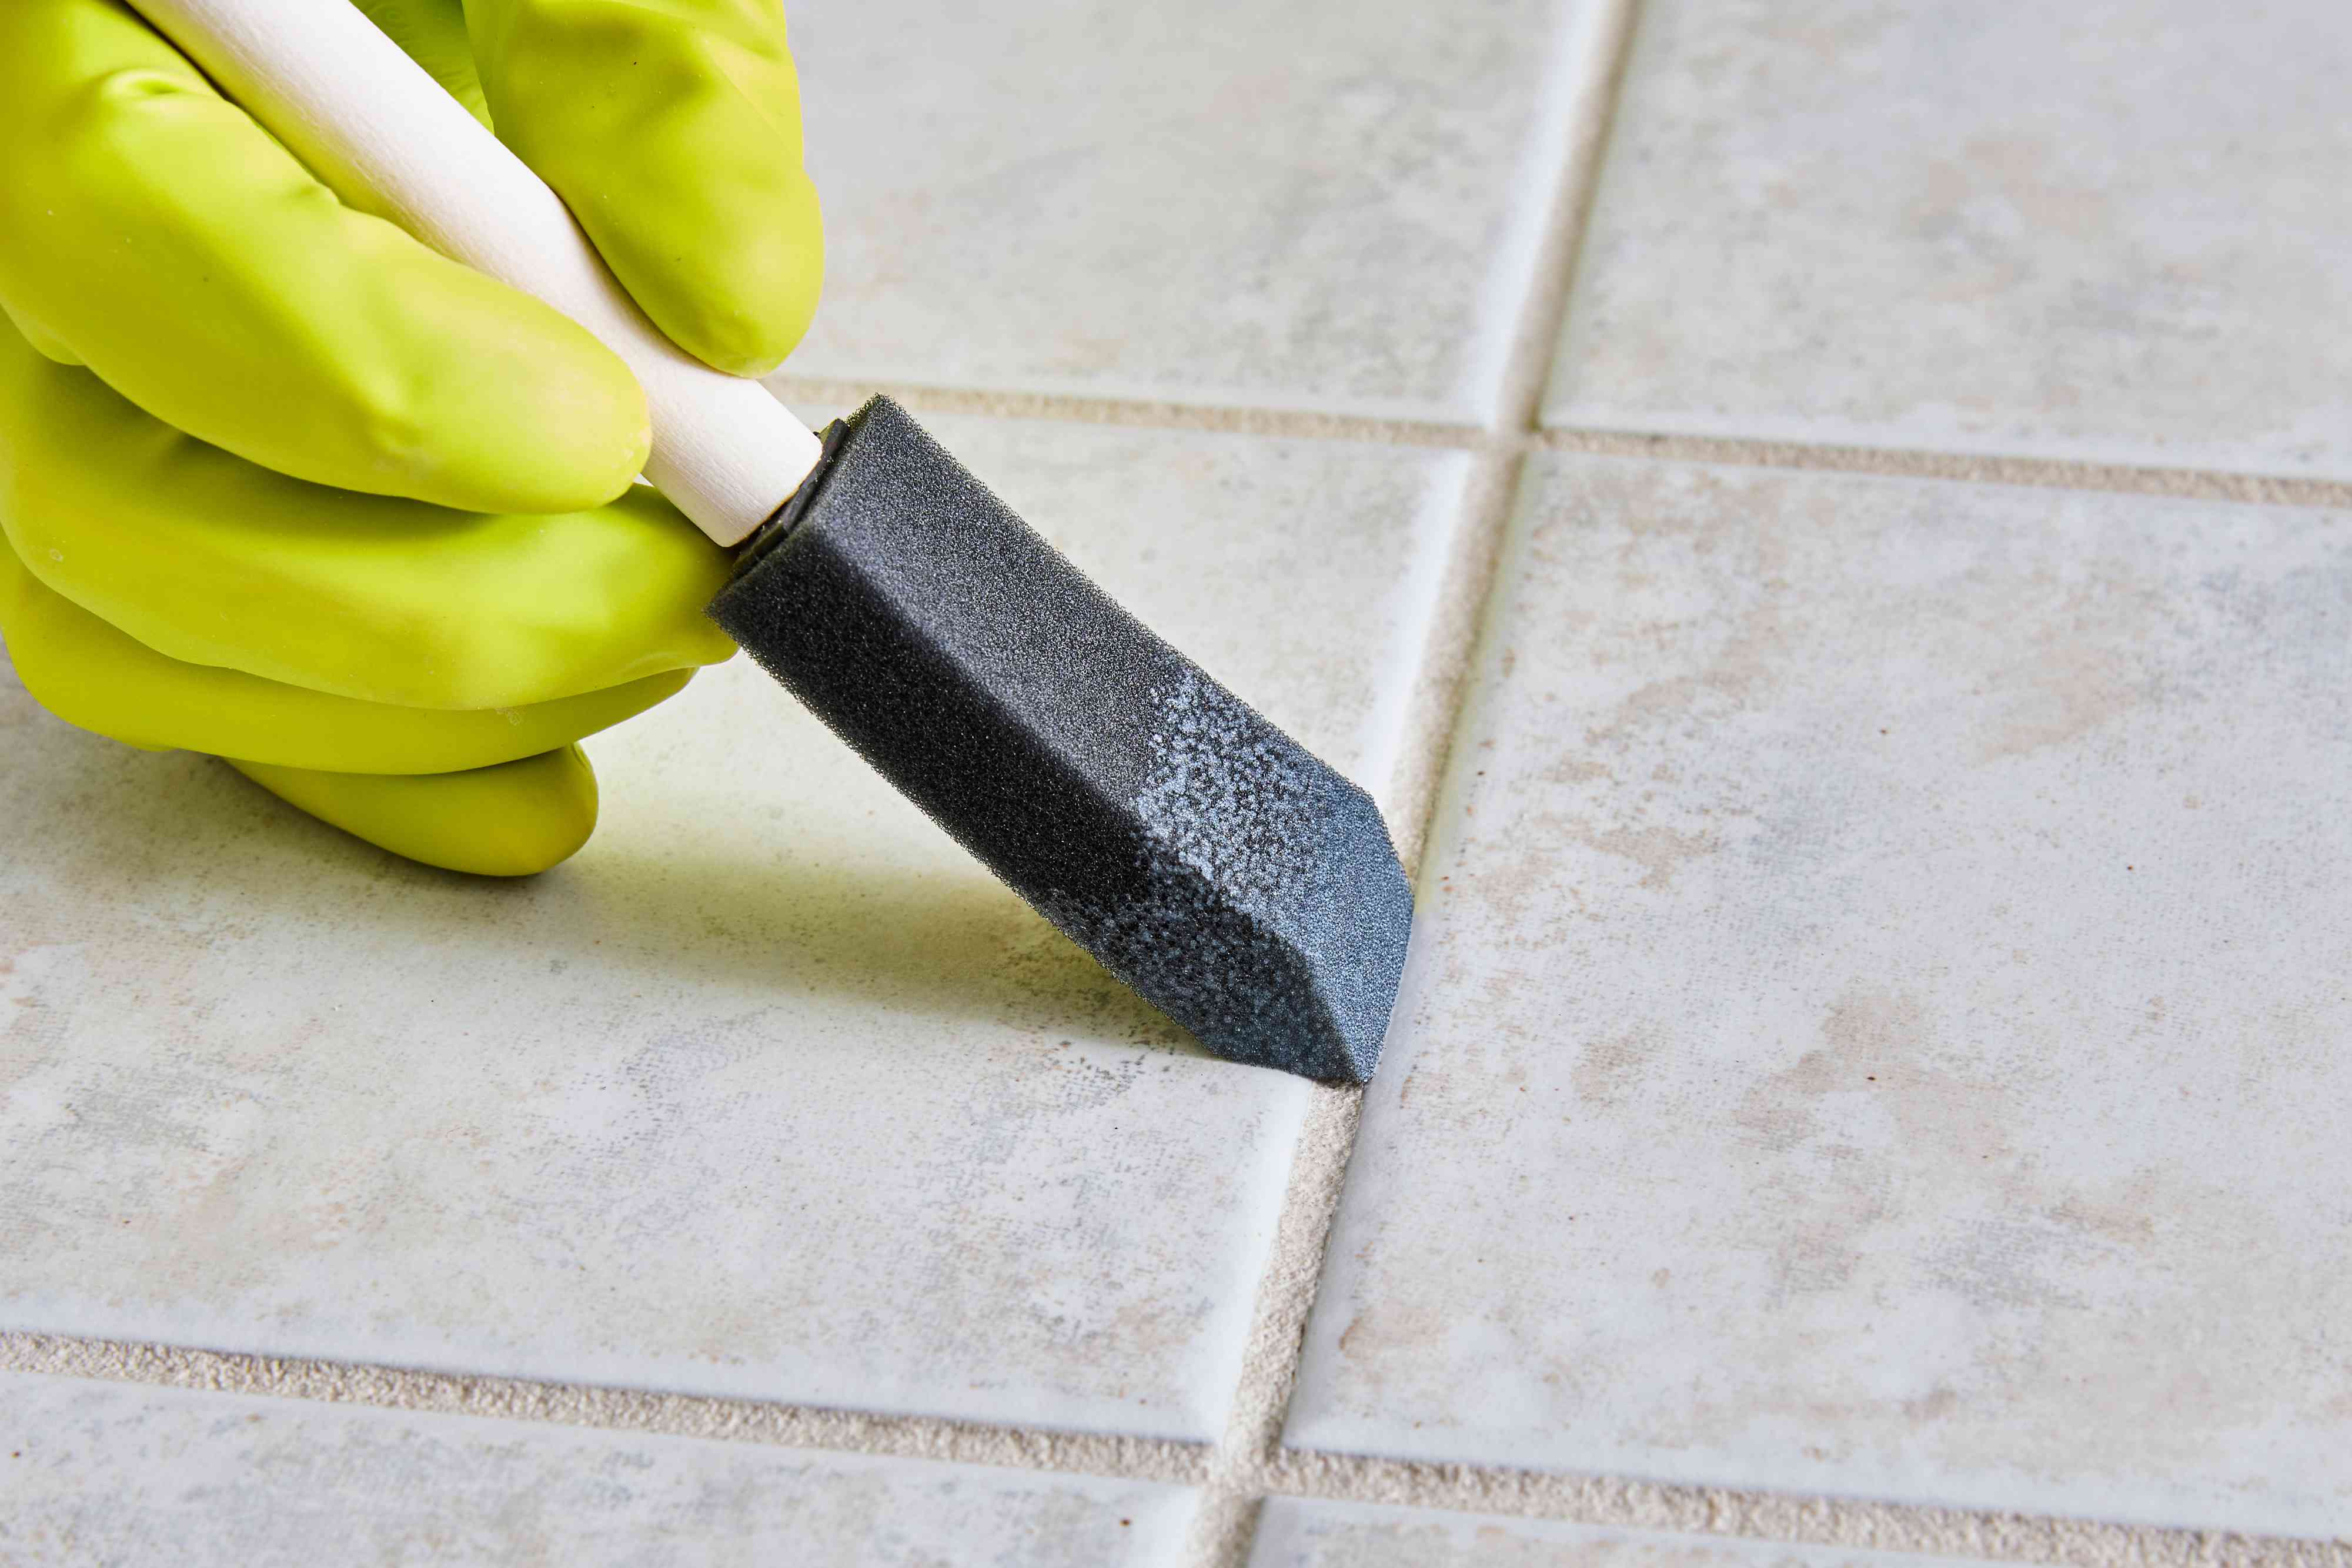
How to apply sealer
- Do a test spot first in a corner. You are checking for surprise darkening, sheen, or residue.
- Confirm the grout is dry. This matters. Many sealers require 24 to 72 hours of dry time after cleaning, depending on humidity.
- Keep it tidy. Tape off if you are nervous, especially on textured tile where sealer could catch in the surface.
- Apply with a narrow applicator (small brush or roller bottle) directly on grout lines.
- Let it sit for the product’s recommended time, then wipe excess off the tile with a clean cloth.
- Second coat if recommended, especially in showers and behind the kitchen sink.
Real-life timing and ventilation
If you live in a one-bathroom apartment, you can still do this without chaos. Plan it like a tiny project.
- Best day: when you can keep windows open and run the fan for a few hours.
- Shower plan: whiten in the morning, rinse, then let dry all day. Seal in the evening and avoid showering until the cure time on the label.
- Kitchen plan: do it after dinner so the area can stay dry overnight.
Clear do nots
- Do not use metal brushes or overly stiff bristles that can scratch tile and chew up grout.
- Do not use abrasive powders on polished stone or glossy tile.
- Do not seal if grout is still damp.
- Do not leave sealer to dry on the tile face. Wipe it off within the working time.
- Do not let kids or pets roam the area during dwell and cure times.
Landlord-friendly documentation
If you want to keep this strictly above-board, documentation is your best friend. It is also oddly satisfying to have proof that you improved the space.
What to photograph
- One wide shot of the whole area (shower wall, bathroom floor, or backsplash)
- Two close-ups of the worst grout lines
- A photo of the products you used, especially the sealer label
What to write down
- Date you cleaned and date you sealed
- Product names
- Any notes, like “sealed only grout lines, no color change”
A simple message you can send
Hi [Name], I noticed the bathroom grout was stained from normal use, so I deep-cleaned it using an oxygen-based cleaner and then applied a clear penetrating grout sealer to help protect it going forward. I did not change the grout color or alter any surfaces. I can share before and after photos if helpful.
Quick troubleshooting
The grout still looks dark after cleaning
- It may still be wet. Let it dry fully and reassess the color.
- It may be permanently discolored or previously sealed unevenly. A second oxygen-bleach pass can help.
- If it is dark only at edges, you may be seeing mold in failing caulk, not grout.
The sealer left streaks on tile
- Wipe sooner next time. Excess sealer should not dry on tile.
- Buff with a clean microfiber cloth. If it has fully cured, check the sealer instructions for removal guidance and test in an inconspicuous spot.
The grout is crumbling
This is a maintenance issue beyond whitening and sealing. Document it and notify your landlord. Crumbling grout can point to water intrusion or age that needs proper repair.
A gentle maintenance rhythm
My favorite kind of home care is the kind that disappears into your routine.
- Weekly: quick rinse and a mild cleaner, especially in showers.
- Monthly: spot-scrub high-splash areas, like behind the kitchen faucet or the shower entry.
- Yearly-ish: test the sealer by sprinkling water on grout. If it darkens immediately, it is time to reseal (if it is cement-based grout).
Clean grout is not about perfection. It is about walking into your bathroom or kitchen and feeling that calm little exhale, like your home is taking care of you right back.