Remove Sticker Residue and Nail Polish From Finished Wood
Clara Townsend
Clara Townsend is an interior stylist, vintage furniture enthusiast, and the creative voice behind Velvet Abode. With over a decade of experience transforming both cramped city apartments and sprawling fixer-uppers, she believes that a beautiful home is built on personal stories rather than massive budgets. When she isn't hunting for the perfect brass sconce at a local flea market, she can usually be found rearranging her living room for the third time this month.
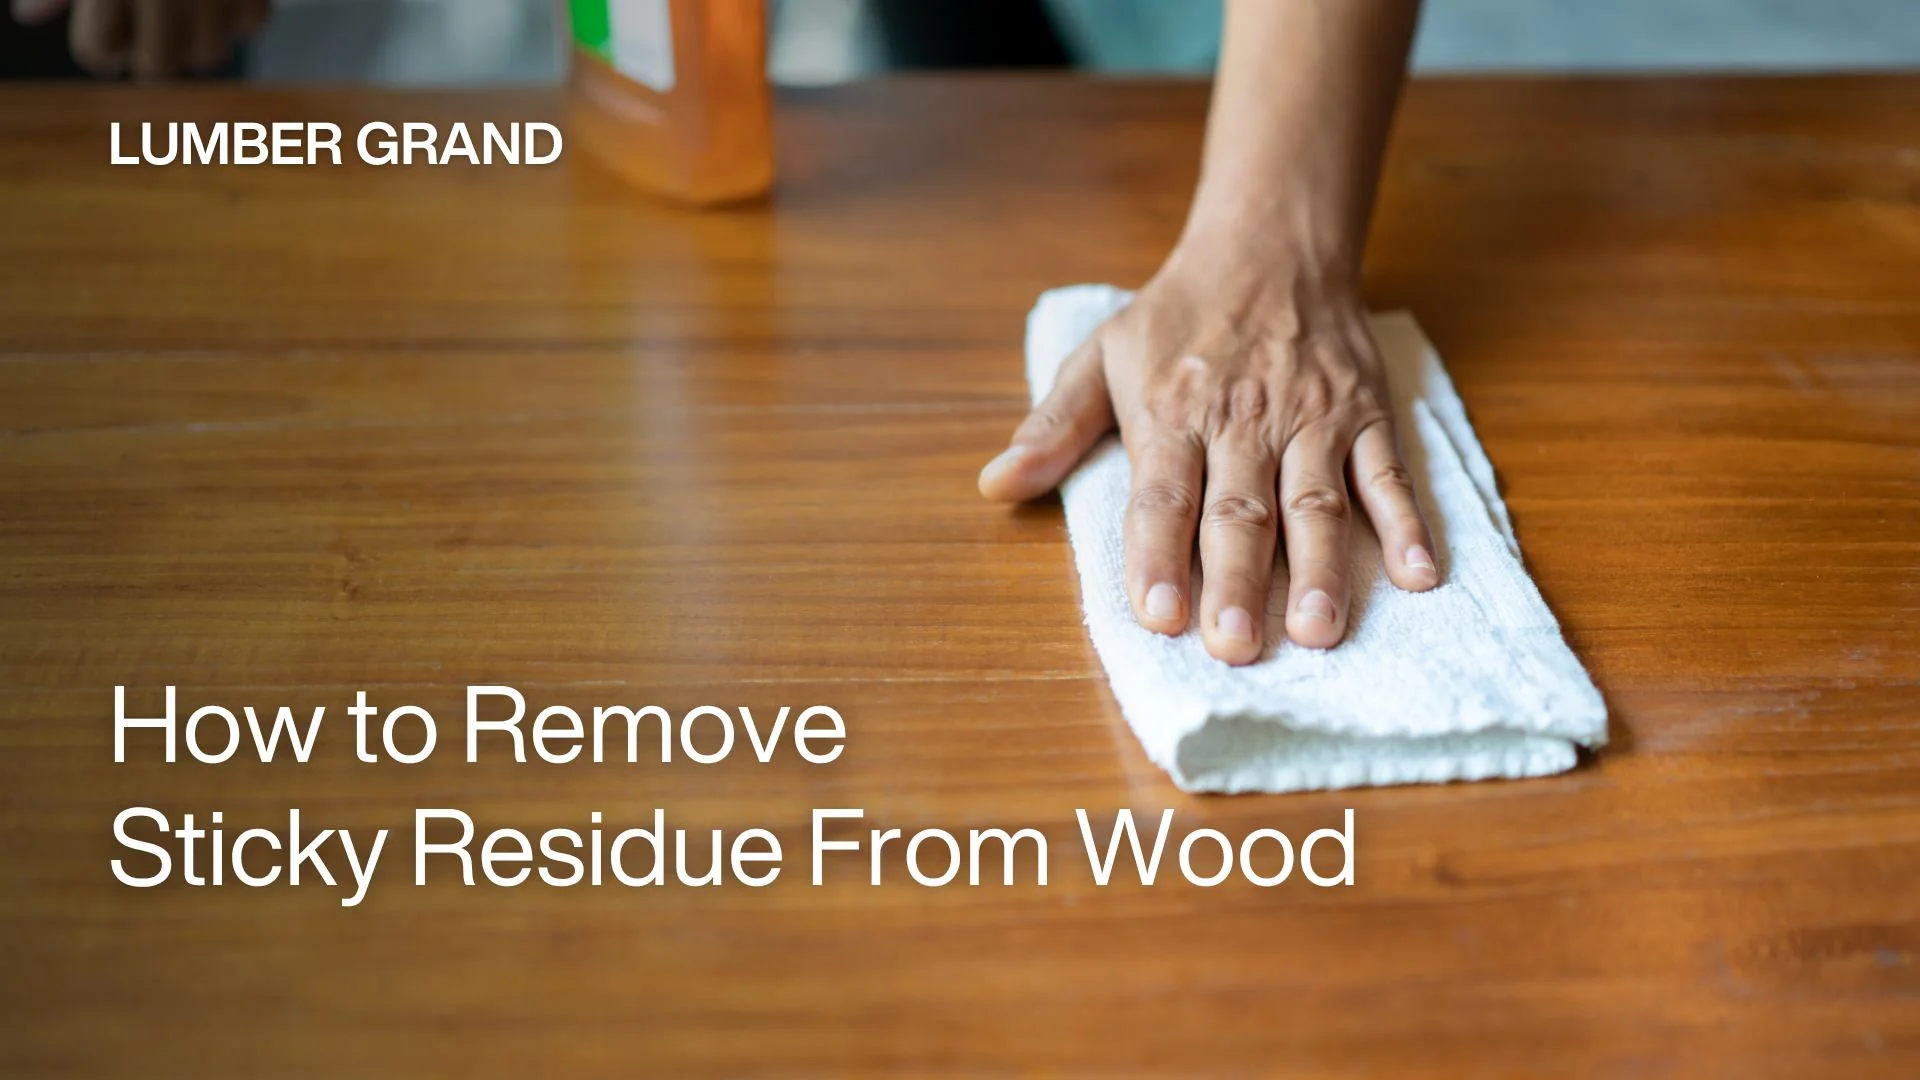
Sticker residue and nail polish are the kind of tiny disaster that can make you question every life choice that led to owning a coffee table. The good news is that most finished wood surfaces (sealed with a clear coat like polyurethane, lacquer, or shellac) can be saved without sanding, stripping, or spiraling. Raw or unsealed wood and veneer edges are a different story because they can soak up liquids and stain easily.
This is your gentle, finish-respecting roadmap: test first, use safe mechanical help, then climb a solvent ladder from mild to stronger only as needed. And if you end up with a little dull patch or haze, you can buff it back to lovely.
Before you start: know your finish
Different finishes react differently to solvents. Most modern furniture is protected by a durable clear coat (often polyurethane). Many vintage pieces, though, might have shellac or lacquer, which can soften quickly with alcohol or stronger solvents.
Quick finish clues
- Polyurethane or varnish (common on newer pieces): Usually tough, water resistant, and slower to react to mild cleaners.
- Shellac (common on older furniture): Can get tacky or smudge if you rub with denatured alcohol or isopropyl alcohol.
- Lacquer (mid-century and some vintage): Can soften with lacquer thinner and sometimes gets cloudy (blush) with moisture or aggressive rubbing.
- Wax-only or oil finishes: Tend to look more matte and "in the wood," and can show darkening if liquids carry colorants into the grain.
Always do a hidden spot test
Choose the underside of a tabletop lip, a back corner, or the inside of a leg. Use a cotton swab with the product you plan to use. Lightly rub for 5 to 10 seconds and wait a full minute.
- If the swab picks up color, the finish is dissolving or the stain is lifting. Stop and choose a gentler method.
- If the surface gets sticky, smeary, or suddenly dull, stop and reassess.
If the finish is unknown and the piece is valuable: default to gentle scraping plus warm soapy water, then stop and call a pro if it is not improving.
What to gather
- Microfiber cloths or soft cotton rags
- Plastic scraper or old gift card (no metal)
- Warm water + a drop of dish soap
- Mineral oil or baby oil (for sticker residue only, not nail polish)
- Olive oil (only if that is all you have, then clean it off well)
- Goo remover (citrus-based) or mineral spirits
- Optional: naphtha (lighter fluid) for some adhesives (spot test)
- Isopropyl alcohol (70% or 91%)
- Acetone or acetone-based nail polish remover (use carefully)
- Cotton swabs and cotton pads
- Painter’s tape (for masking edges)
- Furniture wax or a quality furniture polish
- Optional: synthetic 0000-style finishing pad (preferred over steel wool)
- If you do use 0000 steel wool: a magnet or vacuum to pick up fine shards
Safety notes: Open a window. Many solvents are flammable. Keep them away from flames, pilot lights, and heat sources. Wear nitrile gloves to avoid prolonged skin contact.
Rag disposal: Solvent soaked rags can be a fire risk. Lay them flat to dry outdoors (away from buildings), then dispose per your local guidance.
Mechanical first: scrape safely
When you can lift the mess physically, you need less chemical help, which is almost always kinder to the finish.
For sticker residue and adhesive blobs
- Warm the area slightly with your hand or a warm (not hot) cloth for 20 to 30 seconds.
- Hold a plastic card nearly flat and gently "shave" the residue from the surface.
- Work from the outside in so you do not smear it into clean wood.
Skip heat tools on unknown finishes: Hair dryers and heat guns can soften, print, or wrinkle some finishes fast.
Safer for: Polyurethane and varnish finishes. Still okay for: Shellac and lacquer if you are gentle and avoid aggressive pressure.

Sticker residue: solvent ladder
Think of this like skincare for furniture. Start with the mildest option that works, then step up only if needed. Adhesives vary a lot, so stay flexible.
Step 1: Warm soapy water
Dampen a cloth with warm water and a drop of dish soap. Wipe the residue gently, then wipe again with plain water and dry immediately.
- Best for: Fresh stickers, light tackiness, and surfaces you suspect are delicate.
- Watch out: Do not soak seams or veneer edges. Water can creep in and swell veneer.
Step 2: A tiny bit of oil (adhesive only)
Put a drop of mineral oil or baby oil on a cloth, rub the sticky area lightly, then wipe clean with a fresh cloth. Follow with a small amount of soapy water to remove leftover oil, then wipe with clean water and dry.
- Best for: Gummy, rubbery adhesive that laughs at soap.
- Olive oil note: It can work in a pinch, but it can leave more residue and may oxidize over time. If you use it, clean it off thoroughly and do not leave an oily film behind.
- Avoid if: The residue sits near raw, unsealed edges where oil could darken wood.
Step 3: Citrus adhesive remover (spot only)
Apply the remover to a cloth or cotton pad, not directly to the furniture. Hold it on the residue for 15 to 30 seconds, then wipe and scrape gently with a plastic card. Repeat as needed rather than soaking the surface.
- Best for: Older, stubborn sticker goo.
- Watch out: Some citrus solvents can soften certain finishes if left too long. Keep it moving and keep it local.
Step 4: Mineral spirits (often the sweet spot)
Mineral spirits can dissolve many pressure-sensitive adhesives without attacking cured polyurethane as aggressively as stronger solvents. Dampen a cloth, rub gently, then wipe with a clean cloth.
- Best for: Thick, aged residue, especially on modern durable finishes.
- Spot test first: Especially on vintage lacquer or shellac.
Optional step: Naphtha (spot test)
Some adhesives respond better to naphtha than mineral spirits. Use it the same way: small amount on a cloth, quick passes, and stop if the finish changes.
After any solvent step: Do a quick final wipe with a clean cloth lightly dampened with water (not wet), then dry. This helps remove leftover solvent or remover residue before you wax or polish.
When to stop: The moment you feel the finish dragging, getting tacky, or turning dull in a way that looks like it is dissolving rather than simply dirty.
Nail polish: remove calmly
Nail polish is different from sticker residue. It is a film that hardens, and the pigments can stain if you spread them around. The goal is to soften the polish just enough to lift it, while keeping solvent contact brief and controlled.
First: do not smear
- If the polish is still wet, blot gently. Do not wipe.
- If it is dry, lightly scrape the thickest ridge with a plastic card to reduce how much solvent you need.
Option A: Isopropyl alcohol (only for light transfer)
Spot test. Isopropyl alcohol is usually not strong enough for fully cured nail polish, but it may help with a fresh smudge, light transfer, or thin residue on tougher finishes. Dampen a cotton swab and roll it over the polish edge, lifting color onto the swab. Swap swabs frequently so you are not re-depositing pigment.
- Avoid on shellac: Alcohol can dissolve shellac quickly.
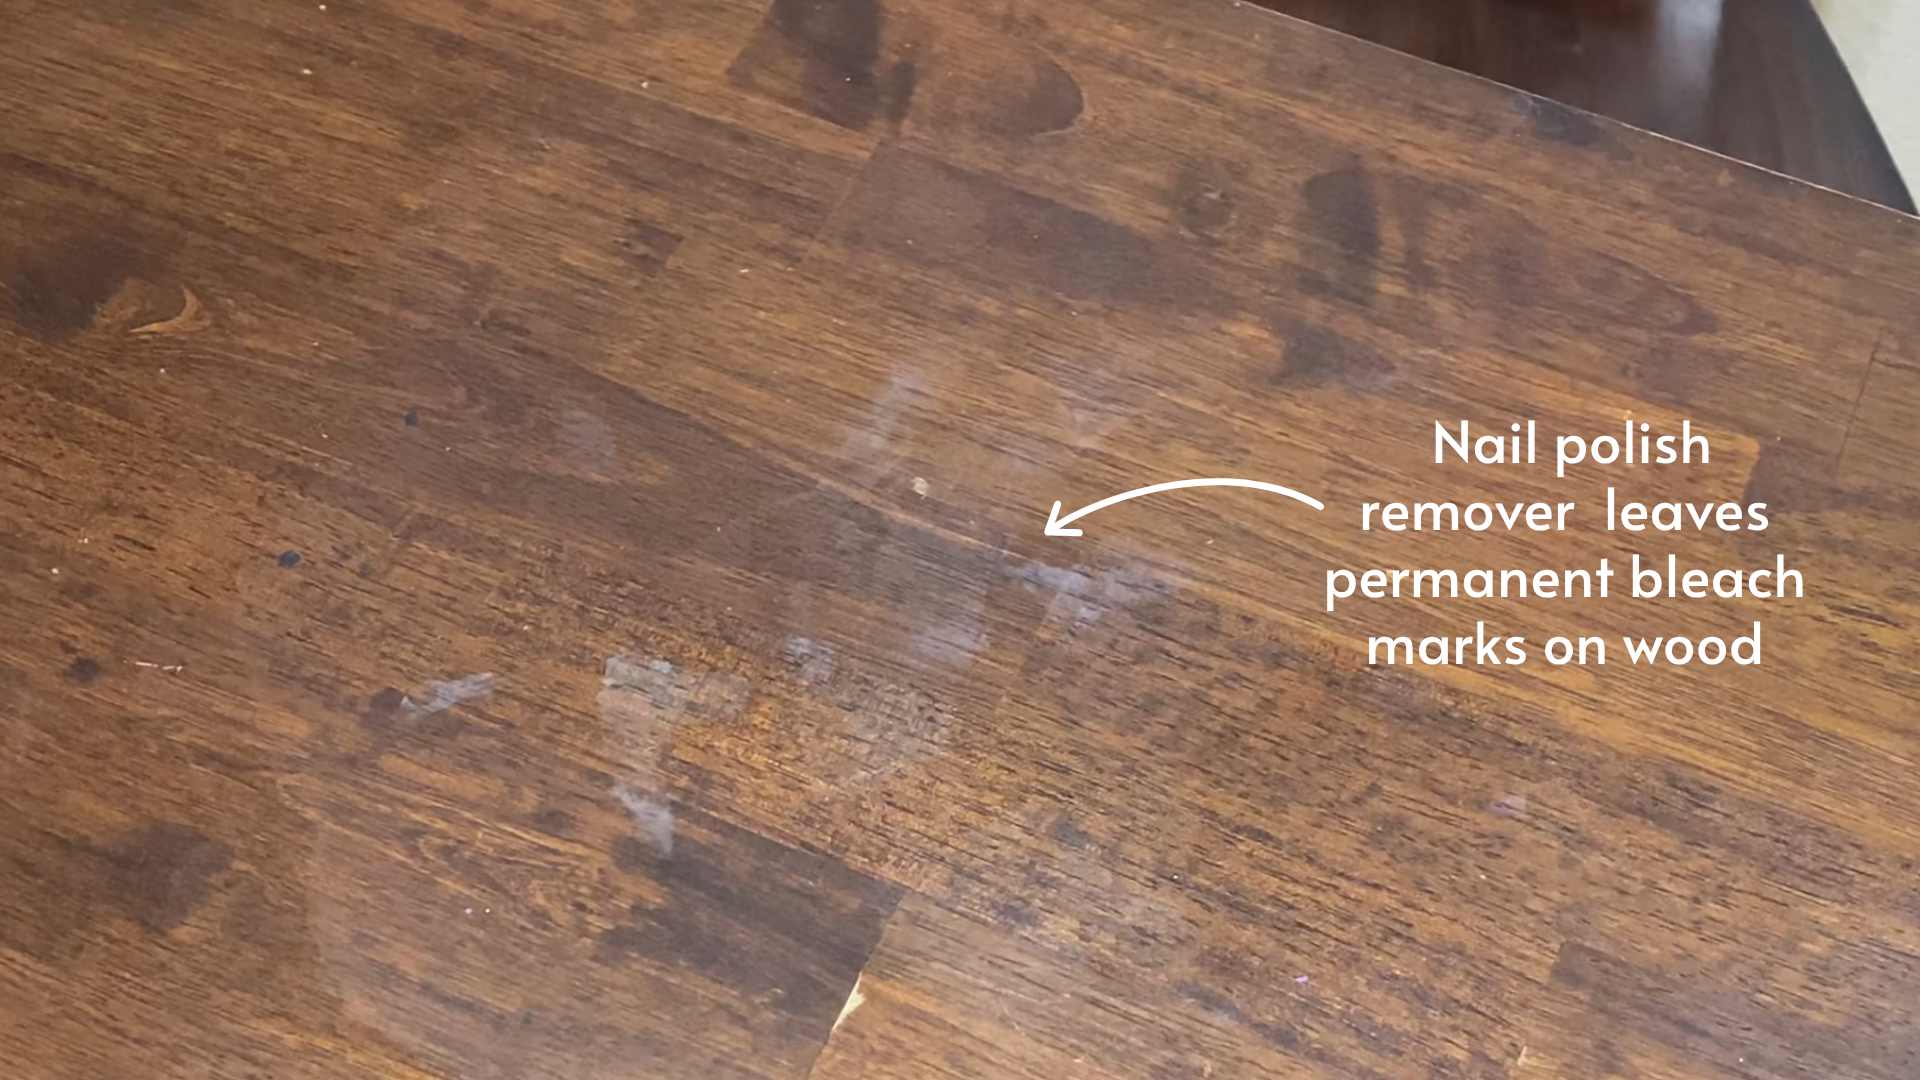
Option B: Acetone (use like a precision tool)
Acetone is often the most effective for nail polish, and also the most likely to affect certain finishes. If your spot test is good, use a cotton swab or a folded cotton pad and work from the outside toward the center of the polish spot.
- Technique: Dab, pause, lift. Do not flood the area. Keep contact short.
- Protect edges: Use painter’s tape to mask nearby raw edges, veneer seams, or inlay lines.
- Swap often: A fresh swab prevents colored streaks.
Remover confusion to avoid: "Acetone-free" remover is still a solvent (often ethyl acetate) and can still affect finishes. Also skip tinted removers, glitter removers, or formulas with lots of conditioners or dyes. Plain and simple is safest.
If the finish softens: Stop immediately. Let the area dry completely. At that point, a light refinish touch-up may be safer than continuing with solvents.
Why the finish matters
This is the part that saves finishes.
Polyurethane and modern varnish
Generally the most forgiving. Plastic scraping, mineral spirits, and careful acetone use are often tolerated, especially on fully cured surfaces.
Shellac
Alcohol is the classic shellac solvent. That means rubbing alcohol can damage it fast. If you suspect shellac, lean toward mechanical removal, warm soapy water, and very short contact time with mild options. Spot testing is non-negotiable.
Lacquer
Lacquer can be sensitive to a range of solvents. It can also blush or haze if moisture or chemicals get trapped. Work quickly, keep products minimal, and plan to buff out haze afterward if needed.
Fix haze or dull spots
Even when you do everything right, you can end up with a slightly cloudy spot. That is usually a surface issue, not a ruined furniture issue.
Step 1: Let it dry
Give it at least a few hours, ideally overnight. Solvent evaporation can change the look as it finishes flashing off.
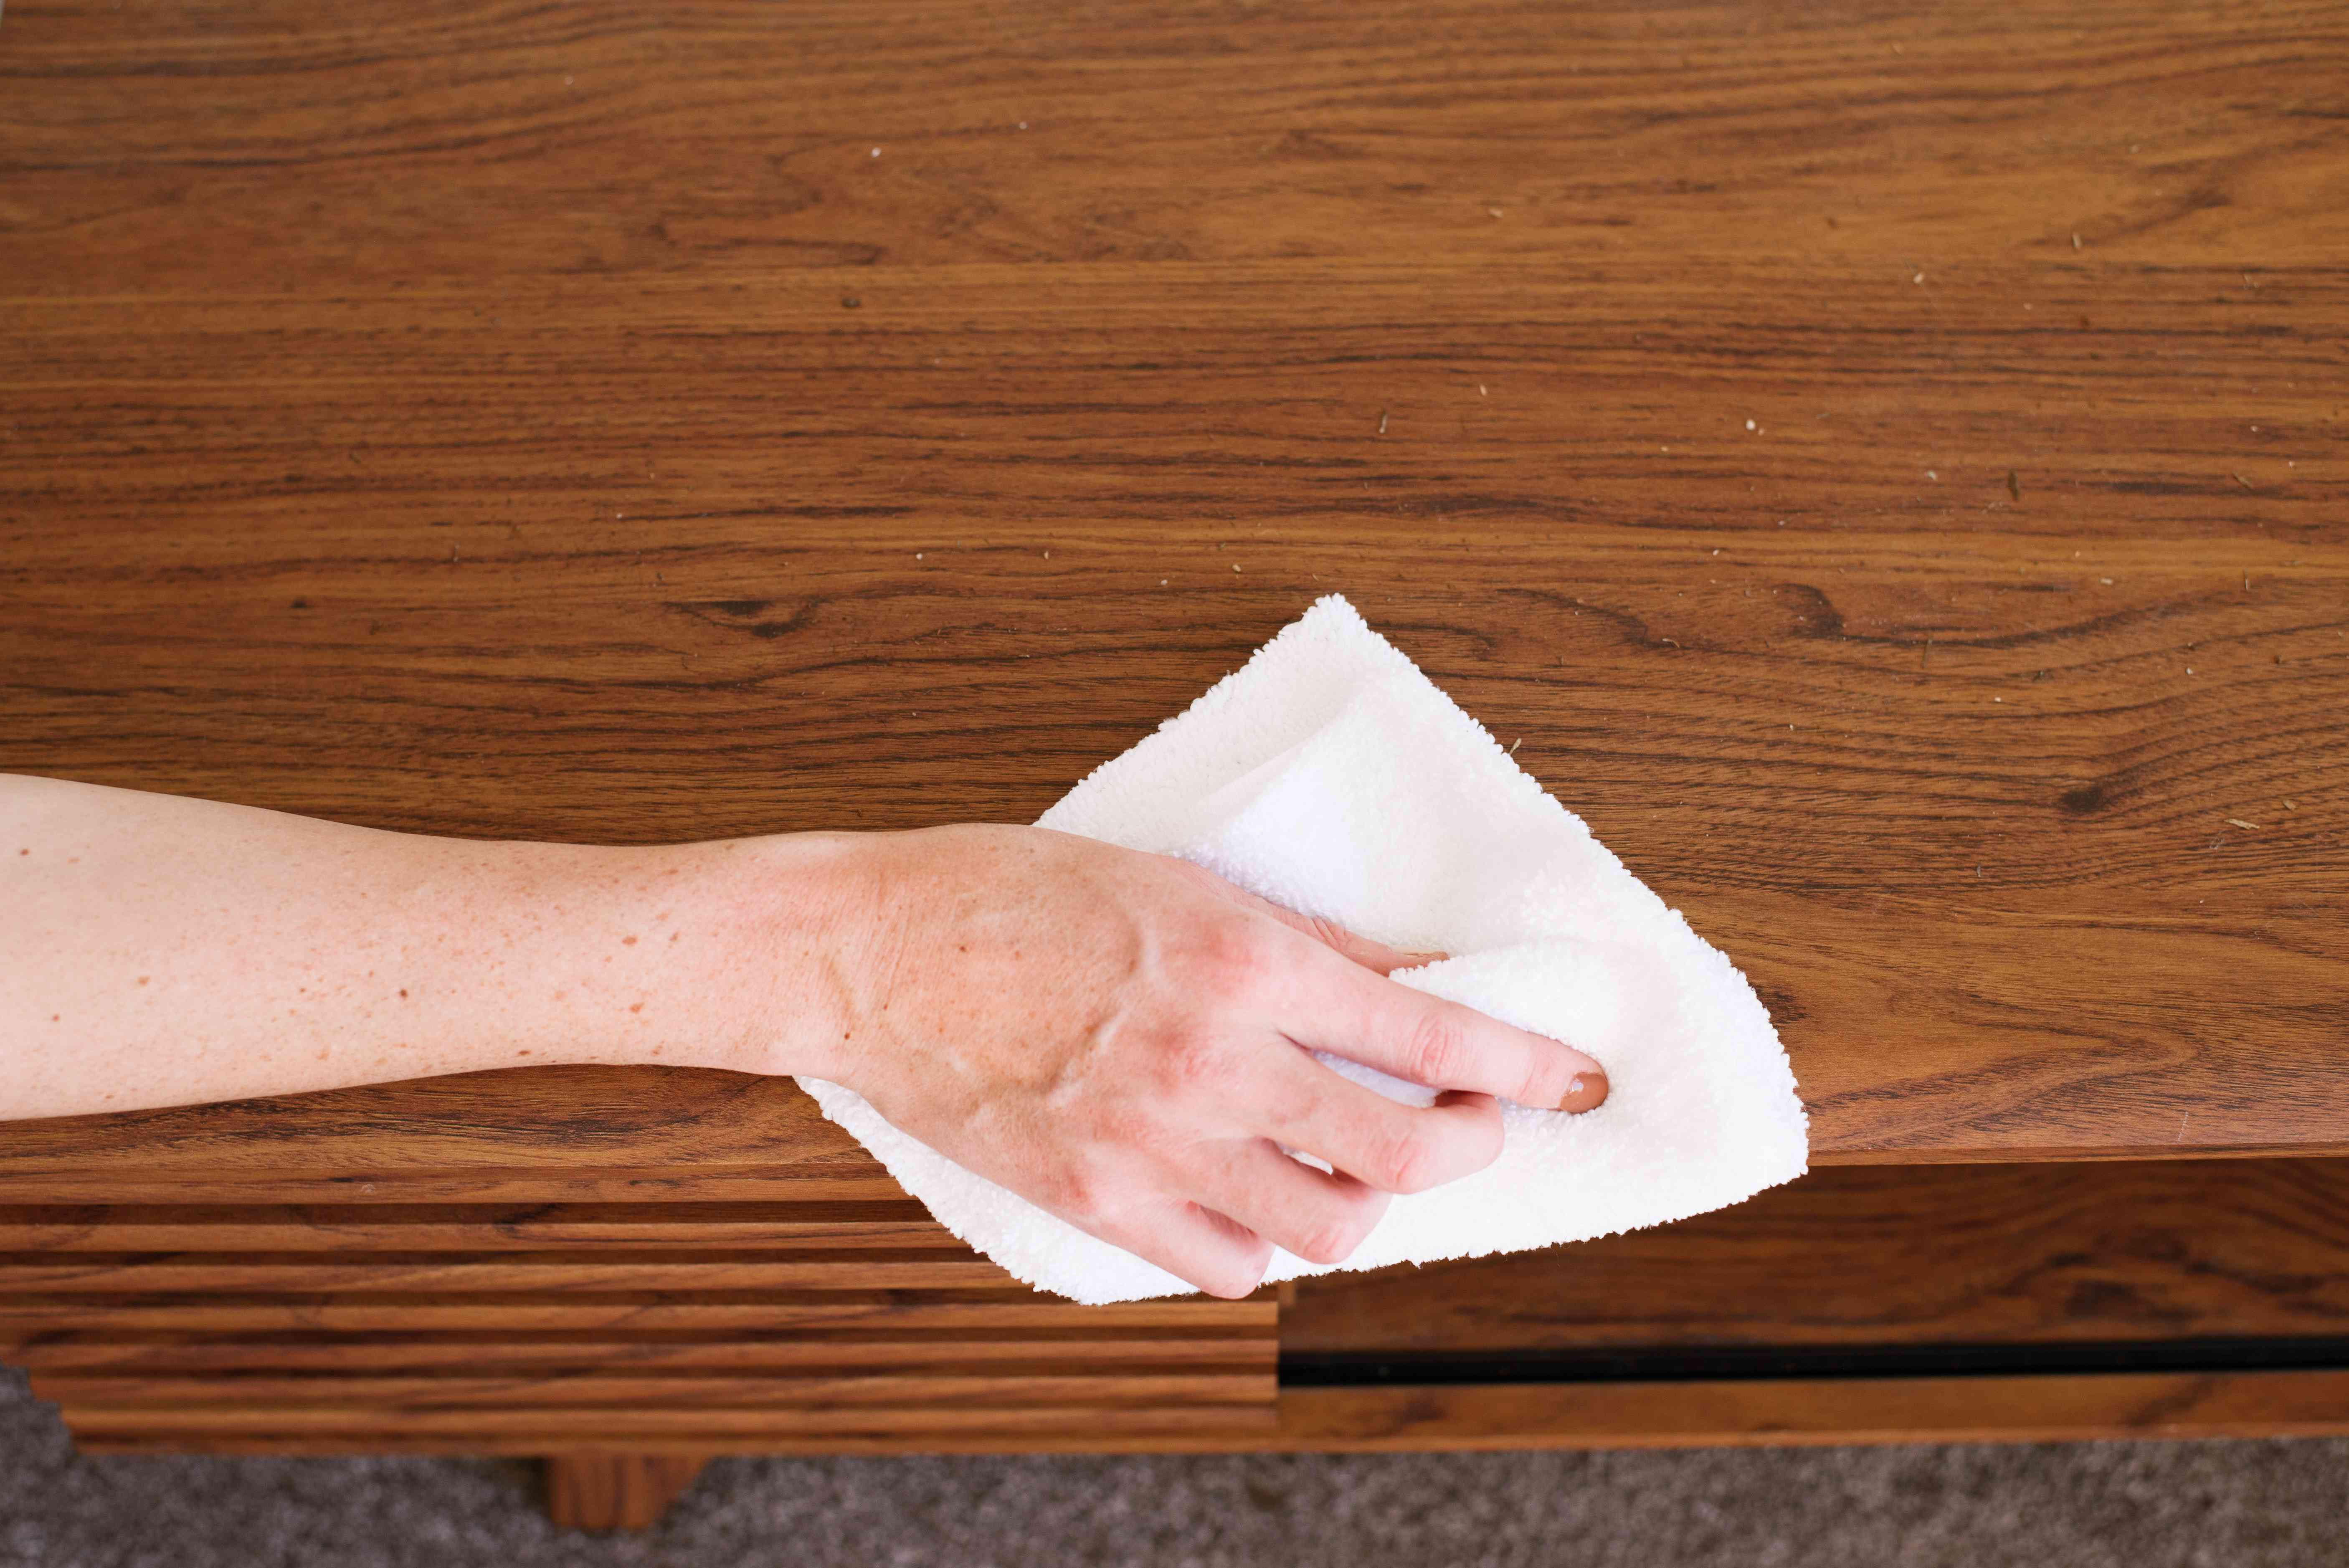
Step 2: Buff with a soft cloth
Use a clean microfiber cloth and buff in small circles, then with the grain. Sometimes the haze is just micro-residue.
Step 3: Add a tiny bit of wax or polish
Use a small amount of furniture wax or a quality polish, then buff. This helps restore sheen and makes the spot blend.
- For high-gloss pieces: A gloss-friendly polish can help, but go easy. Too much product creates streaks.
- For matte pieces: Choose a wax that dries down softly rather than a shiny silicone-heavy spray.
If the spot looks etched
If the surface looks slightly rough, permanently dull, or the sheen will not return, the finish may be chemically etched. At that point, a light polish designed for finished wood or a professional touch-up is the safer next step than escalating solvents.
Common mistakes to avoid
- Spraying solvents directly on the furniture: It spreads the problem and can seep into seams and veneer edges.
- Using a metal razor blade: Even careful can leave tiny scratches that catch the light forever.
- Scrubbing hard: Finish damage often comes from friction, not just chemistry.
- Letting remover sit without guidance: Follow the label dwell time, and do not leave it longer than necessary. When in doubt, shorter is safer and repeated passes beat soaking.
- Mixing products: Do not layer solvents without wiping clean in between.
- Trying to fix water rings at the same time: Different damage types need different approaches. Handle sticky residue and polish first, then assess what remains.
- Using steel wool casually: It can leave fine metal shards that rust and it can snag open-grain wood. A synthetic 0000-style pad is usually a better choice.
If you remember one thing: keep your work small and controlled. Little dabs, quick lifts, fresh cloths. Furniture responds beautifully to patience.
When to call a pro
Some situations are better handled by a refinisher, especially if the piece is sentimental, valuable, or fragile.
- Antique veneer with lifting edges or cracks near the damage
- Shellac or lacquer finishes that get sticky during spot testing
- Bright colored nail polish that appears to have stained into the wood or into an open-grain finish
- Large spills across multiple boards, seams, or inlay
Quick cheat sheet
Sticker residue
- Plastic card scrape
- Warm soapy water
- Mineral oil or baby oil (tiny amount) for adhesive only
- Citrus remover (spot)
- Mineral spirits (spot)
- Naphtha (spot, optional)
Nail polish
- Blot if wet, do not smear
- Plastic card scrape if thick and dry
- Isopropyl alcohol for light transfer only (spot test, avoid shellac)
- Acetone with cotton swab, very controlled
- Final wipe with damp cloth, then dry
- Buff and re-sheen with wax or polish