Remove Slime, Silly Putty, and Wax From a Couch
Clara Townsend
Clara Townsend is an interior stylist, vintage furniture enthusiast, and the creative voice behind Velvet Abode. With over a decade of experience transforming both cramped city apartments and sprawling fixer-uppers, she believes that a beautiful home is built on personal stories rather than massive budgets. When she isn't hunting for the perfect brass sconce at a local flea market, she can usually be found rearranging her living room for the third time this month.
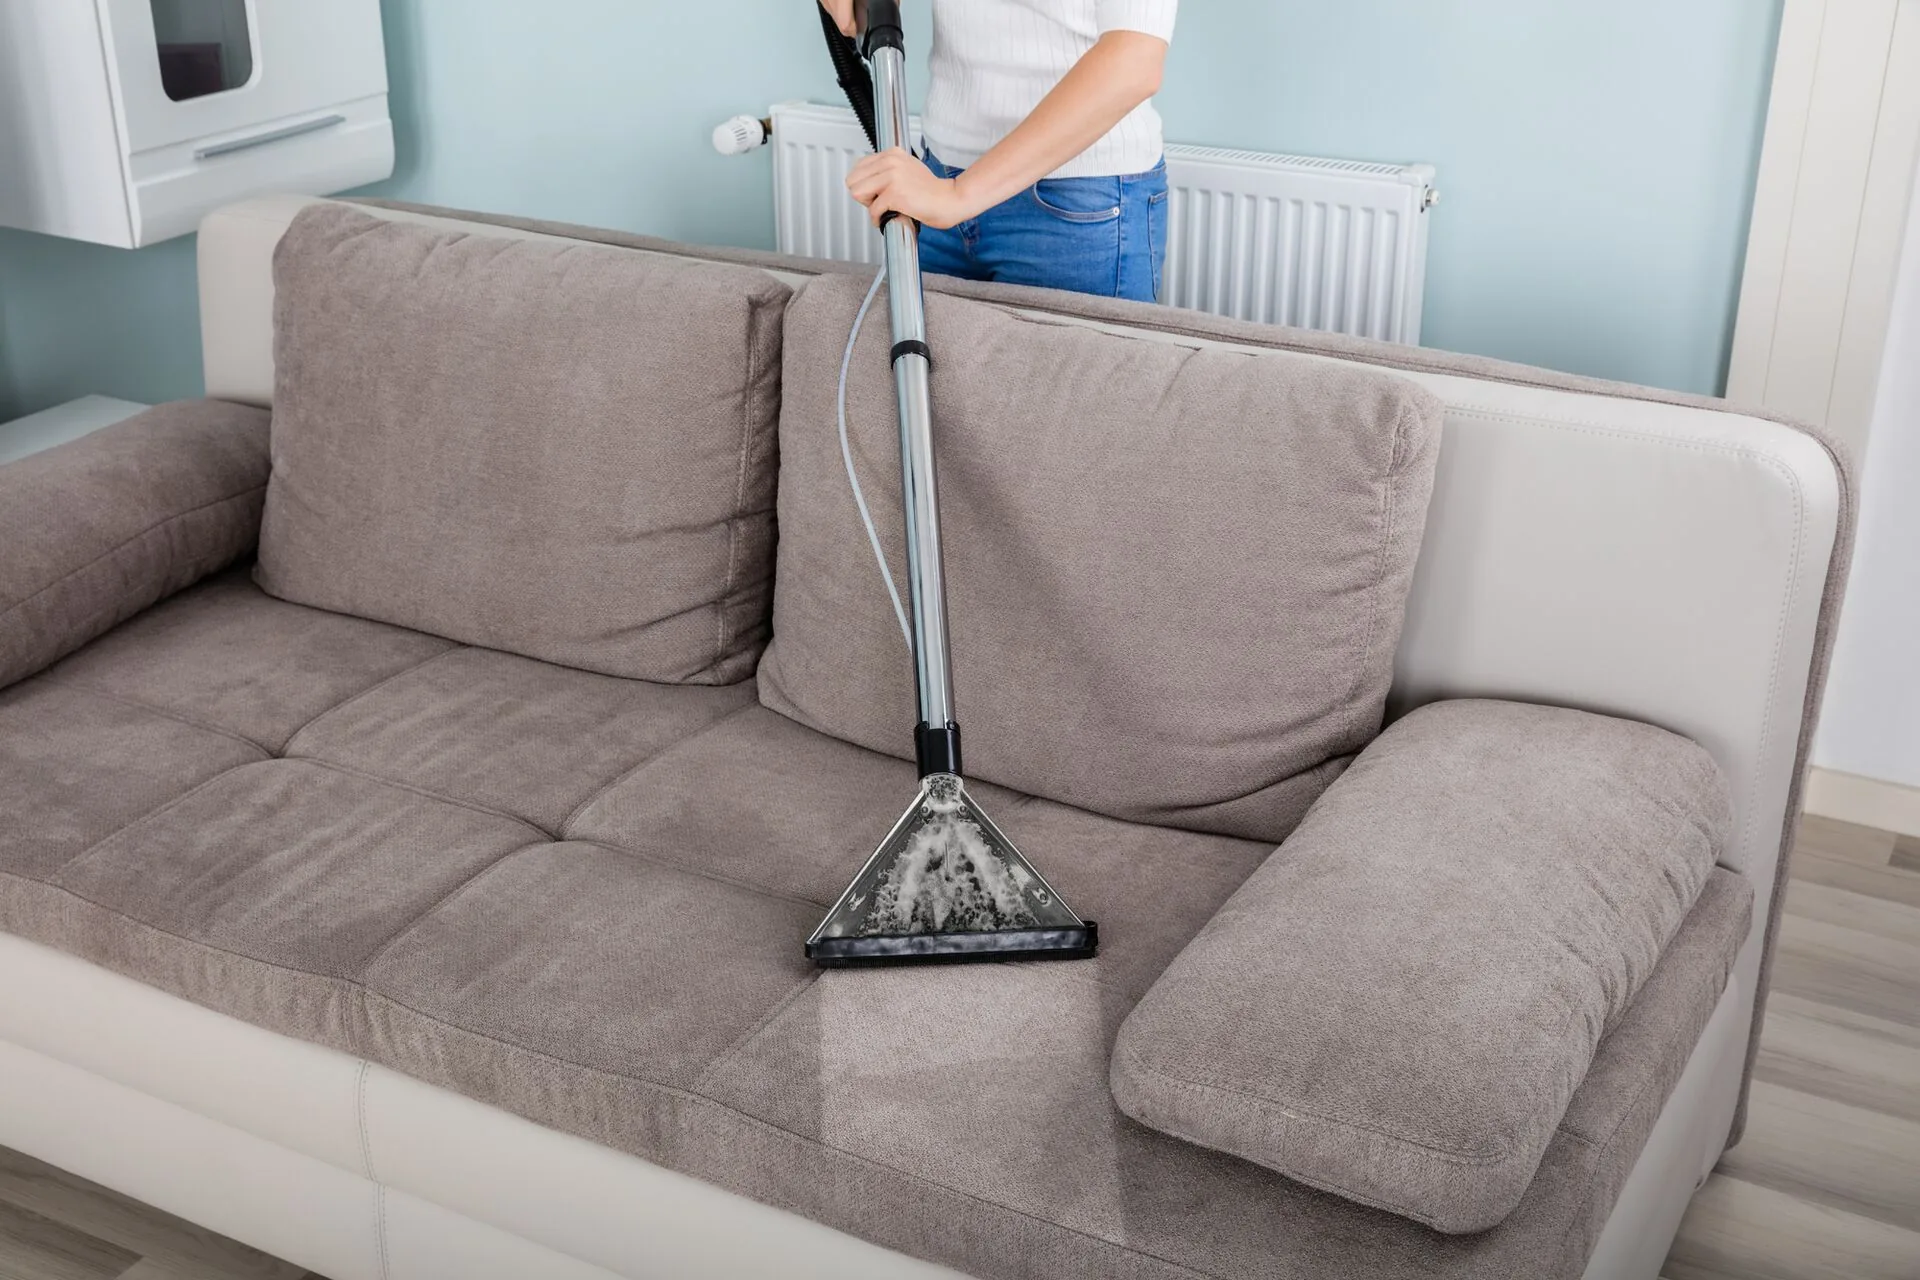
If you have ever watched a tiny hand proudly present a “science experiment” of slime on your sofa cushion, you know the feeling. Your brain screams don’t rub, but your instincts go straight to panic-wiping. The secret to saving upholstery is simple: stop the spread first, then remove what’s sitting on top, and only then tackle what soaked in.
This guide walks you through two core approaches that work for most squishy culprits: chill-harden (cool it so it lifts off) and warm-lift (soften it so it transfers up). We will match the method to slime, Silly Putty, and wax, with fabric-specific cautions so you do not trade one stain for three.
First rule: don’t smear
Before you do anything else, take 10 seconds to set yourself up for success.
- Do not rub or scrub when the material is soft. That pushes it deeper into the weave.
- Pick up chunks with your fingers or a dry paper towel, lifting straight up.
- Work from the outside in so the spot does not grow.
- Blot, don’t wipe anytime liquid is involved.
- Ventilate if you plan to use any solvent (open a window, turn on a fan).
Know your fabric
If you still have the tag on your sofa, check the upholstery cleaning code. It is usually under a seat cushion or on the frame.
- W: Water-based cleaners are generally safe.
- S: Solvent-based cleaners only. Avoid water.
- WS: Water or solvent, with care.
- X: Vacuum only. No liquids. Call a pro for stains.
One important caveat: always follow the manufacturer tag and instructions first. Codes and wording can vary by brand (you might see variations like “SW”).
Patch test every product (even “gentle” ones). Dab a tiny amount in a hidden area, wait 10 to 15 minutes, then blot with a white cloth to check for dye transfer or a ring.
Your toolkit
You do not need fancy gear. You need the right kind of simple.
- Plastic scraper or an old gift card (safe on most weaves)
- Spoon (great for lifting without snagging loops)
- Ice pack or a zip bag of ice wrapped in a thin towel
- White cotton cloths or paper towels (white helps you see transfer)
- Dish soap (clear, grease-cutting, no lotion additives)
- White vinegar (for many classic glue-and-activator slimes)
- Isopropyl alcohol (70% is often enough; use with caution)
- Vacuum with upholstery attachment
- Brown kraft paper or plain paper bags (for wax transfer)
- Fan (optional, but very helpful for drying evenly)
Avoid: metal knives (they can cut fibers), colored towels (dye transfer), aggressive scrubbing brushes (they fuzz upholstery fast), and strong chemicals like acetone/nail polish remover, bleach, or heavy degreasers unless the manufacturer or a professional specifically recommends them.
Strategy 1: chill-harden
Chilling turns goo into something you can lift more cleanly. It is a great first move for slime and Silly Putty because it helps you remove the bulk without spreading it. Some very wet or extra-sticky slimes may still leave residue, so think of this as “remove the mass,” not “solve everything in one step.”
How to do it
- Scoop excess with a spoon, lifting up and away.
- Apply cold: place an ice pack or bag of ice (wrapped in a thin towel) on the spot for 5 to 10 minutes.
- Scrape gently with a plastic scraper or gift card. Use short strokes and lift the edge as it releases.
- Vacuum bits so you do not grind them in later. This step is especially helpful if the slime has glitter, confetti, or foam beads.
When chilling is not enough: If color, stickiness, or a greasy-looking halo remains, switch to a targeted cleaner for the fabric type.
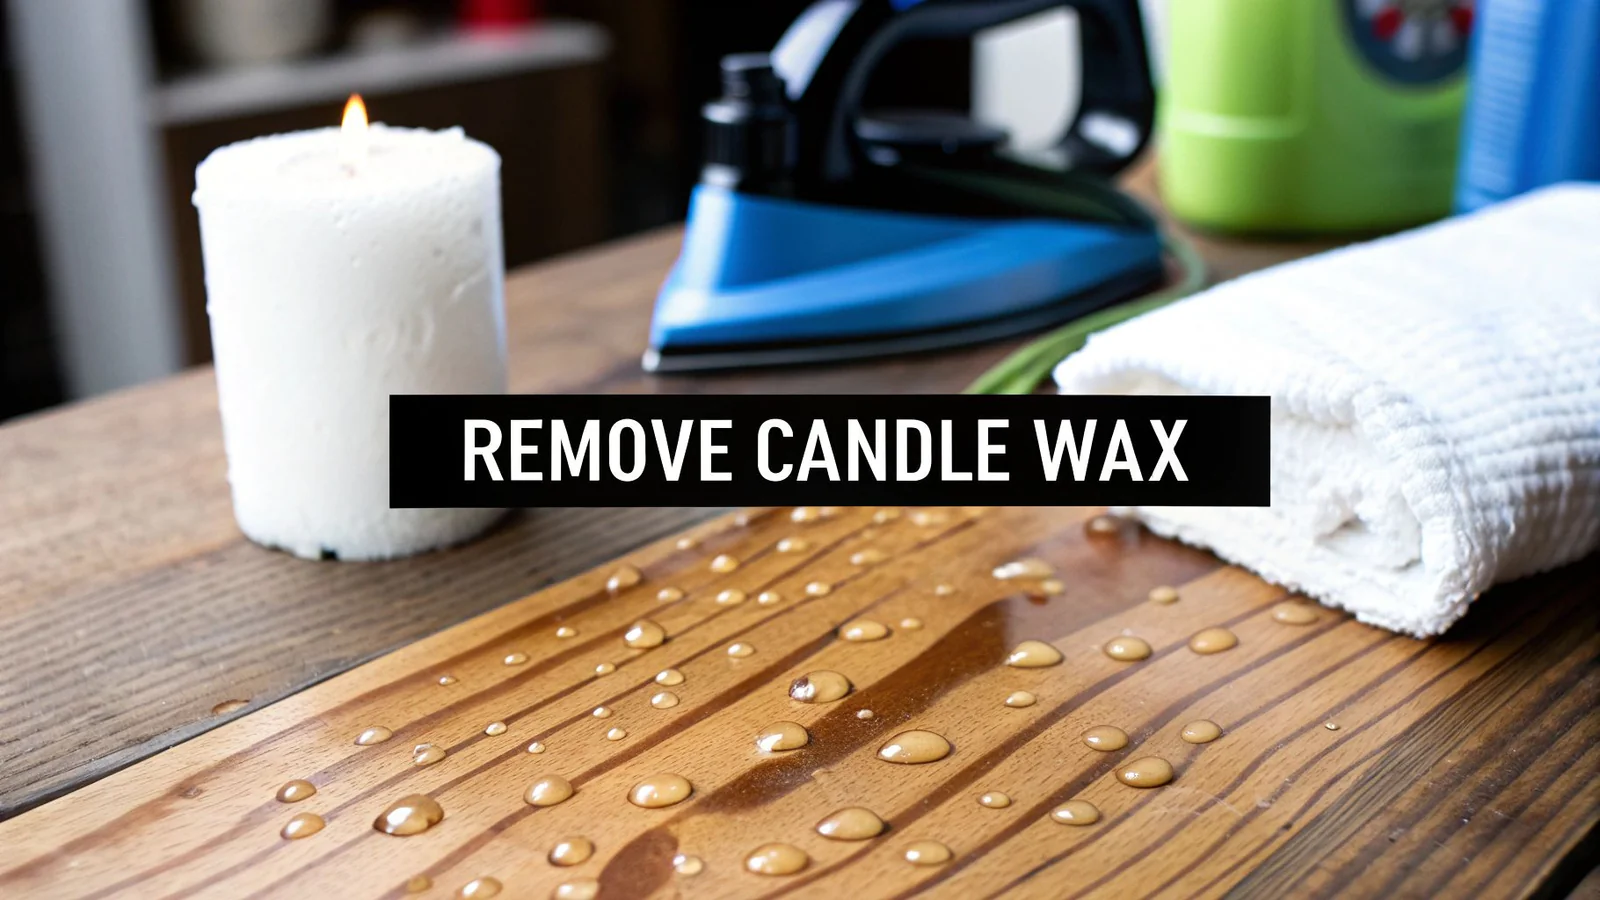
Strategy 2: warm-lift
Wax is the opposite of slime. Cold can pop off the top, but gentle warmth is what pulls remaining wax out of the fibers.
How to do it safely
- Harden first: place ice on the wax for a few minutes, then snap off what you can with a spoon.
- Lay paper over the spot: brown kraft paper or a plain paper bag. Avoid printed paper, which can transfer ink.
- Use low heat: set an iron to low/no steam, or use a hair dryer on low. Lightly press the iron over the paper for 2 to 3 seconds at a time, or warm with the dryer from a few inches away.
- Swap paper often: you should see wax transferring into the paper. Keep moving to a clean area until transfer stops.
Important: Keep heat modest. High heat can set some stains, melt certain synthetic fibers, or leave a shiny “scorch” on velvet-like fabrics.
By stain type
Slime on the couch
Most slime is water-based glue plus activator (often borax), dye, and sometimes glitter. The big risk is rubbing dye or glue deeper into the fabric.
- Step 1: Chill-harden and lift off as much as possible.
- Step 2 (for classic slime on W or WS fabrics): Mix equal parts white vinegar and cool water. Lightly dampen a white cloth and blot (do not soak). Vinegar is often the “magic bullet” that helps break down the glue-and-activator bond.
- Step 3: Follow with a few drops of clear dish soap in a cup of cool water. Blot to lift remaining residue.
- Step 4: Rinse by blotting with a cloth dampened with plain cool water.
- Step 5: Press dry with towels. Let it air dry fully, and use a fan to speed drying and reduce the chance of water rings.
If dye remains: Stop before you spread it. A professional cleaner can often treat dyes with fabric-safe agents that are not great for DIY guessing.
Silly Putty on the couch
Silly Putty is silicone-based and can leave an oily-feeling residue. Chilling helps, but you may need a careful solvent step for the last film.
- Step 1: Chill-harden, lift, and vacuum crumbs.
- Step 2: For a greasy residue, use a tiny amount of isopropyl alcohol on a white cloth, then blot. Do not pour directly on the fabric.
- Step 3: Follow with a small amount of dish soap and cool water on W or WS fabrics to remove lingering residue, then blot-rinse.
- Step 4: Press dry with towels and let it dry evenly (a fan helps).
Fabric caution: Alcohol is often used on S-code microfiber, but dyes and finishes vary, so patch test and use the smallest amount that does the job. If you do not know what the “solvent” should be for your specific upholstery, pausing and calling a cleaner can save you from a pale spot.
Wax on the couch
Wax is simple until dye gets involved. Clear wax is usually straightforward. Colored candle wax can leave pigment behind after the wax is gone.
- Step 1: Freeze and pop off excess.
- Step 2: Warm-lift with paper and low heat until no more wax transfers.
- Step 3: If there is a faint oily halo, blot with a tiny amount of dish soap solution on W or WS fabrics.
- Step 4: Press dry and air dry fully.
Colored wax shadow: Once the wax is out, treat any remaining color like a dye stain. Continued heat can sometimes worsen discoloration or texture issues, so switch to gentle, fabric-appropriate cleaning instead of more ironing.
Solvent cautions
The internet loves a one-size-fits-all hack. Upholstery does not. Here is a safer, reality-based guide.
Microfiber (often S or WS)
- Chilling and gentle scraping usually works well.
- Alcohol can be effective and is commonly used on some S-code microfiber, but it can also leave a ring if you overwet one spot. Patch test, use minimal product, and blot evenly.
- Brush the nap gently once dry to restore texture.
Cotton and cotton blends (often W or WS)
- Water-based blotting is usually safe, but do not overwet. That is how rings happen.
- Watch for dye transfer during patch tests, especially on dark or saturated colors.
Linen and linen blends
- Blot gently and keep moisture controlled. Linen can watermark.
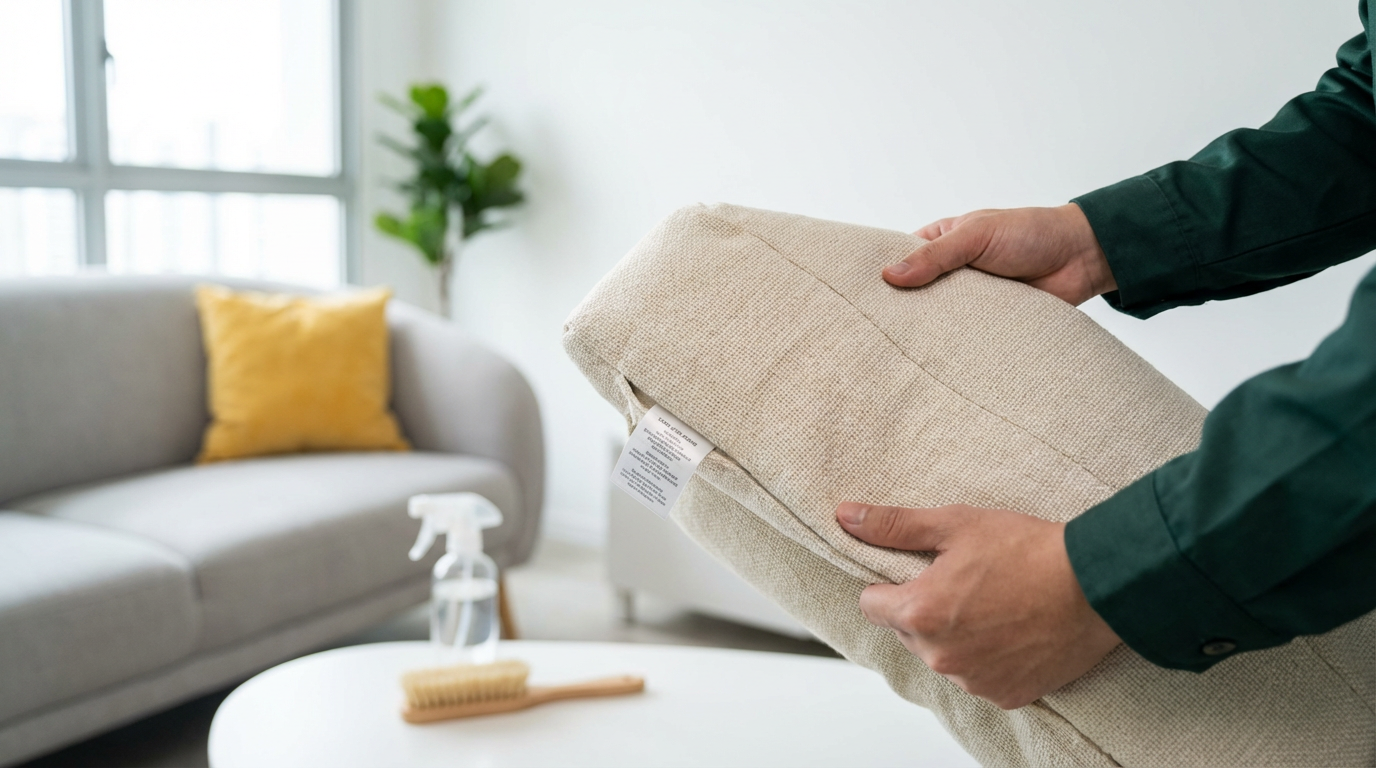
- If the cushion cover is removable, check if it is washable. Many “linen look” covers are dry clean only.
Velvet (cotton velvet, synthetic velvet, performance velvet)
- Heat can crush or shine the pile. Prefer chilling for removal and minimal moisture for residue.
- Blot with the nap, not against it.
- If you see a texture change, stop. A pro can sometimes steam and brush it back.
Wool and silk blends
- These are “call a pro early” fabrics. They can shrink, distort, or discolor quickly.
- If you must act, do only dry lifting or chilling to remove bulk, then stop.
Leather and faux leather
- Slime and putty: lift gently, then wipe with a slightly damp cloth and a tiny bit of mild soap.
- Wax: let it harden and flake off, then wipe with a leather-safe cleaner. Avoid high heat.
Patch testing
I know it feels like an annoying extra step. But patch testing is how you avoid turning a blob of slime into a bleached polka dot.
- Choose a hidden area (back hem, under cushion).
- Apply a tiny amount of the product on a white cloth.
- Dab once, wait 10 to 15 minutes.
- Check for color lift onto the cloth, lightening, or a stiffened texture.
- If anything looks off, do not proceed.
When to call a pro
There is zero shame in tapping in a professional. In fact, it is often the most budget-friendly choice once you consider replacement cushions.
- The sofa is code X or the fabric is silk, wool, or a delicate velvet.
- The stain has dye (bright slime, colored wax) and you can still see a shadow after removing the bulk.
- You see dye transfer during blotting or patch testing.
- The cushion is down-filled and got soaked. Moisture can linger and cause odor or staining.
- You have already made a ring and the area looks larger than the original spot.
- Antique or sentimental upholstery where “good enough” is not good enough.
If you call, tell them exactly what it was (slime, putty, wax), whether you used alcohol, vinegar, or soap, and how much water touched the cushion. That helps them choose the right chemistry instead of guessing.
Prevent the sequel
I am not here to outlaw crafts. I am here to keep your home feeling like a comforting hug, even if you live with tiny chaos gremlins.
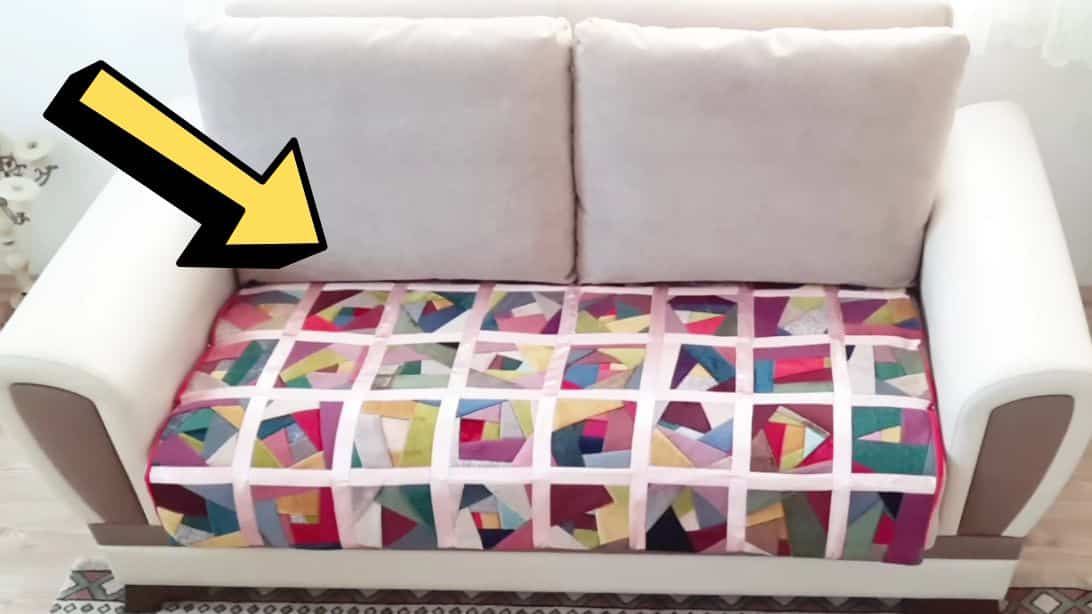
- Create a “mess mat”: a washable throw or old flat sheet that lives in a basket and comes out for slime, putty, and kinetic sand.
- Choose a designated cushion if you have a sectional. One seat becomes the craft spot.
- Keep an ice pack in the freezer labeled “stains.” Cold is your fastest, cleanest first move.
- Teach the pause: “Freeze it first” is a kid-friendly rule that actually works.
Quick cheat sheet
- Slime: Chill-harden → scrape → vinegar + water blot (W/WS, patch test) → cool soapy water blot → blot-rinse → press dry → air dry with a fan.
- Silly Putty: Chill-harden → scrape → minimal alcohol blot (patch test) → mild soap blot (W/WS) → rinse blot → dry evenly.
- Wax: Freeze → pop off → paper + low heat transfer → treat any remaining halo gently.
Check your cleaning tag, patch test first, and tackle that stain with calm confidence. Your couch can survive this.