Remove Shoe Scuffs and Heel Marks From Hardwood (Without Ruining the Finish)
Clara Townsend
Clara Townsend is an interior stylist, vintage furniture enthusiast, and the creative voice behind Velvet Abode. With over a decade of experience transforming both cramped city apartments and sprawling fixer-uppers, she believes that a beautiful home is built on personal stories rather than massive budgets. When she isn't hunting for the perfect brass sconce at a local flea market, she can usually be found rearranging her living room for the third time this month.
Shoe scuffs and heel marks are the house equivalent of a tiny bruise. Annoying, easy to notice in the right light, and usually fixable without drama if you go gently. The key is this: most “black marks” on hardwood are rubber or transferred pigment sitting on top of the finish, not damage to the wood itself. That means you want to remove the transfer, not scrub through your protective coat trying to chase it.
Quick note before anything: spot-test every method in an inconspicuous area first (closet corner, under a rug edge). Different finishes react differently, and older floors love surprises.
Before you start: finish ID in 60 seconds
You do not need to become a floor chemist, but finish type matters because the wrong product can haze, soften, or dull the surface.
- Most modern floors (1990s to now): polyurethane (water-based or oil-based). Durable and usually fine with a lightly damp microfiber and a pH-neutral wood floor cleaner.
- Older homes (especially pre-1970): could be shellac, varnish, or lacquer. Shellac is the most easily bothered by alcohol and standing moisture. Varnish is often tougher, and lacquer can react to some solvents even if alcohol is not the main issue.
The quick test (hidden spot)
- Put a small dab of denatured alcohol on a cotton swab.
- Touch it to the floor for 10 to 15 seconds.
- If it gets tacky or the finish comes off on the swab: that strongly suggests shellac (or another alcohol-sensitive finish). Avoid alcohol-based products and keep moisture very minimal.
- If nothing obvious happens: it is less likely to be shellac, but it still might not be polyurethane. Some varnishes, lacquers, and modern coatings can be fairly alcohol-resistant. When in doubt, stay conservative and spot-test.
If you are renting or unsure, assume “more delicate” and start with the dry steps first.
Scuff removal (gentle to stronger)
Work in this order. Stop as soon as the mark is gone. The goal is minimal friction, minimal moisture, minimal product.
Golden rules
- Work with the grain whenever you can.
- Keep pressure light and even.
- Do not let water or cleaner sit, especially near seams.
- Always finish by drying and a quick buff.
Step 1: Dry microfiber wipe
Sometimes the mark is loose transfer that lifts immediately. Use a clean, dry microfiber cloth and rub with light pressure along the grain.
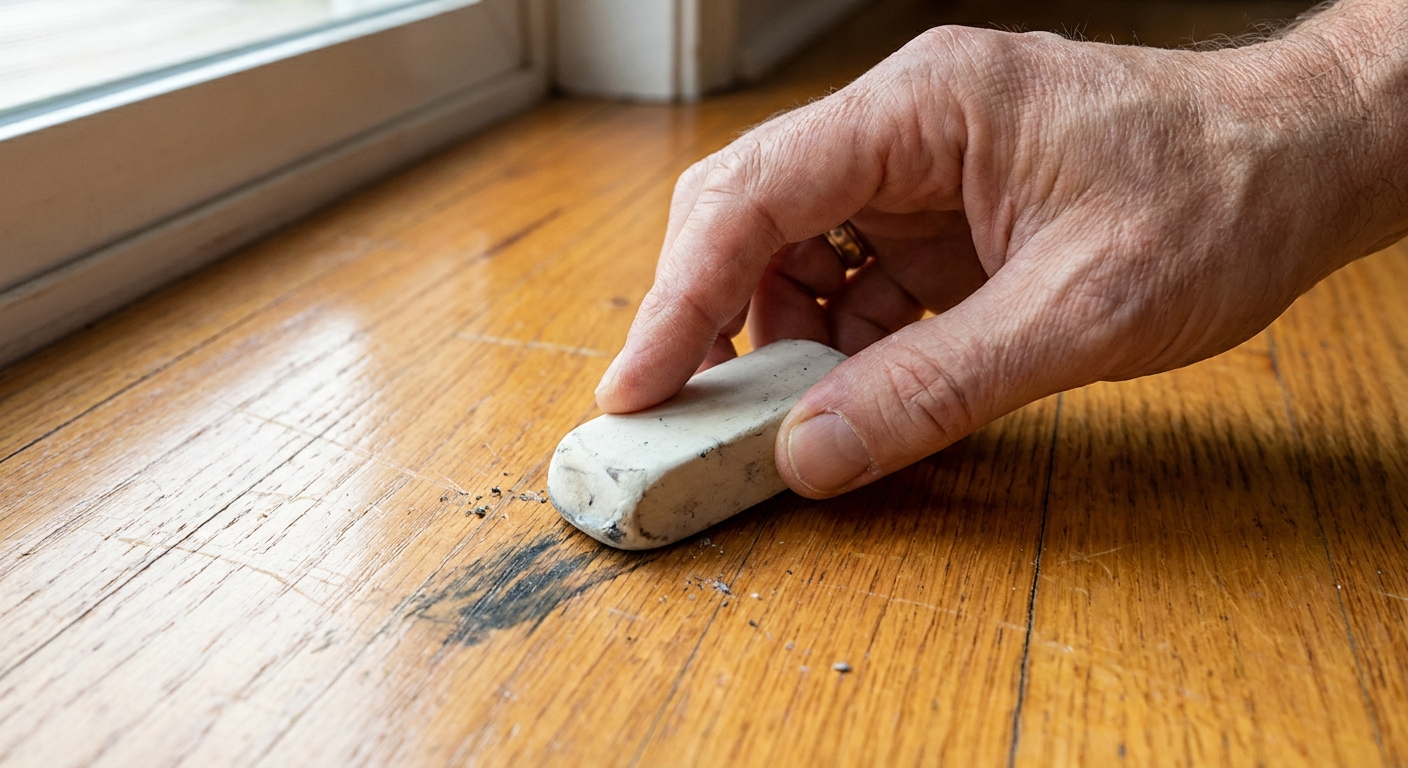
Step 2: White eraser
This is my go-to for heel streaks. Use a white vinyl eraser (the kind artists love) or a purpose-made rubber scuff eraser. Avoid pink or colored erasers, which can smear dye. Rub gently along the grain, then vacuum or wipe away the crumb bits so you do not grind them into the finish.
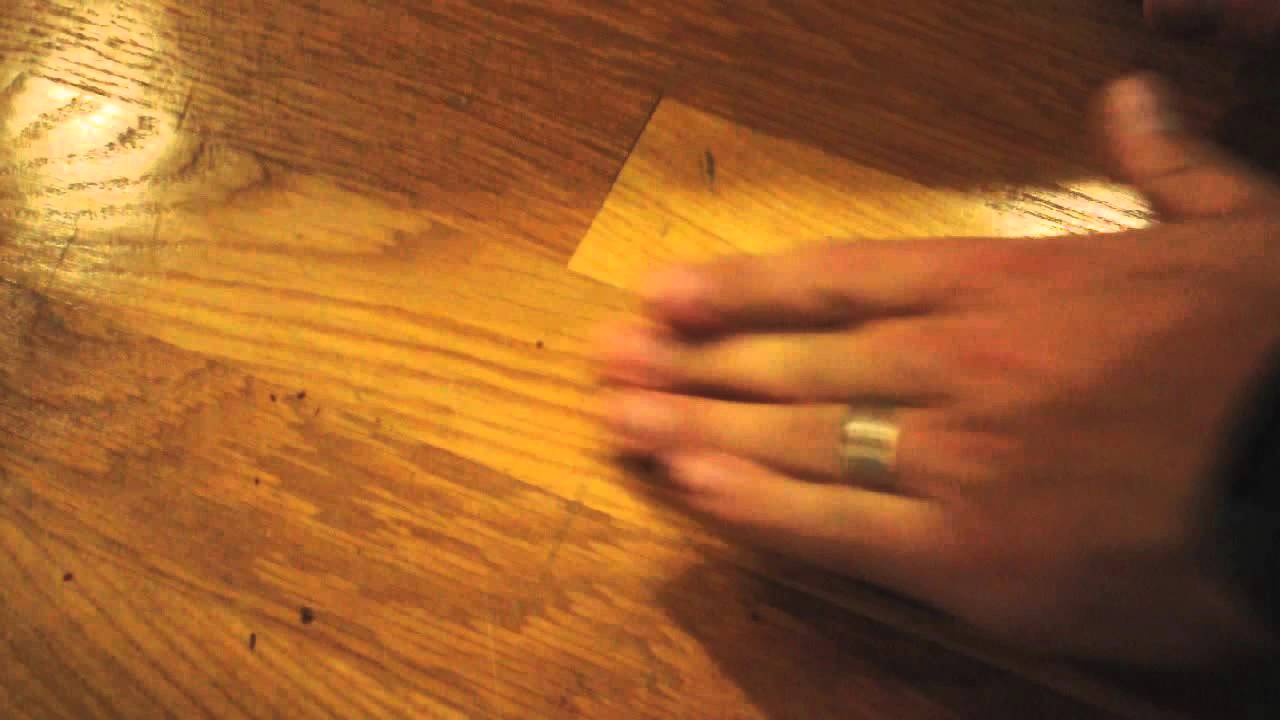
Step 3: Tennis ball trick
If you have a larger scuff that needs more friction, a tennis ball can help without concentrating pressure in one tiny point. Use a clean tennis ball so you do not transfer dirt or dye.
- Cut a small X in the ball and place it on the end of a broom handle, or just hold the ball in your hand.
- Rub the scuff lightly. Check often.
This works especially well on black rubber streaks near entryways.
Step 4: Barely damp microfiber (water only)
If dry methods leave a faint shadow, try a barely damp microfiber cloth. Wring it out hard. You want “fog on a mirror” moisture, not “mopped the kitchen.” Wipe the area, then immediately dry with a second cloth so water does not linger or creep into seams.
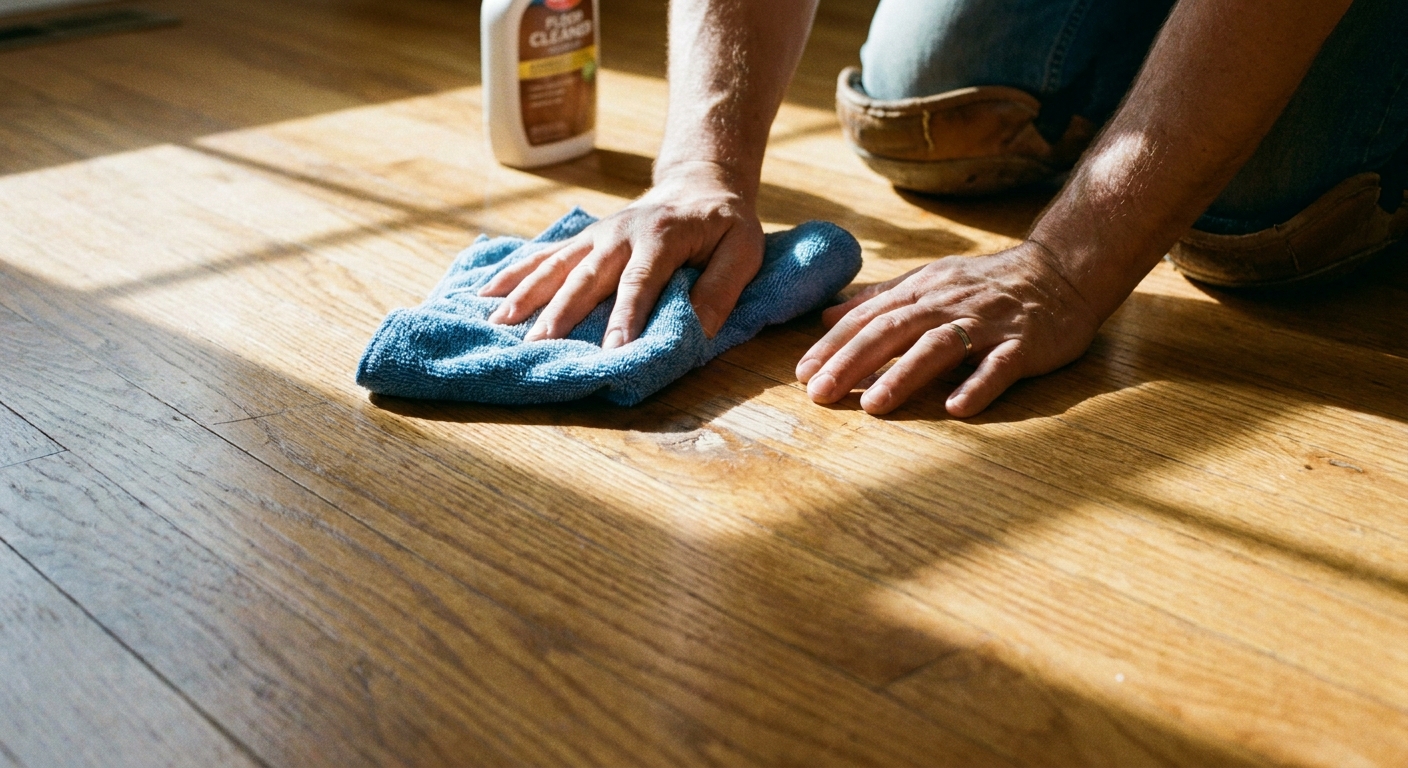
Step 5: pH-neutral wood floor cleaner
For most sealed hardwood with polyurethane, a pH-neutral cleaner made for hardwood is the safest “wet” step. Spray onto the cloth, not the floor, then rub gently and dry right after.
- Do: use minimal product, work in small sections, dry buff after.
- Do not: use steam mops or leave cleaner sitting. Steam can force moisture into seams and may dull or compromise some finishes over time.
Step 6: Tiny drop of dish soap (only if needed)
If the mark seems oily or grimy (think: a heel that picked up street residue), mix 1 drop of mild dish soap into a cup of warm water. Dampen cloth, rub lightly, then wipe with plain damp cloth and dry.
This is a “last stop before specialty products” step. Too much soap can leave a film that attracts dirt.
What to use by floor type
If you know your finish, use that knowledge to protect it. If you do not, pick the most conservative option and spot-test.
Polyurethane-finished hardwood
- Best tools: microfiber cloth, white eraser, pH-neutral hardwood cleaner.
- Okay in small amounts: lightly damp cloth, tiny dish soap solution.
- Avoid: abrasive powders, steel wool, heavy-duty degreasers, and anything that promises “shine” via waxy buildup unless your floor is specifically maintained that way.
Shellac, older varnish, or lacquer
- Best tools: dry microfiber, white eraser, tennis ball method.
- Use moisture sparingly: barely damp cloth only, and dry immediately.
- Avoid: alcohol-based products if you suspect shellac, ammonia, and aggressive solvents. If you think you have lacquer, be extra cautious with strong cleaners and always spot-test.
Engineered hardwood
Engineered hardwood is often finished with polyurethane, but the wear layer can be thinner than solid wood. Translation: keep it gentle. Skip aggressive abrasion, and stop as soon as the mark lifts.
Waxed floors
Waxed floors can look dreamy, but they are picky. Scuffs often lift with a soft cloth and gentle rubbing. If you use a cleaner, it must be wax-compatible or you may strip or streak the sheen. When in doubt, test in a closet first.
Buffing to blend the sheen
After you remove the mark, the area may look slightly dull just from friction. A quick buff usually blends it back in.
- Use a clean, dry microfiber cloth.
- Buff lightly in small circles, then finish with a few strokes along the grain.
- Keep pressure even. Think “polishing a pair of glasses,” not “scrubbing a pot.”
Caution: Do not buff with rough towels, paper towels, or anything textured. That is how micro-scratches happen.
If it is not a scuff
Here is the honest moment. If you have tried a couple of gentle methods and it will not budge, you may be looking at finish damage, not transfer.
- Scuff (transfer): looks like a dark streak on top of the sheen. Often disappears with an eraser.
- Finish scratch: looks lighter or whitish, especially at an angle, and you can feel it with a fingernail.
- Gouge to wood: raw, pale wood shows, usually with a definite edge.
If it is a scratch or gouge, scrubbing harder will not help. It can actually widen the damaged area.
When to recoat or refinish
Scuffs are quick wins. But if you notice any of the below, it might be time for a different approach.
Consider a screen and recoat
- Marks keep appearing and the floor looks generally dull, even after cleaning.
- You see widespread micro-scratches, not just one problem spot.
- The finish is intact but tired.
Consider refinishing
- There are deep scratches or bare wood in multiple areas.
- Water stains and discoloration are common, not occasional.
- The finish is peeling, flaking, or uneven in large patches.
If you are in a rental, take photos and talk to your property manager before attempting any spot repairs or coatings. Mismatched sheen is surprisingly easy to create.
My small scuff kit
This is what I keep in a basket in my coat closet, because nothing ruins the mood like discovering heel marks right before guests arrive.
- 2 clean microfiber cloths (one for wiping, one for drying and buffing)
- White vinyl eraser or rubber scuff eraser
- Small spray bottle of pH-neutral hardwood floor cleaner (if you have polyurethane)
- A clean tennis ball (seriously)
If you want to prevent the worst of it, add two simple habits: a good entry mat and felt pads on furniture. And yes, a quick dry microfiber pass near the door once a week helps too. Most scuffs disappear faster when they are fresh.
Quick FAQ
Can I use a Magic Eraser on hardwood scuffs?
I would skip it for finished hardwood unless a flooring pro has okayed it for your specific finish. Melamine foam is a very fine abrasive. It can remove the scuff, but it can also dull the sheen and leave a noticeable matte spot.
Can I use vinegar and water?
Vinegar is acidic and can dull some finishes over time, especially if used repeatedly or left to sit. For scuffs, dry methods and a pH-neutral hardwood cleaner are safer.
What about baking soda?
Baking soda is abrasive. It is more likely to scratch or haze a finish than to gently lift a rubber transfer. I avoid it on finished hardwood.
Any other products to avoid?
Avoid gritty or abrasive paste cleaners (including many “pink paste” style cleaners). If it “polishes” by abrasion, it can change the sheen.