Remove Scuff Marks From Painted Walls
Clara Townsend
Clara Townsend is an interior stylist, vintage furniture enthusiast, and the creative voice behind Velvet Abode. With over a decade of experience transforming both cramped city apartments and sprawling fixer-uppers, she believes that a beautiful home is built on personal stories rather than massive budgets. When she isn't hunting for the perfect brass sconce at a local flea market, she can usually be found rearranging her living room for the third time this month.
Scuff marks are the house’s way of saying, people live here. Chair backs kiss the wall, sneakers graze the baseboards, a moving box does that little pivot-turn in the hallway. The good news is that most scuffs are not “damage” so much as transferred material sitting on top of the paint. With the right method for your wall’s sheen, you can usually erase them without repainting the whole room.
Start here: identify your paint sheen
Paint sheen is basically how shiny the wall is, and it matters because shinier paints are tougher, while flat paints are more likely to burnish or show shiny rub spots if you scrub.
- Flat or matte: soft, chalky look, hides texture well, but marks and rubs can show easily.
- Eggshell: a gentle glow, common in living rooms and bedrooms, a little more washable.
- Satin or semi-gloss: more noticeable sheen, common in kitchens, baths, hallways, and on trim. Most washable and forgiving.
If you are not sure, look at the wall from the side with a lamp on. Flat looks almost velvety. Satin will reflect light more clearly.
Safety block: test first, always
Before you clean the scuff you can see, test the method in a hidden spot, like inside a closet, behind a door, or down low behind a dresser. Let it dry fully and check for color lift, dull patches, or shiny burnishing. If the test spot looks worse than the scuff, step down to a gentler method.
Also: use minimal water and a soft touch. Most wall disasters happen because we go in with the energy of scrubbing a casserole dish.
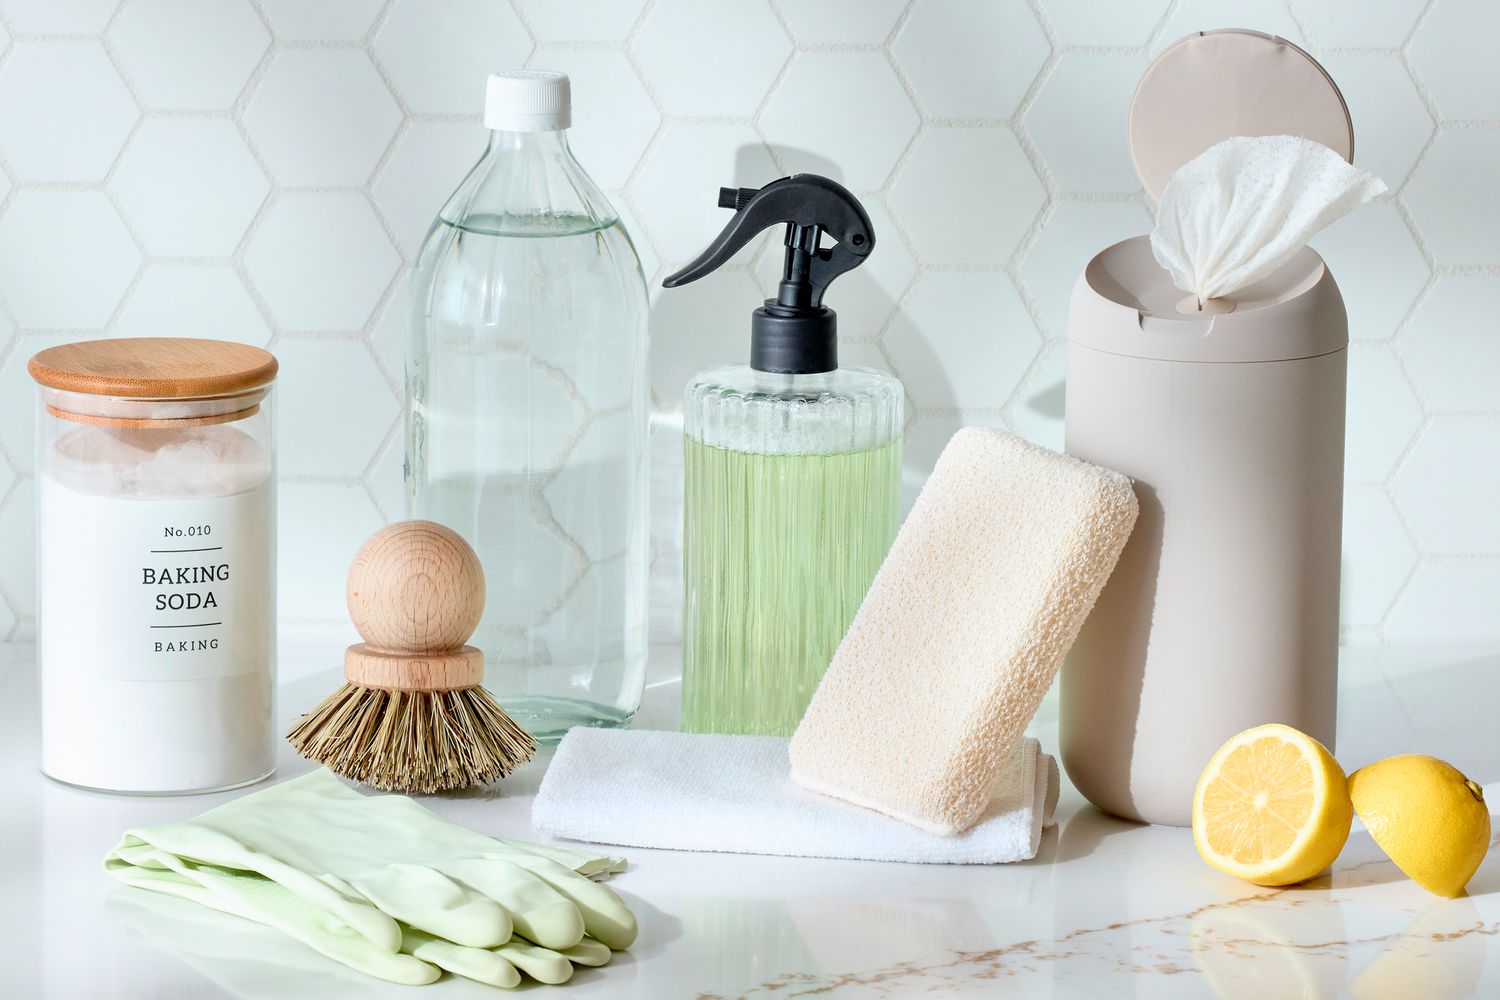
What to grab (simple, not fussy)
- Microfiber cloths (clean, lint-free)
- A bowl of warm water
- A drop of mild dish soap
- White vinyl eraser or art gum eraser
- Melamine sponge (Magic Eraser style), optional
- Baking soda
- Cotton swabs for tiny marks
- Dry towel for blotting
The golden rule: go from gentlest to strongest
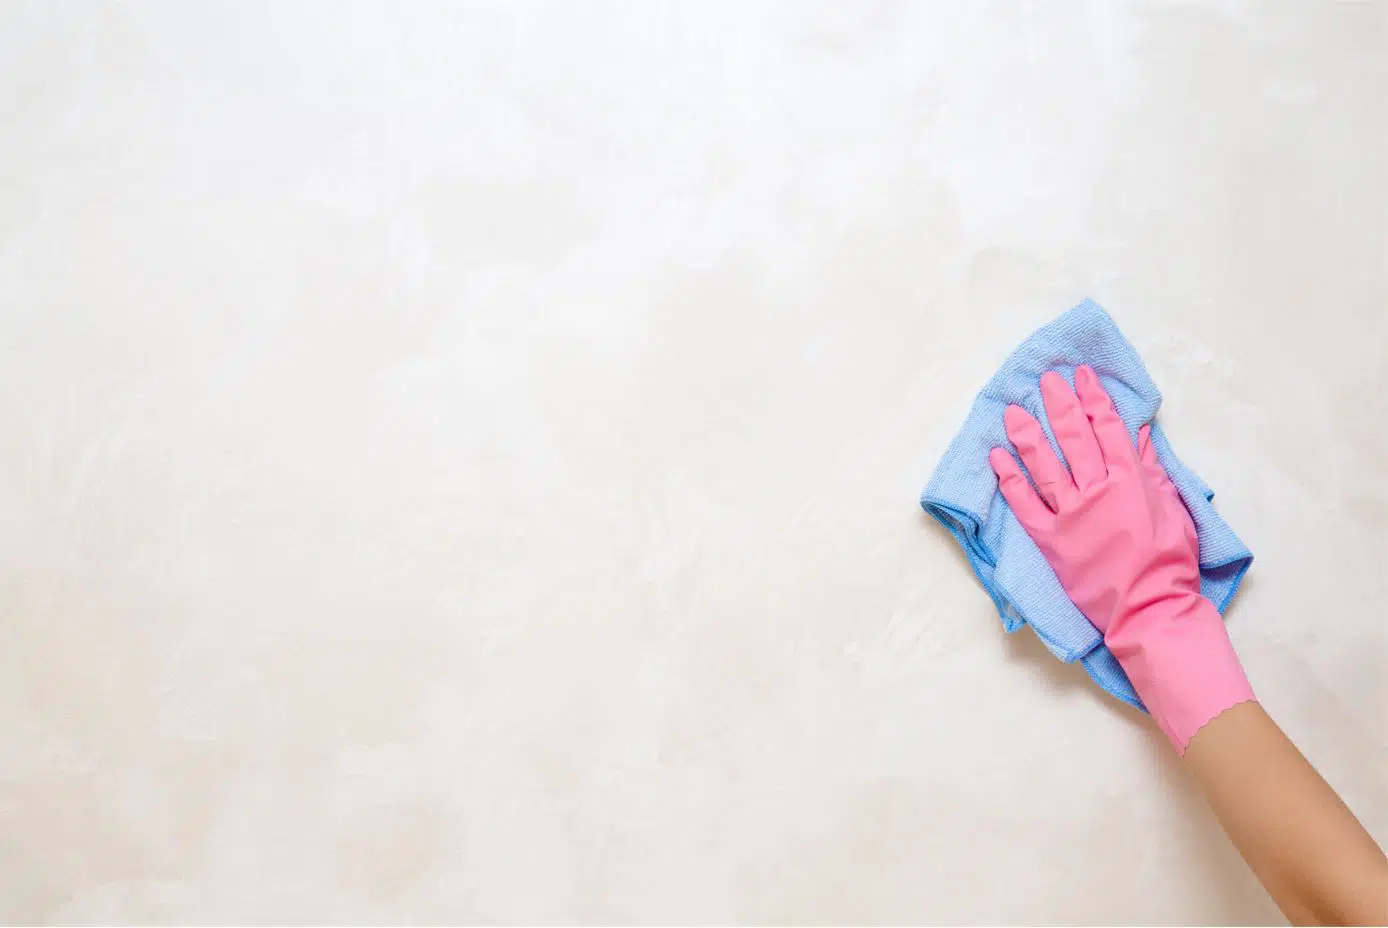
Step 1: Dry microfiber buff
Many scuffs are like pencil marks: they sit on top of the paint. Start by gently buffing with a dry microfiber cloth. Use small circles and light pressure.
Step 2: Damp cloth, then a tiny bit of dish soap
If dry buffing does not lift it, dampen the cloth with warm water. Wring it out well so it is barely damp, not dripping. If needed, add one drop of mild dish soap to the cloth, not directly on the wall. Wipe, then wipe again with a clean damp cloth to remove any soap film, and dry with a towel.
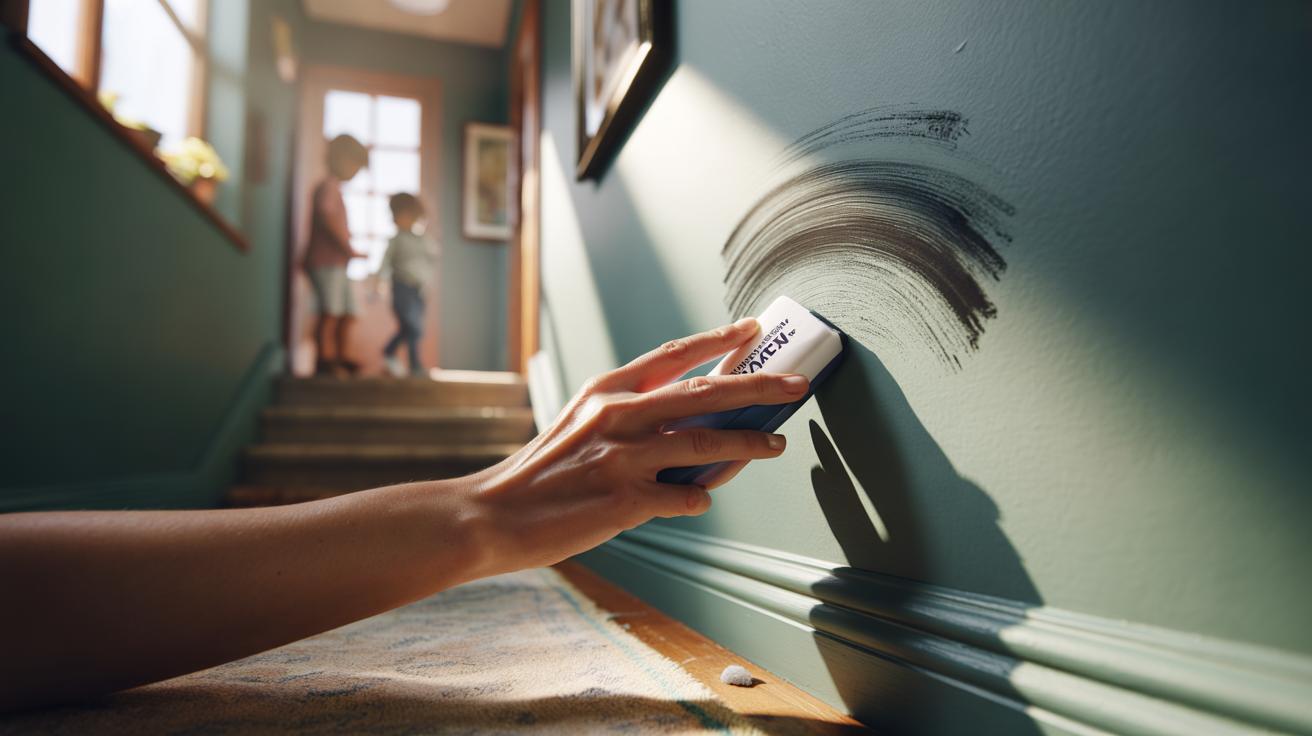
Step 3: Eraser for rubbery scuffs and shoe marks
A white vinyl eraser is one of my favorite low-drama tools for scuffs, especially on eggshell and satin. Rub lightly in one direction. Brush away crumbs with your hand or a dry cloth. Avoid pink erasers that can leave dye behind.
By paint sheen: what works best (and what to avoid)
Flat or matte paint
Flat paint is the most likely to show “cleaning halos” or shiny spots where the surface gets burnished. Your goal is to lift the scuff with minimal friction.
- Best first choices: dry microfiber buff, then barely-damp microfiber.
- Next: white vinyl eraser with a feather-light hand.
- Use with caution: melamine sponge, baking soda paste. These can abrade flat paint and create a lighter patch.
- Often the smartest fix: if the scuff is dark and the paint is flat, a small touch-up can blend better than aggressive scrubbing.
Eggshell paint
Eggshell can handle a little more cleaning, but it can still burnish if you get intense.
- Best first choices: damp microfiber with a tiny drop of dish soap.
- Great add-on: white vinyl eraser for shoe scuffs.
- Use with caution: melamine sponge, only if the mark is stubborn and your test patch looks fine.
Satin or semi-gloss paint
Satin and semi-gloss are the “busy hallway heroes.” They are more washable and usually tolerate stronger methods well.
- Best first choices: dish-soap wipe, rinse wipe, dry.
- Good for tough scuffs: lightly used melamine sponge.
- Still avoid: harsh cleaners, bleach sprays, or abrasive powders applied directly to the wall.
Melamine sponge: the secret weapon, used gently
Melamine sponges work because they are micro-abrasive. That is why they erase marks, and also why they can change the finish if you press too hard.
- Wet the sponge and wring it out until it feels just damp.
- Use very light pressure, like you are polishing a tomato.
- Rub the scuff with short strokes, checking every few seconds.
- Stop as soon as the scuff lifts, then wipe the area with a clean damp cloth and dry.
Skip melamine on fresh paint (less than 2 to 4 weeks cured) and be extra cautious on flat finishes.
Baking soda paste for stubborn marks
If you are dealing with a stubborn black scuff, crayon haze, or a mark that laughs at soap and water, a baking soda paste can help. Baking soda is also mildly abrasive, so treat it like a stronger step, not a first step.
How to mix it
- Mix 2 parts baking soda with 1 part water until it is a soft paste, like toothpaste.
How to use it
- Put a small amount on a damp microfiber cloth (not directly on the wall).
- Rub gently over the scuff in small circles.
- Wipe clean with a separate damp cloth to remove residue.
- Dry with a towel.
If you notice the paint looking lighter or shinier as it dries, stop and move to touch-up instead of continuing to scrub.
When cleaning is not enough: spot-prime and touch up
Sometimes a scuff is not a scuff. It is chipped paint, a gouge, or a stain that has soaked in. Here is when I stop cleaning and switch to a small repair:
- The mark feels indented when you run a fingernail across it.
- The paint color has lifted or you can see a lighter base layer.
- You keep cleaning and the spot grows into a bigger, duller patch.
- There is a real stain (water, nicotine, marker) that keeps ghosting back through.
Quick touch-up steps that actually blend
- Clean first (even if you plan to paint). Let dry.
- If raised edges exist, lightly sand with fine grit and wipe dust away.
- Spot-prime if the area is stained, bare drywall is showing, or the paint has been rubbed thin. Use a small amount and feather the edges.
- Touch up with the exact same paint when possible, ideally from the original can. Stir well.
- Feather the edges with a small brush or mini roller. Avoid making a perfect square patch.
Clara honesty moment: even perfect paint can touch up slightly differently because walls fade and paint cures. If your patch flashes, a larger blend-out area or repainting one full wall (not the whole room) often looks more seamless.
Common scuffs, decoded
- Shoe scuffs near baseboards: eraser first, then soap wipe. Consider satin paint in high-traffic areas next time.
- Furniture rubs behind a chair: dry microfiber, then damp cloth. Add felt pads and pull furniture 1 inch off the wall.
- Black marks around light switches: soap wipe, then cautious melamine if needed. These areas pick up skin oils and grime.
- Kids’ crayon smudges: warm soapy water first. Baking soda paste for leftover haze, but test carefully on flat paint.
Renter move-out checklist: scuff fixes that keep your deposit happy
If you are moving out, you want “clean and consistent” more than “perfectly restored.” Here is a quick, renter-friendly checklist.
- Walk the space in daylight and again at night with lamps on. Scuffs love angled light.
- Start with dry microfiber on all obvious scuffs.
- Use mild dish soap and a damp cloth on hallway and entry walls.
- Use a white eraser on shoe marks near baseboards and corners.
- Use melamine sponge only after a test patch, and only with light pressure.
- Do not use bleach, abrasive powders, or strongly scented solvents unless your lease specifically allows it.
- If a spot will not clean without changing the paint sheen, stop and document it. Some landlords prefer to handle touch-ups themselves for color match.
- Take a few clear photos after cleaning for your records.
Little habits that prevent scuffs (without babying your home)
- Add felt pads to chair backs and furniture that nudges the wall.
- Use a narrow console table or bench in hallways that take the hit from bags and shoes.
- Keep a microfiber cloth and a white eraser in your cleaning caddy. Five seconds now beats repainting later.
- In high-traffic zones, choose eggshell or satin for walls next time you paint.
A home is allowed to show a little life. The trick is knowing which marks are a quick wipe, and which ones are quietly asking for a tiny touch-up and an early night.