Remove Heat Marks and White Rings From Wood Furniture
Clara Townsend
Clara Townsend is an interior stylist, vintage furniture enthusiast, and the creative voice behind Velvet Abode. With over a decade of experience transforming both cramped city apartments and sprawling fixer-uppers, she believes that a beautiful home is built on personal stories rather than massive budgets. When she isn't hunting for the perfect brass sconce at a local flea market, she can usually be found rearranging her living room for the third time this month.
If you have ever set down a hot mug, a pizza box, or a takeout container “just for a second” and come back to a ghostly white ring, welcome to a very shared human experience. The good news is that many heat marks are fixable at home. The even better news is that you do not have to jump straight to sanding in a panic.
This guide breaks down what that white cloud actually is, how to tell heat marks from water stains, and which methods are worth trying first. I will also flag the situations where it is smarter to stop and consider a proper refinish, especially if your piece is vintage or sentimental.
First, what causes the white ring?
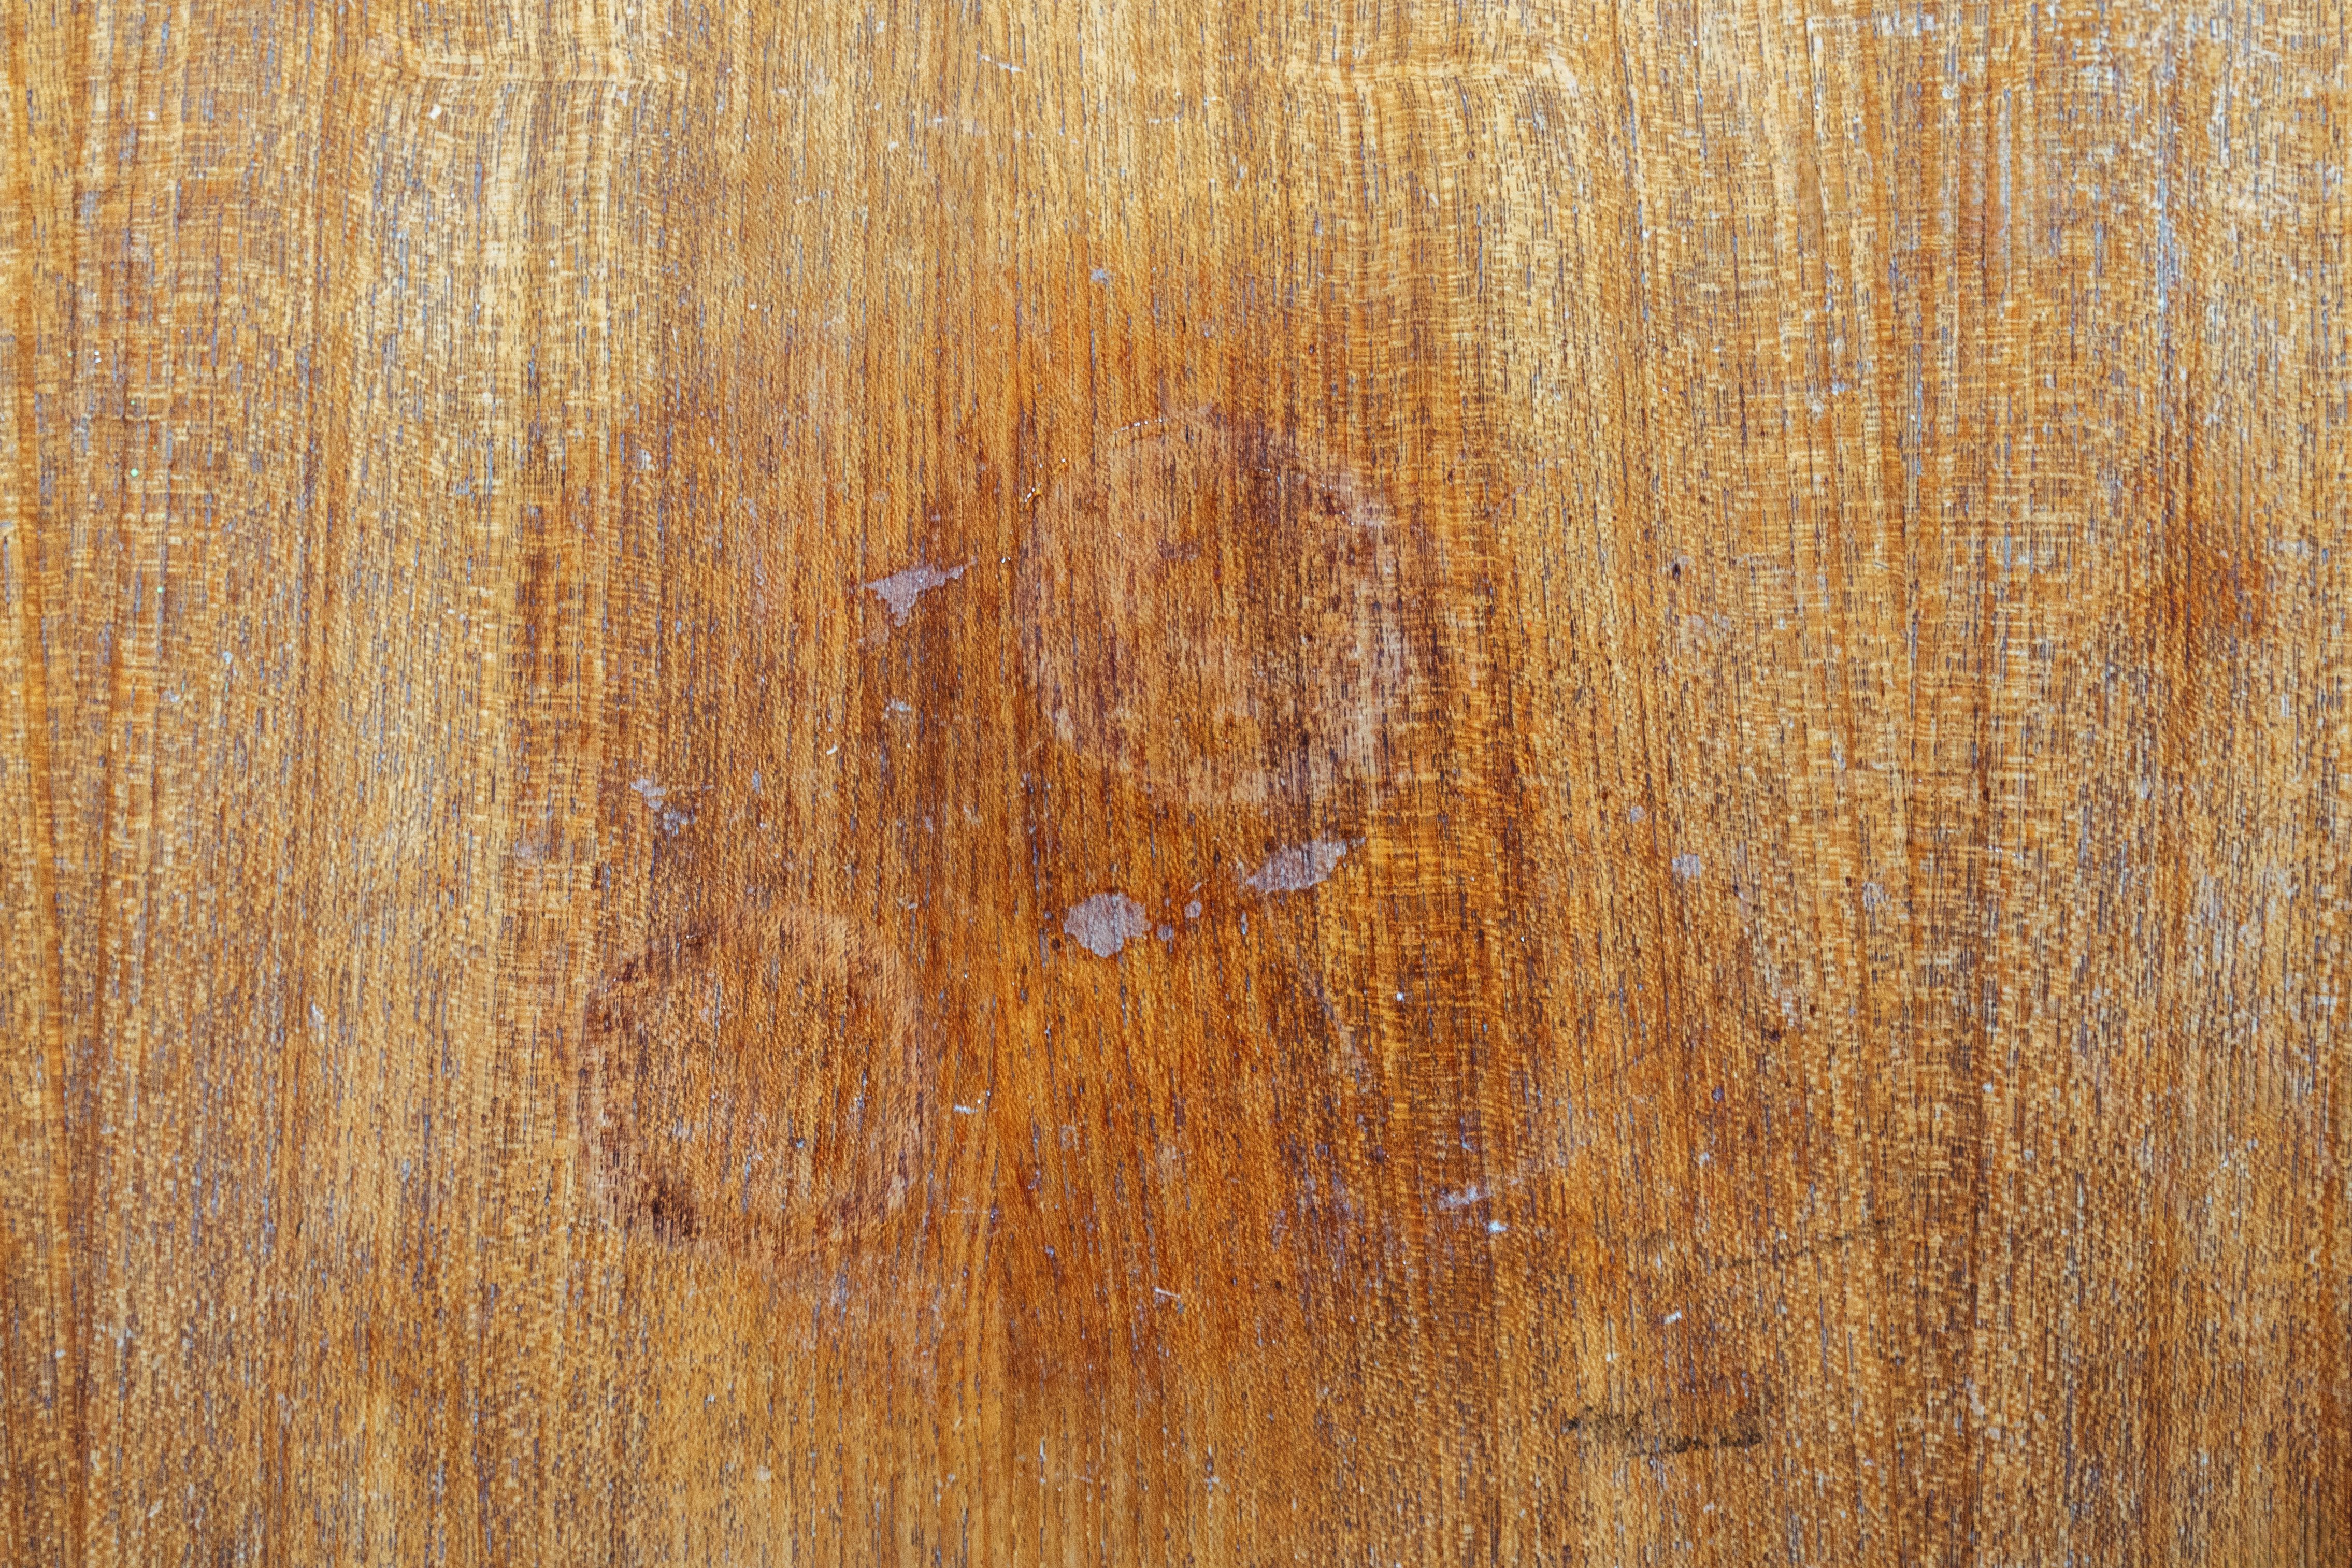
Most white rings and cloudy patches happen when moisture gets trapped in the finish. With heat marks, warmth can make the finish slightly more porous for a moment, and steam or humidity gets pulled in. The result is that milky haze you can see from certain angles.
Think of it like condensation inside a clear phone case. The wood underneath is often fine. It is the finish throwing a little tantrum.
Heat mark vs. water stain: a quick tell
- Heat marks (white rings, cloudy haze): pale, milky, often looks “in” the finish rather than in the wood. Usually feels smooth.
- Water stains (often darker): can be gray, brown, or black. Often this is moisture that has made it into the wood fibers, and sometimes it is a chemical reaction (like iron plus tannins). Dark marks can also come from prolonged moisture, mildew, or whatever was in the spill.
- Raised texture: if the surface feels rough or swollen, the water likely got past the finish.
If your mark is dark or the wood feels raised, skip ahead to the section on when to sand and refinish. The gentle heat mark tricks below are mostly for that classic white cloud.
Before you try anything: identify the finish
This matters because some finishes tolerate gentle heat and oils well, and some absolutely do not.
- Hard modern finishes like polyurethane and many factory topcoats are common on newer furniture. They may respond to gentle, controlled warmth that helps trapped moisture escape, but some can also soften or print with heat. Testing matters.
- Older finishes like shellac and waxed surfaces can be more delicate. They can also be repairable, but they are easier to damage with heat, alcohol, or aggressive rubbing.
If your piece is antique, inherited, or irreplaceable, test every method in a hidden spot first, like the underside of a table edge.
Quick finish ID tests (optional, but helpful)
If you are not sure what you are working with, these tiny tests can save you from a bigger mess. Do them in a hidden spot. Use a cotton swab, use a small amount of solvent, and stop if color lifts.
- Shellac test: dab denatured alcohol on a cotton swab and touch the finish. If it gets tacky or dissolves quickly, it is likely shellac.
- Lacquer test: dab a tiny amount of lacquer thinner. If it softens or gets sticky, it may be lacquer.
- Polyurethane/varnish: often resists both alcohol and lacquer thinner in a quick dab test (but not always, especially with older or thin finishes).
Safety notes: work in a well-ventilated space, wear gloves, keep solvents away from flame, and do not drip or soak the surface.
One more stop sign: if the surface is painted, raw oiled wood, or very thin veneer that you suspect is fragile, go extra gentle. Avoid abrasives and be cautious with heat. When in doubt, consult a pro for a spot repair.
Start gentle: the safest fixes for white heat rings
My rule is simple: try methods that are low risk, low mess, and reversible before you reach for sandpaper or strong solvents.
1) The iron method (with very real caveats)
This is the classic technique because it works by encouraging moisture to leave the finish, which is often the actual problem.
How to do it:
- Make sure the surface is clean and dry.
- Set an iron to low heat with no steam.
- Place a clean cotton cloth or plain white T-shirt over the mark.
- Tap and lift or press very briefly, do not park the iron in one spot.
- Press for 3 to 5 seconds, lift, and check.
- Repeat in short passes until the cloudiness fades. Stop the moment you see improvement and let it cool.
- For safety, set the iron upright between passes and unplug it when you are done.
Caveats: This method can damage some finishes if you use too much heat or hold the iron too long. It is also risky on waxed or shellac surfaces. Short taps, not lingering presses, are the difference between “fixed” and “now I have a bigger problem.”

2) Gentle warmth from a hair dryer
If you want a lower risk version of the iron technique, a hair dryer gives you more control.
- Set to medium heat.
- Hold it 6 to 10 inches away.
- Move constantly for 30 to 60 seconds.
- Pause and check, then repeat.
This is slower, but it is easier to avoid scorching or softening the finish. Keep it moving so you do not create hot spots.
3) Oil plus mild abrasive (use a light hand)
Some white rings improve with a tiny bit of oil and very gentle polishing, especially if the haze is shallow. The idea is to lubricate the surface and reduce the appearance of the cloudiness.
Safer version: try a small amount of mineral oil or a non-silicone furniture polish on a soft cloth and buff lightly. If you see no change, stop.
If you want a truly mild abrasive: use a pinch of baking soda mixed into the oil to make a thin paste, then buff with almost no pressure. Avoid salt (it can scratch) and skip anything gritty unless it is specifically made for furniture polishing.
Avoid aggressive scrubbing. If you can feel heat in your hand from rubbing, you are doing too much.
Note on polishes: avoid silicone-based sprays and polishes. They can contaminate the surface and make future refinishing or touch-ups frustratingly difficult (fish-eye, adhesion issues, uneven color).
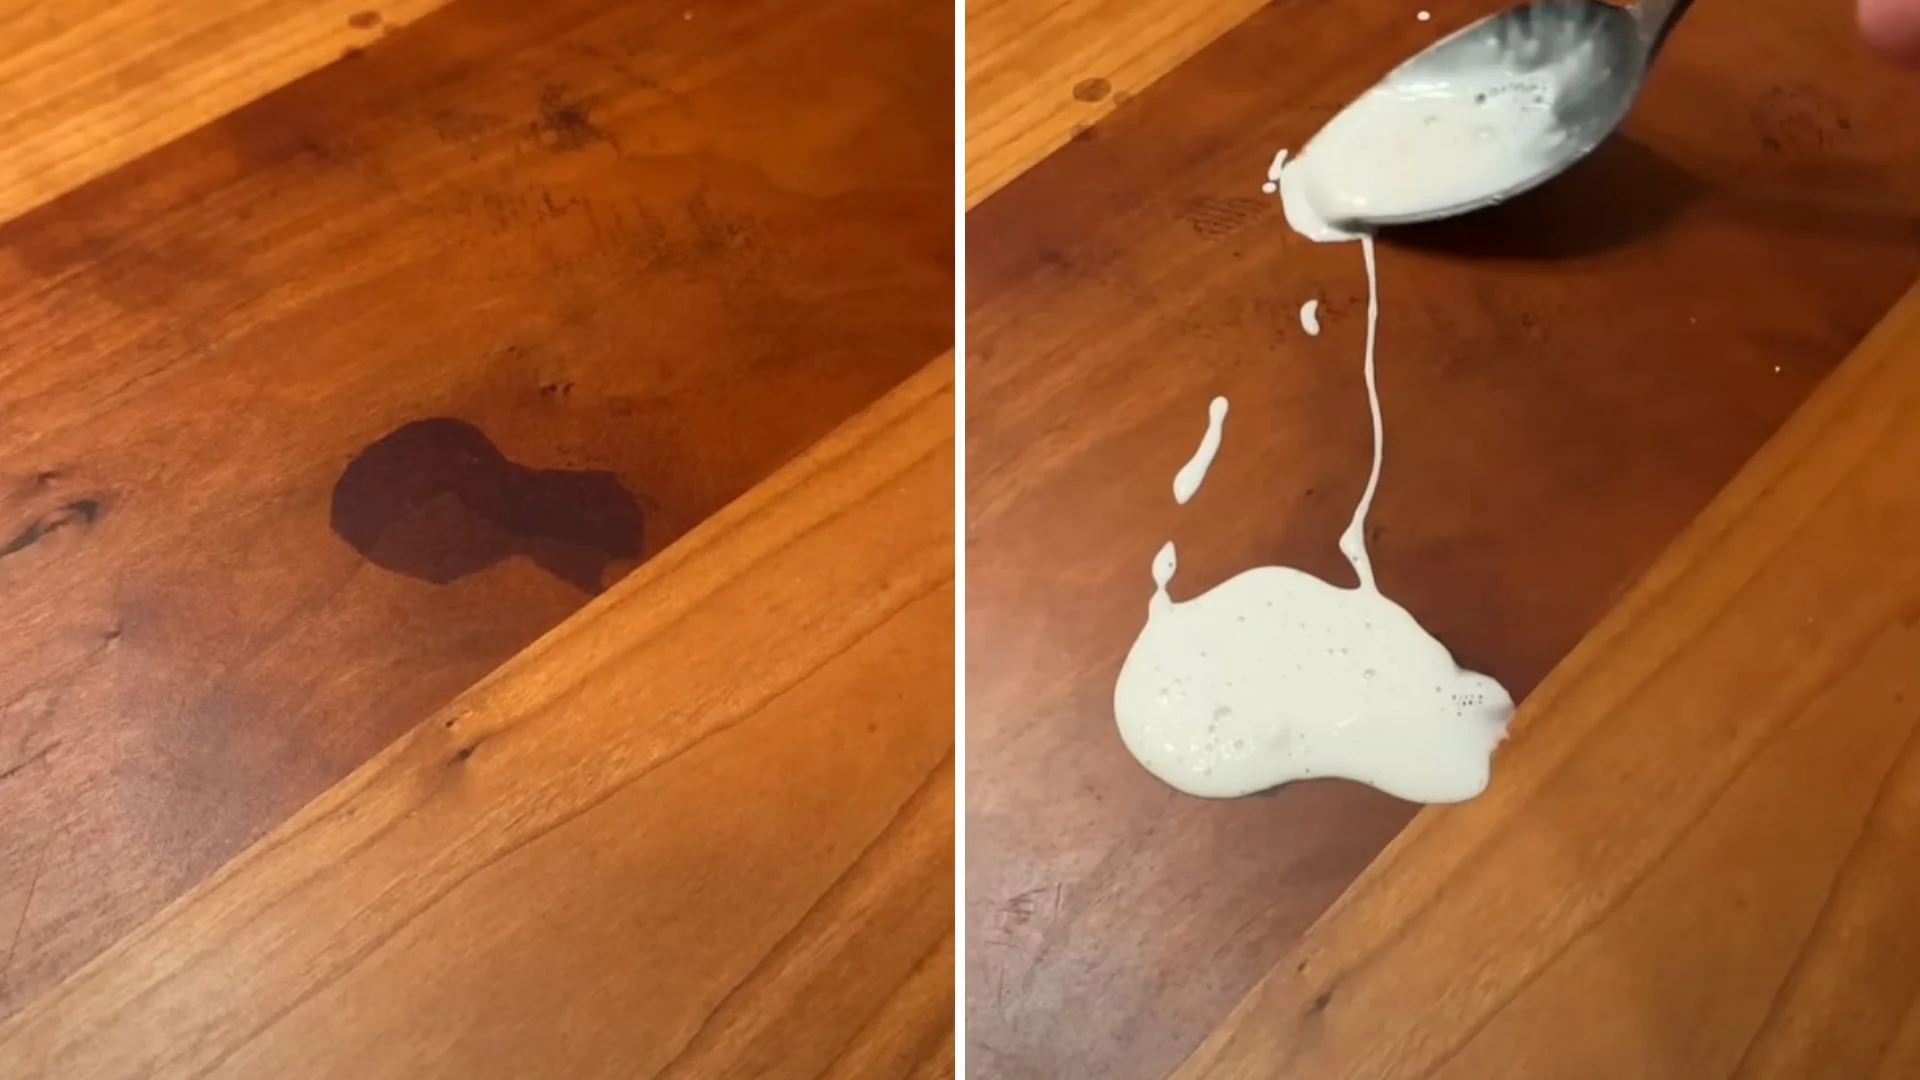
Mayonnaise for white rings: does it work?
Mayonnaise is one of those old school tricks that circulates forever. The theory is that the oil in mayo helps displace moisture in the finish and temporarily improves the look of the haze. Sometimes it is less “removing” the ring and more “changing how the light hits it,” which is why results can be temporary.
What to know before you try it:
- It can help some shallow white rings, but results are inconsistent.
- It can leave an oily residue that attracts dust, especially on softer finishes.
- On porous or damaged finishes, it can soak in unevenly and create a dull patch.
If you still want to try it: apply a very thin layer to the mark, let it sit for 30 minutes to a few hours, then wipe completely clean and buff with a fresh cloth. Test first in a hidden area.
My honest styling take: I would rather you start with controlled warmth (hair dryer first, iron only if needed). It is more aligned with the actual cause of the mark.
When the mark will not budge: next options
If gentle heat and careful buffing do nothing, you may be dealing with a deeper issue: the finish itself has been permanently blushed (clouded), or the heat has slightly altered the coating.
Try a blush remover (carefully)
In furniture repair, “blushing” is the cloudy white haze that can happen in lacquer and similar finishes. There are commercial products designed to reflow or clarify the finish.
- Follow the product instructions exactly.
- Work in a well-ventilated space.
- Test in a hidden area first.
- Safety: many are solvent-based and flammable. Keep away from flame, pilot lights, and sparks, and let rags dry safely.
- These products can soften or smear certain finishes, so use the lightest application that does the job.
This is one of those moments where a small, targeted product can be safer than experimenting with household ingredients.
Consider a pro spot repair
If the piece is valuable, antique, or has a tricky finish, a furniture restorer can sometimes do a spot repair that blends beautifully without stripping the whole top. This is especially worth it for vintage veneer tops where sanding is risky.
When to sand and refinish (and when not to)
Sanding and refinishing is the right move when:
- The white mark is widespread and the finish looks cloudy in multiple areas.
- You also have dark water staining in the wood, not just the finish.
- The surface feels rough, raised, or peeling.
- You have tried gentle methods and the spot is unchanged.
But do not jump to sanding if:
- The piece is veneer and you are not experienced. Veneer is thin, and it is easy to sand through.
- The finish is historically significant (antiques, shellac on older pieces). A restorer can often preserve more character.
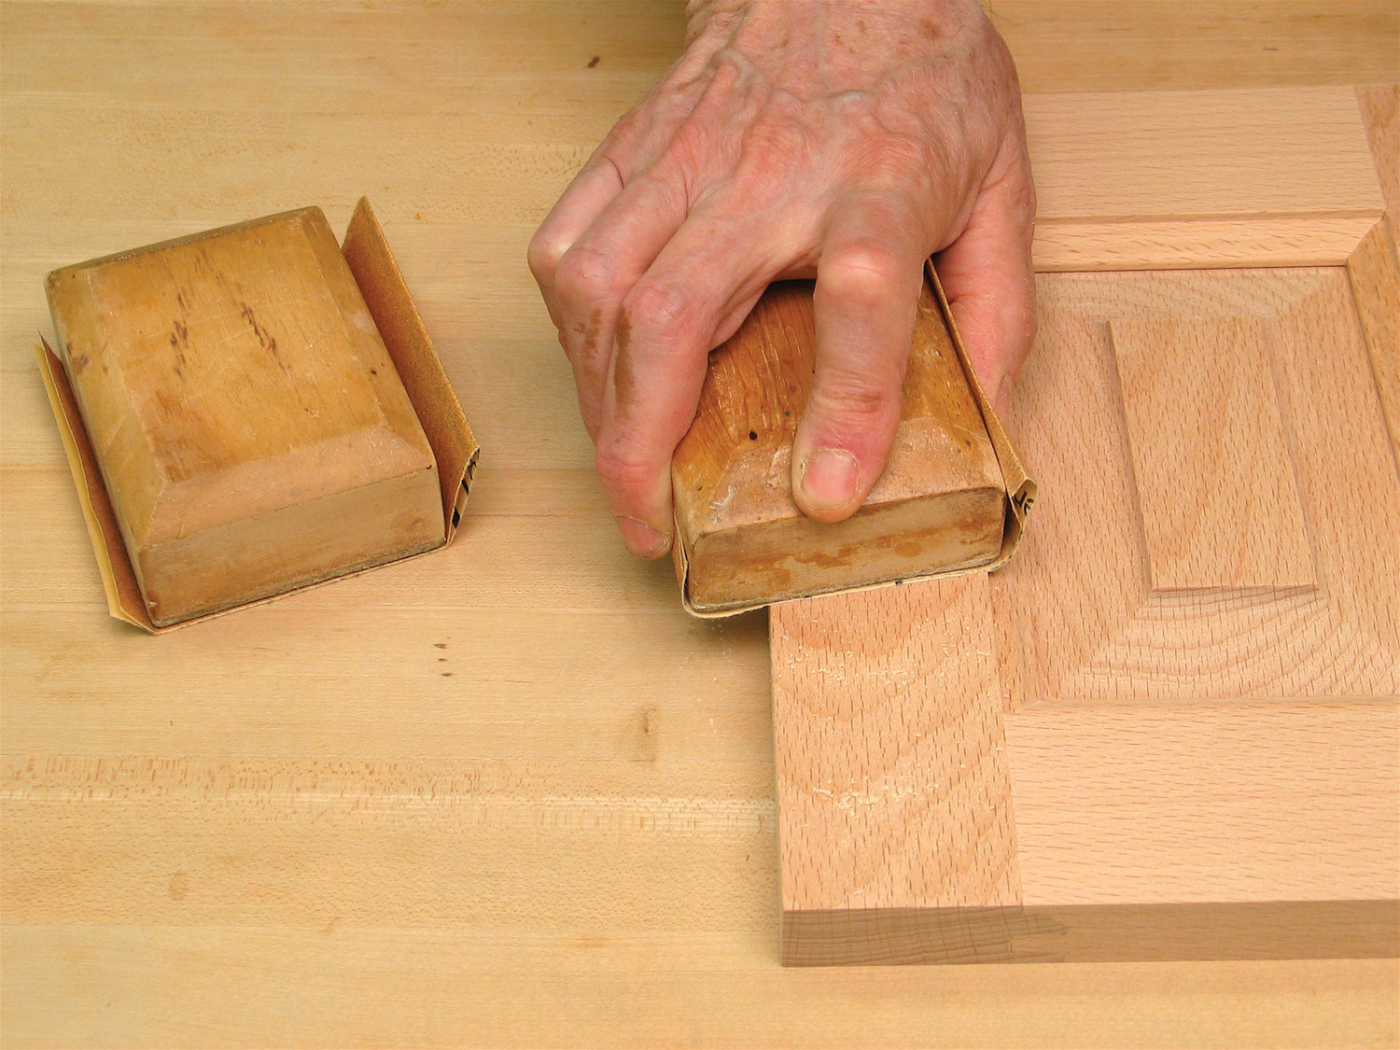
If you are sanding: a careful overview
I am keeping this high level because refinishing deserves its own deep dive, but the basic flow looks like this:
- Confirm solid wood vs. veneer.
- Remove the existing finish (often with a stripper for detailed profiles, sanding for flat tops, or a mix).
- Sand gradually with the grain, moving through grits, and stop as soon as the surface is even.
- Stain only if needed, then seal with a compatible topcoat.
- Let it cure before heavy use. Many finishes feel dry fast but need time to harden.
How to prevent heat marks
I love a home that gets used. I do not love a table that looks like it has been through a coffee mug apocalypse. Prevention can be simple and still pretty.
- Use coasters you actually like. If they are beautiful, you will reach for them.
- Add a tray to high traffic zones. A vintage brass tray or a wooden serving board creates a “landing pad” for hot cups.
- Upgrade your finish when refinishing. A durable topcoat can help, but no finish is completely heat proof.
- Let hot items breathe. Pizza boxes and slow cookers trap steam. Put them on a trivet, not directly on the wood.
Troubleshooting
Why did my white ring come back?
If moisture is still trapped or the finish is prone to blushing, the haze can reappear with humidity changes. Try the hair dryer method again and consider a more durable topcoat if the problem repeats across the surface.
What if the ring is white but also slightly rough?
That can mean the finish has been damaged, not just clouded. Gentle warmth may not help. A spot repair product or refinishing may be needed.
Is toothpaste safe for white rings?
Some toothpaste formulas are mildly abrasive. That means they can also dull or scratch a finish. If you try it at all, use a non-gel, non-whitening paste and an extremely light touch, and test first. I generally prefer controlled warmth over abrasion.
My rule: fix the finish, not the story
White rings are annoying, yes. But they are also proof your home is being lived in. Start with gentle methods that respect the piece, take it step by step, and stop when you see progress.
If you want a simple plan to follow, here it is:
- White cloudy ring: hair dryer first, then iron with caution.
- No improvement: consider a blush remover product or a pro spot repair.
- Dark stain or rough wood: you are likely in sanding and refinishing territory.
And next time, keep a coaster within arm’s reach. Your future self will thank you, preferably while holding a very hot cup of tea.