Remove Hard Water Stains From Glass Shower Doors (Renter-Friendly)
Clara Townsend
Clara Townsend is an interior stylist, vintage furniture enthusiast, and the creative voice behind Velvet Abode. With over a decade of experience transforming both cramped city apartments and sprawling fixer-uppers, she believes that a beautiful home is built on personal stories rather than massive budgets. When she isn't hunting for the perfect brass sconce at a local flea market, she can usually be found rearranging her living room for the third time this month.
First, a quick reality check
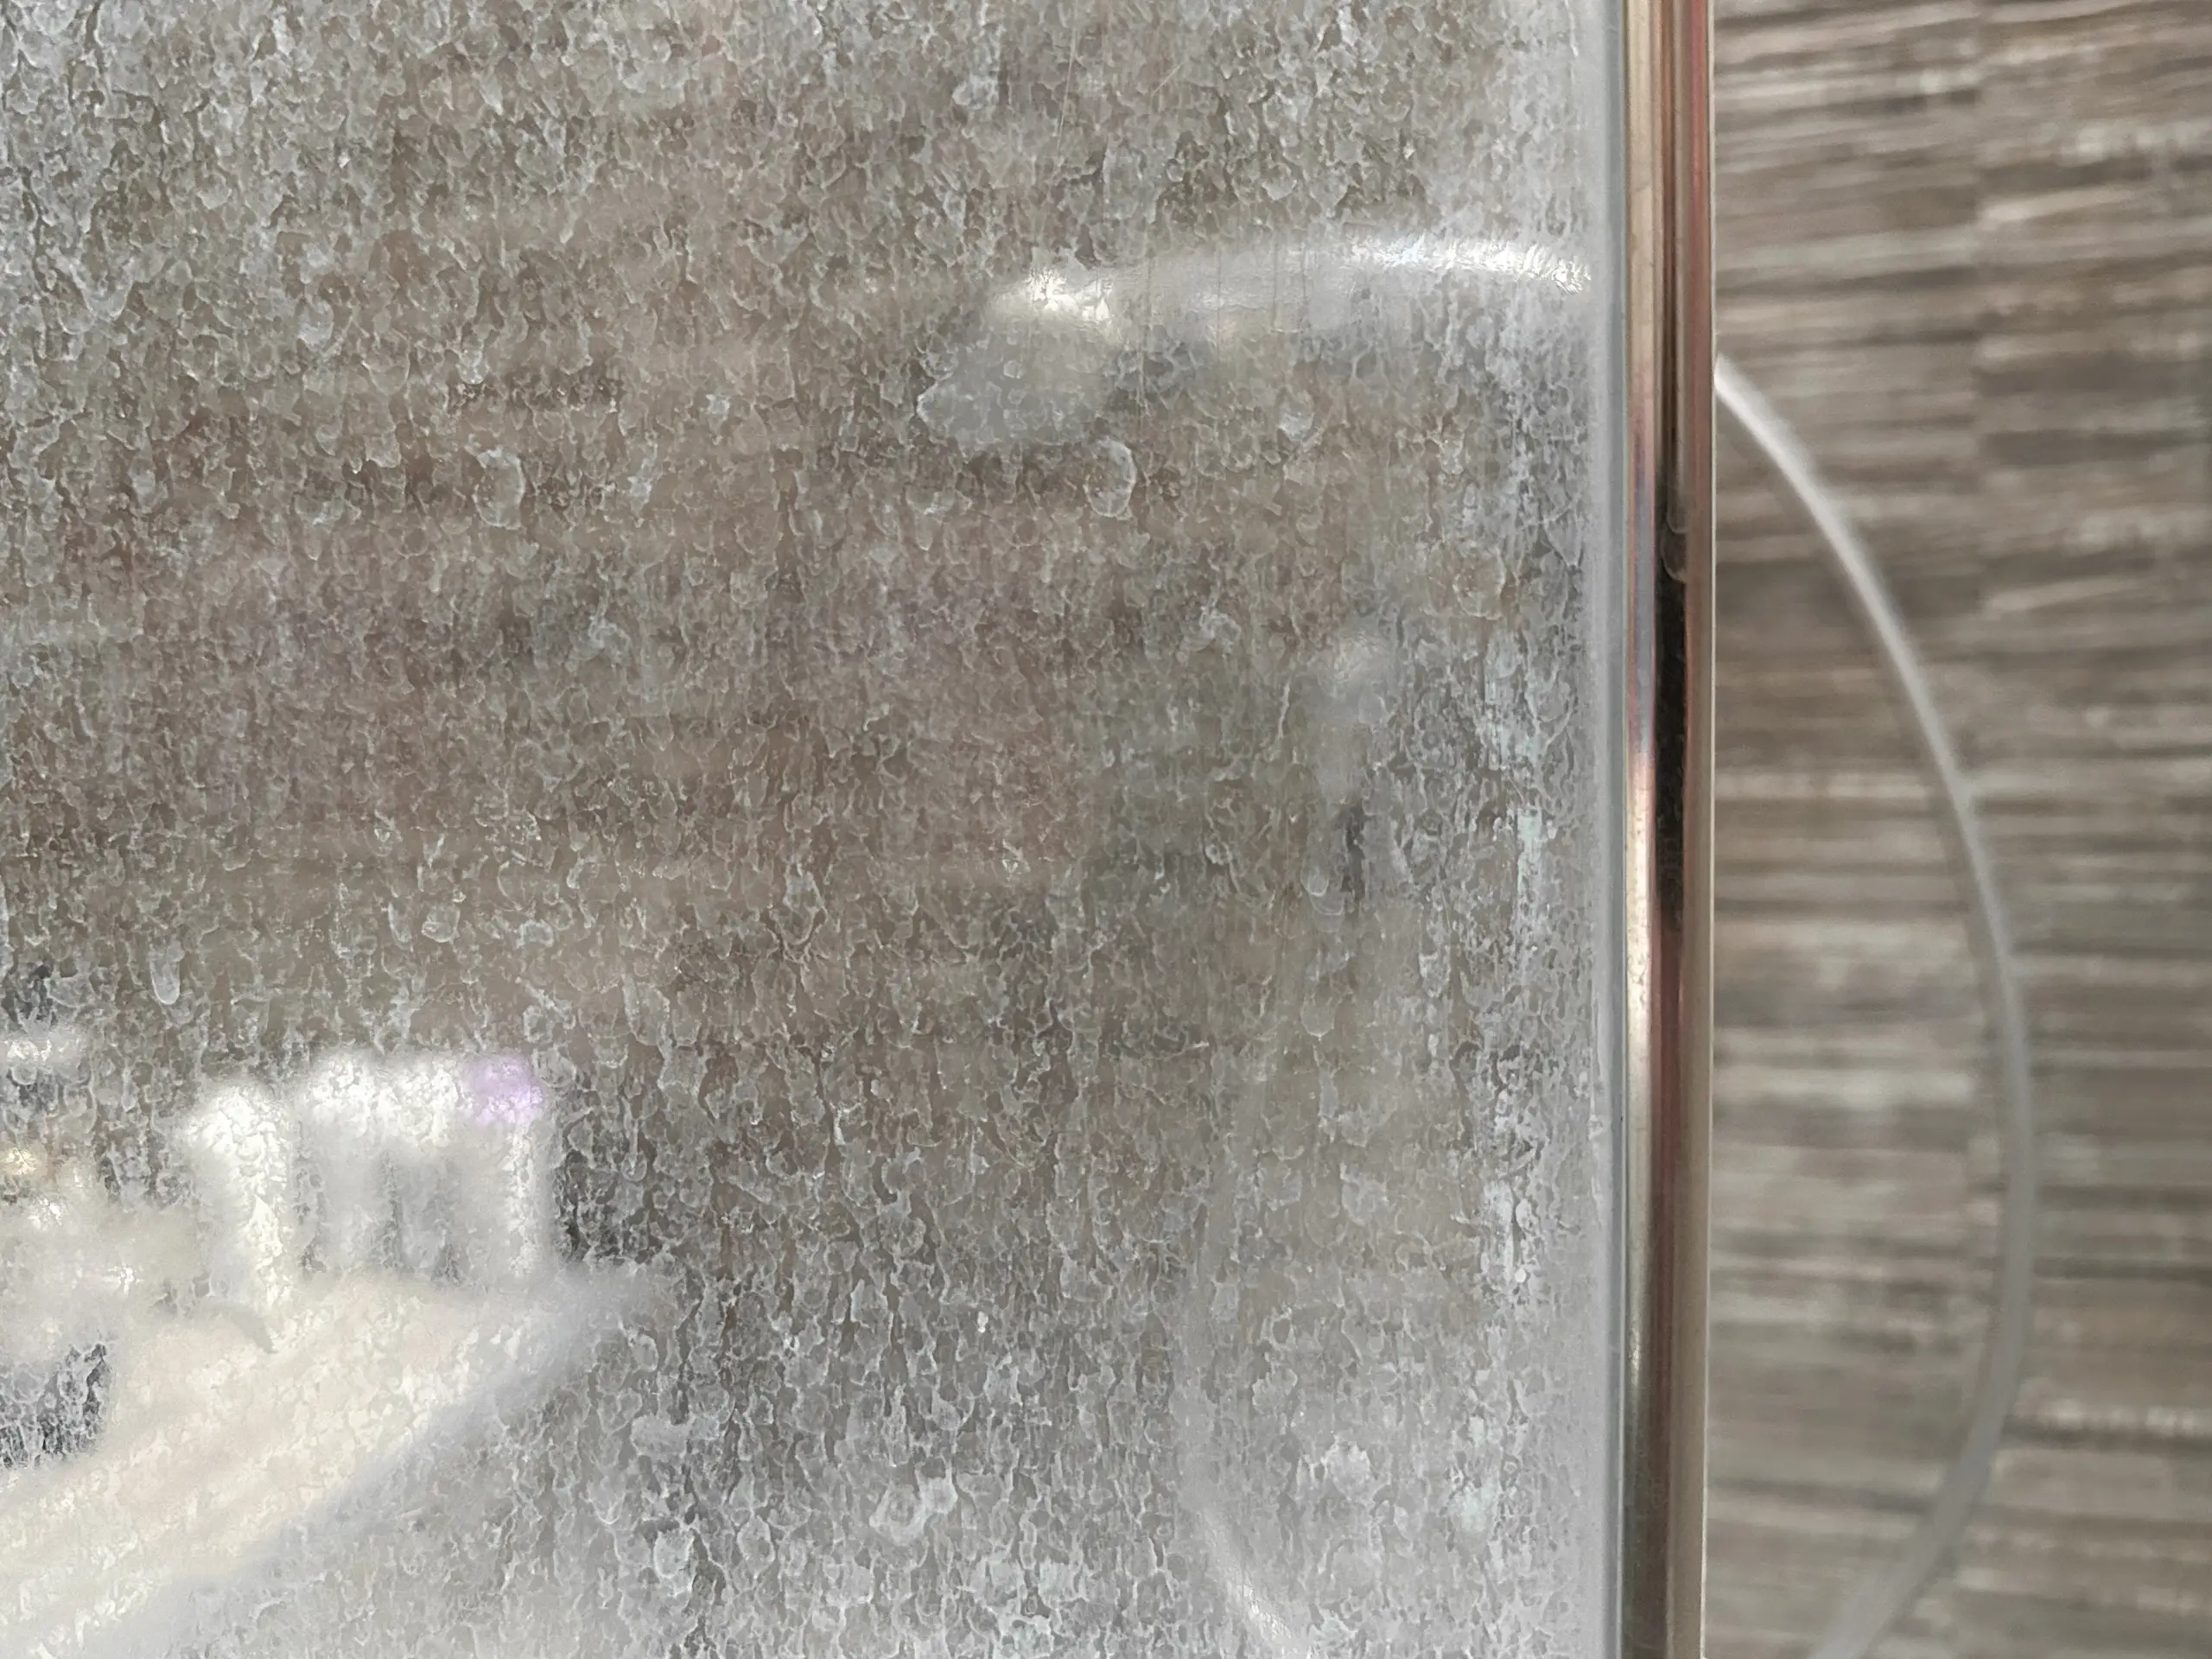
If your glass shower doors look permanently cloudy, you are not alone. Hard water leaves behind mineral deposits, mostly calcium and magnesium, that dry into that chalky, hazy film. In some areas, iron or manganese can also contribute to staining. The good news is that most of the time you can remove buildup with the right approach, without scratching the glass, wrecking the metal trim, or doing anything your lease would side-eye.
Think of this job like styling a shelf. Start gentle, work in layers, and stop the moment you get the look you want. Over-scrubbing and overly aggressive products are how glass gets micro-scratched and hardware finishes get unhappy.
Tools to grab first
- 2 microfiber cloths (one for cleaning, one for drying and buffing)
- Spray bottle
- Dish soap
- White vinegar (and optionally citric acid powder)
- Old towel (to protect the track and catch drips)
- Rubber gloves
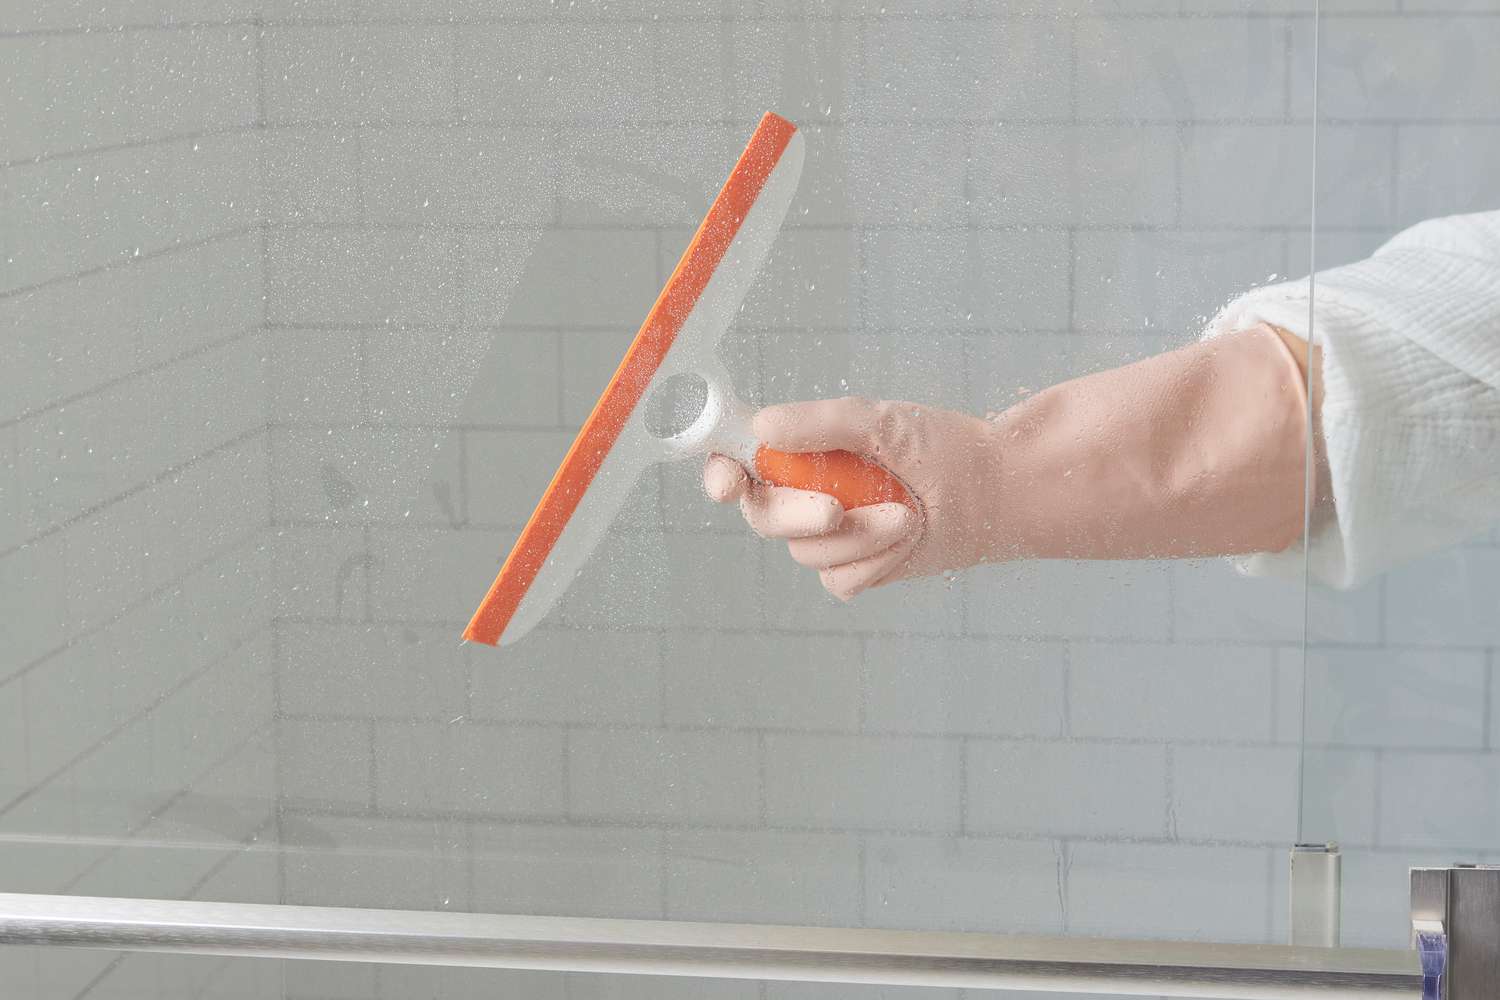
- Small squeegee (for maintenance)
Optional but helpful: paper towels (for the “stick it to the glass” soak method) and a soft toothbrush for corners (not for scrubbing the glass itself).
Hard water or something else?
Before you go full Cinderella, it helps to identify what you are seeing. Different grime needs different tools.
- Hard water scale: White, chalky spots or a dull film that feels rough when dry.
- Soap scum: Grayish, smeary haze that feels waxy or slippery.
- Etching: Glass still looks cloudy even when perfectly clean, often from long-term mineral buildup or harsh cleaners left too long. Etching is damage to the surface, not removable gunk.
Mini test: Wet a small area and run your finger over it. If the cloudiness mostly disappears when wet, you are likely dealing with scale or soap scum. If it looks the same wet or dry, etching may be involved, and you will be aiming for “better,” not “brand new.”
Acid vs abrasive
Most renter-friendly methods fall into two families. The magic is choosing the least aggressive option that still works.
Acid cleaners (dissolve minerals)
Acids break down mineral deposits so you can wipe them away. In most bathrooms, acids are the right first step for true hard water.
- Pros: Usually effective with minimal scrubbing. Lower risk of scratching glass.
- Cons: Can damage stone, some metal finishes, grout haze, and surrounding surfaces if left too long or allowed to run and sit.
- Common options: White vinegar (mild), citric acid solutions, or commercial limescale removers (often stronger).
Abrasives (scrub deposits off)
Abrasives remove buildup by friction. They can help with stubborn spots, but they are also where renters get into trouble, especially if your door has an “easy-clean” factory coating.
- Pros: Can tackle heavy, crusty deposits when chemistry alone struggles.
- Cons: Higher risk of scratching glass and especially scratching coated glass, acrylic, tile glaze, and metal trim.
- Common options: Baking soda paste (mild abrasive), melamine sponges (micro-abrasive), some cream cleansers (vary wildly).
My rule: Start with acid and time. If you still have spots, add gentle abrasion only where needed, not as your default.
Coating note: If your glass is labeled “easy-clean,” “treated,” or “coated,” follow the manufacturer’s care guidance and avoid abrasives and melamine sponges unless the manufacturer specifically approves them.
What to never mix
Bathrooms are where “one more product” turns into a science experiment fast. Here are the combinations to avoid.
- Never mix vinegar (or any acid) with bleach: This can create chlorine gas.
- Never mix bleach with ammonia: This can create toxic chloramine vapors.
- Do not layer different cleaners without rinsing: Even if each product seems harmless, residues can react.
Safety habits that actually help: Ventilate, wear gloves, and keep the door open while you work. If you feel a throat tickle or eye sting, stop and rinse everything with plenty of water.
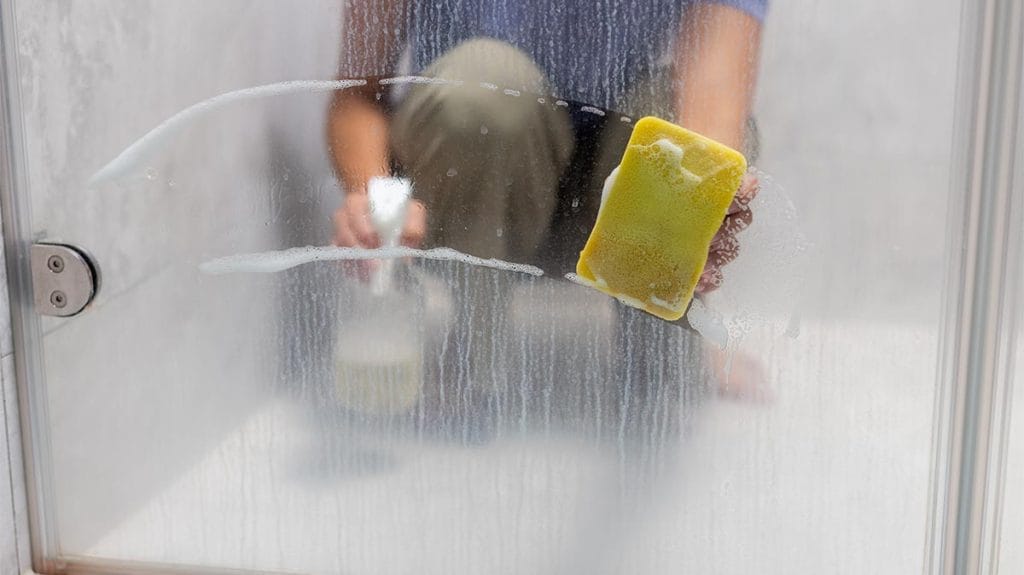
Step-by-step method
This is the method I reach for when I am styling a rental bathroom for photos and I need the glass to sparkle without drama.
1) Prep the area
- Turn on the bathroom fan and crack a window if you have one.
- Remove bottles from the ledge, and hang towels elsewhere.
- Lay an old towel along the bottom track to catch drips.
Why: Runoff is what dulls finishes and creates those mystery stains on metal and in the track.
Door type note: Frameless doors are simpler to wipe, but framed doors collect minerals in the bottom track and around rubber seals. Be extra careful with products pooling in aluminum tracks and along seals.
2) Degrease first
Soap scum can block acid from reaching the minerals. Quickly wash the glass with a few drops of dish soap in warm water. Wipe with a microfiber cloth, then rinse well.
- Dwell time: 1 to 2 minutes max.
- Do not skip the rinse: You want the next step to touch the minerals, not the soap.
3) Apply vinegar (start mild)
Fill a spray bottle with 1:1 white vinegar and warm water. Spray the glass until evenly wet.
- Dwell time: 5 to 10 minutes.
- Keep it wet: Re-spray if it starts drying.
Why “keep it wet” matters: Letting vinegar or citric solution dry can leave streaks or residue on glass, and it increases the chance of marks on nearby finishes. Keep it damp, then rinse well.
If it is heavy scale: 1:1 is my renter-safe starting point. If you are seeing a stubborn crusty band, you can try a stronger mix, up to full-strength vinegar, but spot test first and protect the track and metal.
Better than spraying for vertical glass: Soak paper towels in the vinegar solution and press them onto the glass. This keeps the acid in contact with the stains so you use less product and get more results.
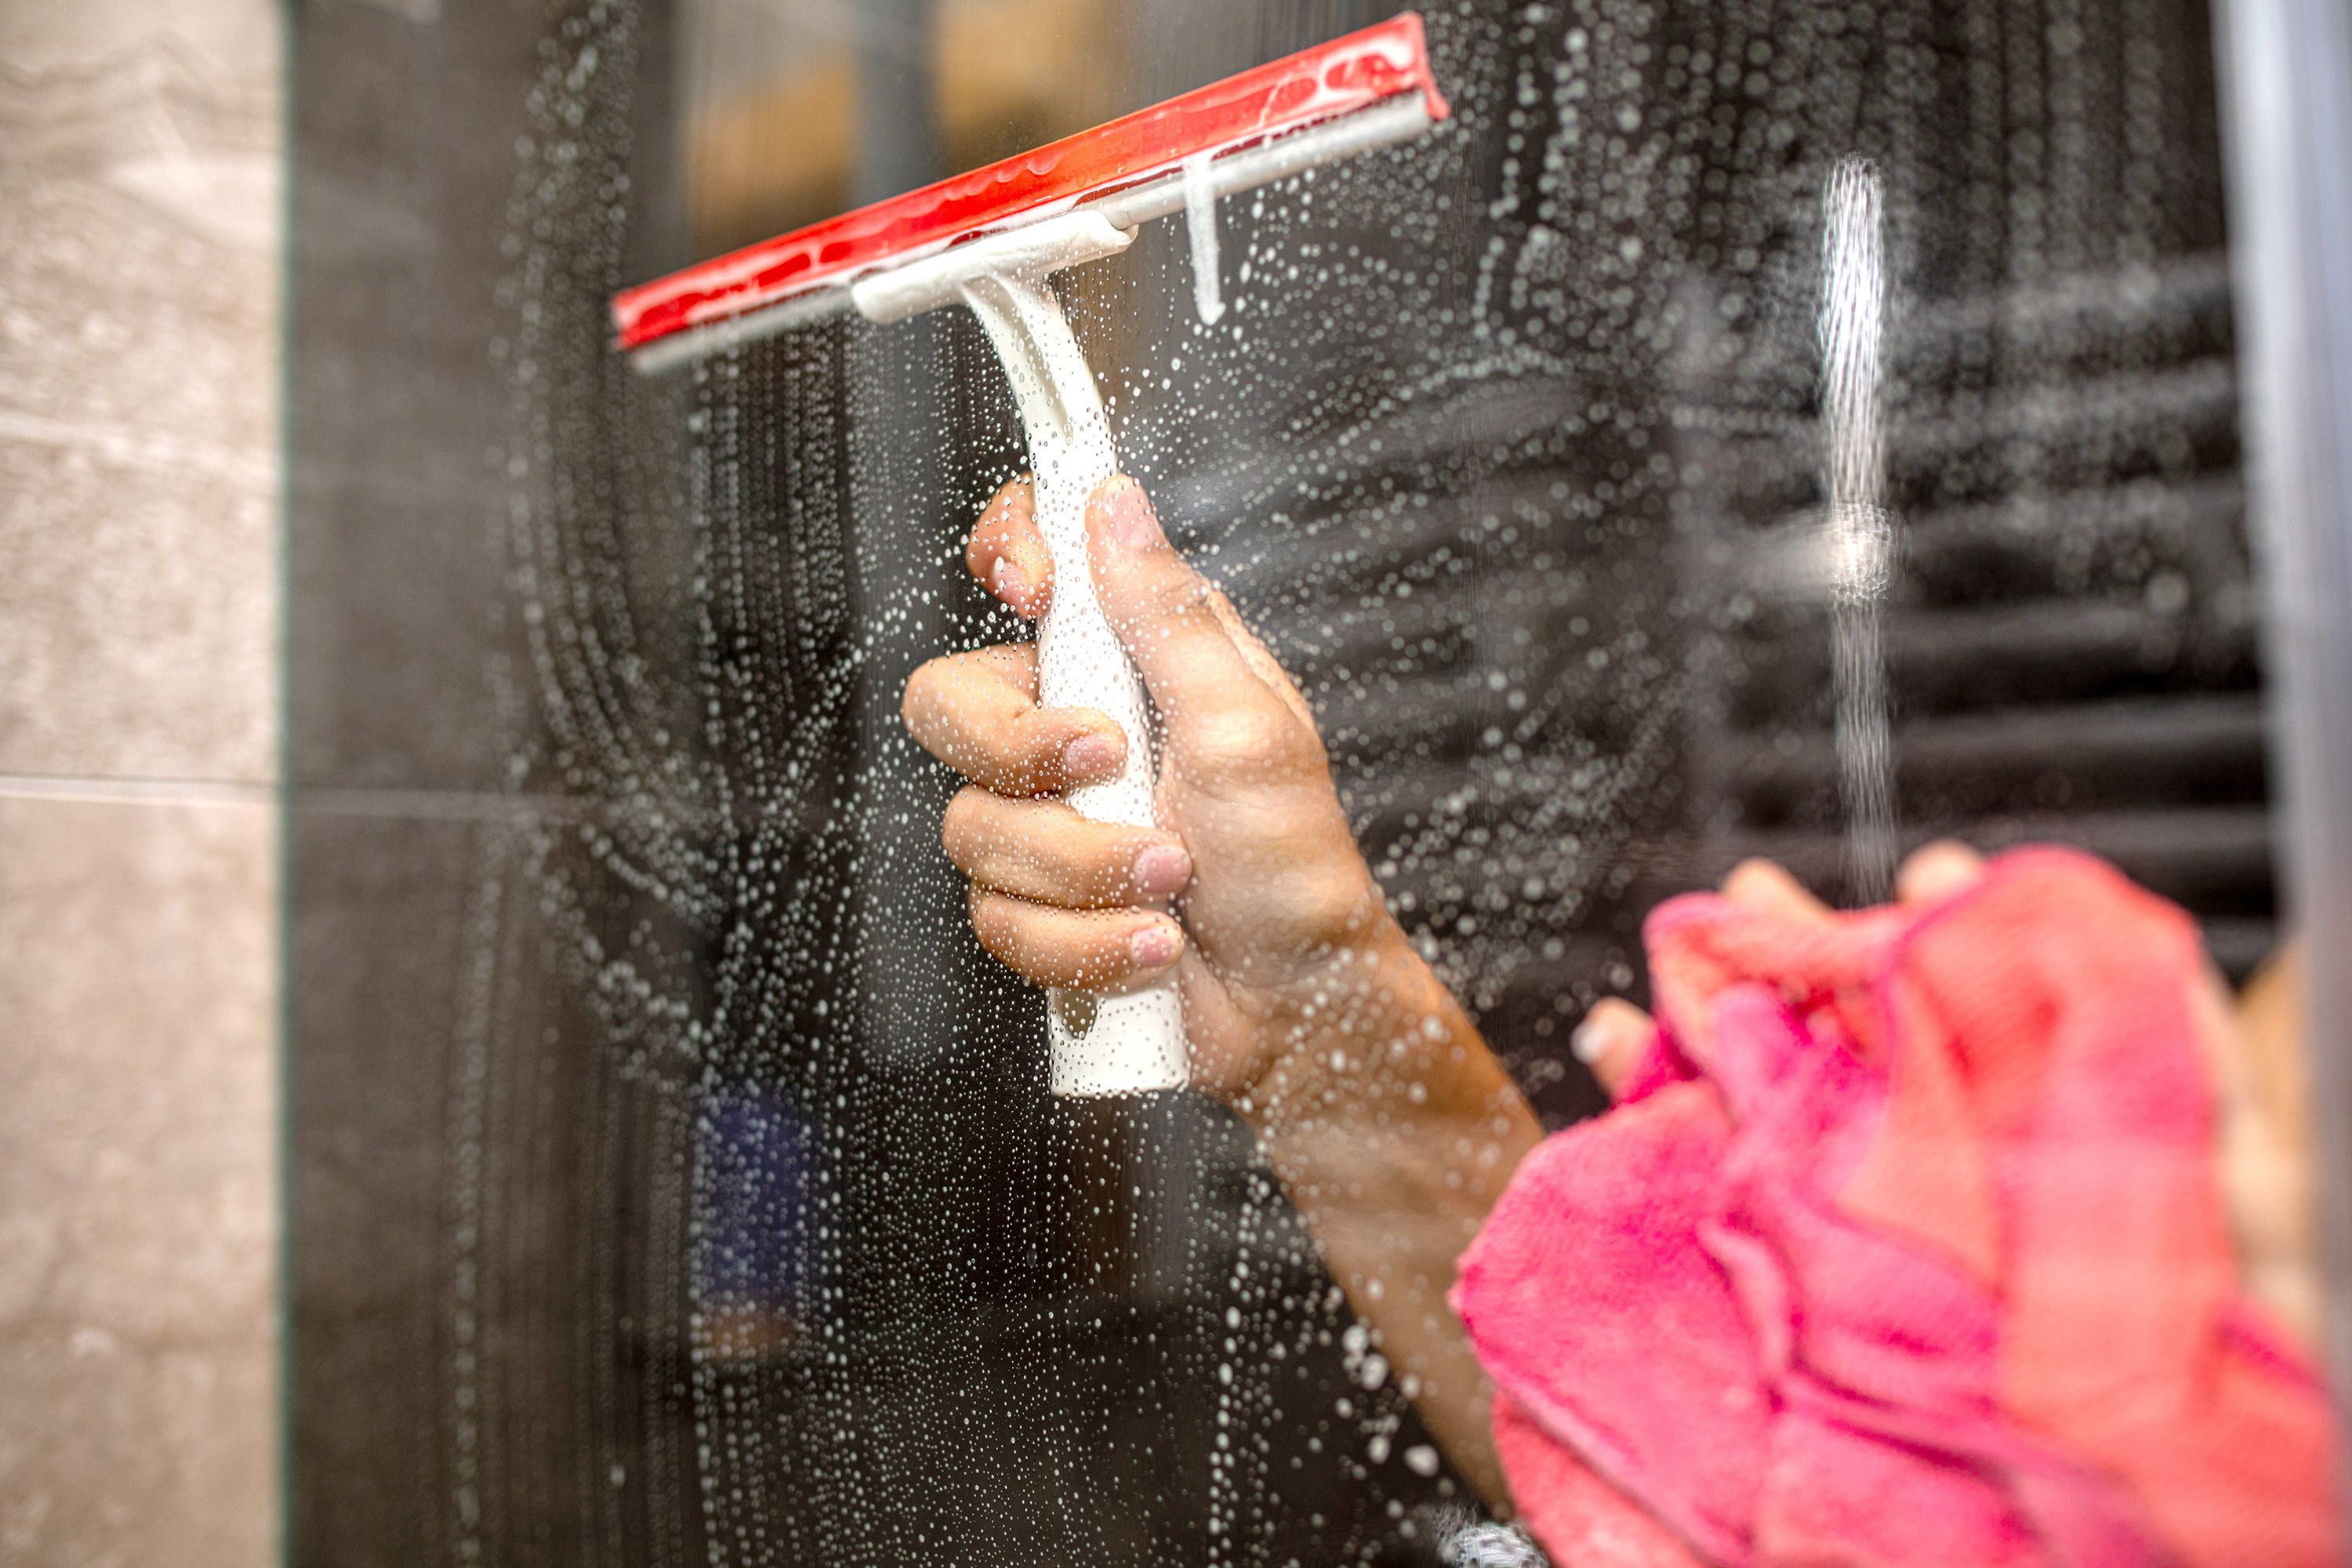
4) Wipe and rinse
Wipe top to bottom with a clean microfiber cloth. Then rinse thoroughly with warm water. If you have a handheld shower head, this is its moment.
Checkpoint: Dry a small section with a towel to see the true result. Wet glass can look deceptively perfect.
5) Spot treat stubborn deposits
If you still have dots or a crusty band near the bottom, make a paste of baking soda + a little water. Apply it only to the problem areas with a damp microfiber cloth.
- Scrub pressure: Light to medium. Let the paste do the work.
- Time: 30 to 60 seconds per area, then rinse fully.
Important: Baking soda is “mild,” but it can still scratch some coated or treated shower glass. Spot test in a corner first, and if your door has an easy-clean coating, skip abrasives unless the manufacturer approves them.
Skip anything “extra scrubbing” on the label unless you are 100 percent sure it is safe for glass and your door’s finish. Many cream cleansers are too aggressive for coated glass and metal trim.
6) Final polish
Dry the glass with a microfiber cloth. If you want a streak-free finish, follow with a second dry cloth like you are buffing a vintage mirror.
If vinegar is not enough
Some water is truly committed to being difficult. If the 1:1 vinegar method barely makes a dent, you have two reasonable escalations.
Option A: citric acid solution
Citric acid powder is often used for kettles and coffee makers. Dissolve it in warm water per package guidance and apply like vinegar.
- Why it helps: It can be more effective than vinegar on heavy mineral deposits.
- Dwell time: Start at 5 minutes, keep it wet, then rinse.
Option B: commercial limescale remover
Choose a product clearly labeled for bathroom limescale and safe for glass. Follow the label exactly.
- Do: Spot test on a corner first.
- Do: Protect metal trim and the door track with a towel barrier.
- Do not: Let it sit longer than instructed. Stronger is not better in a rental.
Important: If your shower surround includes natural stone like marble or travertine, avoid acidic cleaners on the stone entirely. Acid can etch it quickly. In that case, keep acids strictly on the glass, control drips, and rinse immediately.
Dwell times
If you only remember one thing, remember this: chemicals need contact time, but they should not be allowed to dry on the surface.
- Dish soap wash: 1 to 2 minutes, then rinse.
- Vinegar solution: 5 to 10 minutes, keep wet, then rinse.
- Citric acid: about 5 minutes to start, keep wet, then rinse.
- Commercial remover: follow label, usually a few minutes, then rinse thoroughly.
When in doubt, do two shorter rounds instead of one long soak.
Daily habit
I know, I know. Nobody wants another “tiny habit” suggestion. But this one is the difference between a 60-second reset and a Saturday scrub spiral.
Squeegee in 30 seconds
- Keep a small squeegee hanging inside the shower.
- After your shower, do the glass first, then a quick pass on tile if you want.
- Finish by wiping the bottom edge where water pools.
Why it works: Minerals only become stains when water dries on the surface. Remove the water, remove the problem.
Renter-friendly prevention
If you are in a hard water zone, prevention is not a personality trait. It is a strategy.
- Filtered showerhead: Some models can reduce certain impurities, but results vary by water chemistry. It is a low-commitment option if your lease allows swaps (save the original showerhead to reinstall later).
- Water softener (building level): This is usually a landlord decision, but it is worth asking if the whole building struggles with scale.
Sealing options
Sealing is where renters can get nervous, so let’s keep it simple. You are not resurfacing the bathroom. You are adding a temporary, maintenance-friendly layer that helps water bead and roll off.
Option 1: spray-on water repellent
Many water-repellent sprays designed for glass create a hydrophobic layer. They typically last a few weeks depending on how often you shower and what you clean with.
- Why renters like it: It is not permanent and generally removable with normal cleaning.
- Before applying: The glass must be truly clean and dry, or you will seal in haze.
- Landlord note: This is usually comparable to using a surface protectant. Still, if your lease is strict, test on a small area and keep the product info handy.
Option 2: car wax on glass (extra caution)
Some people use a tiny amount of non-abrasive car wax to help water bead. I consider this an optional move, not a first choice. It can haze, attract grime, and can be annoying to remove if applied too heavily.
- Check first: If your shower door has a factory coating, follow the manufacturer’s guidance. Wax may be discouraged.
- Avoid: Frosted or etched glass, and anywhere wax could make the floor slippery.
- Only if: You are comfortable buffing thoroughly and reapplying lightly.
What I would avoid as a renter
- Permanent coatings that require polishing compounds or specialized prep.
- Anything that claims to “etch” or “restore” glass unless you have written permission.
Mistakes to avoid
- Scrubbing with the wrong tool: Steel wool, harsh scrub pads, and gritty powders can scratch.
- Letting acid drip onto metal: It may pit or discolor certain finishes and tracks, especially if it sits. Protect the trim and rinse promptly.
- Cleaning in direct heat: Hot, steamy conditions can make products dry too fast. Keep the glass cool, and keep it wet while product dwells.
- Skipping the rinse: Cleaner residue attracts grime and makes glass look hazy.
Maintenance rhythm
If you want the “hotel shower” look without the hotel budget, here is a routine that is realistic in actual life.
- After showers: Squeegee the glass.
- Weekly: Quick wash with dish soap and warm water, rinse and dry.
- Monthly: Vinegar or citric acid treatment if you notice spots returning.
- Every 4 to 8 weeks: Reapply a water-repellent spray if you are using one.
It is less about perfection and more about not letting minerals settle in and move furniture in.
When to stop
If you have tried mild acid plus gentle spot scrubbing and the glass still looks cloudy, you may be dealing with etching or a failing protective coating. In a rental, that is a “document and ask” moment.
- Take photos in natural light.
- Send a polite note to your landlord or property manager describing what you tried.
- Ask if the doors have a special coating and what cleaners they recommend.
Sometimes the most renter-friendly choice is simply not turning a cleaning issue into a repair issue you get blamed for.