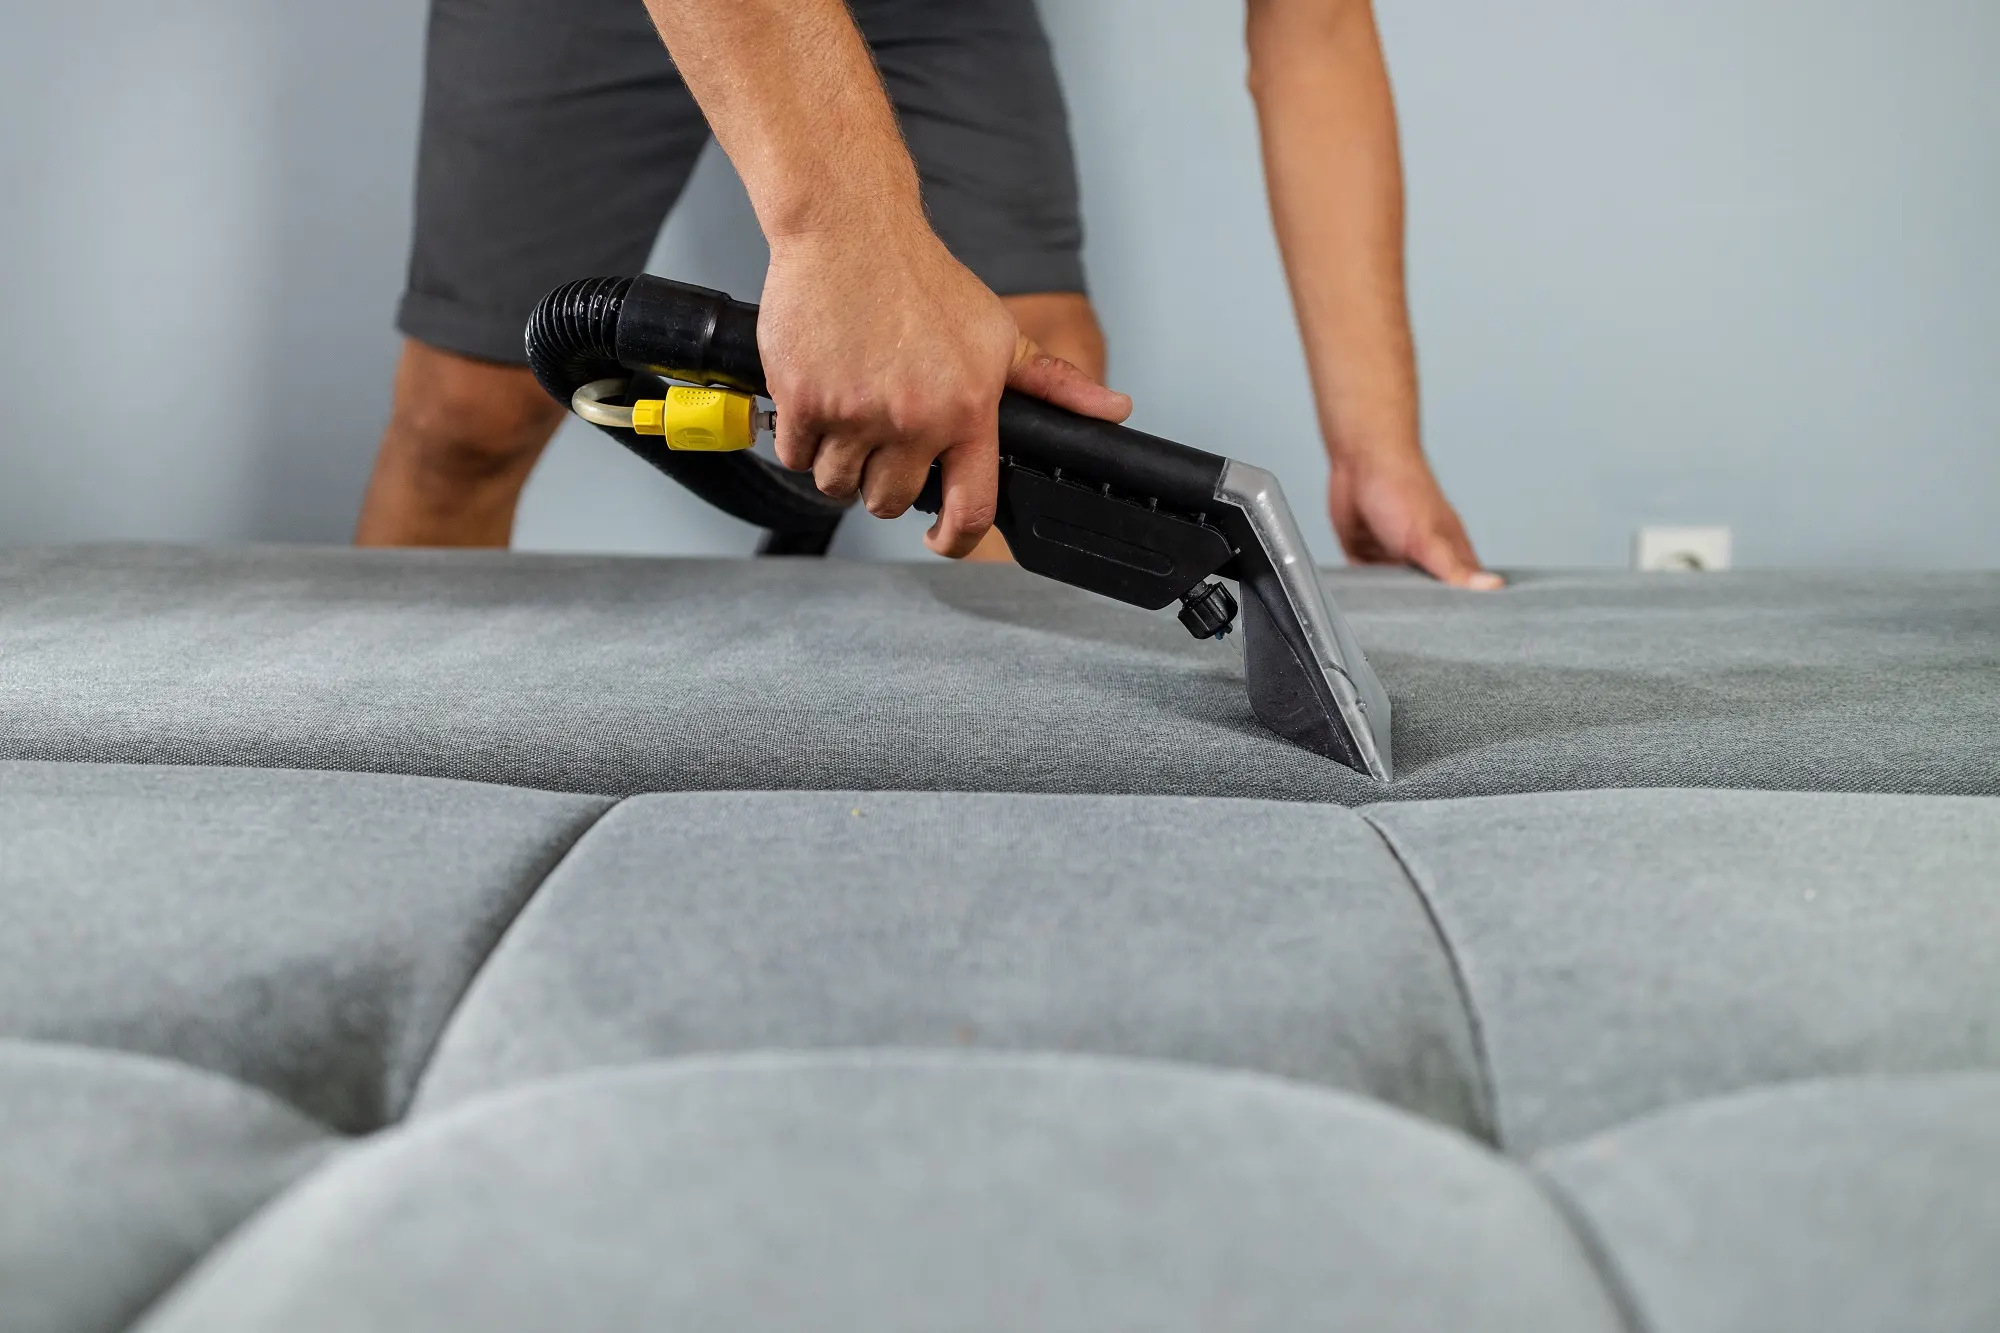
Remove Hair Dye Stains From Fabric Couches and Chairs
Clara Townsend
Clara Townsend is an interior stylist, vintage furniture enthusiast, and the creative voice behind Velvet Abode. With over a decade of experience transforming both cramped city apartments and sprawling fixer-uppers, she believes that a beautiful home is built on personal stories rather than massive budgets. When she isn't hunting for the perfect brass sconce at a local flea market, she can usually be found rearranging her living room for the third time this month.
Hair dye has a special talent for landing on the one thing you cannot just toss in the wash. If you are staring at a bright splatter on your fabric couch or chair, take a breath. You can often lighten or fully remove it, especially if you move quickly and stay gentle.
This guide is for the very specific chaos of hair dye on fabric upholstery , not coffee, not ink, not spaghetti sauce. Hair dye is designed to cling, so the goal is to lift what you can without spreading it, stripping the fabric, or creating a pale halo that looks even worse.
Quick note: If your piece is leather, faux leather, suede, or microfiber labeled as suede, skip the DIY solvents below. Those finishes can stain, dry out, or get permanently blotchy. Use a leather or suede specialist cleaner, or call a pro.
Expectation check: Semi-permanent dye usually lifts more easily than permanent dye. Permanent dye can oxidize and bond fast, so the earlier you blot and start, the better your odds.

Before you touch the stain
1) Check the couch tag
Find the care tag under a cushion or along the bottom edge. Look for a letter code, and follow any manufacturer notes on the tag in addition to the code:
- W: Water-based cleaners are generally safe.
- S: Solvent only. Avoid water-heavy cleaning.
- WS or SW: Water or solvent can be used with care.
- X: Vacuum only. Any wet spot cleaning can permanently mark it. This is a good time to call a pro.
2) Patch test
Hair dye removal often involves alcohols, mild detergents, or oxygen bleach. Any of these can change dye in the upholstery fabric. Test first so you do not trade one stain for a bigger problem.
- Pick a hidden spot: back hem, under a cushion, inside the skirt.
- Apply a tiny amount of your chosen solution to a white cloth.
- Dab the hidden area for 15 to 20 seconds.
- Wait 5 minutes. Check for fabric color transfer onto the cloth, fading, or texture change.
If color lifts from the couch onto the cloth, stop and switch methods or call a professional.
3) Blot, do not rub
Rubbing pushes dye deeper into the fibers and enlarges the stain. Always blot from the outside edge toward the center using a clean white cloth or paper towels.
Safety basics
Small steps beat big chemical moments.
- Wear gloves if you have them, and ventilate the room.
- Keep products away from kids and pets.
- Do not mix chemicals (especially peroxide or oxygen bleach with other cleaners).
- Use as little liquid as possible to avoid rings, wicking, and mildew.
What you need
You do not need a whole chemistry lab. Start mild and step up only if needed.
- White cotton cloths or plain white paper towels
- Cold water
- Mild dish soap (clear is ideal)
- 70% isopropyl alcohol (rubbing alcohol)
- Optional: Clear, high-alcohol hand sanitizer (only if you do not have rubbing alcohol)
- 3% hydrogen peroxide (for light fabrics only, after patch test)
- Oxygen bleach powder (like Oxi-type, optional, after patch test)
- Small bowl
- Soft-bristle toothbrush (optional)
- A fan for drying
About hand sanitizer: It can work in a pinch, but many formulas include moisturizers (like glycerin or aloe) that can leave residue or create a new spot. If you use it, choose a clear, high-alcohol formula, use a tiny amount, and rinse-dab afterward. Rubbing alcohol is the cleaner choice.
Avoid by default: chlorine bleach, acetone (can damage some synthetics and finishes), hot water, and aggressive scrubbing. Also skip colored towels. They can transfer dye when wet.
If the stain is fresh
Fresh dye is your best-case scenario. The goal is to lift as much pigment as possible before it bonds and oxidizes. Avoid heat. Do not use a hair dryer or steamer.
Step 1: Blot excess dye
- Use a dry white cloth to blot. Replace cloth sections as soon as they pick up dye.
- If there is a blob, gently scoop it with a spoon edge first, then blot.
Step 2: Dab with mild soap
Mix:
- 2 cups cold water
- 1/2 teaspoon mild dish soap
Dampen a cloth (not soaking) and dab the stain. Work from the outside in. Then blot with a separate cloth dampened with plain cold water to remove soap residue.
Step 3: Try rubbing alcohol
If the stain is still clearly visible, try rubbing alcohol next, especially on darker dyes. Use tiny amounts to avoid over-wetting and rings.
- Put a few drops of 70% isopropyl alcohol on a white cloth (not directly on the couch).
- Dab the stain lightly, outside to center.
- Blot with a dry cloth to lift pigment.
- Rinse by dabbing with a cloth lightly dampened with cold water.
Important: Do not pour alcohol directly onto the couch. It can spread the dye and leave a ring.
If the dye is still developing: With permanent dye, you may see the spot darken as it oxidizes. Keep working in short, gentle rounds rather than letting stronger products sit for a long time.
If the stain is set
Set-in hair dye can still improve dramatically, but you may be aiming for barely noticeable rather than perfect. Slow, repeated gentle passes usually beat one harsh attempt.
Step 1: Rehydrate lightly
Dab the area with a cloth dampened with cold water. This helps loosen pigment sitting near the surface.
Step 2: Alcohol in short rounds
Dab with rubbing alcohol as described above, then rinse-dab with water. Repeat 2 to 4 rounds, switching to a clean part of the cloth each time. Stop if you see fabric color lifting.
Step 3: Peroxide for light fabrics
Hydrogen peroxide can help break down residual dye on light, colorfast fabrics, but it can also lighten the upholstery itself.
- Patch test first and wait.
- Put a few drops of 3% peroxide on a cloth or cotton swab.
- Dab the stain (do not soak the cushion).
- Let it sit 3 to 5 minutes.
- Blot with a clean damp cloth, then blot dry.
If you see lightening of the couch fabric around the stain, stop immediately.
Step 4: Oxygen bleach (optional)
If your fabric is W or WS and the patch test passes, oxygen bleach can be a safer brightening option than chlorine bleach.
- Dissolve a small amount of oxygen bleach powder in cool water according to the label.
- Dab onto the stain, do not saturate.
- Let sit 5 to 10 minutes.
- Dab-rinse with plain water, then blot dry.
Skip oxygen bleach on wool or silk. Also skip it on X-coded fabrics because any wet treatment can permanently mark the material.

Avoid water rings
Even when the dye lifts, upholstery can dry with a tide mark. This is usually from over-wetting a small area.
- Feather outward: Each time you rinse-dab, lightly dab a slightly larger area than the stain itself.
- Use minimal moisture: Your cloth should be damp, not dripping.
- Blot dry well: Press with a dry towel to pull out moisture.
- Dry evenly: Aim a fan at the area for 30 to 60 minutes. Avoid heat tools.
When to call a pro
I love a brave DIY moment, but upholstery is expensive and hair dye is stubborn. Call a professional upholstery cleaner if:
- The care tag says X, or you cannot find a tag and the fabric feels delicate or vintage.
- The stain is large, especially on a light couch.
- You see color lifting from the upholstery onto your cloth during cleaning.
- The cushion is down-filled or the dye soaked into the padding. It may wick back up to the surface as it dries, even if the top looks better at first.
- The couch is a rental and you need the safest, most documentable approach.
Renter tip: Take a quick photo before and after each attempt, and note what you used. If you do end up calling a pro, this helps them choose the right method and shows good-faith effort.
Quick fixes
The stain is spreading
You are using too much liquid or rubbing. Switch to blotting only, and use less solution on the cloth.
The stain looks lighter but larger
This is often a moisture ring. Feather your rinse area outward and dry with a fan. If needed, lightly dampen a broader area around the spot with plain water and blot to even it out, but only on W or WS fabrics.
Nothing is changing
The dye may be fully oxidized or bonded, especially with permanent dyes. You may still reduce it with multiple alcohol rounds, but do not keep escalating to harsher chemicals. At that point, a pro extraction or targeted treatment is your best bet.
Aftercare
Let the area fully dry before judging the result. Wet fabric can make stains look darker, and dry fabric tells the truth.
Also make sure the cushion dries all the way through. If the padding got wet, keep air moving with a fan and avoid putting a throw pillow over the spot until it is completely dry. This helps prevent that damp smell and mildew issues later.
Prevent the next spill
- Throw a dark towel or an old sheet over the back and seat before touch-ups.
- Keep a small stain kit nearby: white cloths, dish soap, rubbing alcohol.
- If you dye at home often, consider a washable slipcover. Not glamorous, but deeply practical.
