Remove Greasy Film From Kitchen Cabinets Without Ruining the Finish
Clara Townsend
Clara Townsend is an interior stylist, vintage furniture enthusiast, and the creative voice behind Velvet Abode. With over a decade of experience transforming both cramped city apartments and sprawling fixer-uppers, she believes that a beautiful home is built on personal stories rather than massive budgets. When she isn't hunting for the perfect brass sconce at a local flea market, she can usually be found rearranging her living room for the third time this month.
That slightly sticky, dull-looking film on kitchen cabinets is usually not “just dust.” It is a blend of cooking grease, airborne food particles, and whatever cleaner residue was left behind the last time someone did a quick wipe. The good news: you do not need to strip your cabinets or scrub like you are sanding a deck. You just need the right progression, a soft touch, and a little respect for whatever finish is protecting the wood or paint.
My rule is simple: start mild, move up slowly, and stop as soon as the grime releases. Your cabinets will look brighter, your hardware will sparkle again, and you will not accidentally cloud the finish in the process.
Before you start: what you're cleaning
If you are not sure what kind of cabinets you have, do not panic. You do not need a lab test. You just need to know whether you are dealing with a hardy factory finish or something more delicate.
- Painted cabinets: Usually durable if factory-finished, but can be vulnerable at edges, seams, and around pulls where hands rub constantly.
- Stained wood with clear coat (polyurethane or conversion varnish): Typically quite tough and forgiving.
- Lacquer (common in some modern and many vintage finishes): Can haze or soften with strong solvents and high-alkaline cleaners. When in doubt, keep it mild and spot-test.
- Shellac (often on older or vintage cabinetry): Can soften or haze with alcohol and strong cleaners.
- Thermofoil or laminate: Smooth and easy to wipe, but seams and edges can swell or lift if water sits.
- Waxed or oil-finished wood: Rare for modern kitchens, but common in vintage pieces. Harsh degreasers can strip the sheen and leave blotches.
Always spot-test your chosen cleaner inside a cabinet door or on a low, hidden corner. Wipe, dry, and wait 10 to 30 minutes, then recheck once it is fully dry. If the finish looks dull, tacky, softened, or streaky, step back to a gentler option.
Supplies
- Two buckets or a bowl plus a rinse bowl (clean water)
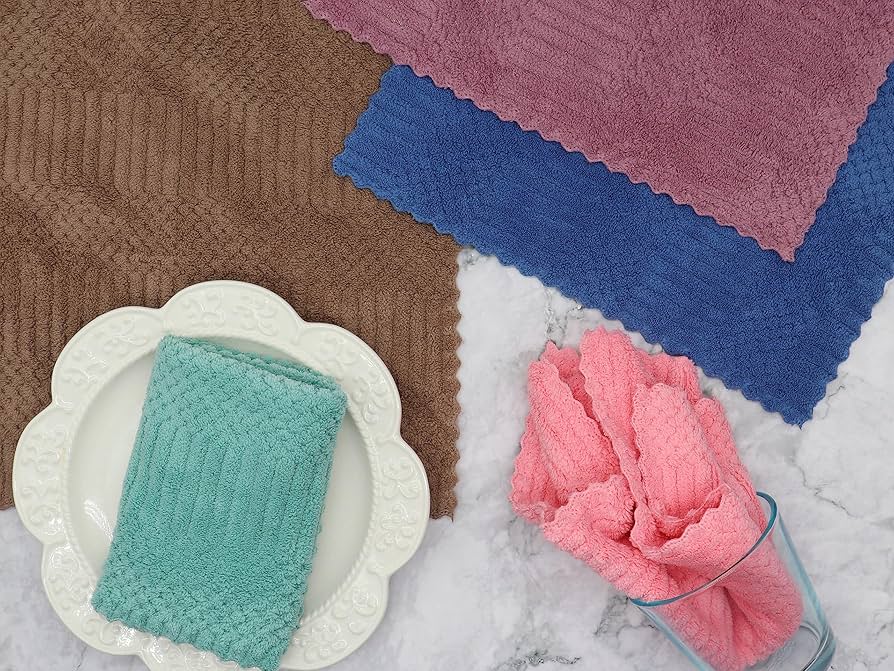
- Microfiber cloths (at least 4)
- Soft sponge (non-scratch)
- Soft toothbrush or detailing brush for crevices
- Dish soap (a grease-cutting one is ideal)
- Optional: white vinegar
- Optional: baking soda (for a mild paste on stubborn spots, used carefully)
- Optional: degreasing cleaner
- Optional: TSP substitute
- Optional: screwdriver and small container for screws
- Painter’s tape and a plastic bag or cling wrap to shield hinges if needed
Avoid: abrasive scrub pads, powdered scouring cleansers, and magic eraser style melamine sponges on painted or glossy finishes. They can act like very fine sandpaper and leave a permanently dull patch.
Microfiber tip: swap cloths when they start to feel greasy. And do not reuse your rinse cloth as your wash cloth, or you will just smear the film around.
The finish-safe cleaning ladder
Think of this like skincare for your cabinets. You are not starting with a chemical peel. You are starting with a gentle cleanse, then only stepping up if the grime is stubborn.
Step 1: Dry dust first
Wipe cabinet faces and frames with a dry microfiber cloth, especially along the top edge of doors and crown molding. Removing loose dust first keeps you from making gritty mud that can micro-scratch finishes.
Step 2: Warm water and dish soap
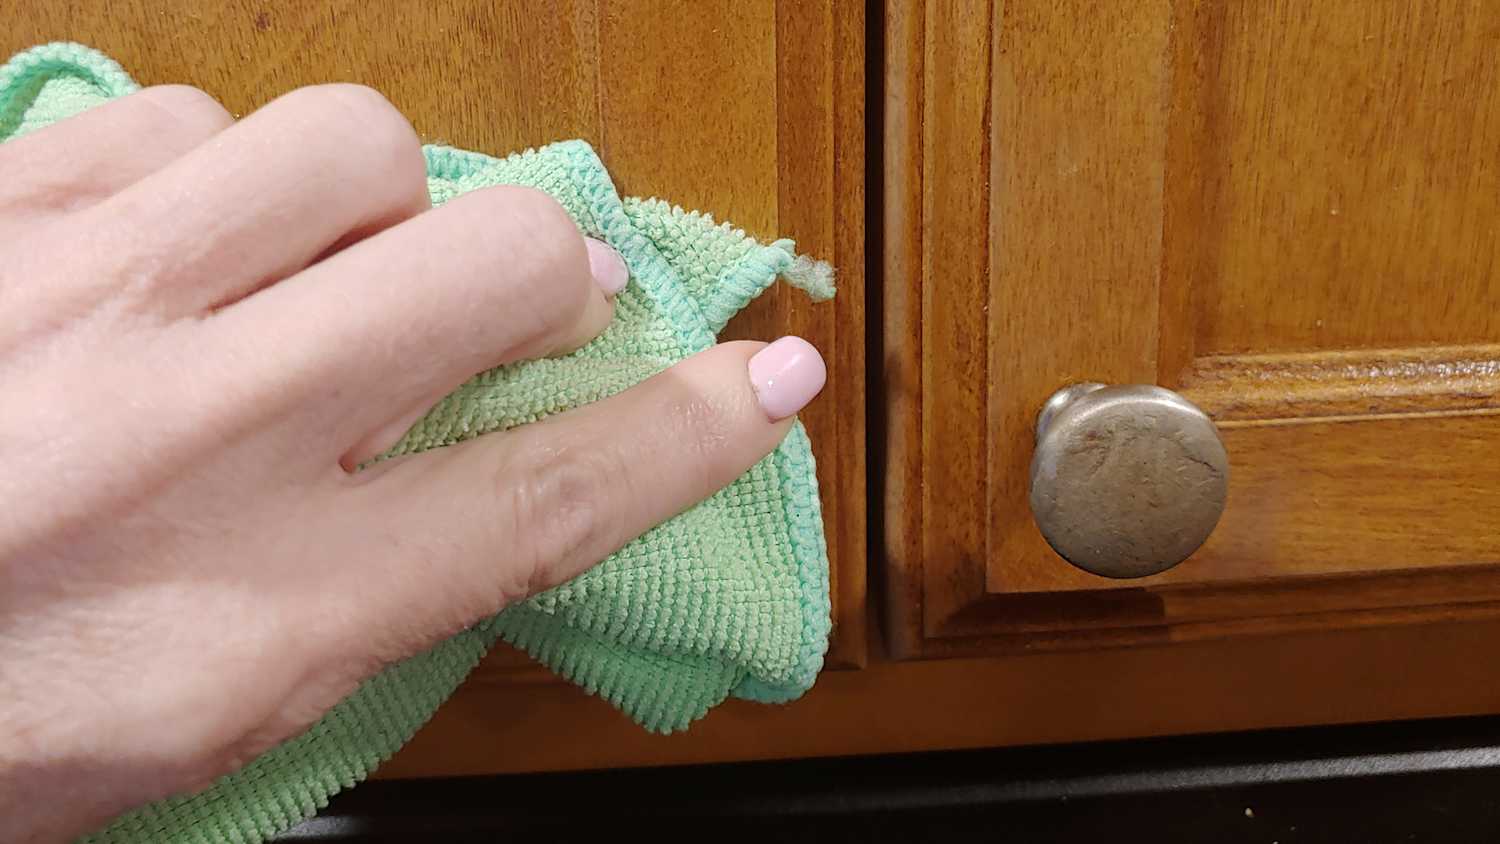
Mix a few drops of dish soap into warm water. You want suds, not a bubble bath. Dip a microfiber cloth, wring it hard, and wipe in small sections.
- How wet is “damp”? The cloth should feel barely damp, and it should not drip when you squeeze it.
- Where to focus: around knobs and pulls, the bottom edge of uppers (above the stove), and the cabinet above the microwave or range hood.
- Technique: gentle pressure, multiple passes. Let the soap do the work.
Follow with a clean cloth dampened with plain water to rinse, then dry with a fresh microfiber. This rinse and dry step is what keeps cabinets from feeling sticky afterward.
Step 3: Vinegar boost (for haze and light film)
If soap removes most of the grime but you still see a dull film, try a mild vinegar mix: 1 part white vinegar to 3 parts warm water. Wipe, then rinse with plain water, then dry.
Use caution on natural stone backsplashes that meet cabinet edges, and do not let vinegar run down into seams.
Step 4: Baking soda paste (small stubborn spots only)
If you have a stubborn, localized smudge around handles or a spot that feels slightly tacky even after soap, you can try a baking soda paste on durable finishes.
- Make a paste with 2 parts baking soda to 1 part water.
- Apply a tiny amount to a damp microfiber or soft sponge and rub very lightly.
- Wipe clean, then rinse, then dry.
Important: baking soda is mildly abrasive. Skip this step on high-gloss, easily scratched, or delicate finishes (especially glossy paint, acrylic-like gloss, and many vintage finishes). When in doubt, do not use it.
Step 5: Dedicated degreaser (for true kitchen grease)
If the film feels tacky or grabs your fingertips, move to a kitchen degreaser that is labeled safe for finished wood or painted surfaces. Spray onto your cloth, not directly onto the cabinet, so you do not flood seams and hardware holes.
- Work one door at a time.
- Use a short dwell time, usually 30 to 60 seconds, unless the label says otherwise.
- Rinse with a clean damp cloth afterward, then dry. Degreaser residue can attract more dirt.
Step 6: TSP substitute (heavy buildup or pre-paint cleaning)
If your cabinets are truly coated, like near a fryer or years of cooking without a range hood, a TSP substitute can help. It is strong enough to cut through grime, but it varies by product. Some are still quite alkaline, so check the label and test first. Wear gloves, keep your cloth damp (not wet), and rinse thoroughly.
Important: TSP and TSP substitutes can dull certain finishes if left too long. Keep it moving, rinse well, and do not use it as a weekly cleaner.
Hardware
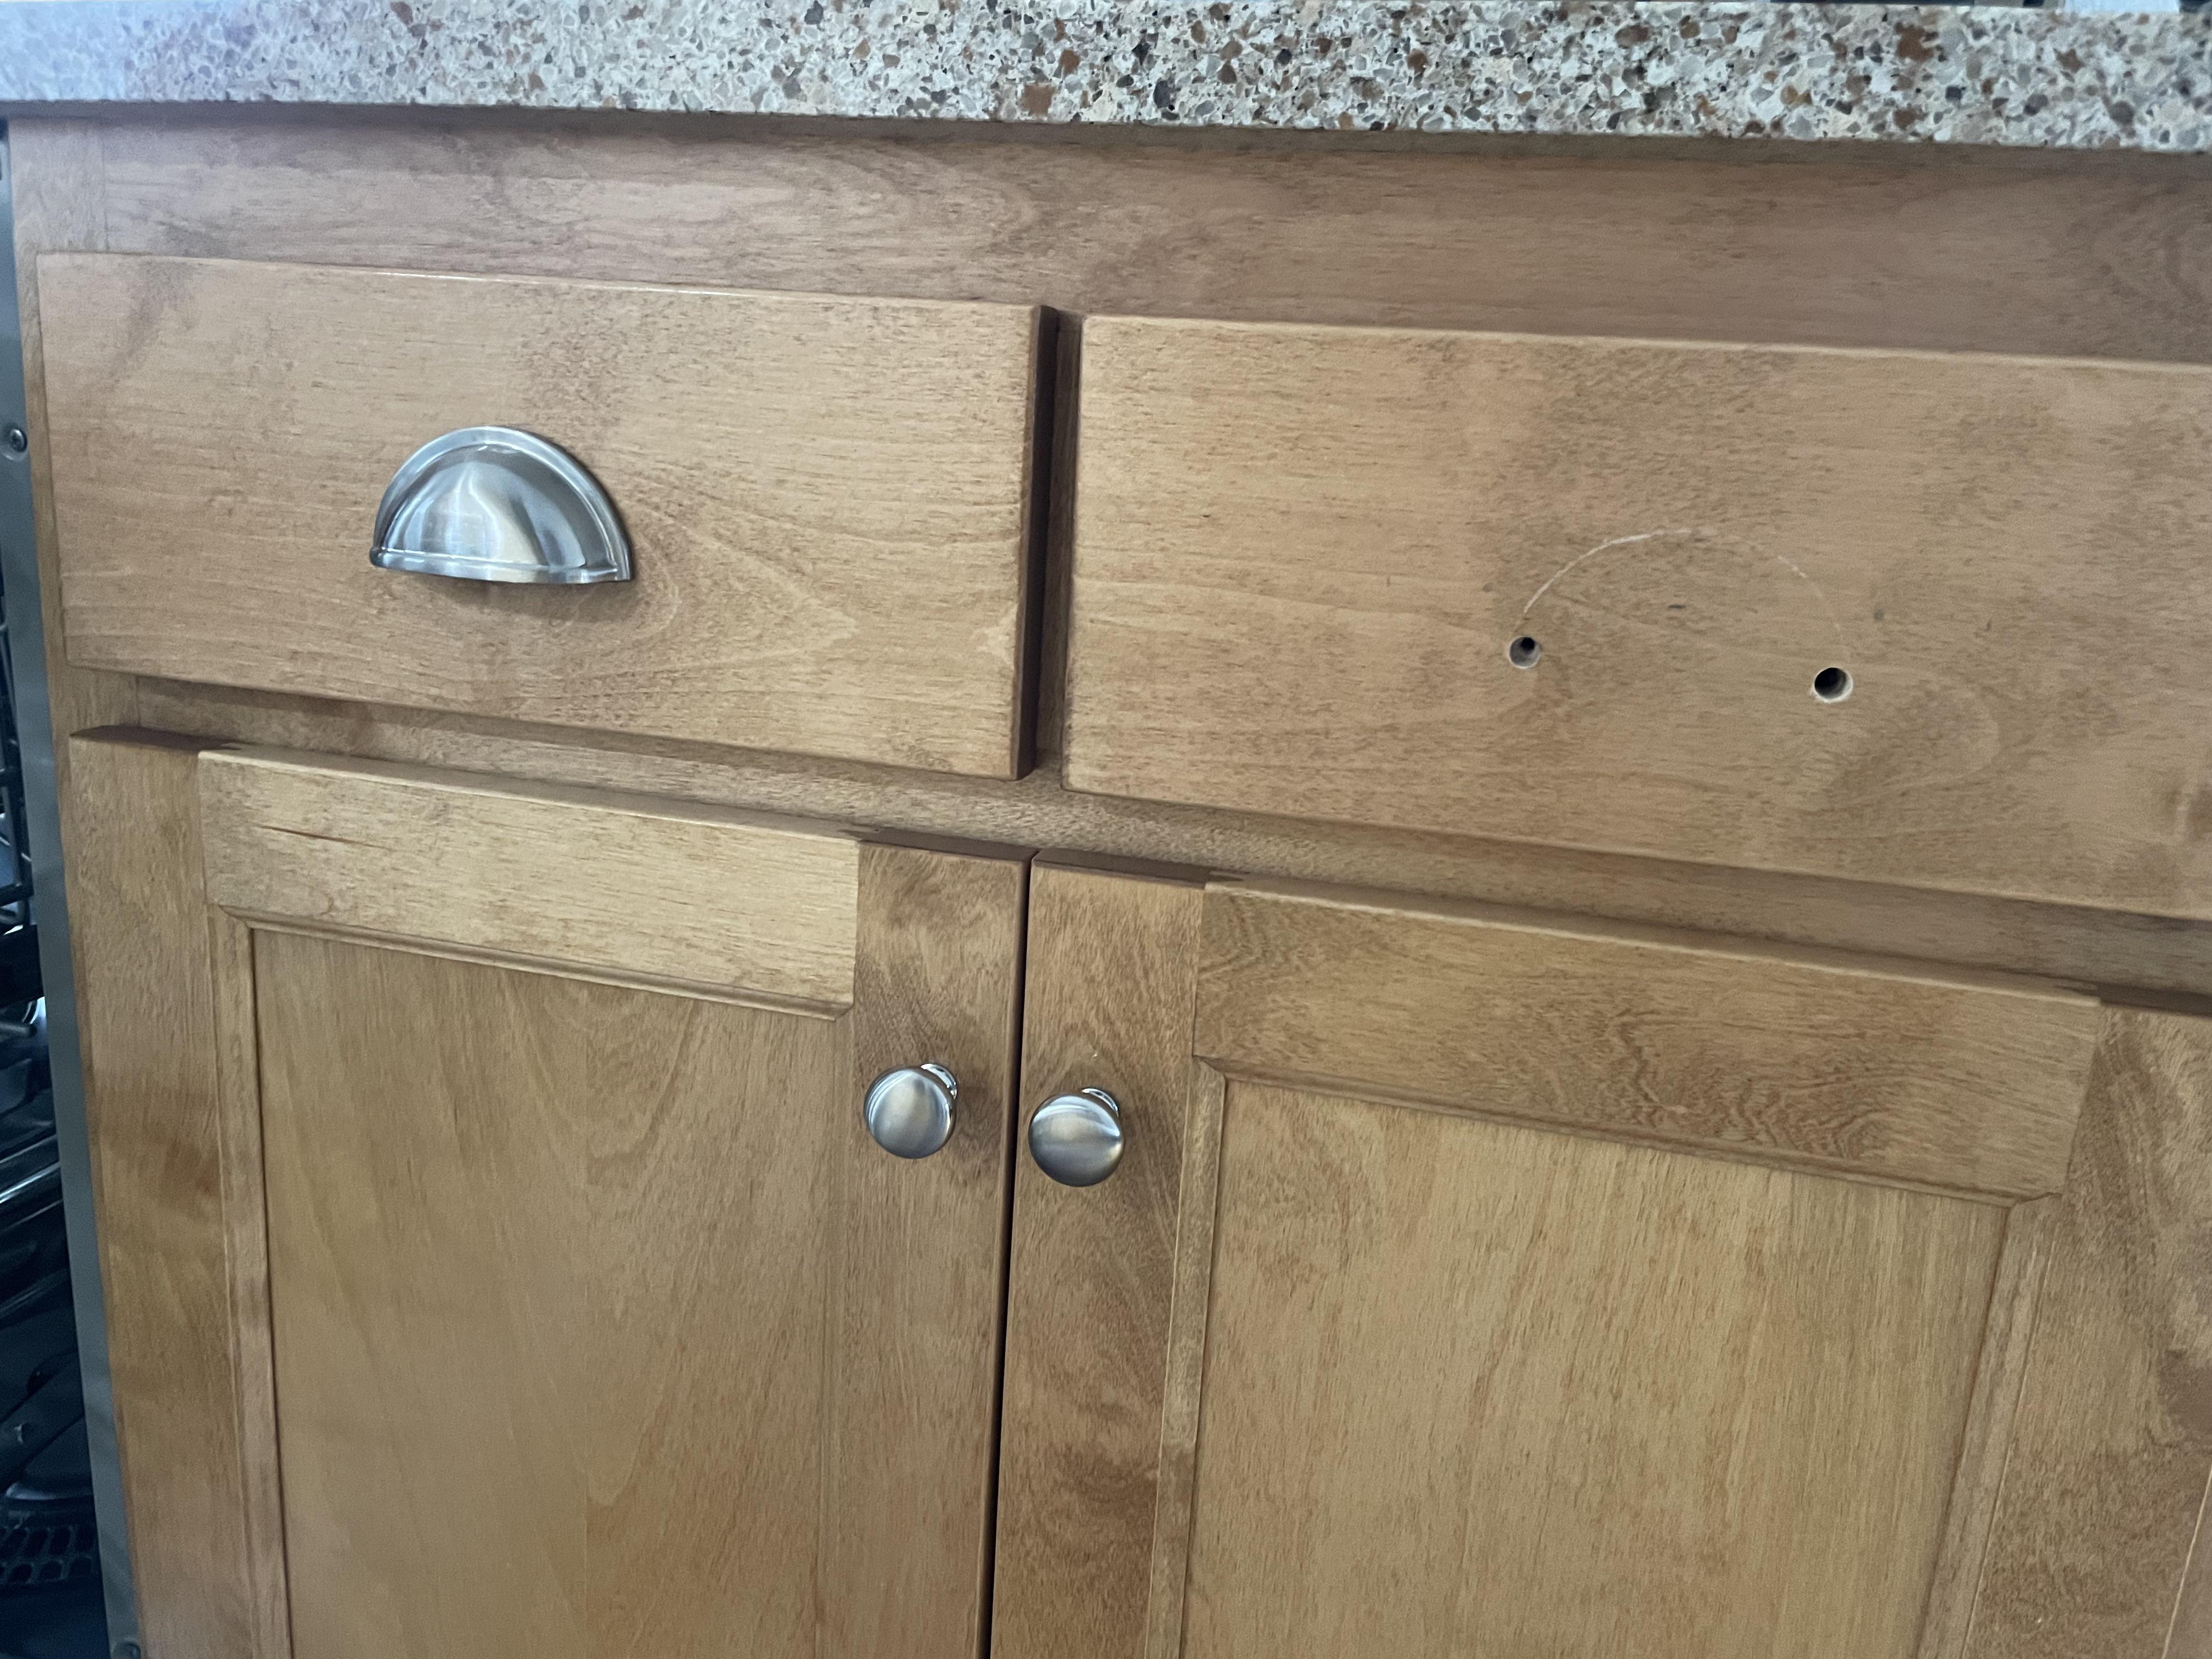
If you have ornate pulls, backplates, or vintage brass with lots of crevices, removing hardware makes cleaning faster and more even. If your pulls are simple, you can often clean around them with a toothbrush and a careful hand.
When removal is worth it
- Sticky grease is concentrated around knobs and you cannot fully reach the edges.
- You are seeing dark rings where hands touch daily.
- You want to polish hardware separately.
Remove hardware without chaos
- Work in zones. One drawer bank or one run of uppers at a time.
- Put screws in a labeled container or tape them to an index card.
- If holes are loose, do not overtighten on reinstall. Use a toothpick and wood glue trick later if needed.
Moisture and hinge protection
Most cabinet damage during cleaning is not from the cleaner. It is from too much moisture sitting in seams, wicking into MDF, or pooling around hinge plates.
- Wring cloths hard. Damp is good. Dripping is a problem.
- Keep liquid away from seams where door panels meet frames.
- Dry right away, especially along the bottom rail of upper cabinets.
- Shield hinges if you are using a stronger degreaser. A little painter’s tape and a small piece of plastic over the hinge cup can prevent cleaner from sitting in the metal and loosening grime into the joint.
If your hinges already have a greasy buildup, use a lightly damp toothbrush with dish soap, then wipe dry. Avoid soaking hinge mechanisms. Water can displace lubricant and invite squeaks.
Finish cautions
Painted cabinets
- Avoid abrasive scrubbers and powdered cleaners.
- Be gentle on corners and routed details where paint is thinnest.
- If you see dulling, step back to dish soap and water and shorten your dwell time.
Lacquered cabinets
- Avoid strong solvents and high-alkaline cleaners. They can haze some lacquer finishes.
- Use dish soap first, then a mild degreaser only if needed, followed by a thorough rinse and dry.
Shellac
- Avoid alcohol entirely. Even a quick wipe can soften shellac.
- Stick with a barely damp cloth and mild dish soap. Work quickly and dry immediately.
Thermofoil and laminate
- Do not let water sit at edges or near peeling seams.
- Avoid very hot water and steam cleaners. Heat can weaken adhesive and lift corners.
Waxed or oil-finished wood
- Degreasers can strip the finish and leave it thirsty-looking.
- Use a tiny amount of dish soap, minimal water, and plan to re-wax or re-oil if the surface looks dry afterward.
A calm routine that works
If you want a no-drama approach that works in most kitchens, do this:
- Dry dust everything.
- Wash with warm water and dish soap using a wrung microfiber cloth.
- Rinse with clean water on a separate cloth.
- Dry immediately.
- Spot-treat stubborn zones with baking soda paste (if finish-safe) or a cabinet-safe degreaser on the cloth, then rinse and dry again.
- Clean hardware separately if removed, then reinstall once doors are fully dry.
Time planning: for an average kitchen, plan about 60 to 90 minutes for a thorough clean, depending on buildup and how much hardware you remove.
Put on a playlist, take it one cabinet run at a time, and you will be shocked how much brighter the whole kitchen feels. Clean cabinets reflect light better. They make counters look tidier. They make even a budget backsplash feel more intentional.
Stubborn problems
“It still feels sticky.”
This is usually residue. Either grease that was loosened but not rinsed, or cleaner left behind. Re-wash with dish soap, then rinse twice and dry.
“There are streaks.”
Streaks often come from too much soap or degreaser. Use a clean damp cloth (just water), wipe once more, then dry with a fresh microfiber.
“The paint looks dull in one spot.”
Stop and reassess. Dulling can mean abrasion, a too-strong cleaner, or a finish that is softening. Switch to mild soap only, use very light pressure, and keep moisture minimal. If the dullness remains after drying, do not chase it with more product. You may need a touch-up paint plan later.
“There is yellowing.”
Yellowing can be aged clear coat (especially on older painted cabinets), nicotine, or UV exposure. Cleaning helps, but it may not fully reverse chemical aging. If you are seeing a uniform yellow cast, that is often a refinishing or repainting conversation, not a degreasing one.
Keep the film from coming back
- Wipe the hot spots weekly: the cabinet above the stove, the pulls, and the lower edge of uppers.
- Use the range hood, even for “quick” cooking. Airflow matters more than you think.
- Skip oily sprays meant for “shine.” Many leave a residue that attracts dust.
- Do a monthly gentle wash with dish soap and warm water, then rinse and dry.

Clean cabinets are one of those quietly powerful home upgrades. They make your kitchen feel cared for, and they keep the whole room from feeling like a sticky mystery.
Quick safety notes
- Do not mix cleaners (especially vinegar with bleach products).
- Avoid straight bleach, straight ammonia, and strong solvents (like acetone or high-percentage alcohol) unless your cabinet manufacturer specifically says they are safe.
- Wear gloves if using degreasers or TSP substitutes.
- Ventilate the kitchen if using anything stronger than dish soap.
- Remember: “natural” does not always mean finish-safe. Spot-test and stay mild when you are unsure.