Remove Dried Mud and Road Grit From Upholstery Without Grinding It In
Clara Townsend
Clara Townsend is an interior stylist, vintage furniture enthusiast, and the creative voice behind Velvet Abode. With over a decade of experience transforming both cramped city apartments and sprawling fixer-uppers, she believes that a beautiful home is built on personal stories rather than massive budgets. When she isn't hunting for the perfect brass sconce at a local flea market, she can usually be found rearranging her living room for the third time this month.
Dried mud on upholstery looks harmless until you do the one thing that makes it worse: rubbing. Road grit is basically tiny rocks and dust, and once it gets pushed into the weave, it can leave your cushion looking dingy even after you clean it.
The good news is that this is one of those problems where patience wins. If you treat it like a “remove the solids first” situation, you can get the mess out without sanding your fabric in the process.
Before you start: contain the mess
My rule is simple: contain first, clean second. Mud and grit love to tumble off a cushion and onto your floor the moment you touch them.
Quick prep checklist
- Lay down protection: Slide a washable drop cloth, old sheet, or a large towel under the area you are working on. If you have LVP, hardwood, or a rug, this step saves you from gritty footprints later.
- Move the cushion if you can: Take removable cushions off the sofa and bring them to a hard floor or a table covered with a towel. Less wobble, more control.
- Good light matters: Angle a lamp across the fabric so you can see grit in the weave. Side lighting shows texture and leftover dust.
- Know your fabric code: Check the tag under the cushion or on the frame. You are looking for W, S, WS, or X.
No tag? Start with the driest, gentlest method (brush + vacuum), then spot test the mildest cleaner you might use. When in doubt, stick to dry methods or check with the manufacturer or a pro.
Why the fuss? Because you want to lift grit away from the fibers, not press it through them.
The no-grind method: dry first
Think of this like cleaning a muddy floor: you sweep up the grit before you bring out a damp mop. Same concept.
Step 1: Let it dry fully
If the mud is even a little damp, pause. Wet mud smears and can carry pigment deeper into fibers. Give it time, or use a fan aimed across the surface for 20 to 30 minutes. Skip high heat. It can set some stains and can damage or shrink certain textiles. Gentle airflow is your friend.
Step 2: Crack the crust gently
Use a soft upholstery brush, a clean dry dish brush, or even a dry microfiber cloth. Light pressure only. The goal is to break the mud into crumbs so the vacuum can lift it, not to scrub it into the fabric.
- Brush in one direction toward the center of the mess so crumbs do not migrate.
- If you are on velvet, chenille, or brushed microfiber, brush with the nap so you do not rough it up.
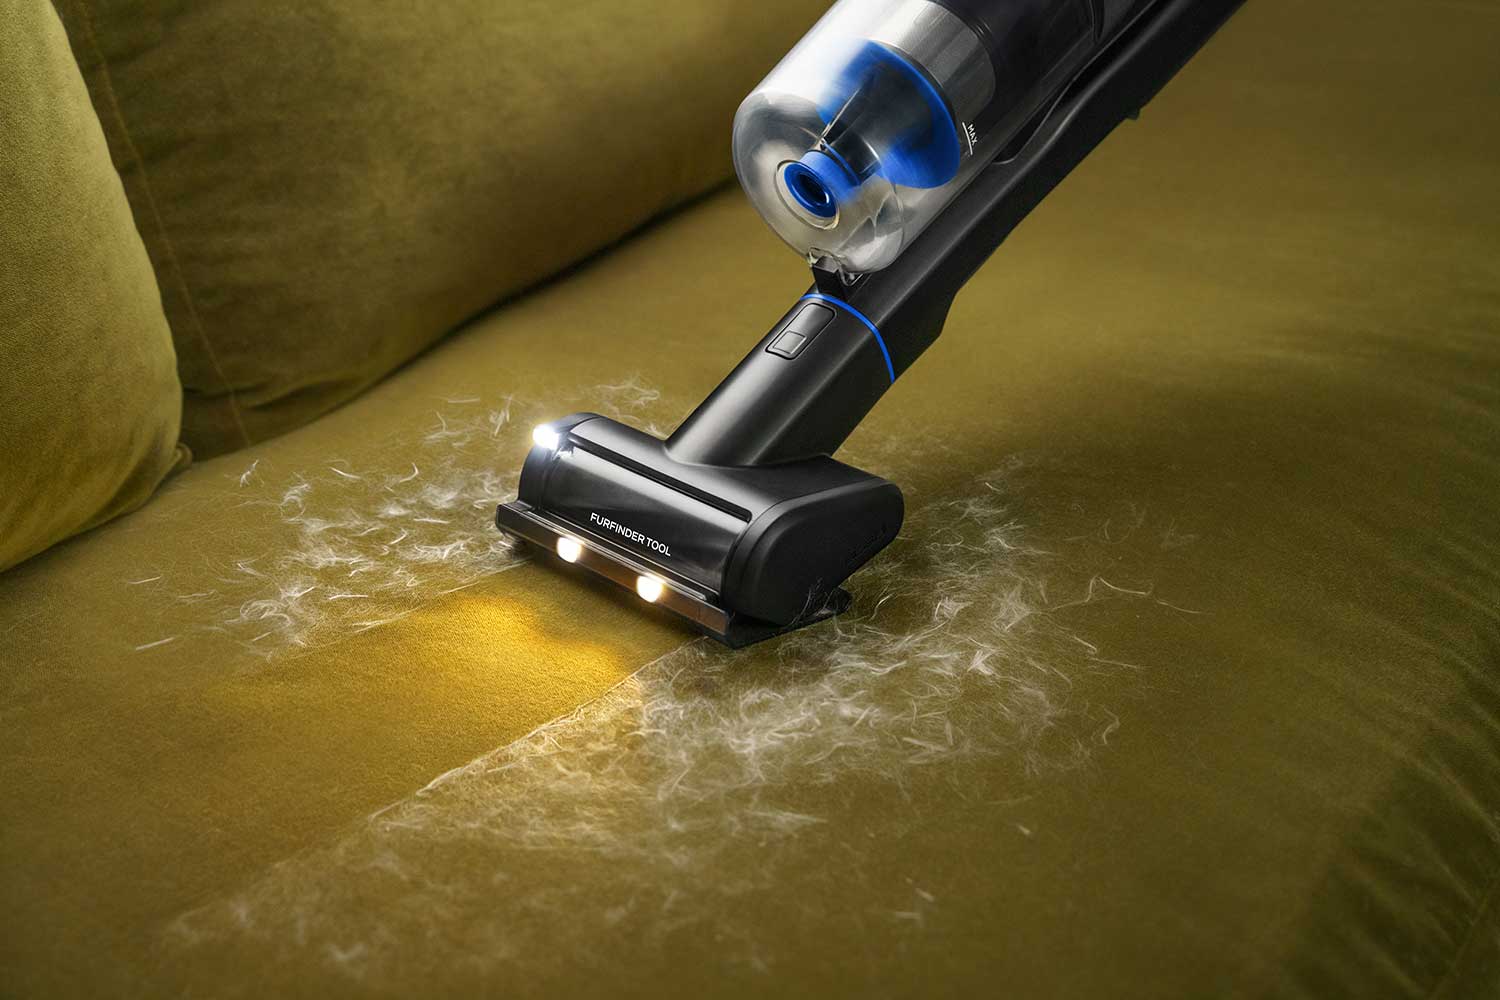
Step 3: Vacuum thoroughly
This is the workhorse step. Use suction to remove grit from the weave and seams where it hides.
- Upholstery tool: Best for the main surface. Keep it slightly lifted and make slow passes.
- Crevice tool: For piping, seams, tufted buttons, and the crack where cushion meets frame. This is where road grit collects.
- Brush attachment: Helpful for textured weaves, but keep it gentle. Stiff bristles can fuzz delicate fibers.
Tip: If your vacuum has strong suction, reduce it if possible. Too much pull can distort looser weaves and make you press harder, which defeats the whole “no grinding” mission.
Always do a spot test
Before you use any damp method or solvent, test in a hidden area (back edge of the cushion, under a skirt, or inside a seam allowance if accessible).
- What to look for: Color transfer onto your cloth, a dark ring that does not fade as it dries, a stiff or fuzzy texture change, or any lightening.
- Wait time: Let the test area dry fully before you decide it is safe. Some issues only show up as it dries.
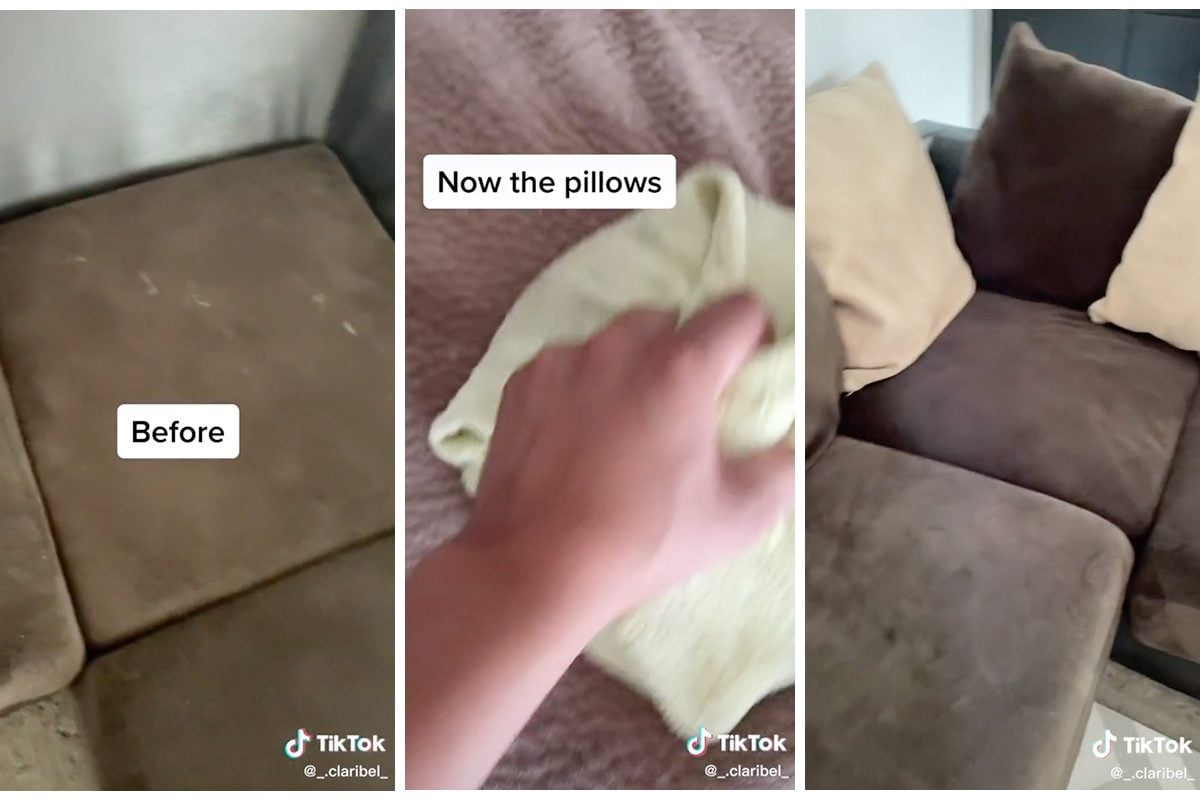
Removable covers: check first
If your cushion cover has a zipper and a care label that allows washing, laundering may be the easiest win.
- Vacuum and dry brush first so you do not grind grit in during washing.
- Follow the label exactly, and air dry if the tag suggests it. High heat can shrink covers and make re-fitting a wrestling match.
If the cover is not meant to be removed (or the label warns against it), stick with spot cleaning below.
Pick a method by fabric code
Once the dry debris is gone, you can treat what remains as a light soil film. This is where fabric codes keep you from turning a small problem into a watermark.
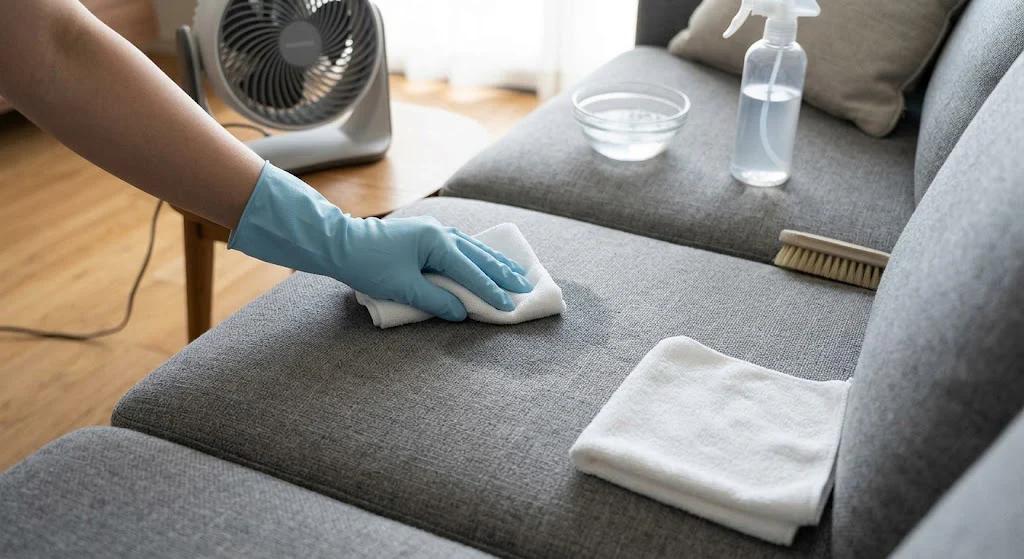
Code W: water-based cleaning is allowed
Mix a small bowl of lukewarm water with a few drops of clear dish soap. You want it barely sudsy.
- Dampen a white microfiber cloth, then wring it hard. It should feel almost dry.
- Blot and dab the area. Avoid circular scrubbing.
- Rinse by blotting with a second cloth dampened with plain water.
- Press a dry towel into the fabric to pull moisture back out.
Finish with a fan to dry quickly and help prevent rings.
Code S: solvent only
Skip water. Use a dry-cleaning solvent labeled for upholstery (often sold as a “dry solvent cleaner”), and always spot test first.
- Ventilate well: Open windows, run a fan, and follow the label. These products can have strong fumes.
- Keep away from flames: Many solvents are flammable, so avoid candles, smoking, pilot lights, and heat sources.
- Apply the solvent to a clean cloth, not directly to the cushion.
- Blot gently from the outside toward the center.
- Vacuum again once fully dry to lift any loosened residue.
If the fabric is vintage or you are not sure how it was dyed, go extra slow. Some older textiles can be more color sensitive.
Code WS: water or solvent, start mild
For road dust and mud residue, I usually start with the W method above because it is gentle and easy to control. If water creates a ring in your test spot, switch to an S-coded solvent method.
Code X: vacuum only
No water, no solvent. Stick to dry brushing + vacuuming. If there is lingering discoloration, your safest next step is a professional upholstery cleaner who can use controlled methods without soaking the fabric.
Prevent rings and crunchy fabric
Most upholstery “cleaning disasters” are really over-wetting disasters.
- Work bigger than the spot: If you are using a damp method, lightly blend your dabbing a little beyond the visible edge so it dries evenly.
- Always blot, never grind: Pressing with a towel pulls soil up and out. Rubbing pushes it down and can distort the weave.
- Rinse lightly: Soap left behind attracts dirt later, especially in high-touch spots like sofa arms.
- Dry fast: A fan and good airflow reduce rings and odors.
- Reset the nap: On velvet, chenille, or microfiber, a gentle brush once dry can bring the texture back to life.
Special cases
Salt and winter road dust
If the grit includes salt (common in winter), it can leave a pale, crunchy outline after it dries. After your dry removal, salt needs a little water to dissolve, so use the W-code method if allowed. Keep the cloth barely damp, blot carefully, rinse, and blot again. If your fabric is Code S or X, do not improvise with water. Stick to dry removal and consider a pro for the remaining residue.
Greasy road film
Near entryways, road dust can mix with skin oils and create a gray smear. After dry removal, a tiny amount of mild soap solution on a nearly-dry cloth often works. If it is stubborn and you have an S or WS code, a solvent upholstery cleaner can help cut the film.
Textured and nubby weaves
Road grit loves to lodge in chunky upholstery. Use a brush attachment very lightly, then vacuum slowly in multiple directions to lift debris from the texture.
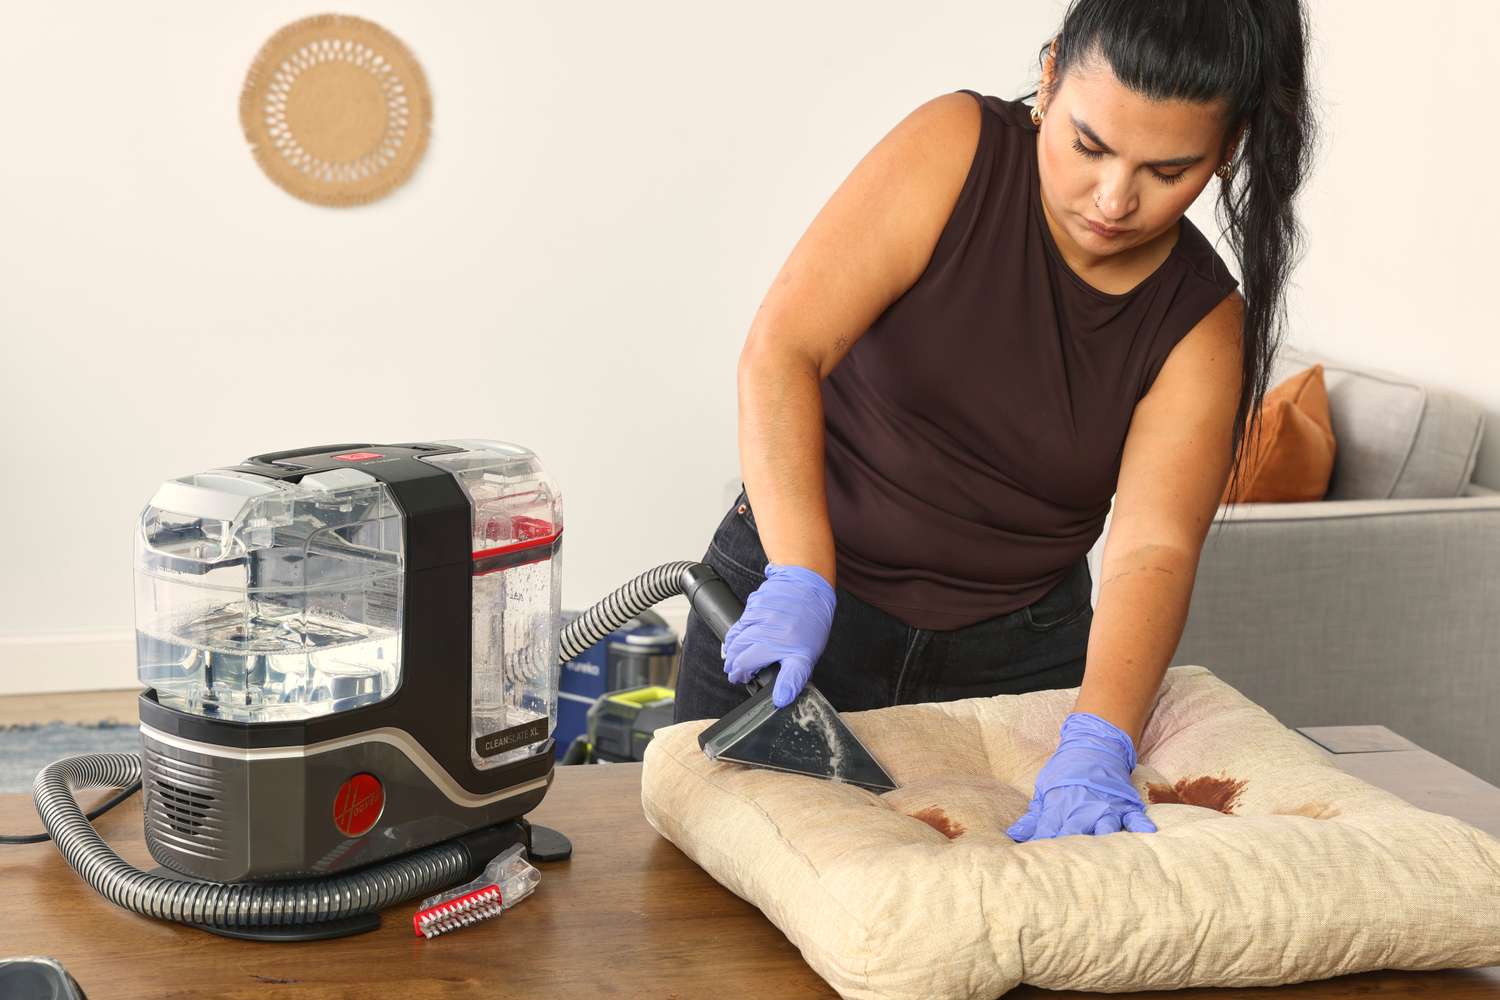
Red clay and mystery mud
Some muds (hello, red clay) carry pigment that can stain. If your spot test shows color lift or a shadow that stays after drying, stop early and consider professional cleaning. The sooner you avoid grinding and over-wetting, the better your odds.
What not to do
- Do not scrub with a wet cloth first. That turns grit into sandpaper.
- Do not use colored towels. Dye transfer is heartbreakingly real.
- Do not blast with a steam cleaner without testing. Steam adds heat and moisture, which can cause water rings, flatten nap, loosen some backings or adhesives, and in some cases worsen certain stains or dyes.
- Do not use bleach or harsh stain removers. Mud is mostly particulate soil, not something that needs aggressive chemistry.
- Do not oversoak cushion seams. Moisture can creep into padding and take ages to dry, inviting odor and mildew.
A simple routine for next time
If your household has dogs, kids, or one friend who always sits down “for just a second” after a walk, this is your low-effort prevention plan.
- Keep a handheld vacuum nearby: Quick passes prevent grit buildup in seams.
- Add a washable throw where people land: A cotton or linen throw acts like a stylish sacrificial layer.
- Try an entryway reset: A boot tray and a doormat you actually like can help keep road grit from entering the chat.
Your sofa does not need to live in a museum. It just needs a cleaning method that respects the fabric, and a little time to do the dry steps before you reach for anything wet.