Remove Candle Wax From Wood Furniture Safely
Clara Townsend
Clara Townsend is an interior stylist, vintage furniture enthusiast, and the creative voice behind Velvet Abode. With over a decade of experience transforming both cramped city apartments and sprawling fixer-uppers, she believes that a beautiful home is built on personal stories rather than massive budgets. When she isn't hunting for the perfect brass sconce at a local flea market, she can usually be found rearranging her living room for the third time this month.
Candlelight is romantic. Candle wax on your wood table is not. If you have a drip on a dresser, a little puddle on a side table, or that mysterious ring where a votive sat too long, you can absolutely fix it without scraping your finish into next week.
The secret is choosing the right approach for your finish: cold chip (freeze and lift) or warm blot (soften and absorb). Then you clean the residue, and only then you buff. No panic sanding. No kitchen knife heroics.
Before You Start
Quick don’ts that prevent heartbreak
- Do not use a metal scraper (butter knives count). Metal is how gouges happen.
- Avoid uncontrolled heat (especially a hair dryer up close on high). It can soften finishes and smear wax into a bigger problem. If you must use warm air, keep it on low, at a distance, and treat it like the iron method below (slow and cautious).
- Do not use harsh solvents like acetone or lacquer thinner. They can haze, soften, or strip finishes fast.
- Do not flood the wood with water or cleaner. A damp cloth is plenty.
Myth-buster: skip these
- Magic Eraser: it is a micro-abrasive and can dull sheen.
- Vinegar or other acids: can etch or haze some finishes.
- Mayonnaise: can leave oils behind and attract dirt.
- Abrasive powders: a fast track to a permanently dull spot.
Gather your supplies
- Ice cubes in a zip-top bag or a freezer gel pack
- A thin towel or washcloth (to wrap the ice bag and reduce condensation)
- A plastic card (old credit card, gift card) or a plastic putty knife
- Soft cotton cloths (old T-shirt material is perfect)
- Paper towels (optional, for blotting)
- Mild dish soap and warm water
- Mineral spirits (optional, for stubborn waxy or oily residue)
- Wood polish or paste wax (optional for final glow)
- Ultra-fine steel wool 0000 or a gray nonwoven finishing pad (optional for tiny scuffs on sturdy finishes)
Spot test first: pick a hidden area underneath or on the back edge. Whatever you plan to use, test it there, let it dry, and re-check in 10 to 15 minutes (some hazing shows up after the surface fully settles).
Step 1: Identify Your Finish
You do not need to be a wood whisperer. You just need a rough category so you do not overheat or over-scrub.
Common finish types at home
- Hard modern finish (polyurethane, varnish, conversion varnish): often on newer furniture. Usually glossy or satin and fairly water-resistant.
- Shellac (common on vintage pieces): warm glow, can be sensitive to alcohol and heat.
- Lacquer (also common on mid-century pieces): can soften with heat and stronger solvents.
- Oil finish (linseed, tung, Danish oil): looks more natural and matte, can feel dry, may darken when wet.
- Waxed wood: soft sheen, can show fingerprints, often on antiques.
- Painted or whitewashed: treat as delicate, avoid abrasion, and keep water and heat minimal.
- Veneer: extra caution with moisture and heat so you do not risk lifting edges.
If you are unsure, default to the gentlest plan: cold chip first. You can always add warmth later, but you cannot un-melt a finish.
Method A: Cold Chip
This is my go-to because it avoids heat, and heat is usually what turns a simple wax drip into a cloudy, sticky situation.
1) Freeze the wax
Place a bag of ice or gel pack on the wax for about 3 to 8 minutes. Wrap the bag in a thin towel first to help prevent condensation from pooling on the wood. You want the wax brittle, not your whole tabletop damp. If any moisture shows up, wipe it immediately.
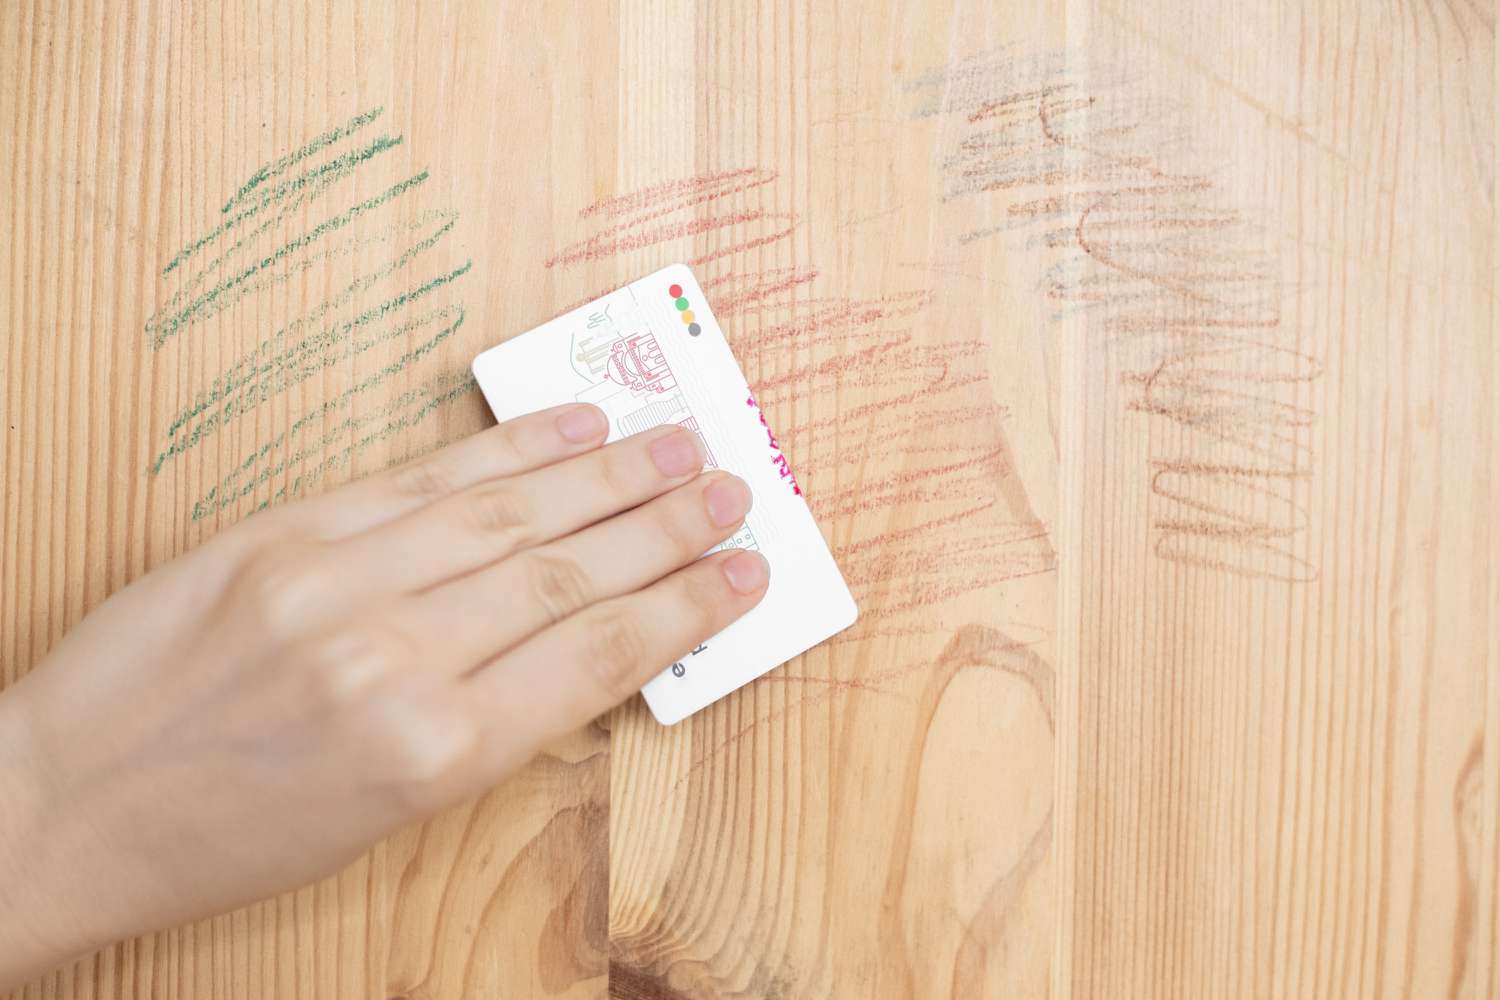
2) Lift with a plastic card edge
Hold the card almost flat to the surface, like you are sliding it under the wax rather than pushing down into the wood. Work from the outer edge toward the center.
- Angle: low and shallow.
- Pressure: light. Let the brittleness do the work.
- Direction: follow the wood grain when possible.
3) For tiny bits in the grain
Re-freeze and repeat. If there are specks caught in open grain (oak, ash), use the card edge gently and finish with a soft cloth.
Method B: Warm Blot
Warm blotting is helpful when wax is thin, smeared, or clinging in a film. The goal is to absorb wax into paper or cloth, not liquefy it into the wood.
Use this method when
- You removed the main chunk, but a dull waxy halo remains.
- The wax is very thin and chips poorly.
- You are working on a sturdy modern finish and can control heat carefully.
How to do it safely
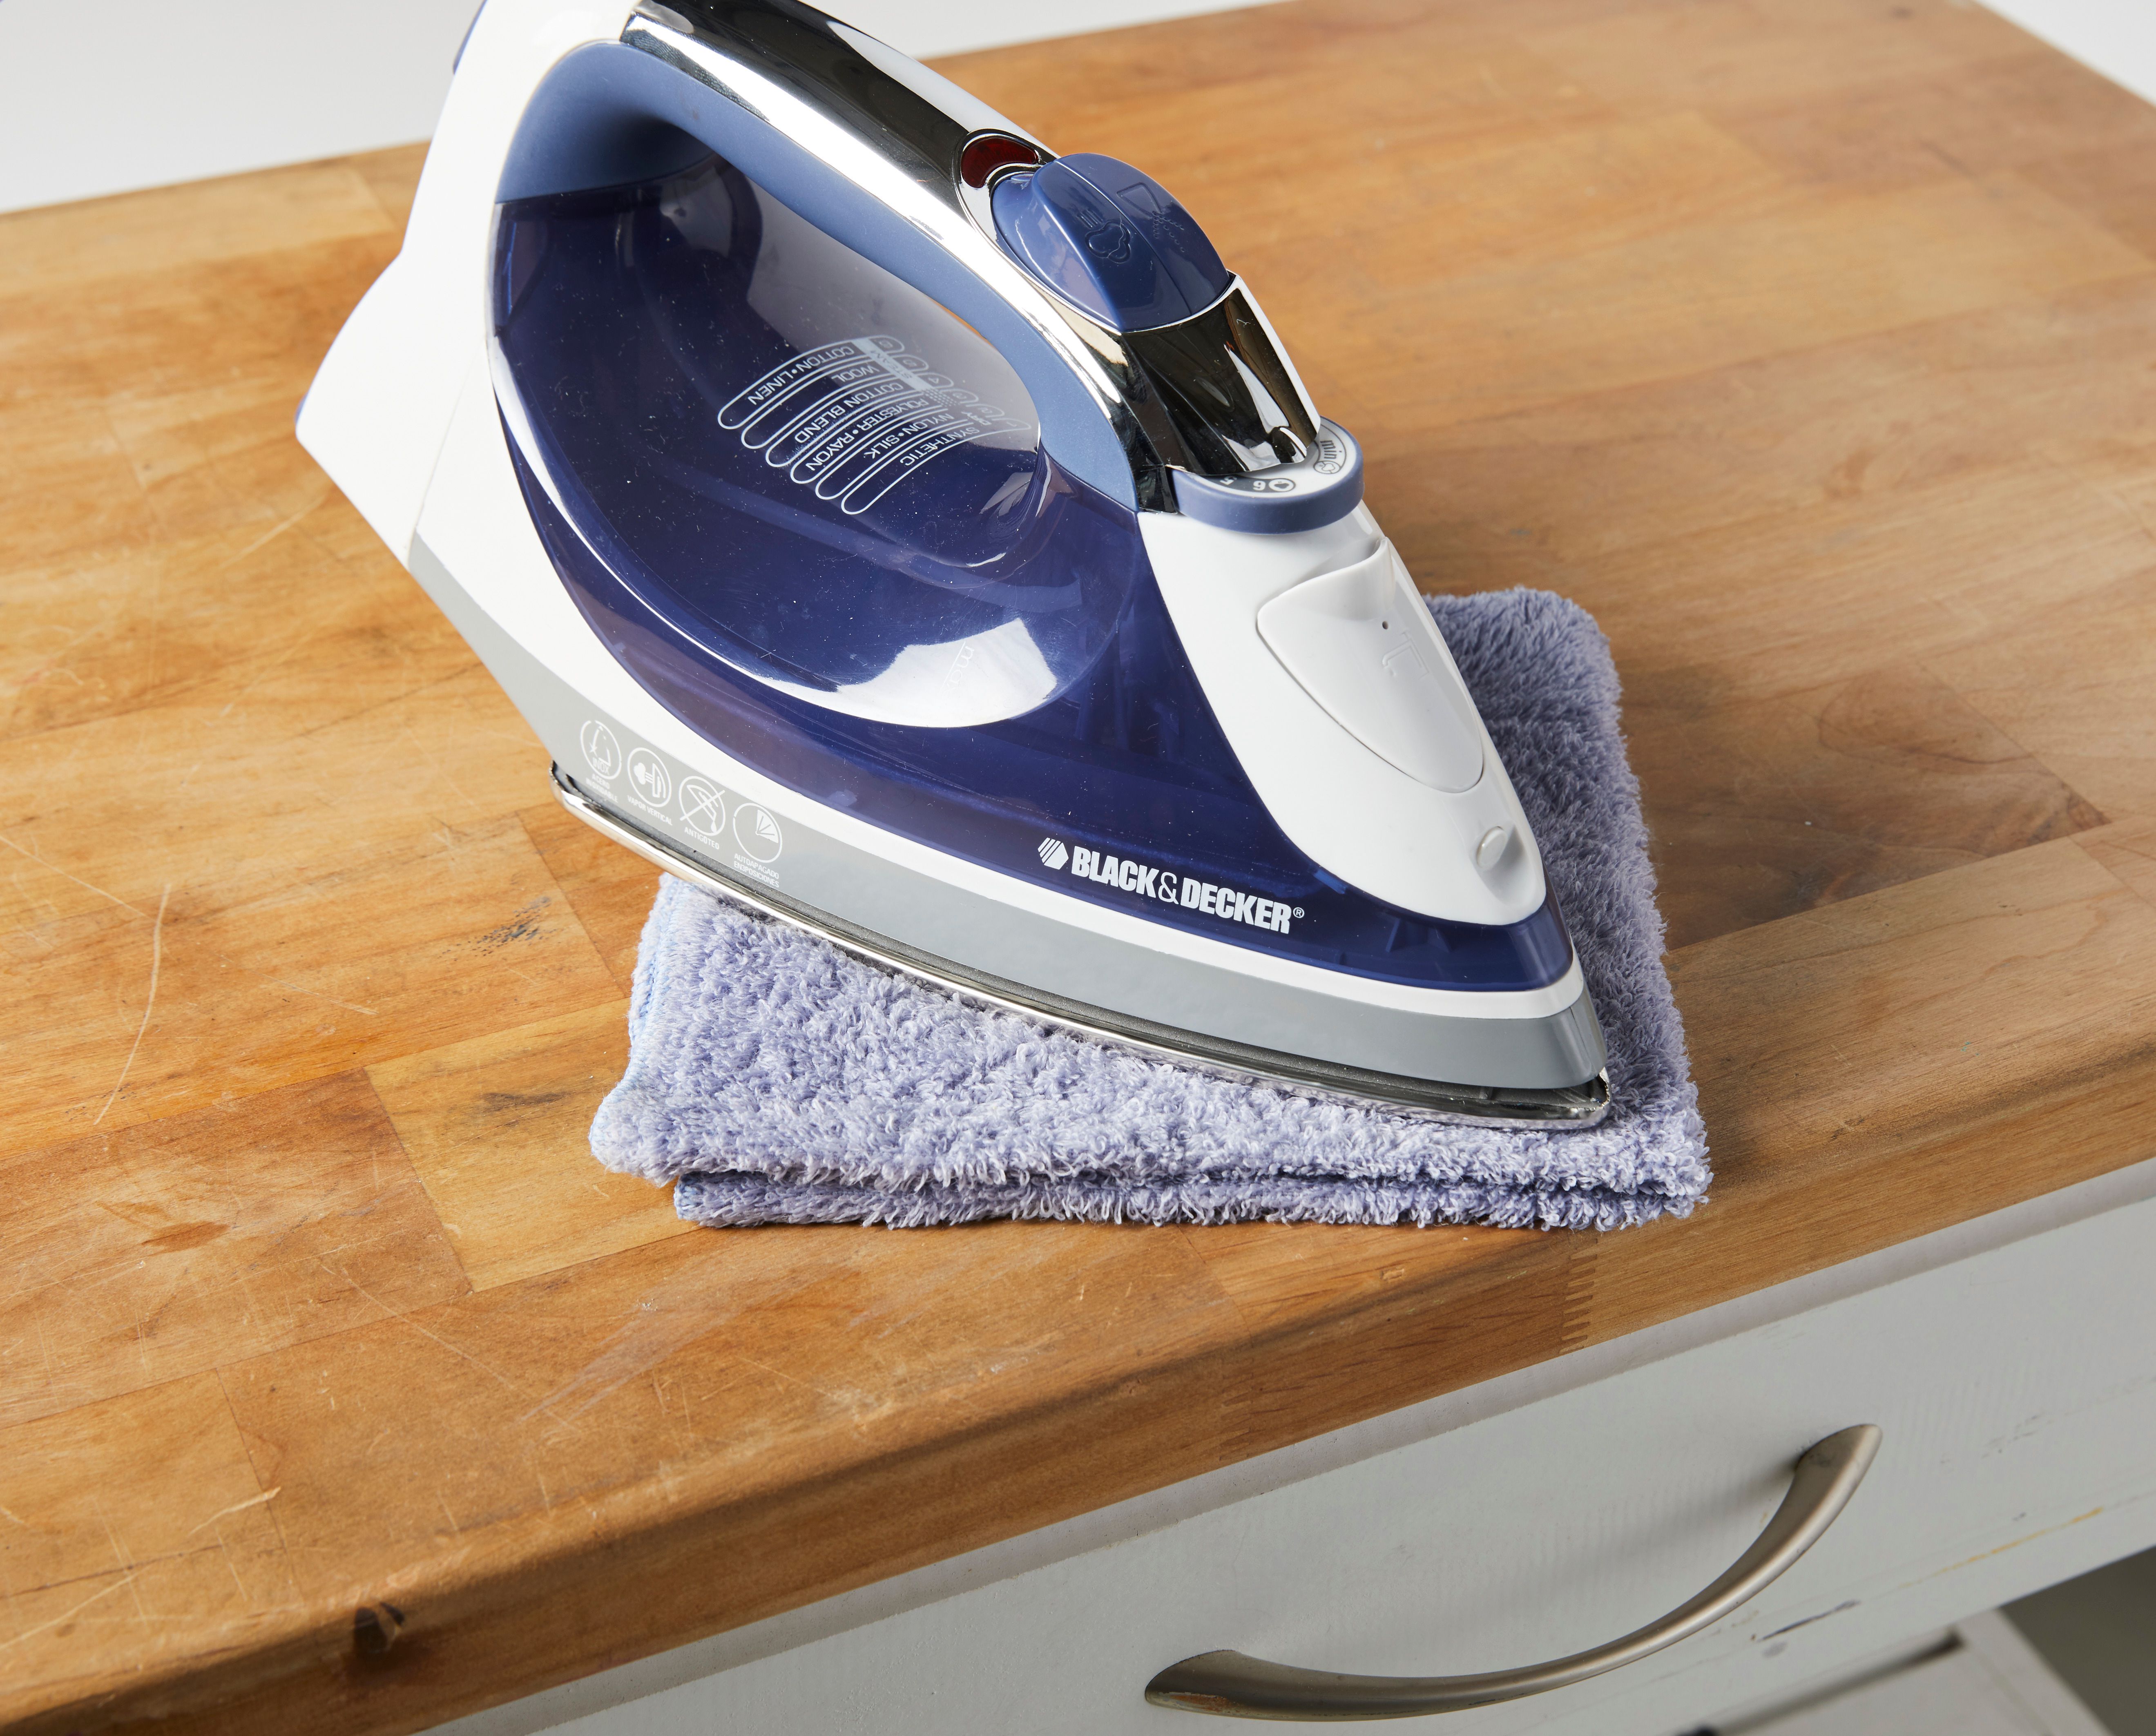
- Lay down a dry barrier: Place a dry plain cotton cloth over the wax. Put a paper towel on top if you want extra absorption.
- Set your iron to low: No steam. Start at the lowest heat that produces gentle warmth.
- Tap, do not drag: Press the iron down for about 1 to 2 seconds, lift, check. Repeat. Move to a fresh area of paper towel or cloth as wax transfers.
- Keep the iron clean: Make sure the soleplate is clean and do not let it touch wax directly. You do not want to seal wax onto the iron (or onto the wood).
- Stop early: If you see shine change, hazing, or tackiness, stop immediately and switch back to cold chip plus gentle cleaning.
Extra cautions by finish type
- Shellac: Skip heat if you can. Shellac is sensitive to heat and alcohol (not mineral spirits).
- Lacquer: Low heat only and very brief contact. Avoid strong solvents like lacquer thinner.
- Oil or wax finishes: Usually skip the iron. Heat can drive wax deeper and blur the line between candle wax and the original finish.
- Painted, whitewashed, or veneer: Avoid heat whenever possible. If you try it, keep contact very brief and watch closely.
Clean Up Residue
Even after the wax is gone, you can be left with a slightly slick patch. That is usually wax residue or fragrance oils from the candle.
Start gentle: mild soap solution
Mix a few drops of dish soap into warm water. Dip a cloth, wring it out well, and wipe the area. Then wipe again with a clean damp cloth, and dry immediately.
If it still feels greasy: mineral spirits
A tiny amount of mineral spirits on a clean cloth can dissolve waxy residue and candle oils without soaking the wood. It is generally safe on many cured finishes, including polyurethane, shellac, and lacquer, because it targets wax and oils rather than the finish itself. The real risk is unknown topcoats (like a wax layer) and over-wetting.
- Spot test first, especially on antiques, waxed pieces, and anything you cannot identify.
- Never pour directly onto the furniture.
- Ventilate the room.
- Avoid alcohol (like denatured alcohol) on shellac, and avoid lacquer thinner on lacquer.
Dull Spot or Micro-Scratches
Sometimes the wax removal is perfect, but the area looks a touch dull from the card edge or from wax sitting there. This is usually fixable with careful buffing.
Buff first
Use a clean microfiber cloth and buff with the grain for 30 to 60 seconds. This alone often restores the sheen.
Add a little protection
If the piece is already maintained with wax or polish, apply a small amount and buff. I like paste wax on sturdy finishes because it gives that soft, vintage glow without shouting about it.
Only if needed: ultra-fine smoothing
If you have a faint scuff on a hard modern finish, you can very lightly use 0000 steel wool or, even safer, a gray nonwoven finishing pad with paste wax, moving with the grain. Use almost no pressure, then buff thoroughly.
Steel wool cautions: it can leave bits in open grain, and if moisture is present it can contribute to gray or black staining on some finishes. If you are unsure, choose the synthetic pad.
Troubleshooting
The wax will not chip off
- It is not cold enough. Ice it longer and try again.
- You are using too steep of an angle. Flatten the card.
- The wax is thin. Switch to warm blot through cloth.
The surface looks cloudy after heat
- Stop heat immediately.
- Let it cool fully, then buff gently.
- If it is shellac haze, sometimes gentle buffing helps, but deeper clouding may need professional attention.
There’s color change under the wax
- Wax can “protect” a spot while the surrounding area ages, especially on sun-exposed wood.
- Try cleaning and buffing first. If the difference remains, it may be natural patina and oxidation rather than damage.
The wood feels oily or smells strongly of fragrance
- Clean with mild soap first.
- For sturdy finishes, use a minimal amount of mineral spirits to remove fragrance oils, then buff.
My Go-To Plan
- Freeze the wax with a bag of ice wrapped in a thin towel.
- Lift with a plastic card edge, low angle, with the grain.
- Clean residue with barely damp soapy cloth, then dry.
- Blot warm only if needed, through a dry cloth, low heat, no steam, quick taps.
- Buff with microfiber. Add a touch of wax or polish if the sheen needs help.
Your furniture does not need to be perfect to be beautiful. But it does deserve to be treated gently, like something that is going to keep collecting your stories.
When to Call a Pro
If any of these are true, consider a local furniture restoration specialist:
- The finish becomes sticky, rippled, or visibly softened.
- The wax spill is on a valuable antique with an unknown finish.
- There is deep staining, heavy discoloration, or lifting veneer.
A good pro can often repair a small section without refinishing the whole piece, and that is usually worth it for heirlooms or high-sentimental-value finds.