Refresh a Fabric Headboard
Clara Townsend
Clara Townsend is an interior stylist, vintage furniture enthusiast, and the creative voice behind Velvet Abode. With over a decade of experience transforming both cramped city apartments and sprawling fixer-uppers, she believes that a beautiful home is built on personal stories rather than massive budgets. When she isn't hunting for the perfect brass sconce at a local flea market, she can usually be found rearranging her living room for the third time this month.
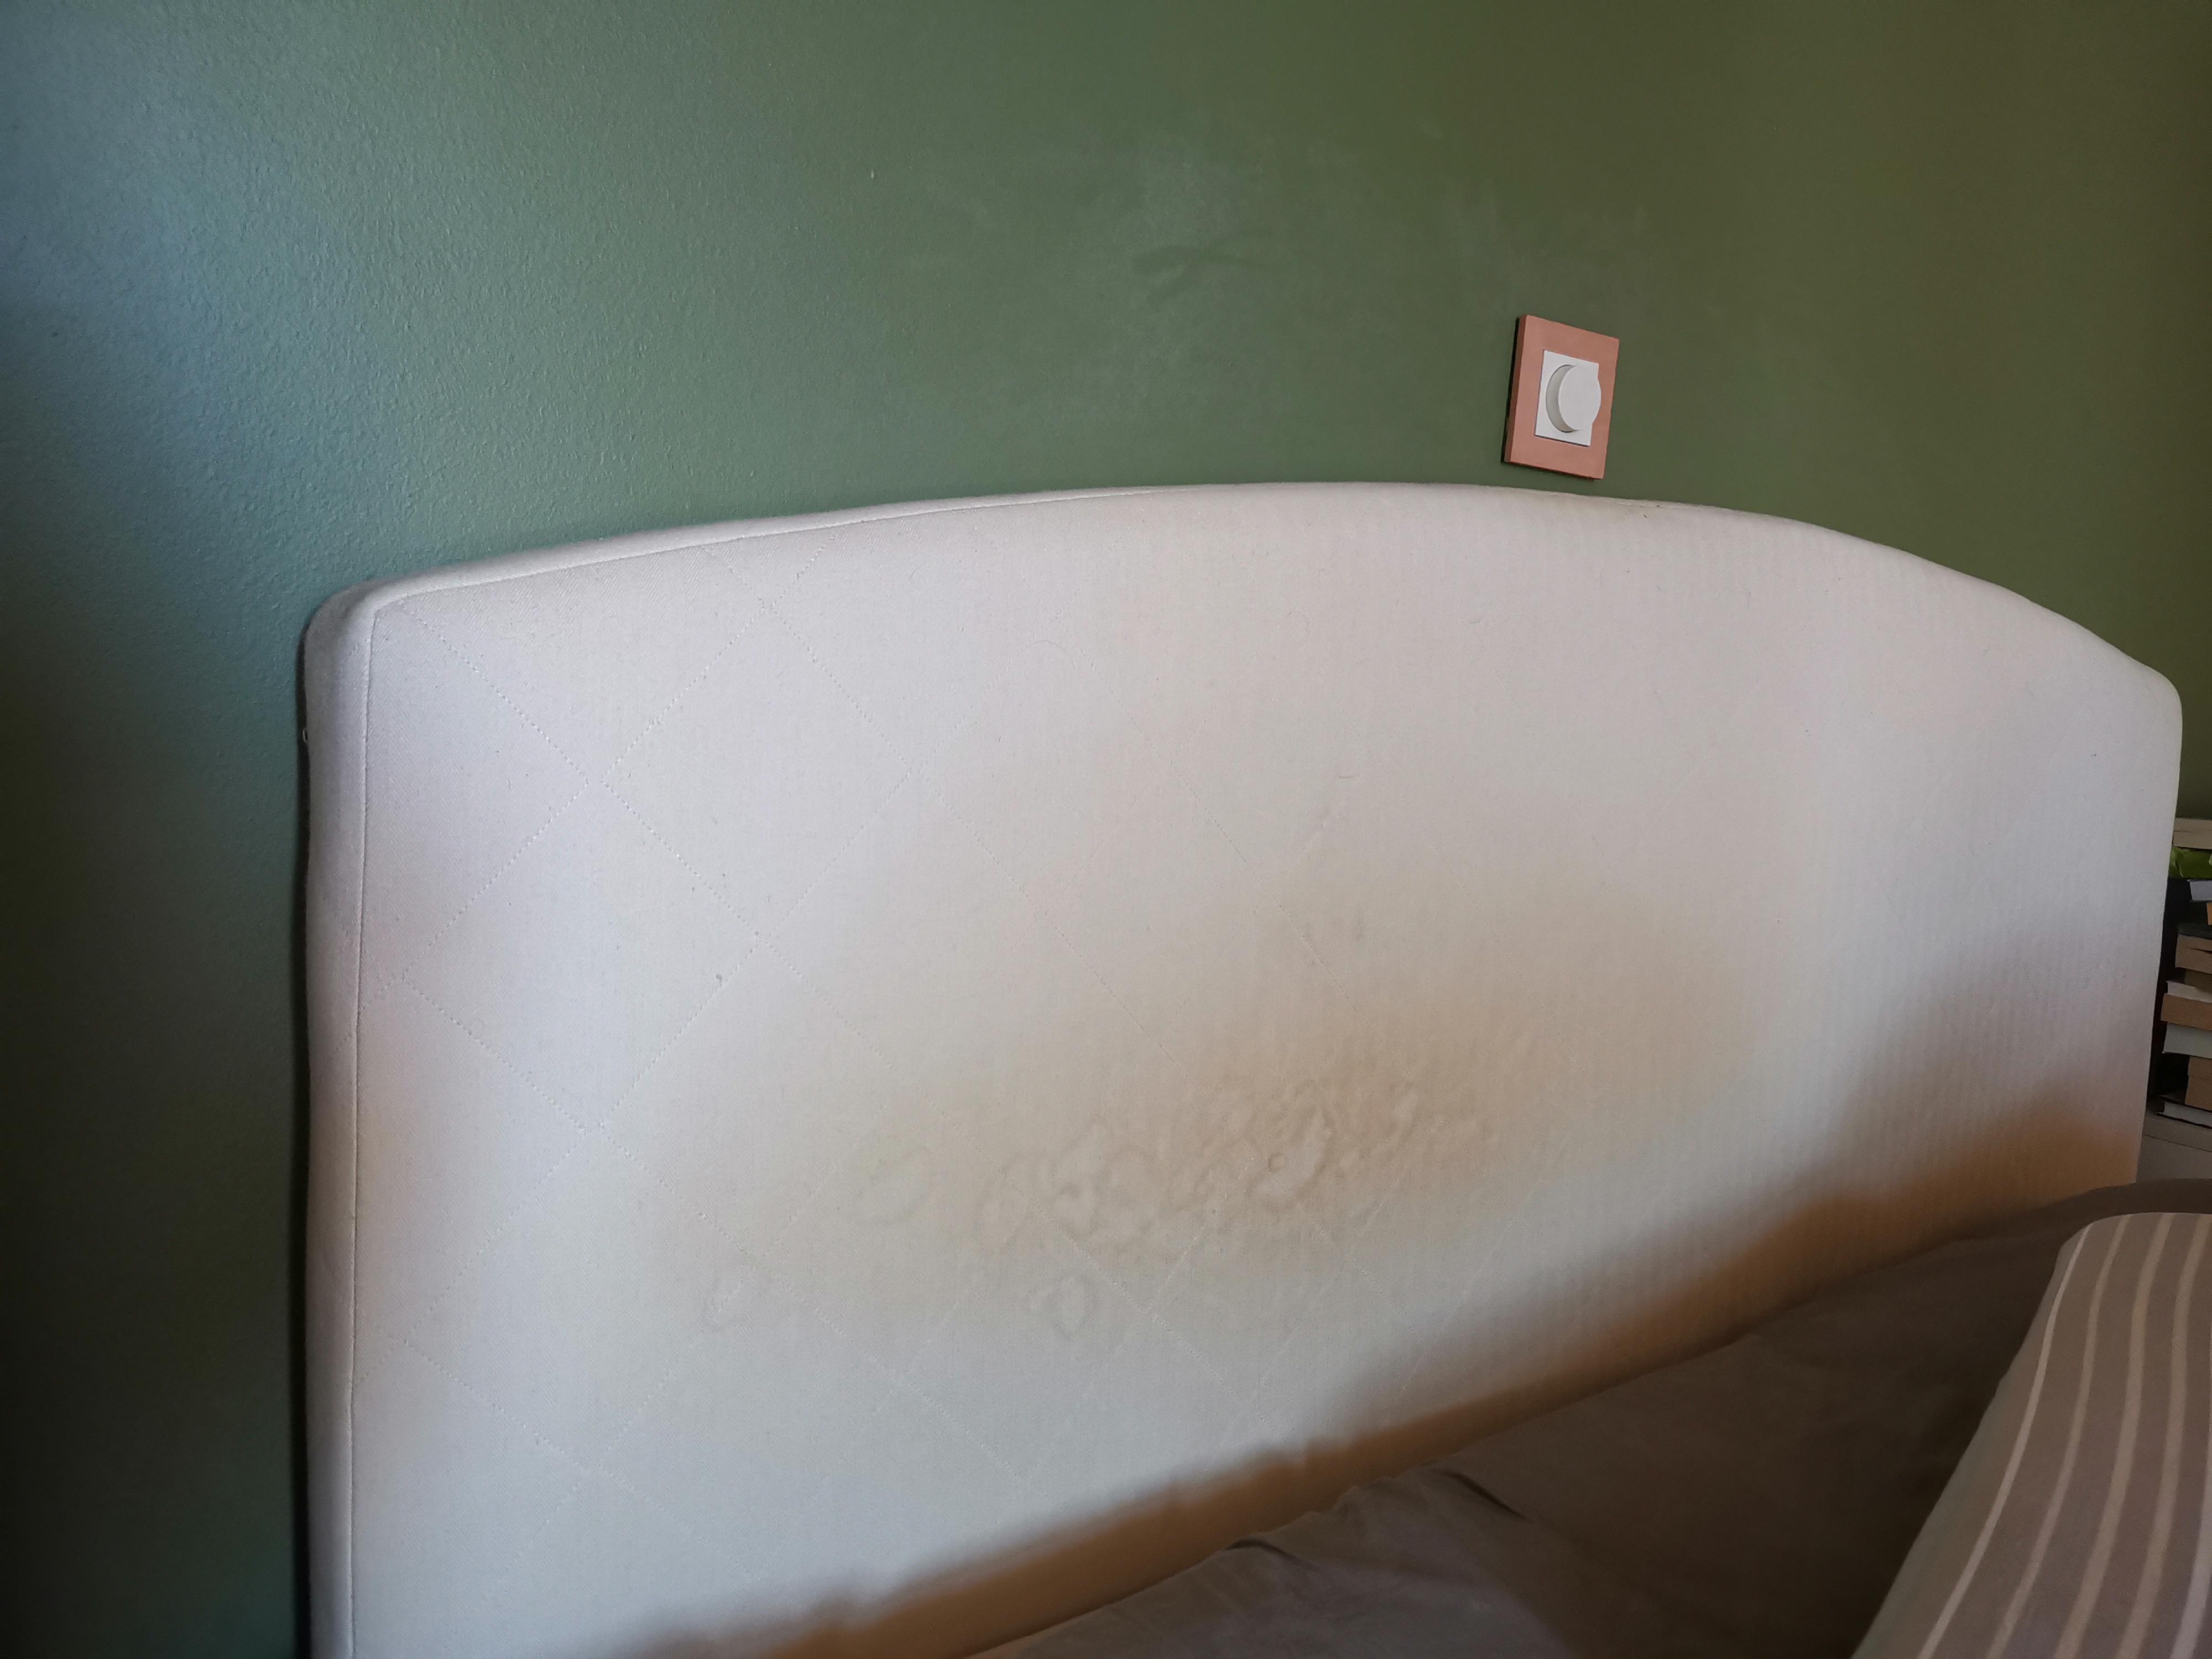
A fabric headboard is basically a giant, cozy sponge living behind your pillows. It quietly collects dust, skin oils, hair product residue, and the occasional “how did that get there?” spot. The good news: most headboards can look and smell fresh again without a professional upholstery visit, as long as you clean gently and keep moisture under control.
This is my favorite low-drama routine for tufted headboards, linen-look panels, and those popular strapped or wall-hugging styles. Vacuum first, clean second, deodorize third, and only then think about protectants. In that order, you avoid the classic mistake of turning a tiny stain into a blurry halo.
Quick grab list: vacuum with upholstery brush and crevice tool, 2 clean white cloths, distilled water, clear gentle dish soap, a small bowl, a dry towel, and a fan. Optional: baking soda, white vinegar, micellar water, and 70% isopropyl alcohol for specific spots.
Before you start: a quick fabric check
Headboards are often labeled less clearly than sofas, so do a quick reality check before you mix anything in a bowl.
- Find the care tag if you can: behind the headboard, under the bed rail, or stapled to the back panel. Upholstery codes often look like W (water-based cleaner), S (solvent-only), WS (either), X (vacuum only). Note: these codes are common, but not universal. If your headboard has brand-specific guidance, follow that first.
- Test in a hidden spot: the back edge or lower corner. Wait until fully dry to judge.
- Check color transfer: dab with a white cloth lightly dampened with water. If dye comes off, keep cleaning extra dry and skip rubbing.
- Know what you are dealing with: if it is velvet, chenille, or brushed microfiber, use the softest brush and the least moisture. Those fabrics can show pile marks.
If you have an S or X code and you are not sure what the fabric is, stick to vacuuming and dry deodorizing steps below, or consult the manufacturer.
One big caution: skip steam cleaners and garment steamers for most headboards. Steam can shrink or distort fabric, loosen adhesives, and push moisture deep into the foam where mildew can start.
Step 1: Vacuum thoroughly
Most “dull, dusty headboard” complaints are solved with a surprisingly thorough vacuum. Dust hides in seams, button tufts, nailhead trim channels, and the tiny gap between mattress and headboard.
What to use
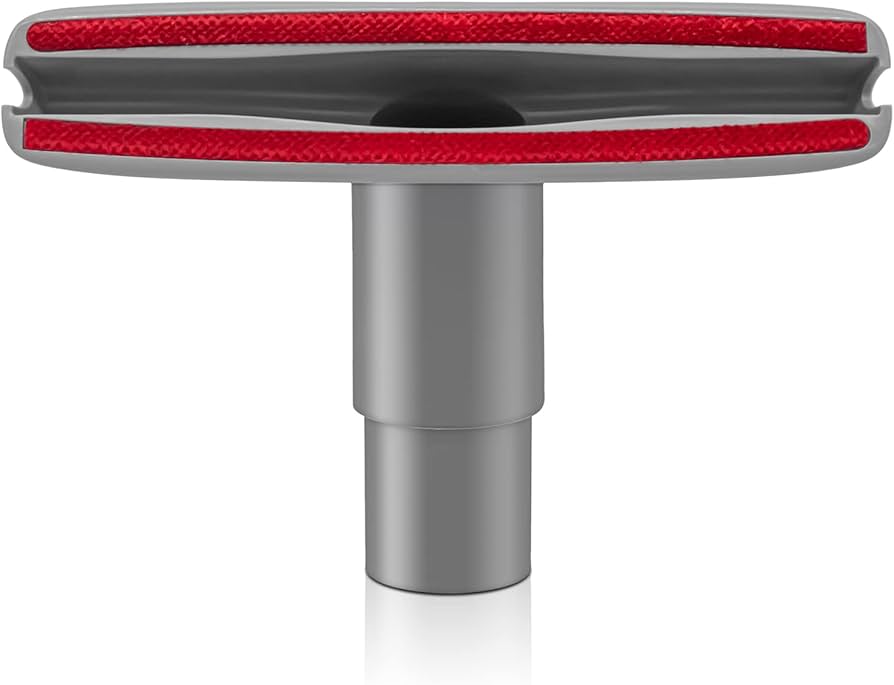
- Upholstery brush attachment (best): bristles lift dust without abrading fabric.
- Soft dusting brush for delicate weaves or velvet-like pile.
- Crevice tool for the mattress gap and side edges.
How to vacuum a tufted headboard
- Start at the top edge and work down so dust does not fall onto cleaned areas.
- Use short, overlapping passes.
- For button tufts, hold the fabric slightly taut with one hand and use the brush to work into each dimple.
- Finish with the crevice tool along the bottom edge where lint and hair love to camp out.
Stylist tip: If your headboard sits tight to the mattress, pull the bed forward a few inches and vacuum the hidden strip. That is often where “mystery odor” originates.
If your headboard is removable: take it off the frame (if it is designed for that), lay it flat on a clean sheet, and vacuum both the front and the back. If it is wall-mounted, put a towel down to protect the floor while you work.
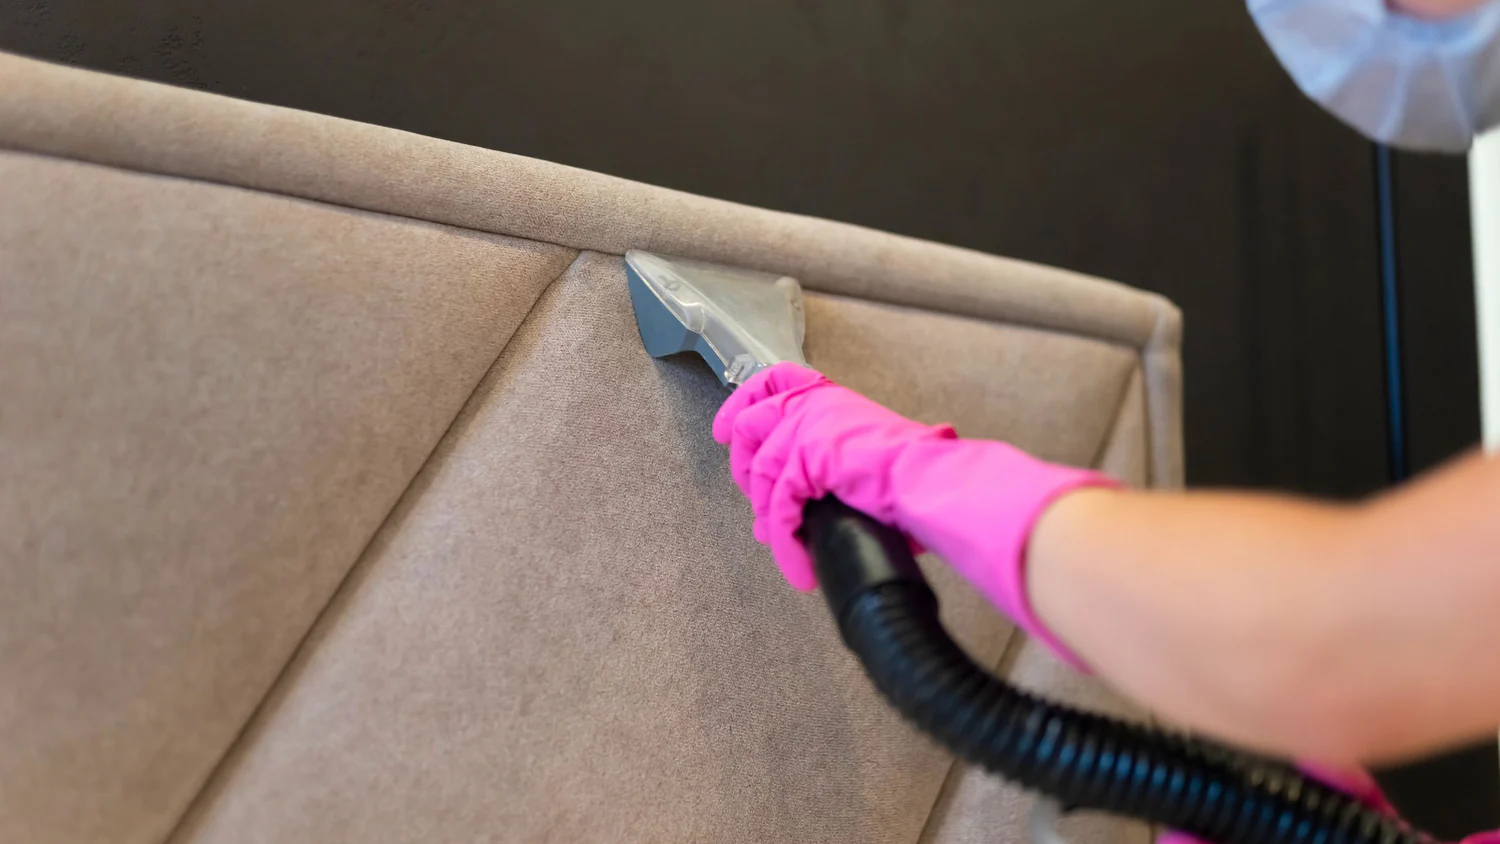
Step 2: Spot-clean gently
Fabric headboards usually have foam behind them, and foam hates being soaked. The goal is to treat the spot with the least liquid possible, blotting patiently instead of scrubbing. Keep two cloths on hand: one for applying solution, one dry for blotting.
Your safest all-purpose spot mix (for most W or WS fabrics)
- 1 cup distilled water
- 1 to 2 drops clear, gentle dish soap
Dampen a clean white cloth so it is barely wet. Blot from the outside of the spot inward. Then blot with a cloth dampened with plain distilled water. Finish by pressing with a dry towel.
Performance fabrics note: Some performance upholsteries handle water better than linen blends, which can water-mark. Even if the fabric is “easy clean,” the foam backing still does not want a soak, so keep it controlled either way.
Common stains and what to do
- Body oils and “head area” discoloration: Use the all-purpose mix first. If the shadow remains, add 1 teaspoon white vinegar to the cup of water and repeat, then rinse by blotting with plain water.
- Makeup or self-tanner smudges: Start dry: gently lift residue with a dry microfiber cloth. Then use the all-purpose mix. If you need a non-oily helper, micellar water on a white cloth often works well for makeup. Use a tiny amount, blot, then rinse-blot with distilled water and dry.
- Food and beverage drips (coffee, soda): Blot dry first. Then use the all-purpose mix, rinse-blot, and dry thoroughly.
- Ink marks: This is where things get tricky. For some colorfast synthetic fabrics, a tiny amount of 70% isopropyl alcohol on a cotton swab can help. Dab lightly, do not rub, and test first. Stop immediately if you see dye transfer. Avoid alcohol on delicate or dye-unstable fabrics (silk blends, rayon, acetate) and consider calling a pro.
- Unknown yellowing: Often oils plus dust. Use the vinegar-boosted mix, blot and rinse. If the fabric is light and the stain is stubborn, stop before over-wetting and consider professional cleaning.
How to avoid the dreaded halo
- Work larger than the spot: lightly blend the edges outward so you do not create a hard boundary.
- Use distilled water when possible to reduce mineral rings.
- Never pour solution directly onto the headboard.
- Dry fast: press with towels, then use a fan on low aimed across the surface.

Step 3: Deodorize without soaking
If your headboard smells a little like last winter’s laundry day, it is usually trapped odor in fabric and foam. You want to neutralize smells while keeping everything as dry as possible.
Dry deodorizing method (my go-to)
- Lightly sprinkle baking soda over the fabric (a fine sieve helps).
- Let it sit for 4 to 8 hours, or overnight if you can keep pets away.
- Vacuum thoroughly with the upholstery brush, then the crevice tool along seams.
Small caution: do not grind baking soda into the fabric. On velvet, chenille, or very textured weaves, use it sparingly and vacuum slowly with a brush attachment so you do not leave gritty residue behind.
Gentle mist method (only if your fabric tolerates water)
If you need a little extra help, you can use a very light mist, not a soak. Patch test first, and keep good ventilation.
- In a spray bottle: 1 cup distilled water + 1 tablespoon vodka or 70% isopropyl alcohol + optional 1 teaspoon white vinegar.
- Stand back and mist into the air so a soft cloud lands on the fabric.
- Run a fan for faster drying.
Skip this if your fabric shows water marks easily, and never saturate tufted areas where liquid can pool around buttons. Also avoid combining vinegar with other commercial cleaners unless the label says it is safe.
Step 4: Detail the tufting
Tufted headboards are gorgeous, but the dimples are basically tiny pockets. After cleaning, do a final detail pass:
- Use a soft toothbrush (dry) to loosen debris in seams, then vacuum.
- If buttons look dull, wipe them with a barely damp cloth, then dry immediately.
- For velvet or performance velvet, finish by lightly brushing in the same direction to reset the nap.
Protect the wall behind it
Strapped headboards or leaning panels can quietly scuff paint, especially in rentals with flat matte finishes. If you see shadowy rub marks on the wall, you are not alone.
Easy, renter-friendly protection
- Clear bumpers: Add small clear rubber bumpers to the back of the headboard where it touches the wall. They create a tiny air gap and reduce friction.
- Felt pads: Soft felt furniture pads can work too, just avoid thick ones that change the angle of the headboard.
- Removable wall film: If your wall paint marks easily, apply a strip of removable, clear protective film behind the contact points.
- Tighten hardware: A wobbly headboard rubs more. Check straps, brackets, and bed frame bolts every few months.
Paint-saving tip: If your headboard is strapped to the wall and you see a smudge line, clean the wall first (gentle soap and water, test your paint), then add bumpers so it does not come right back.

When to call a pro
I am all for a DIY refresh, but a few situations deserve professional upholstery cleaning:
- Large stains that have spread through the padding
- Strong pet urine odors or repeated odor issues
- Mold or mildew (musty smell plus visible spotting)
- Delicate fabrics like silk blends, some velvets, or anything that water-marks during your test
If you suspect mold, prioritize safety. Avoid aggressive brushing or dry vacuuming that can kick particles into the air. Improve ventilation and consider professional assessment or replacement, especially if there is visible growth or anyone in the home has allergies or asthma.
Maintenance rhythm
- Weekly or biweekly: quick vacuum pass along the top edge and tufts
- Monthly: deeper vacuum including seams and mattress gap
- Seasonally: baking soda deodorize (if appropriate) and hardware check
It is not glamorous, but it is the kind of small home habit that makes your bedroom feel calmer and cleaner, like freshly washed sheets but for the whole wall behind your pillows.
Quick checklist
- Check for a care tag, then patch test
- Vacuum first, especially tufting and seams
- Use minimal moisture and blot, do not scrub
- Rinse-blot with distilled water to help prevent rings
- Deodorize dry with baking soda when possible, lightly and without rubbing
- Skip steam cleaners to avoid shrinkage and trapped moisture
- Protect wall paint with clear bumpers or felt pads