Quartz Countertop Care
Clara Townsend
Clara Townsend is an interior stylist, vintage furniture enthusiast, and the creative voice behind Velvet Abode. With over a decade of experience transforming both cramped city apartments and sprawling fixer-uppers, she believes that a beautiful home is built on personal stories rather than massive budgets. When she isn't hunting for the perfect brass sconce at a local flea market, she can usually be found rearranging her living room for the third time this month.
Quartz countertops are the dependable friend of the kitchen world: tough, consistent, and usually very forgiving. But “forgiving” is not the same as “indestructible.” Most quartz is engineered stone, meaning it is made from crushed quartz bound together with resins and pigments. Those resins are the part you are really caring for day to day.
If your quartz has started looking cloudy, feels a little sticky, or seems to highlight every water droplet like a spotlight, you do not need a complicated routine. You need the right kind of simple. Let’s keep your counters bright, smooth, and quietly glamorous without turning your cleaning cabinet into a science lab.
What quartz needs (and what it does not)
Quartz is non-porous, so it usually does not need sealing. That said, finishes and warranties vary by brand, so it is always smart to glance at your specific manufacturer’s care guide before you try a new product or method.
The goal is to protect the finish and the resin binder, not to “feed” the stone.
Quartz loves
- pH-neutral, non-abrasive cleaners
- Soft microfiber cloths or non-scratch sponges
- Quick wipe-ups, especially around oils, wine, coffee, and citrus
- Trivets and cutting boards as everyday habits (bonus: quartz can dull knives)
Quartz hates
- High heat from hot pans, griddles, and slow cookers
- Harsh chemicals that can dull or discolor resin
- Abrasives that scratch the surface or strip the sheen
- Letting grease film build up, which creates that stubborn haze
Daily cleaning that actually works
This is the routine I use in real homes where people cook, rush, spill things, and occasionally forget a coffee ring existed until the next morning.
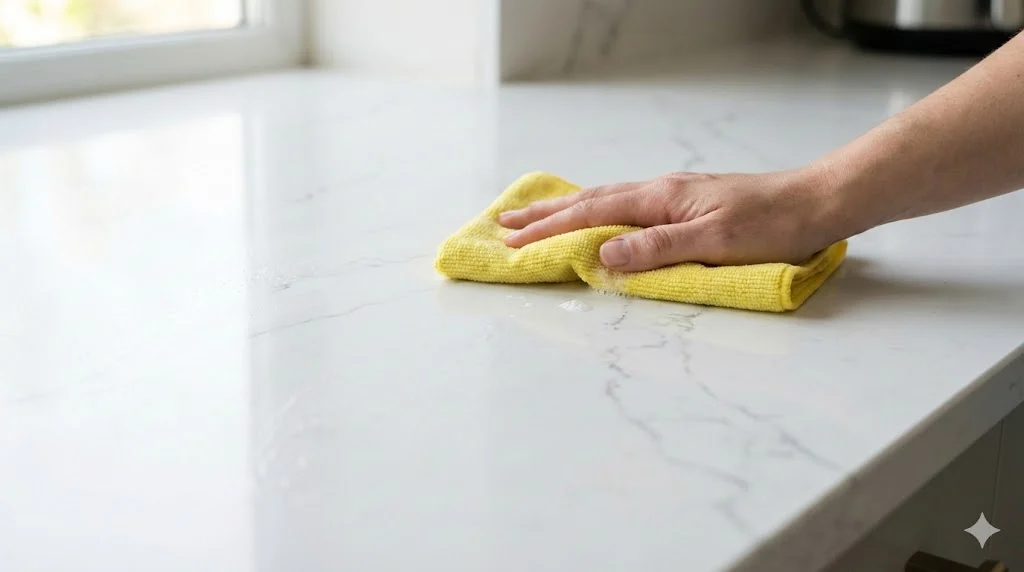
The 60-second reset
Wipe crumbs and grit first. Dry grit is what can cause micro-scratches if you immediately scrub with pressure.
Spray a pH-neutral cleaner or use a few drops of gentle dish soap in warm water.
Wipe with a damp microfiber cloth, then do a quick pass with a clean, dry cloth to prevent water spots (especially if you tend to air-dry).
Simple pH-safe options: a quartz-specific daily cleaner, or mild dish soap diluted in warm water. If your cleaner has a strong chlorine or ammonia smell, it is probably not the gentle daily choice.
One easy rule: if it is new to your counter, spot-test it in an inconspicuous area first.
The sneaky problem: grease film and “mystery haze”
If your quartz looks dull even after you cleaned it, you are probably dealing with a thin, invisible layer of oil that grabs onto dust and light. This happens near the stove, around toaster areas, and anywhere hands touch often.
How to remove grease film safely
- Step 1: Wash with warm water and a few drops of dish soap.
- Step 2: Wipe again with clean water to remove residue.
- Step 3: Dry fully with a fresh microfiber towel.
If the haze is stubborn, use a non-abrasive degreasing cleaner labeled safe for quartz. Avoid strong, high-alkaline degreasers for routine cleaning, since some formulas and repeated exposure can gradually flatten the finish.
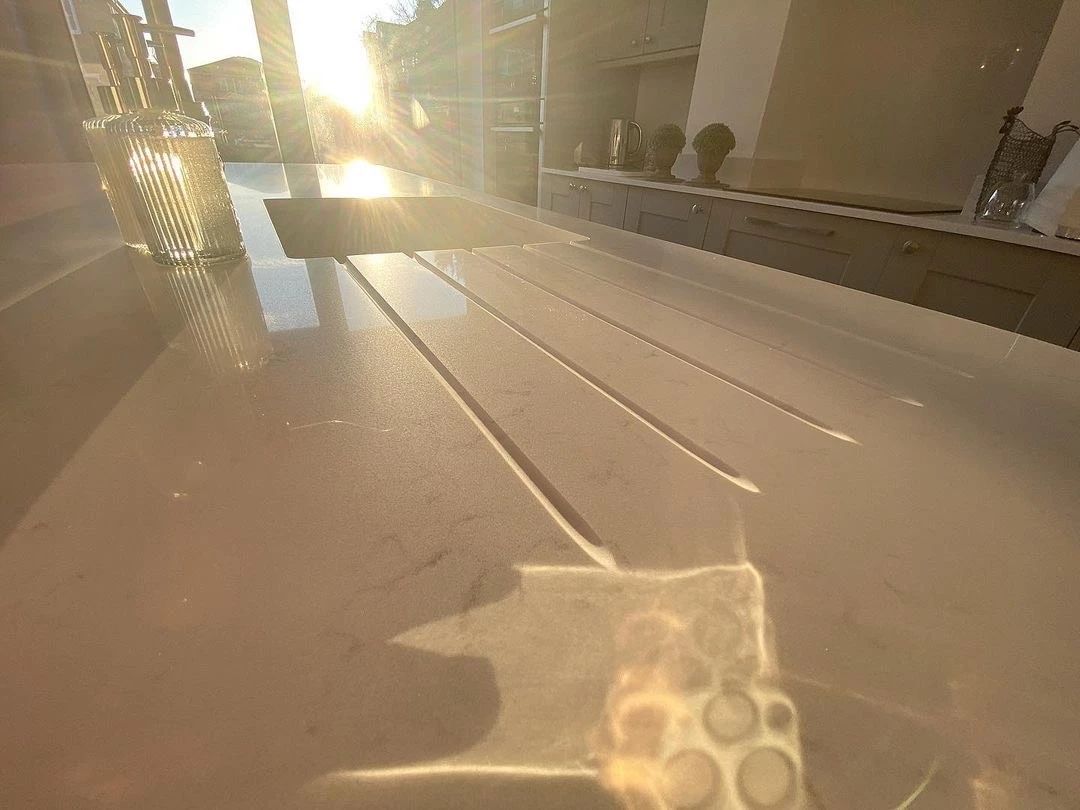
Stylist tip: the “dry buff” matters. Quartz can look cloudy simply because minerals and cleaner residue dry on the surface, especially if you air-dry. A quick dry towel pass makes it look instantly more expensive.
Stain removal: what to do (and what to avoid)
Quartz resists staining well, but some messes sit on the surface and cling. The trick is matching the method to the stain, without reaching for anything that roughs up the resin.
Coffee, tea, red wine, berries
- Wipe up promptly.
- Clean with dish soap and warm water.
- If color lingers, use a quartz-safe stain remover or a small amount of isopropyl alcohol (70%) on a cloth, then wipe with clean water and dry.
Avoid: abrasive powders and scouring pads. They can turn one little stain into a permanent dull patch.
Oil, butter, greasy splatters
- Use warm water and dish soap first.
- Follow with a quartz-safe degreaser if needed.
- Wipe with clean water, then dry thoroughly.
Dried-on food, gum, wax, paint drips
- Soften with warm soapy water for a few minutes.
- Gently lift with a plastic putty knife or an old plastic card held nearly flat.
- Finish with soap and water, then wipe with clean water and dry.
Avoid: metal blades unless your countertop manufacturer explicitly okays them. Many do not, and one slip is all it takes.
Hard water spots and mineral rings
Those chalky rings and spotty patches are usually mineral deposits. Quartz does not “absorb” them, but they can bond to residue and feel impossible.
- Try warm water plus a few drops of dish soap, then dry.
- If spots remain, use a quartz-safe limescale remover that is labeled for engineered stone. Spot-test first.
- Wipe with clean water and dry completely.
Avoid: frequent vinegar use. You will see vinegar recommended online for hard water, but repeated acid exposure can dull the resin and the finish over time, especially on darker quartz.
Disinfecting: the safe way
If you want to disinfect quartz, keep it simple and manufacturer-friendly. Many quartz brands allow disinfecting sprays or wipes as long as they are used briefly, then removed.
- Choose a quartz-safe disinfectant (or one your manufacturer approves).
- Follow the label dwell time, then wipe with clean water and dry so it does not leave a film.
- Skip frequent strong bleach solutions. Occasional, properly diluted use may be allowed by some brands, but repeated use can dull the finish, and it is rarely necessary for daily life.
What ruins the resin: the “please do not” list
Quartz damage is usually not dramatic. It is slow, subtle, and then one day you notice a dull shadow that never quite leaves. These are the biggest culprits.
Heat damage (one of the most common heartbreaks)
The quartz itself tolerates heat well, but the resin binder can discolor, warp, or lose its sheen when exposed to high temperatures. This is why quartz can get a scorched-looking mark even when it did not “burn.”
- Always use a trivet under hot pans, sheet trays, and cast iron.
- Be careful with slow cookers, air fryers, and toaster ovens. Their feet can trap heat on the same spot for hours.
- If you love a dramatic sear, set hot cookware on the stovetop grates or a thick wooden board, not on quartz.
Harsh chemicals that can dull or discolor
- Oven cleaner
- Drain cleaner
- Grill cleaner
- Paint stripper
- Strong bleach solutions used repeatedly
- High-pH alkaline cleaners used often (especially strong degreasers)
- Solvent-heavy products (like acetone) unless your manufacturer approves limited use
Some brands allow occasional acetone for stubborn residues, but treat it like a guest, not a roommate: spot-test first, avoid prolonged contact, and wipe with clean water and dry after.
If a harsh product lands on quartz, do not panic. Wipe it up immediately, wash with soap and water, then wipe with clean water and dry.
Abrasives and “magic” scrubbers
Anything that works by sanding will eventually change the finish.
- Abrasive powders
- Scouring pads
- Melamine foam “magic erasers” used frequently
An occasional light pass is different from habitual scrubbing. For daily life, stick with microfiber and non-scratch sponges.
Chips, cracks, and when to call a pro
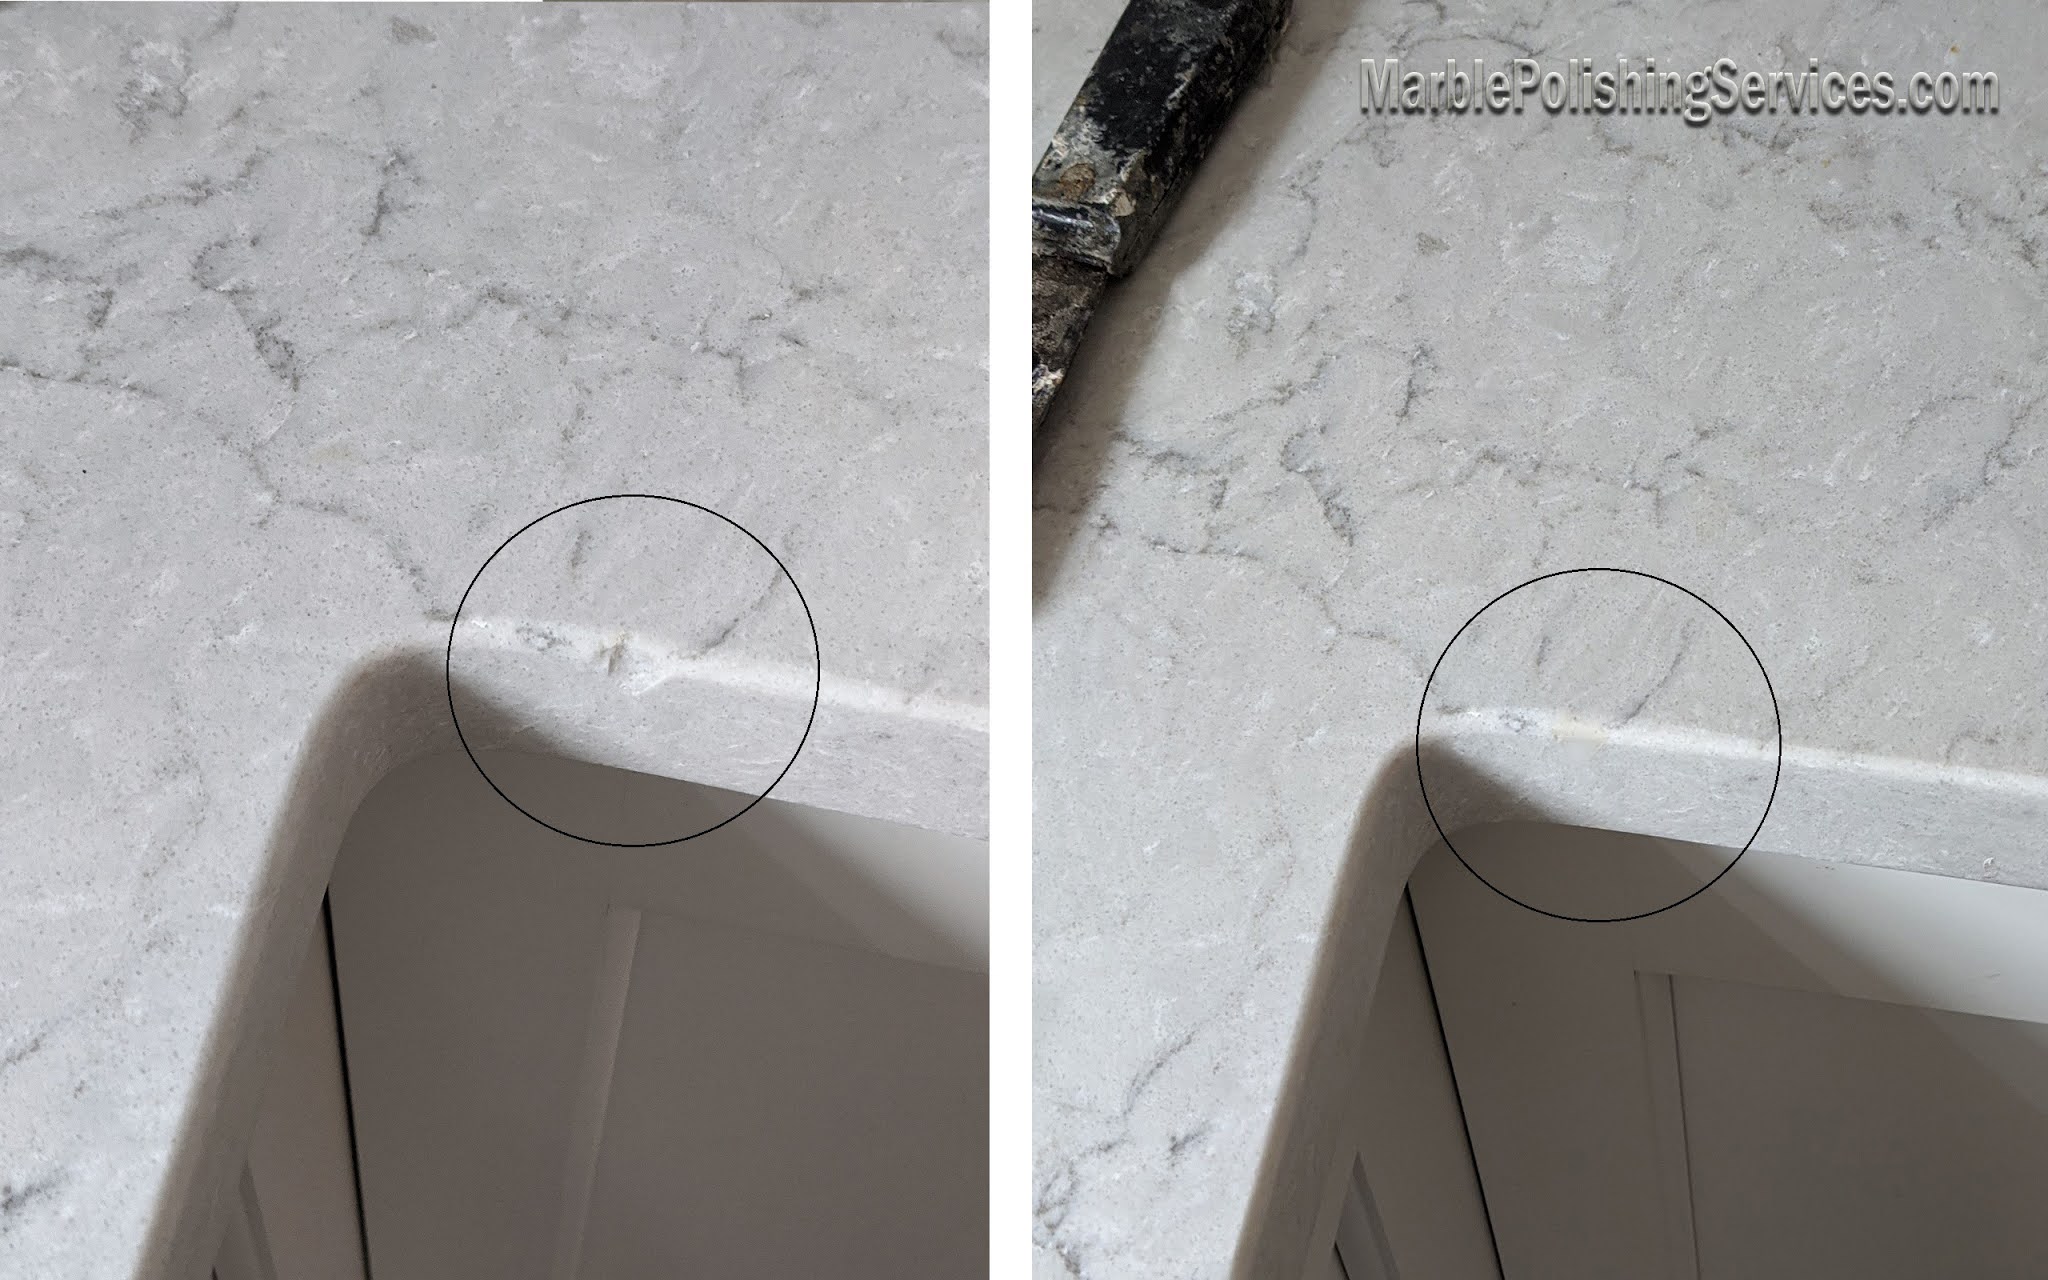
Quartz is strong, but edges can chip, especially near sinks, corners, and dishwasher openings where heavy objects get bumped.
Small chips
Hairline edge chips sometimes can be disguised with a tint-matched epoxy. If the chip is on a visible edge or on a waterfall side, I recommend professional repair. A good fabricator can blend it so it disappears in normal light.
Cracks or seam issues
Any crack that seems to grow, or any seam that is catching crumbs and feels raised, is a professional job. Cracks can indicate stress from cabinets settling, an unsupported overhang, or heat shock.
Burn marks or dull patches
If heat has damaged the resin, aggressive DIY polishing often makes it worse by creating an uneven sheen. Call your fabricator or a stone restoration pro and ask specifically about engineered stone repair, not natural stone resurfacing.
Quick care rules you can actually remember
- Wipe daily with pH-neutral cleaner and dry to prevent spots.
- Degrease gently when the surface looks cloudy near the stove.
- Use trivets for anything hot, including small appliances.
- Use cutting boards (quartz is tough on knives).
- Blot spills and wipe up fast, especially oils, wine, and coffee.
- Skip abrasives, even if a stain is being stubborn.
- Do not park wet metal cans on the counter (rust rings are real and annoying).
- Spot-test new products and follow your manufacturer’s guide for warranty-safe care.
- Call a pro for chips on visible edges, cracks, and heat damage.
Quartz is at its best when it gets consistent, gentle care. Think of it like linen: not precious, just deserving of a little respect. Your countertop will keep its glow, and your kitchen will keep feeling like a place you want to linger.