Peel-and-Stick Floor Tile Over Tile: Rental Prep and Pitfalls
Clara Townsend
Clara Townsend is an interior stylist, vintage furniture enthusiast, and the creative voice behind Velvet Abode. With over a decade of experience transforming both cramped city apartments and sprawling fixer-uppers, she believes that a beautiful home is built on personal stories rather than massive budgets. When she isn't hunting for the perfect brass sconce at a local flea market, she can usually be found rearranging her living room for the third time this month.
If you have rental tile that makes you sigh every time you walk into the kitchen, I get it. Old beige squares, dark grout, and that slightly sticky sheen that never looks truly clean. Peel-and-stick floor tile can be a surprisingly pretty, surprisingly affordable reset. But floors are pickier than backsplashes: your prep has to be better, your moisture awareness has to be sharper, and your expectations need to be grounded in reality.
This is the honest version of “yes, you can install peel-and-stick over existing tile,” plus the places it tends to go wrong so you can avoid the heartbreak and the security-deposit drama.
Is it actually doable?
Peel-and-stick floor tile works best when the surface underneath is smooth, clean, dry, and stable. Existing ceramic or porcelain tile can be a good base, but the grout lines are the make-or-break detail. If your grout is deep or wide, the peel-and-stick will telegraph those grooves over time.
Quick reality check: If you can feel the grout grid with your shoe, you will probably see it later unless you fill it.
Green lights
- Tile is firmly bonded with no hollow-sounding sections and no movement underfoot.
- Grout lines are shallow (think hairline to lightly recessed, not canyon).
- Surface is flat, with minimal lippage where tile edges sit higher than their neighbors.
- No chronic moisture problems like persistent dampness, musty smell, or water wicking up at edges.
- No bounce in the floor. Peel-and-stick hates flex.
Red flags
- Cracked or loose tile (movement breaks the adhesive bond).
- Textured tile (the adhesive cannot fully contact, so corners lift).
- Very deep or wide grout that creates a grid you can feel.
- Radiant heated floors unless the flooring product explicitly allows it and you can stay within its temperature limit.
- Bathrooms with frequent puddling or poor ventilation, unless you are committed to edge sealing and careful use.
If your floor falls into the red-flag category, consider a floating vinyl plank (with the right underlayment) or a reversible rug situation instead. Sometimes the most rental-friendly choice is the one you can remove without a single apology.
Lease and landlord check
Even “temporary” adhesive products can count as an alteration. Before you do anything, skim your lease for language about adhesives, flooring changes, and damage to tile or grout. If you can, get permission in writing, especially if your tile is old or the grout is already compromised.
Also: keep one unopened box (or a few extra tiles) and your receipts. If something gets damaged during removal, matching the underlying tile matters, and it is easier to negotiate when you are organized.
Prep that lasts
The success of peel-and-stick tile is mostly prep, then careful sticking. If you want it to look smooth and stay down through mop days and hot summers, do these steps in order.
If you only do one thing: get the floor truly clean and truly flat. Adhesive does not forgive crumbs, grease, or dips.
1) Deep clean, then degrease
Start with a thorough clean to remove soap residue, wax, and kitchen grease. A neutral cleaner is fine for the first pass, but the second pass should be a degreaser that leaves no residue. Rinse well and let it dry fully.
- Kitchen floors: Pay extra attention near the stove and trash area where oils float and settle.
- Bathroom floors: Remove any silicone smears, hair product residue, and mineral deposits around the toilet and tub.
2) Fix loose spots and deal with lippage
If any tile is cracked, rocking, or loose, peel-and-stick on top is not a shortcut, it is a cover-up that will fail. In a rental, you may need to ask maintenance to re-set loose tiles.
If you have a few high edges (lippage), sanding glazed tile can work in theory, but it is risky. You can damage the glaze, and tile dust can contain silica, which is not something you want in your lungs.
- Safer options: spot-level around the high edge with a floor-rated patch (feather it out), or accept that peel-and-stick may not be the best choice for that floor.
- If you do sand: use proper respiratory protection, control dust, and keep your approach gentle. In a rental, think hard about anything that permanently scars the original tile.
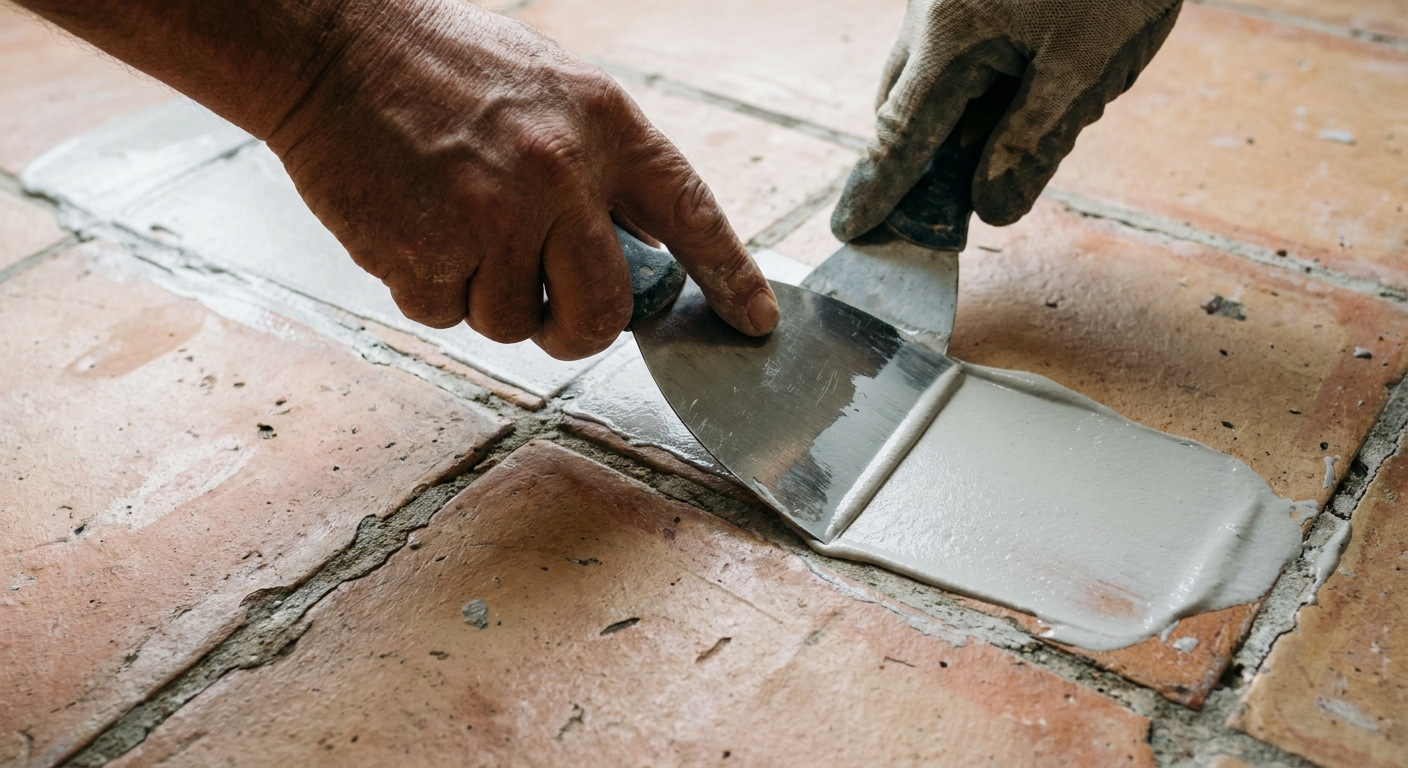
3) Fill grout lines (the step most people skip)
This is the difference between “looks great for two weeks” and “still looks good in six months.” If your grout is recessed, fill it so the peel-and-stick has a flatter plane to bond to.
- What to use: A cement-based floor patch or polymer-modified skim coat that is rated for floors and approved for use over well-bonded tile.
- Primer matters: Many patch products need a bonding primer over non-porous tile. Read the patch instructions and do not freestyle this part.
- Where to focus: Grout lines first, then skim wider areas if the tile has texture or low spots.
- Let it cure: Follow cure times, then lightly sand any ridges.
- Clean after sanding: Vacuum thoroughly and wipe up fine dust. Dust is an adhesive killer.
4) Prime if your product calls for it
Some peel-and-stick brands recommend a primer over porous patch material or over glossy tile. This is not a “nice to have” if your product calls for it. Primer helps the adhesive grip and can reduce edge lifting.
5) Control room conditions
Adhesives are moody. Install when the room is within the recommended temperature range (often around 65 to 85°F). Let the tiles acclimate in the room for at least 24 hours so they do not expand or shrink after installation.
6) Know what you are buying
Make sure you are buying floor-rated peel-and-stick vinyl tile or plank, not wall-only tile stickers. Floor products are built for foot traffic and cleaning. Wall products are not.
Layout that looks right
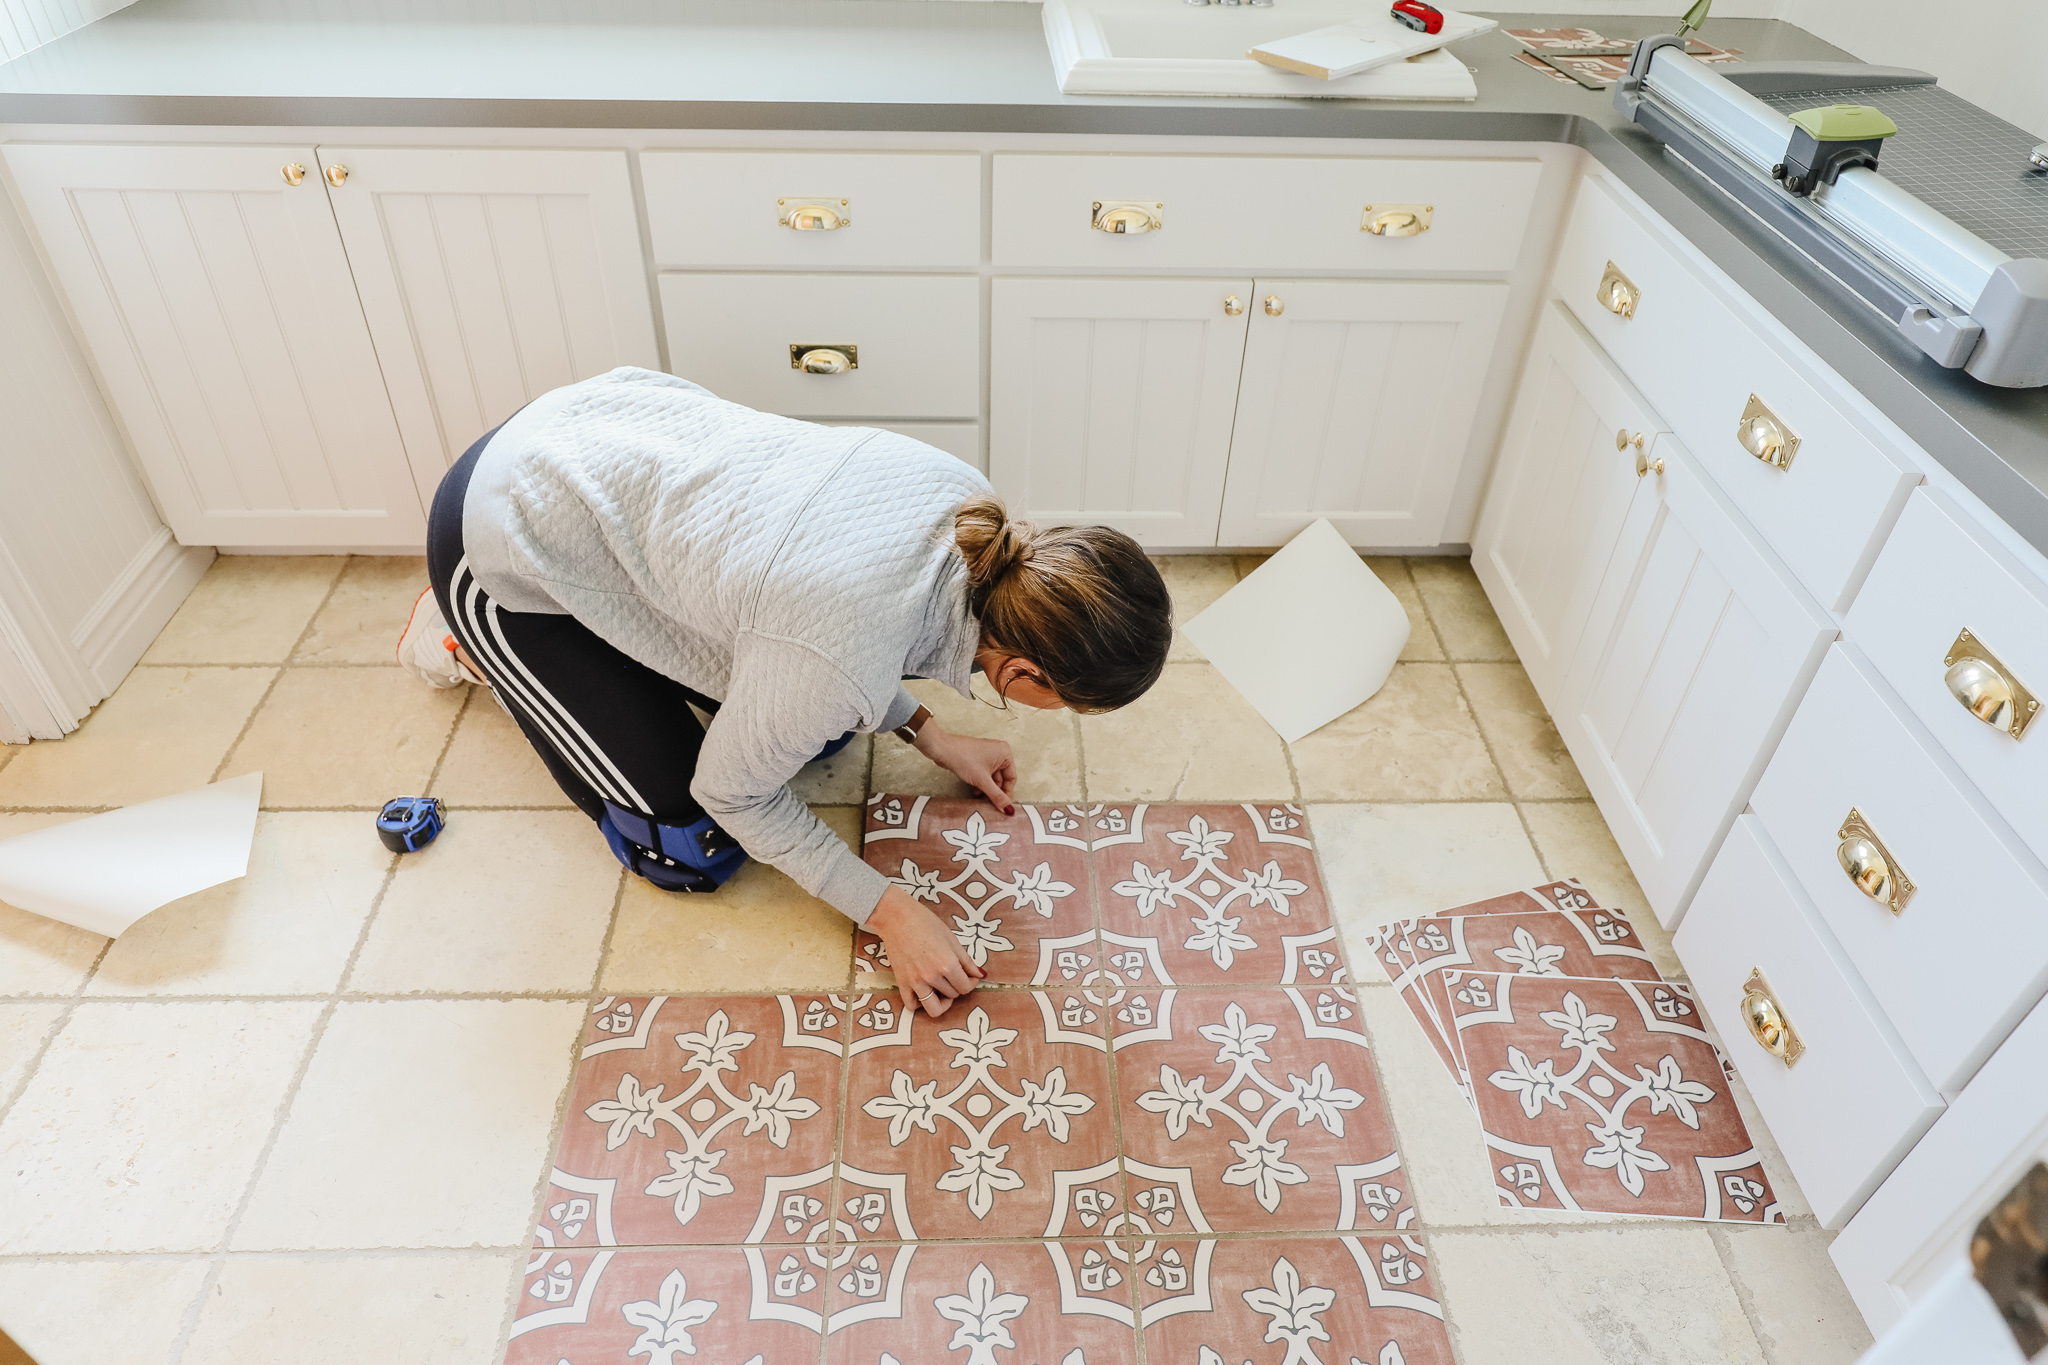
Peel-and-stick tile is unforgiving about layout because your eye reads floors as one big field. A few minutes with a plan saves you from tiny slivers along one wall and a pattern that drifts halfway through the room.
If the room is weirdly shaped: center your layout on the most visible zone, not necessarily the true center.
Find your starting lines
- For square tiles: Snap a chalk line down the center of the room lengthwise and widthwise, then dry-lay a row along each line.
- For planks: Decide which direction elongates the room (often running planks the long way). Use a straight reference line parallel to your longest wall.
- For strong patterns: Dry-lay a full repeat so you know where the statement moments land.
Dry lay first
Open several boxes and mix tiles to blend any subtle color variation. Then lay out a few rows without removing backing. A little variation can be charming, but mixing boxes prevents accidental bands of slightly different dye lots.
Transitions and clearances
This is the unglamorous stuff that saves your edges.
- Door swing and thresholds: Check that doors still clear the new height. Plan a neat transition at doorways so the edge does not become a peeling point.
- Appliances: Think about fridge and dishwasher roll-out. A small height change can turn “slides out easily” into “catches and scuffs.”
- Baseboards: If you are not removing baseboards in a rental, plan for clean cuts and consider quarter round only if your landlord allows it.
Installation
Tools you will use
- Measuring tape and pencil
- Chalk line or laser level
- Utility knife with fresh blades (change often)
- Metal straightedge or T-square
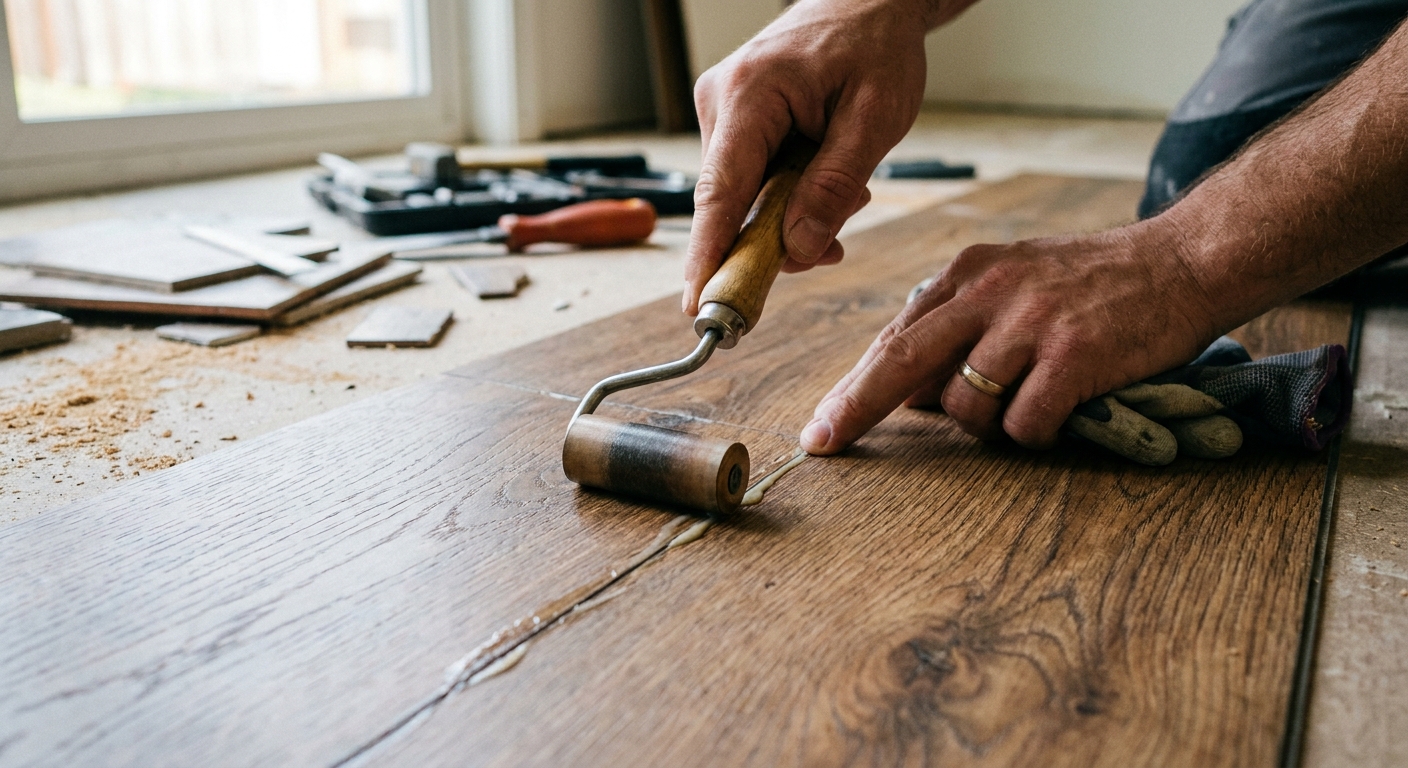
- Hand roller or a heavy rolling pin for seams
- Caulk gun (bathrooms and wet edges)
Stick with intention
- Start on your lines. Place the first tile carefully. Everything else is a consequence of this moment.
- Peel backing gradually. Peel a portion, align, then continue.
- Press and roll. Use firm pressure across the whole tile, then roll seams to seat the adhesive.
- Stagger seams if possible. For planks, avoid creating a seam line that is too regular.
Most brands recommend avoiding heavy traffic and wet mopping for a set period (often 24 to 72 hours). Treat it like fresh nail polish. You can touch it, but you should not test it.
Bathrooms and moisture
Bathrooms are where peel-and-stick can either feel like a miracle or a mistake. The key issue is not the occasional splash. It is water that sits at edges and seams, then creeps underneath.
If your bathroom regularly has puddles: you may be happier with a washable rug plan instead of an adhesive floor project.
Bathroom steps
- Seal the perimeter. Run a thin bead of mildew-resistant silicone where the new flooring meets the tub or shower base. Smooth it neatly. The goal is a water stop, not a chunky line that traps grime.
- Toilet base nuance. Caulking around the toilet can help stop splash and mop water from getting under the edge, but some people prefer leaving a small uncaulked gap so a leak is visible. Follow local code and common practice in your area, and do not seal in a way that hides leaks.
- Vanity toe-kick: Water drips here constantly and people forget it.
- Use bath mats like you mean it. A mat outside the shower is not just cozy. It is floor insurance.
- Ventilation matters. If your fan is weak, run it longer or crack the door after showers. Persistent humidity can soften adhesive over time.
Warning signs
If you see edge lifting, seams darkening, or a faint musty smell after showers, stop and troubleshoot. Dry the area completely, check caulk lines, and consider whether the space is simply too wet for peel-and-stick to be reliable.
Heated floors
Radiant heat is not an automatic no, but it is a strict check-the-fine-print situation. Many peel-and-stick products have a maximum surface temperature limit (often in the neighborhood of 80 to 85°F, but verify your exact product). Make sure both your flooring and your radiant system specs agree, then follow the most conservative number.
Common pitfalls
- Skipping grout fill: Your beautiful new floor ends up with a visible grid pattern and weaker adhesion at low spots.
- Using patch without the right primer: Some skim coats will crack or debond on non-porous tile if you skip the bonding step.
- Installing over dusty patch compound: Vacuum and wipe after sanding. Dust kills adhesion.
- Cheap tile in high-traffic zones: Kitchens, hallways, and entries need durable, floor-rated product.
- Not acclimating tiles: Expansion and contraction can open seams.
- Wet mopping too soon: Give the adhesive time to bond.
- Ignoring leaks: If the toilet or tub leaks even a little, peel-and-stick is not your friend until that is fixed.
Cleaning and upkeep
Once it is down, treat it like a vinyl floor, because it is.
- Skip steam mops. Heat and moisture can soften adhesive and lift edges.
- Use gentle cleaners. Avoid harsh solvents and anything oily that leaves residue.
- Wipe spills fast. Standing water is the enemy, especially at seams and edges.
- Felt pads help. Put them under chairs and anything that scoots.
Removal at move-out
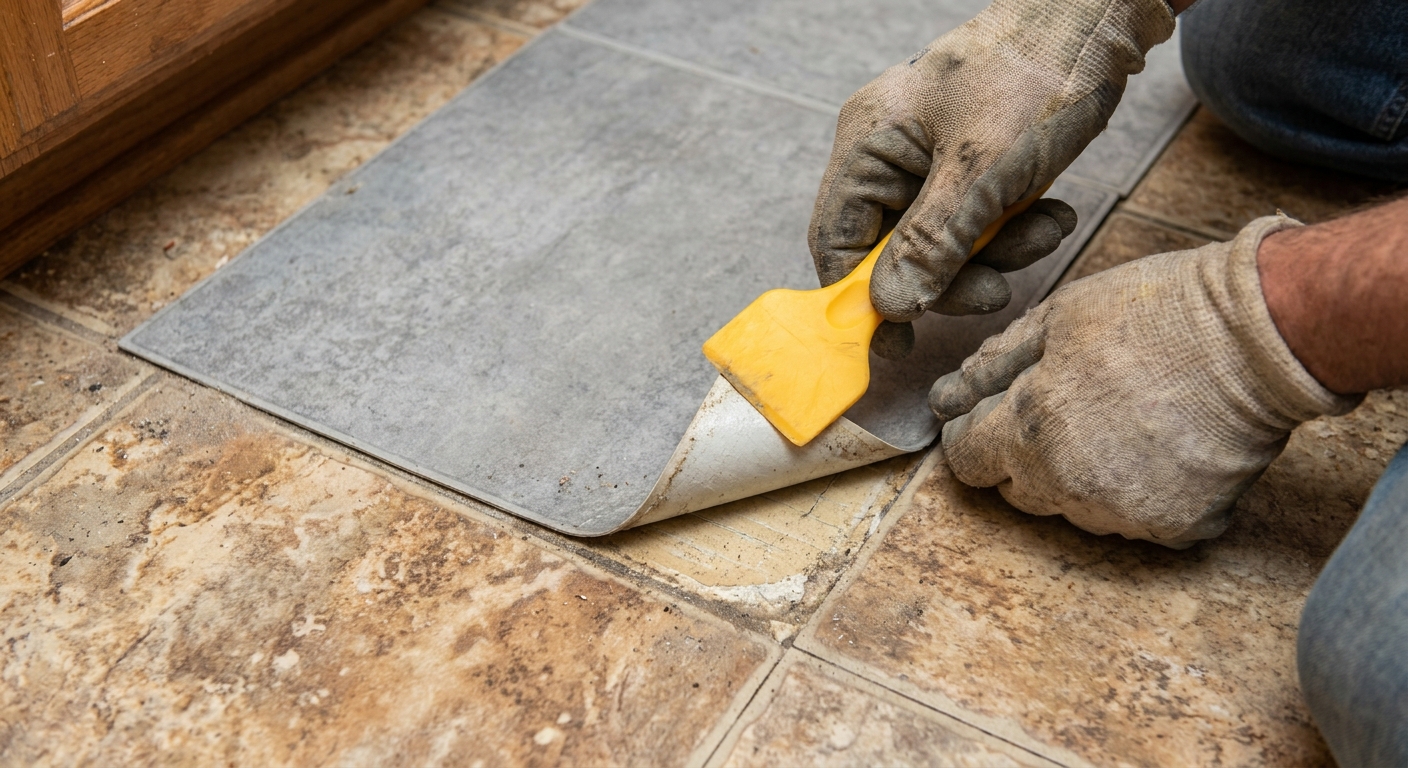
Removal can be easy, or it can feel like peeling sunburn. The difference is usually floor condition, adhesive strength, and how long it has been down.
Before you start: expect that peel-and-stick is temporary, but not always effortlessly reversible, especially if you did grout filling or skim coating.
Step-by-step
- Start at a corner. Use a plastic scraper to lift the edge so you do not gouge tile.
- Warm it up. A hair dryer or heat gun on low can soften adhesive. Keep it moving and do not overheat one spot.
- Pull low and slow. Pull the tile back against itself (low angle) rather than straight up. This reduces adhesive transfer.
- Residue removal: Use an adhesive remover that is compatible with your underlying surface. Citrus-based removers often work, but they can dull some natural stone and may affect certain grout sealers. Test in an inconspicuous spot first, and if your underlying floor is stone, be extra cautious.
- Rinse well: Clean off remover residue so the floor is not slippery and does not attract dirt.
Important: If you used grout fill or skim coat over the existing tile, removal may leave that material behind. That is why I consider grout filling the most semi-permanent part of this whole idea. In a rental, weigh that risk carefully and get permission if you can.
Room-by-room picks
Kitchens
Peel-and-stick can be a great fit if the tile is stable and you commit to degreasing and grout prep. Choose patterns that hide crumbs and scuffs. Soft stone looks, terrazzo looks, and gentle checkers are all forgiving.
Bathrooms
Proceed only if the bathroom stays relatively dry and you are willing to seal wet edges carefully. If your shower sprays everywhere and your fan barely whispers, consider a washable rug and a great bath mat instead.
Entryways
Entryways are hard on floors. If you go peel-and-stick here, pick a durable floor-rated product, use a sturdy doormat, and roll the seams thoroughly.
Shopping checklist
- Floor-rated peel-and-stick (not wall-only stickers)
- Extra tiles for future repairs
- Floor patch approved for use over tile if you need to fill grout lines
- Bonding primer if your patch or tile manufacturer requires it
- Mildew-resistant silicone for bathrooms and wet edges
- A hand roller for seams
- A transition strip if you have a vulnerable threshold edge
Final thoughts
Peel-and-stick floor tile over existing tile can absolutely make a rental feel calmer, warmer, and more like yours. Just treat it like styling with textiles: the magic is in the base layer. If your surface is smooth and dry, your layout is planned, and your edges are protected, you can get that “new floor” feeling without a contractor or a full renovation.
One more honesty note: lifespan varies wildly. In a low-moisture, low-traffic room with good prep, you might get a couple of happy years. In a wet bathroom or a busy entry, you might be troubleshooting edges much sooner.
If you tell me what room you are tackling and what your existing tile looks like (deep grout, texture, gloss, any bounce), I can help you figure out whether you are in “go for it” territory or “save your energy” territory.