Patch Small Tears in Upholstery Without Reupholstering
Clara Townsend
Clara Townsend is an interior stylist, vintage furniture enthusiast, and the creative voice behind Velvet Abode. With over a decade of experience transforming both cramped city apartments and sprawling fixer-uppers, she believes that a beautiful home is built on personal stories rather than massive budgets. When she isn't hunting for the perfect brass sconce at a local flea market, she can usually be found rearranging her living room for the third time this month.
There is a particular heartbreak to spotting a little rip in an otherwise beloved sofa. The good news is that many small tears and holes can be stabilized and disguised without reupholstering, without a sewing machine, and without turning your living room into a full workshop. Results do vary by fabric type, where the damage sits (a seat edge takes more abuse than a back panel), and what caused the tear. If the weave around it is weak, no patch will perform miracles. Still, with the right method and a few careful prep steps, you can often get a repair that holds up longer than a week.
First, choose the right approach
Before you buy a kit, take 30 seconds to evaluate what kind of damage you are dealing with and where it is located. This saves money and prevents the kind of repair that looks fine at night and very obvious in daylight.
- Frayed tear in woven fabric (most common): Great for adhesive-backed patches, underlay patches, or iron-on patches if (and only if) the fabric can handle heat.
- Clean hole (like a tiny puncture): Often easiest with an underlay patch behind the hole, plus a touch of flexible fabric adhesive to keep edges from lifting.
- Loose seam split: This is not really a “patch” job. It is usually a seam that needs to be closed again, ideally with a curved needle and upholstery thread. If you want to stay no-sew, seam repair tape can work short-term, but it is not the most durable.
- Shredded area or long rip: If the weave is failing around the damage, patching can buy time but may not look seamless. That is when you consider a slipcover, cushion cover replacement, panel replacement, or professional repair.
Location matters: A quick surface patch can be fine on a back panel or the outside arm. On the front edge of a seat cushion (high friction), an underlay patch tends to last longer and look calmer.
Quick tool list
You do not need a craft store haul. These are the basics I actually reach for when I am rescuing a thrifted chair or giving a hardworking family sofa another season.
- Small sharp scissors
- Tweezers (for stray threads)
- Lint roller or vacuum with upholstery attachment
- Cleaner: mild soap and water for most fabrics; rubbing alcohol can help with oils on some synthetics, but spot-test first to avoid dulling finishes or lifting dye
- Painter’s tape or masking tape (to mark placement and help hold alignment)
- A clean cloth and a hard, flat object (like a book) for pressing
- Wax paper or parchment paper (to keep glue from sticking to weights)
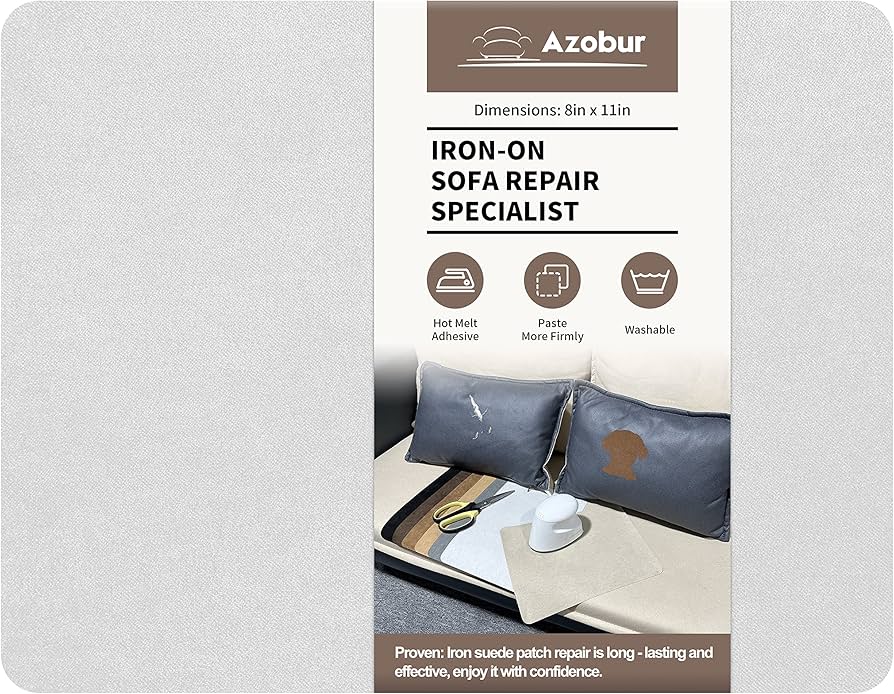
- Choose one repair method: self-adhesive fabric patch, iron-on patch, or flexible fabric adhesive plus scrap fabric
What to look for on labels: “flexible,” “clear-drying,” and “for fabric” (or “for synthetics” if your upholstery is polyester/performance). If you want washability for removable covers, check that the adhesive or patch is rated as washable.
Fabric cautions
Most patch failures come from one of three things: the wrong adhesive for the fabric, too much heat, or not enough surface prep.
- Natural fibers (cotton, linen, wool blends): Usually patch-friendly. They accept adhesive well, but can discolor with harsh cleaners. Spot-test cleaners and adhesives on an unseen area first.
- Polyester and performance fabrics: Often fine with adhesive patches, but some easy-clean finishes resist glue. Look for adhesives and patches labeled for synthetics or performance textiles, and follow the package guidance.
- Velvet (cotton velvet, performance velvet): Proceed gently. Iron-on patches can crush the pile and leave a shiny rectangle. Adhesive underlay patches are usually safer, and your goal is stability more than invisibility.
- Chenille: The fuzzy yarns love to snag and unravel. Stabilize the edges first with a tiny amount of flexible fabric adhesive, then use an underlay patch.
- Knit or stretch upholstery: Patches can pucker because the fabric moves. Underlay plus flexible adhesive is usually better than a stiff surface patch.
- Silk or delicate vintage upholstery: Avoid heat and aggressive adhesives. Consider a professional, or plan a discreet disguise (see the “hide it beautifully” section).
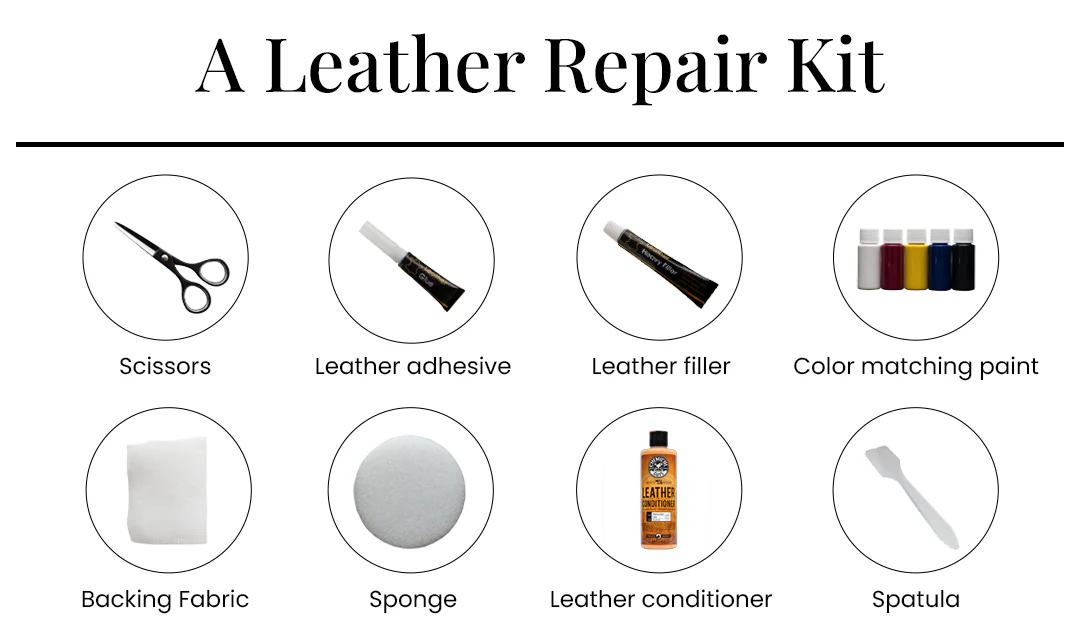
- Leather and faux leather: Different category entirely. Fabric patches will not bond well. Use a leather or vinyl repair kit instead.
If the upholstery feels slick or coated, do a small adhesive test under the sofa skirt or on the back panel before committing.
Method 1: Self-adhesive patches
Self-adhesive patches are perfect for tiny holes or shallow tears in woven fabrics where the patch will not be in heavy friction territory. Think: side panel, back cushion corner, or the outside arm that people do not constantly rub with their jeans.
How to do it
- Clean the area: Vacuum or lint-roll, then clean gently. For most fabrics, a lightly damp cloth with mild soap and water works well. If you use rubbing alcohol on a cloth, spot-test first and keep it light. Let it dry fully.
- Trim fuzz, do not pull: Snip loose threads with scissors. Pulling can widen the tear.
- Gently close the tear: Use tweezers to coax the edges together so the weave looks aligned.
- Cut the patch with rounded corners: A circle or oval blends better and corners lift less.
- Apply with firm pressure: Press from the center outward to avoid bubbles. Weight it with a book for 10 to 20 minutes.
Pro tip: A patch that is slightly larger than you think you need will hold better. Tiny patches are cute and also the first to peel.
Method 2: Underlay patch
If you want the repair to be less visible, an underlay patch is my go-to. The patch sits behind the upholstery fabric, supporting the damaged area from underneath. This is especially helpful when the tear edges can be aligned nicely and you want the surface texture to remain the star.
What you need
- A thin patch fabric similar in weight (cotton, canvas, or upholstery scrap)
- Flexible fabric adhesive (clear-drying)
How to do it
- Access the back if possible: If there is a zipper cover or you can remove the cushion, do it. If not, you can sometimes tuck the patch through the tear and smooth it flat underneath.
- Cut a patch larger than the damage: Aim for at least 1 inch (2.5 cm) beyond the tear on all sides.
- Position the patch behind the tear: Smooth it flat with your fingers or the back of a spoon.
- Apply adhesive sparingly: Use a thin bead around the tear edge (not a puddle). Too much glue can seep through and darken the fabric, or stick to inner layers.
- Hold alignment while it cures: Use painter’s tape lightly across the tear on the surface to keep the edges aligned. Add wax paper over the area and weight it with a book if you can do so safely.
- Let it cure: Follow your adhesive instructions. Many need 24 hours before real use.
This method is also kinder to textured fabrics because you are not trying to stick something on top of a bumpy surface. You are creating a supportive backing that keeps the fabric from continuing to split.
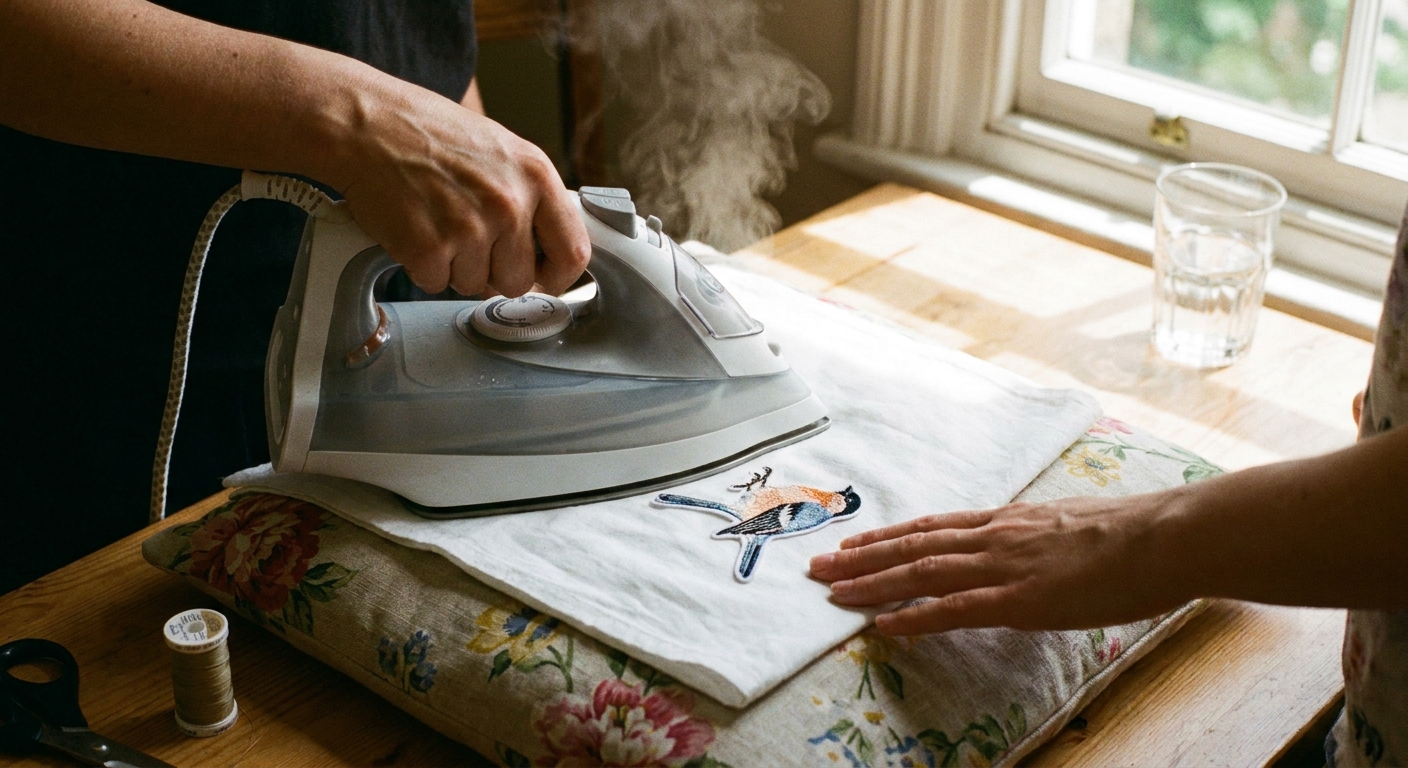
Method 3: Iron-on patches
Iron-on patches can be wonderfully durable on sturdy cottons and blends, especially on removable cushion covers. Heat is less forgiving on velvets, delicate weaves, and some performance finishes, so this is the method where you go slow and test first.
Before you use heat
- Only attempt on removable covers you can lay flat: Avoid ironing directly on upholstered frames, stuffed arms, or tight areas where you cannot control pressure and heat.
- Do not rely on the upholstery tag alone: Many tags focus on cleaning codes (W, S, WS, X) rather than ironing guidance. When in doubt, skip heat.
- Test in an invisible spot: Use low heat, a pressing cloth, and a quick touch to check for shine, flattening, or color change.
- Never press directly on velvet pile: It can crush permanently.
How to do it safely
- Place a pressing cloth (thin cotton) between the iron and the fabric.
- Use low to medium heat and build up slowly.
- Press, do not slide, to avoid stretching the tear.
- Let it cool fully before you check adhesion.
Hide it beautifully
Sometimes the smartest fix is not a perfect invisible patch, but a thoughtful styling choice that takes pressure off the damaged area. This is especially true on high-friction zones like the front edge of a seat cushion.
- Flip or rotate cushions: If the tear is on one side, rotate the cushion to move it to the back or underside.
- Layer a throw strategically: A soft throw casually folded over an arm can look intentional and protect the area from further wear.
- Add a small lumbar pillow: Use it as a beautiful cover while the glue cures, then keep it there because it looks good.
- Use a slipcover or armcap: Armcaps are underrated and feel quietly classic.
- Skirt or simple panel cover: If the damage is on the lower front panel, a sofa skirt can hide it completely and soften the silhouette.
In a home that is actually lived in, a little bit of camouflage can be a kindness to yourself.

Match color and texture
When a patch looks off, it is usually not just the color. It is the texture and the sheen.
- Match sheen first: A matte patch on a slightly shiny performance fabric will stand out even if the color is perfect.
- Go slightly darker: Slightly darker patches tend to read like shadow and wear, while lighter patches can read like a sticker.
- Steal fabric from hidden parts: If you can, take a tiny piece from under a cushion, inside a skirt hem, or from the back panel seam allowance. That is the holy grail match.
- Embrace visible mending if it fits your style: On vintage pieces, a tidy patch in a complementary fabric can look charming and honest, especially in a relaxed, eclectic room.
When DIY is not enough
I love a scrappy fix as much as anyone, but there are times when DIY will keep failing, and it is not your fault.
- The tear is longer than 3 to 4 inches (7 to 10 cm) in a seat or arm area where friction is constant.
- The fabric around the tear is thin, brittle, crunchy, or shredding, which can signal fiber degradation and a failing weave.
- The cushion foam is exposed or damaged, meaning you need structural repair, not just surface repair.
- The tear crosses a seam or piping, which often needs sewing to look clean and stay strong.
- You have pets who scratch that exact spot daily. You can patch it, but you also need a protection plan, like a washable cover or an armcap.
If you love the piece, ask an upholsterer about a panel replacement or a cushion cover remake. Those are often far less expensive than full reupholstery and can extend the life of the whole sofa.
Quick troubleshooting
- Patch edges lifting: Rounded corners help. Clean better next time. Add a tiny amount of fabric adhesive under the edge and press with weight.
- Glue darkened the fabric: You used too much or the fabric is absorbent. Next time, apply adhesive to the patch, not the upholstery, and keep it thin.
- Repair feels stiff: Too thick a patch or too much adhesive. Use a thinner backing fabric and a flexible adhesive.
- The tear keeps spreading: The surrounding fabric is failing or the area is high-stress. Upgrade to an underlay patch, consider a cover, or call a pro.
Safety and setup
- Ventilation helps: Many adhesives have strong fumes. Open a window and take your time.
- Protect the inside: If there is foam or batting under the tear, use less glue than you think and consider sliding wax paper behind the fabric (when possible) to prevent accidental bonding.
- Keep hands, kids, and pets away while curing: A repair is strongest when it gets the full cure time without poking, rubbing, or “just checking.”
Final checklist
If you want the “I fixed it” moment without the regret later, run through this quick list:
- Clean and fully dry the area
- Spot-test cleaner and adhesive when in doubt
- Trim fuzz, never yank threads
- Align the weave before sticking anything down
- Choose the least aggressive method that will hold for that location
- Press firmly, then give it proper cure time
- Protect the spot for a few days (throw, pillow, rotation)
Your furniture does not need to be perfect to be beautiful. It just needs to be cared for. A small patch can be exactly that: care, in a very practical little rectangle.