Oil and Sanitize Butcher Block Without Ruining the Finish
Clara Townsend
Clara Townsend is an interior stylist, vintage furniture enthusiast, and the creative voice behind Velvet Abode. With over a decade of experience transforming both cramped city apartments and sprawling fixer-uppers, she believes that a beautiful home is built on personal stories rather than massive budgets. When she isn't hunting for the perfect brass sconce at a local flea market, she can usually be found rearranging her living room for the third time this month.
Butcher block is one of those surfaces that feels alive. It warms up a kitchen, softens all the hard angles, and somehow makes even a frozen pizza night feel a little more charming. It is also wood, which means it does not want the same harsh routine we use on stone or laminate.
The goal is simple: sanitize smartly when you need to, then rebuild the protective barrier with oil and wax, without turning your counter sticky, blotchy, or dull. And if you are renting, we will keep everything reversible.
First, figure out what finish you have
Before you oil anything, take 30 seconds to identify what is on the wood right now. This one step prevents most butcher block heartbreak.
Quick water-drop test
- If water beads up and sits there for a while, you likely have a film finish (polyurethane, varnish, lacquer) or a strong hardwax system.
- If water soaks in and darkens the wood within a minute or two, you have an oil and wax style finish (common for true butcher block prep surfaces).
Why it matters: Oil is meant to soak into wood. If there is a sealed film on top, oil will not penetrate evenly and can leave a tacky, smudgy layer that attracts dust and fingerprints.
If you have a film finish
If your counter is sealed with polyurethane or varnish, treat it like a sealed wood tabletop. Do not oil it.
- Clean: Mild dish soap and warm water, then wipe with clean water and dry.
- Disinfect (spot only): Use a product that is labeled safe for finished wood, and follow the label contact time.
- Fix dull spots: Usually a gentle cleaner and a soft cloth, not more oil.
Rental note: If you suspect a sealed film finish, do not sand or strip it without permission. Stick to gentle cleaning and spot disinfection only.
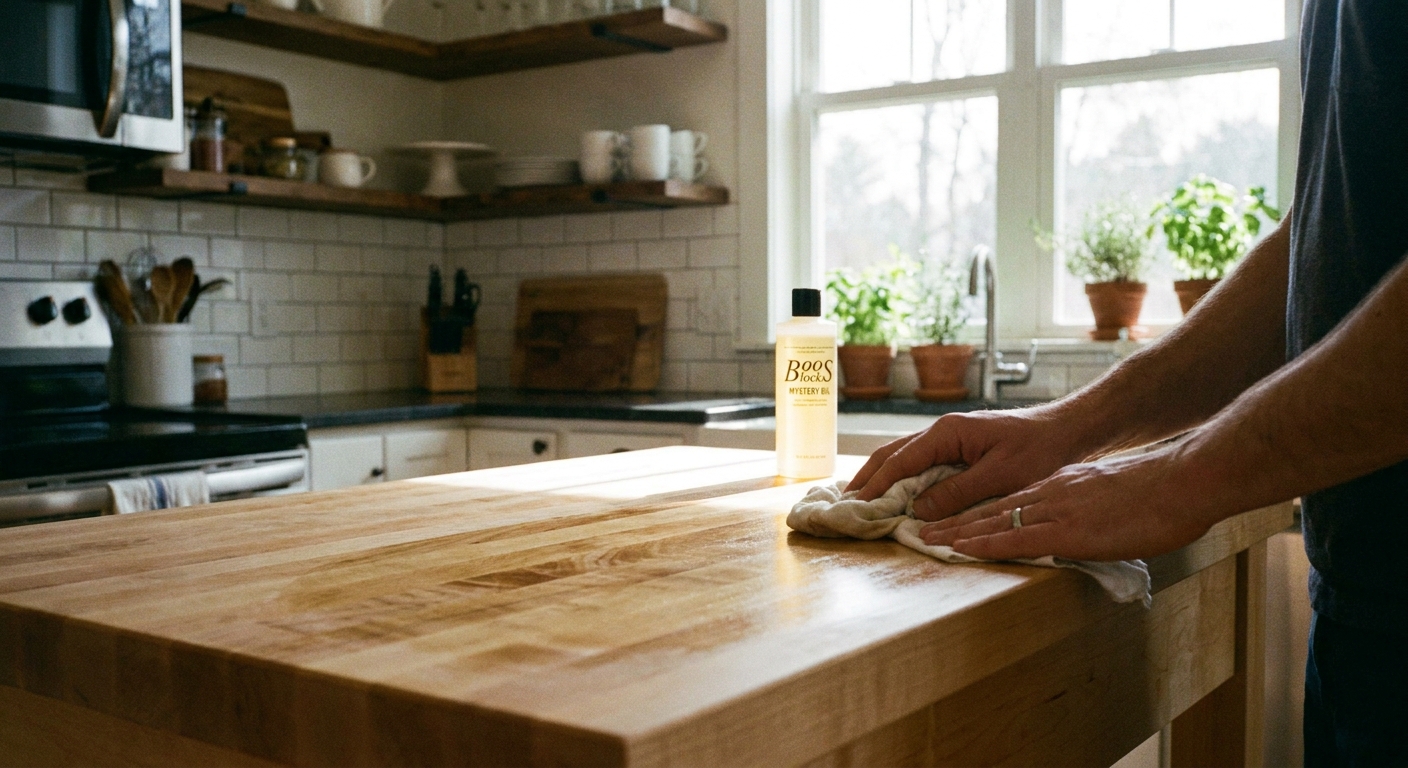
Food-safe oil vs. wax (and what I use)
Think of oil as hydration and wax as a raincoat. Most butcher block counters do best with both, used at the right times.
Best oils for butcher block
- Food-grade mineral oil: The classic. Stable, affordable, odorless, and it will not go rancid.
- “Butcher block oil” blends: Often mineral oil plus a little wax. Convenient and beginner-friendly.
- Pure tung oil (100% tung, not “tung oil finish”): Cures into a more durable surface, but it is slower. Expect multiple thin coats and a cure time that can take days to weeks depending on humidity and airflow. (If you have nut allergies in the household, consider skipping tung oil or check with your doctor first.)
Wax options
- Beeswax + mineral oil conditioner: Adds a soft sheen and improves water resistance, especially around the sink.
- Hardwax oils: More durable but product-specific. If your counter already has one, stick with the same system when possible.
What to avoid (for most people)
- Olive oil, avocado oil, vegetable oil: They can oxidize and smell off over time. Even if they seem fine at first, long-term they are not my pick for a surface you want to stay fresh.
- Silicone-heavy spray cleaners: They can create a slick residue that makes future oiling uneven.
If you want one simple approach: mineral oil for routine seasoning, then a wax conditioner once the wood looks evenly saturated.
A simple seasoning schedule
Most butcher block problems come from long dry spells followed by panic oiling. Consistency wins.
If the counter is new, newly sanded, or very dry
- Week 1: Oil daily (or every other day if it still feels slightly oily the next morning).
- Weeks 2 to 4: Oil once a week.
- After that: Oil once a month, or whenever the wood looks thirsty.
If your counter is already in decent shape
- Oil monthly (more often near the sink).
- Wax every 2 to 3 months or after a deep clean.
My visual cue: When the surface starts looking pale, ashy, or dry in high-use zones, that is your reminder. Butcher block should look softly rich, not chalky.
Small nerdy note: End grain and thirsty spots (often near seams and the sink cutout) can drink more oil. That is normal and it is why some areas look uneven at first.
How to oil without stickiness
Oiling is not hard, but the order matters.
What you need
- Food-grade mineral oil or butcher block oil
- Clean microfiber cloths or lint-free cotton rags
- Optional: a plastic bench scraper for crumbs
Step-by-step
- Clean first. Wipe with warm water and a drop of mild dish soap. Then wipe again with clean water.
- Dry completely. Give it at least 30 to 60 minutes, longer if your kitchen is humid. A good cue is that the wood does not feel cool or damp to the touch.
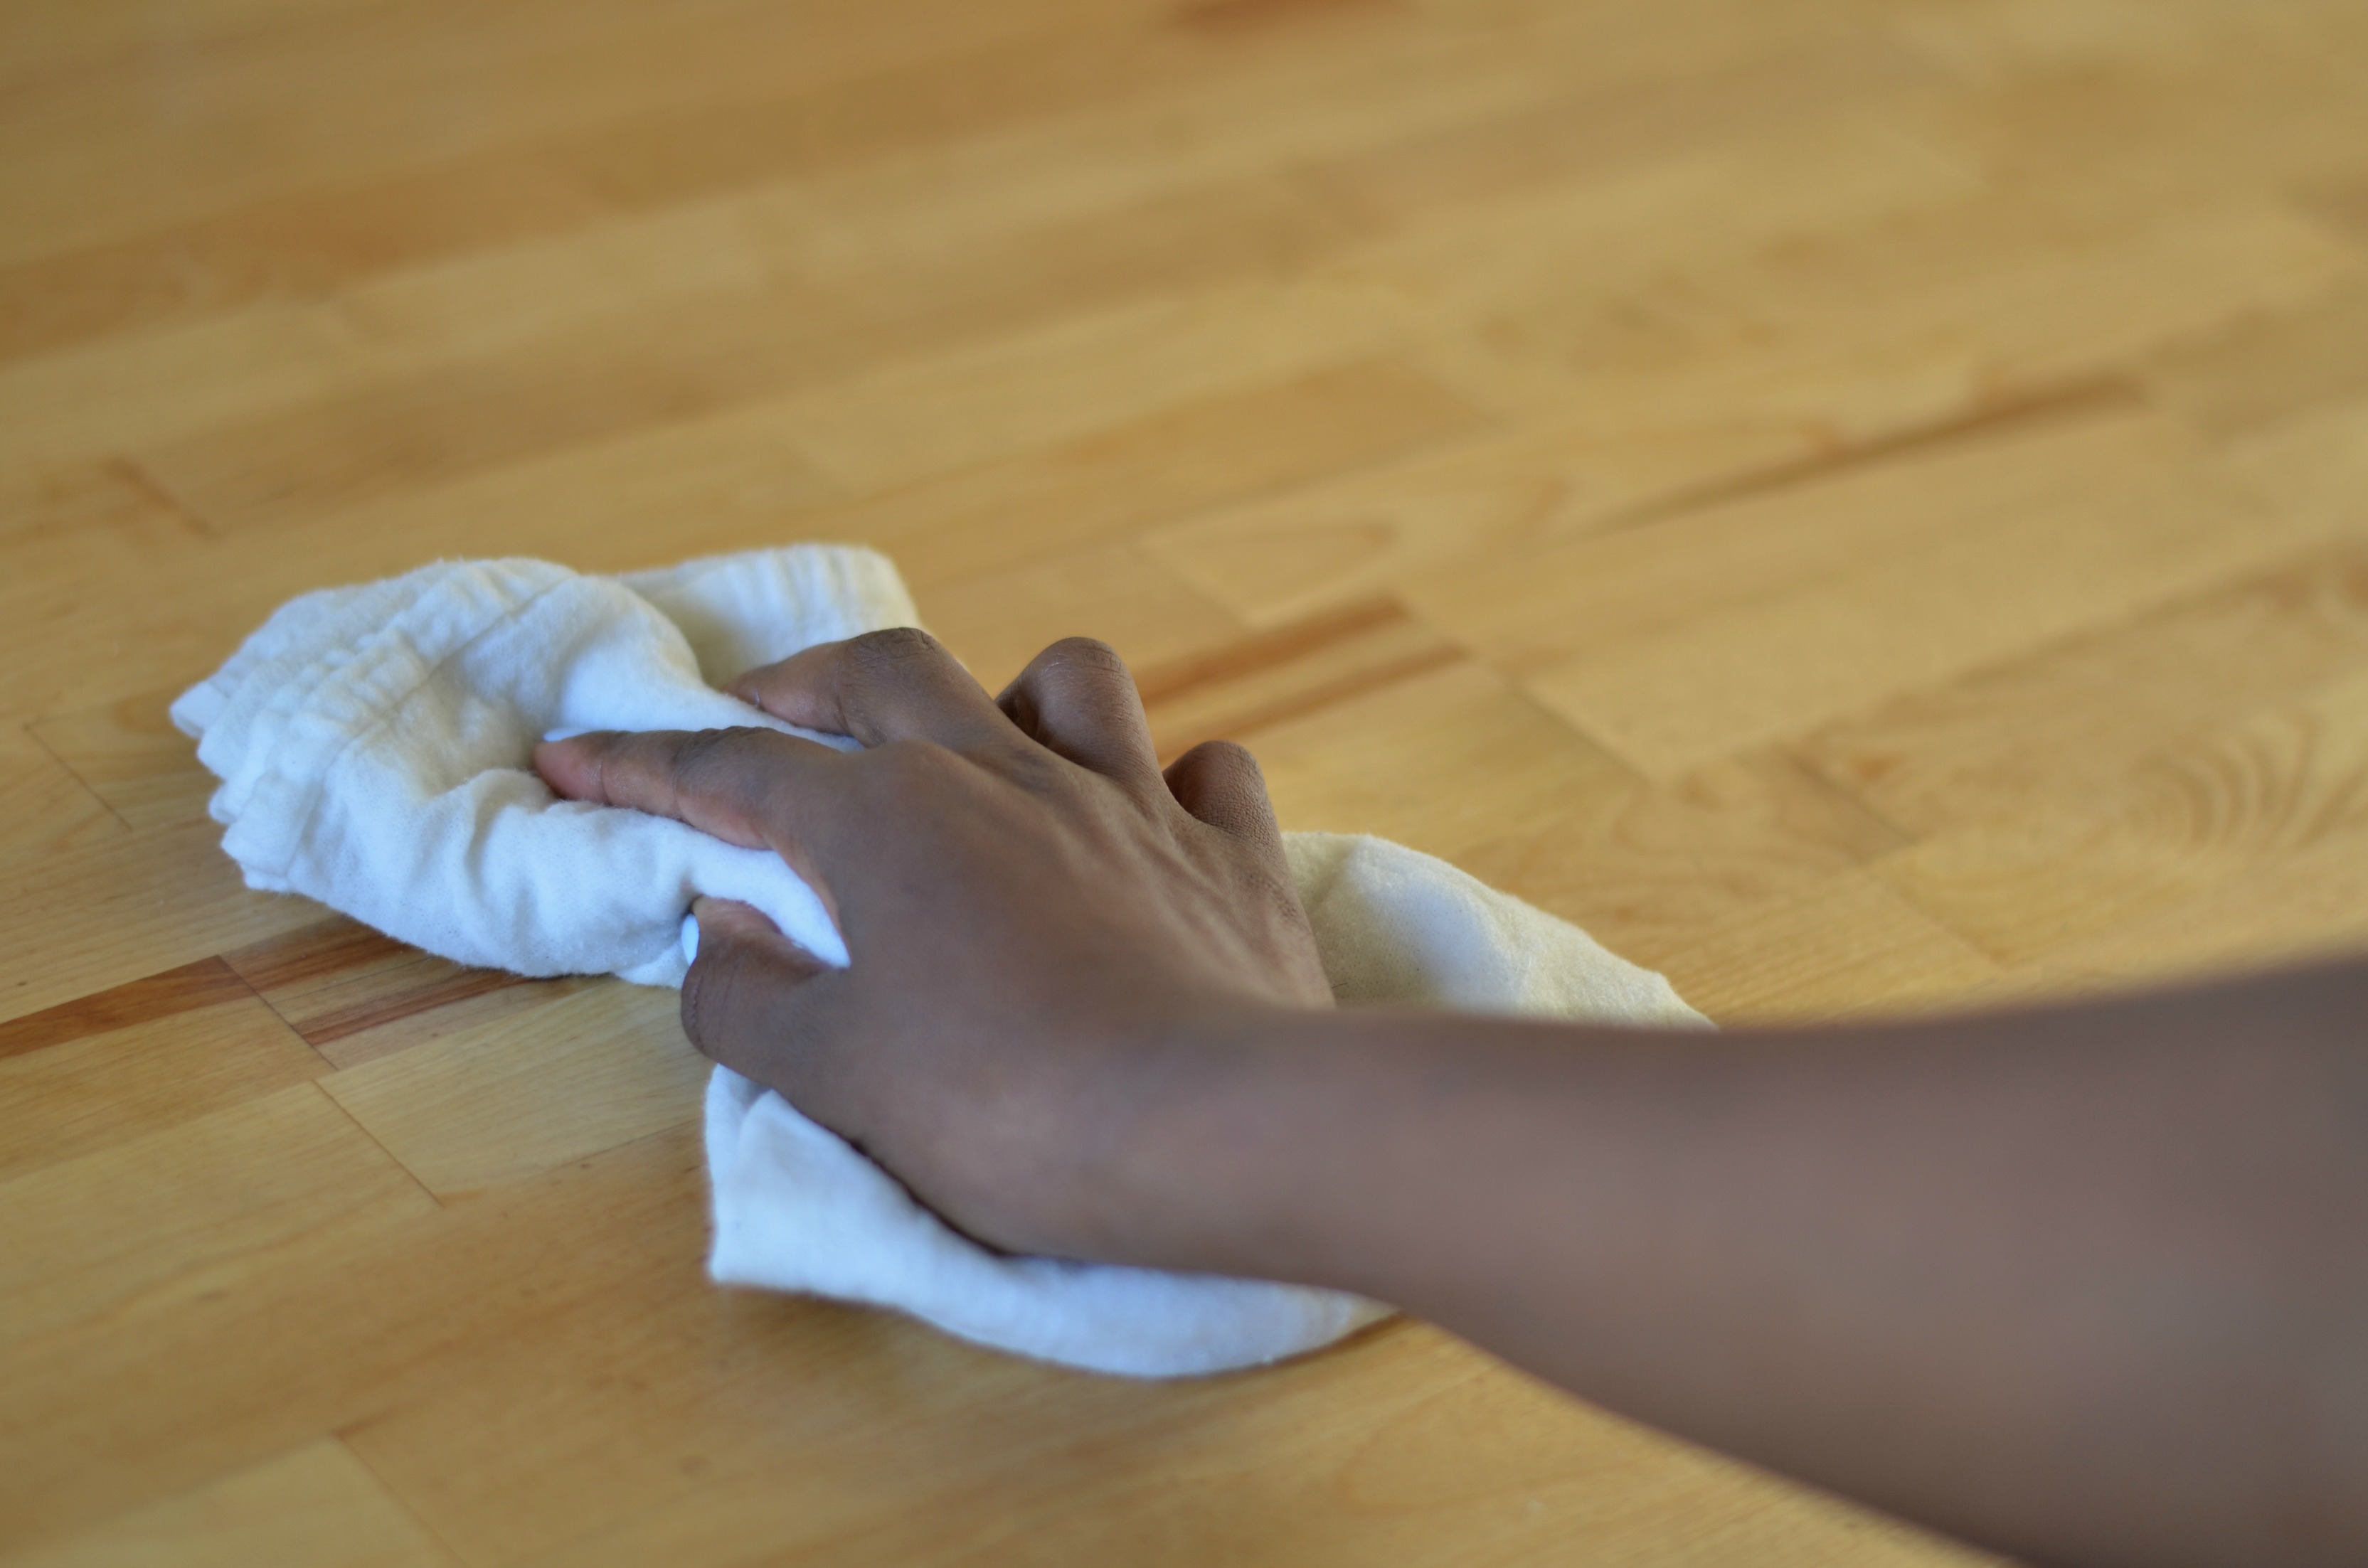
- Apply a thin coat. Pour a small amount and spread it like you are applying lotion. Cover edges and the sink cutout area if accessible.
- Let it soak. 20 to 30 minutes is usually enough for mineral oil.
- Wipe off excess. Buff until the surface feels satiny, not wet.
- Let it rest. If you can, wait overnight before placing countertop appliances back down.
If your counter still feels oily after several hours, you used too much. Keep buffing with a clean, dry cloth. You are not removing protection. You are removing the extra that would otherwise turn gummy.
Sanitizing after raw meat
Some woods can be inhospitable to bacteria as they dry, but your kitchen still needs practical, today-level sanitation. Especially after raw chicken.
Everyday cleanup (most situations)
- Scrape crumbs and bits with a bench scraper.
- Wash with warm water plus a small amount of dish soap.
- Rinse with a clean damp cloth.
- Dry thoroughly.
After raw meat or fish: spot disinfecting
Choose one of these approaches and keep it targeted to the area you used. Always follow the product label, including required wet contact time.
- 3% hydrogen peroxide (common pharmacy bottle): Apply enough to keep the area visibly wet for the label contact time (often several minutes), then wipe and dry. It breaks down into water and oxygen, which makes it a popular wood-friendly option. Note: it can slightly lighten some woods, so test in a hidden spot if you are worried.
- Diluted bleach (occasional heavy hitter): Use a mild solution (about 1 tablespoon of unscented household bleach per 1 gallon of water) unless your product label or local public-health guidance specifies otherwise. Wipe on, keep it wet for the recommended time, then wipe with clean water and dry. Frequent bleach use can lighten wood and dry it out.
Important: Disinfecting can dehydrate the surface. Once everything is fully dry, do a light oil touch-up in that spot if the wood looks paler than the rest.
What not to do
- Do not soak the counter with water.
- Do not let vinegar sit on the wood. A quick wipe is usually fine, but prolonged contact can dull finishes and dry an oil-finished surface.
- Do not rely on a single pass with a disinfecting wipe. Many require a wet contact time to work.
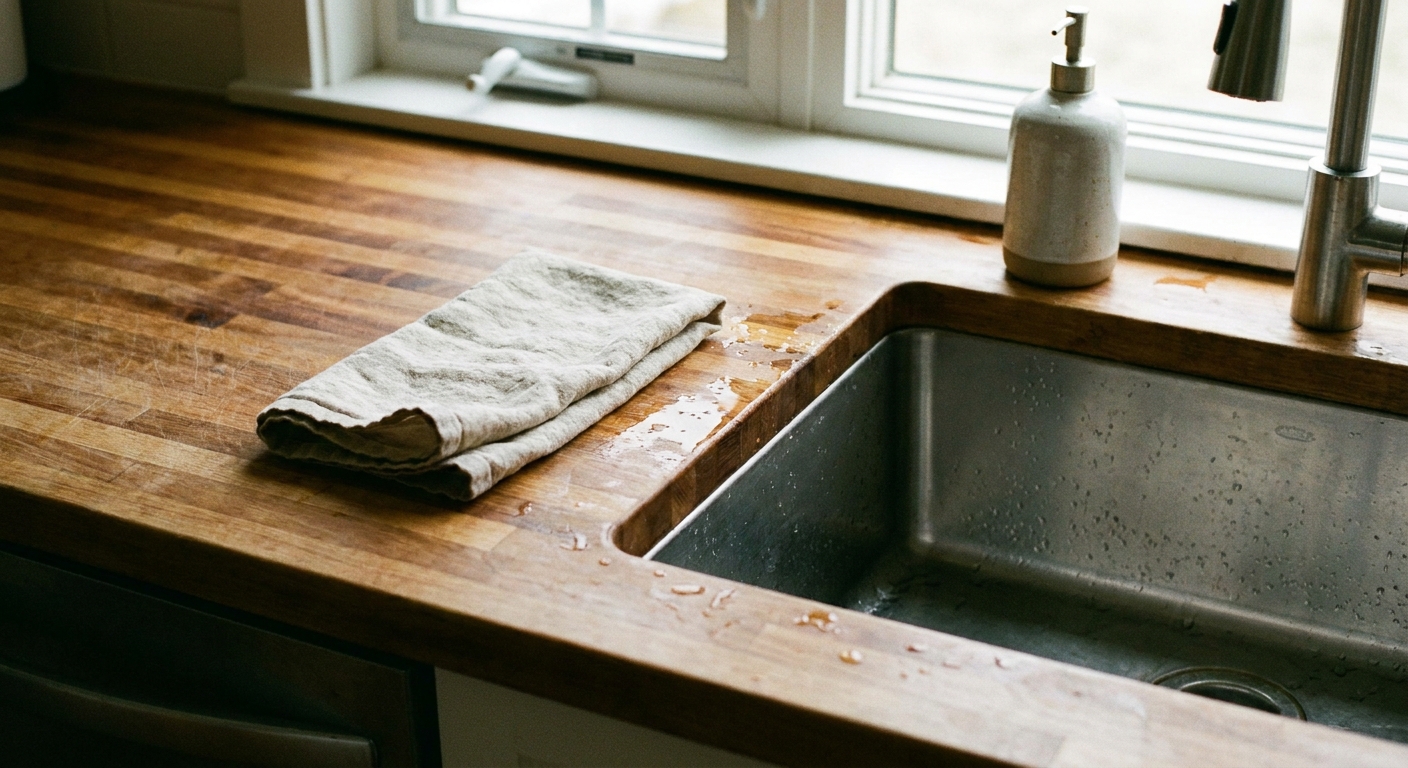
Drying and the sink zone
The sink area is where butcher block lives or dies. Water creeps, swells seams, and leaves gray shadows if it sits.
My three small habits
- Wipe standing water immediately, especially around faucets and seams.
- Use trays under soap and sponges. A simple ceramic dish prevents a permanent dark ring.
- Wax the sink zone more often than the rest of the counter. Wax is extra helpful where splashes are constant.
Fast fix for a fresh water ring
Dry the area, then apply a small amount of oil and buff. If the ring is still visible the next day, it likely soaked deeper and you may need a light sand and re-oil, but only if you own the place or have landlord approval.
When to wax
Wax is optional, but it is the reason some butcher blocks look softly glowing instead of perpetually parched.
Use wax when
- You have an even, well-oiled base and want better water resistance.
- The counter feels dry again quickly, especially by the sink.
- You want a slightly richer sheen without a shiny, plastic look.
How to apply
- Make sure the counter is clean and dry.
- Rub on a very thin layer of wax conditioner.
- Wait 15 to 20 minutes.
- Buff until it feels smooth and not tacky.
If wax feels sticky, it is almost always too much product or not enough buffing.
Stains, smells, and small damage
I love a hardworking patina, but there is a difference between “character” and “this is going to bother me every morning.” Here is how I decide what is worth doing, especially in a rental.
Try these reversible fixes first
- For odors (garlic, onion, fish): Sprinkle baking soda, rub gently with half a lemon, let sit 5 minutes, then wipe and dry. Re-oil if the spot looks lighter.
- For light stains: Make a paste of baking soda and water, rub gently with the grain, wipe clean, dry, then oil.
- For ink or dye transfer: A tiny amount of rubbing alcohol on a cloth, dab only the stain, then wipe with water and dry. Alcohol can strip oil, so re-oil the spot after.
When light sanding makes sense (usually for homeowners)
- The stain is deep and keeps reappearing after cleaning.
- Raised grain or roughness is catching on towels.
- There is a heat mark that bothers you and sits below the surface.
If you do sand: use a fine grit (typically 180 to 220), sand with the grain, vacuum or wipe dust, then rebuild with several thin oil coats. Sanding is effective, but it is a change to the surface. In rentals, I treat sanding as a last resort and always check the lease or ask first.
When to leave it alone (especially for move-out)
- Minor knife marks and faint water shadows that do not feel rough.
- Small color variations that will likely blend with the next few months of normal use.
- Anything you would have to aggressively sand to “erase.” Over-sanding can create dips that look worse than the original mark.
Renter-friendly rules
If you rent, the safest plan is to keep your routine helpful but non-permanent.
- Do: Clean gently, disinfect in small areas, oil when the wood looks dry, and buff well.
- Do: Use cutting boards for raw meat and messy prep. Consider a large, pretty board that lives on the counter so it is easy to grab.
- Do not: Strip finishes, apply tinted oils, stain the wood, or do heavy sanding without written permission.
- Do not: Use harsh degreasers or abrasive powders that can etch and roughen the surface.
If you are moving out and the counter looks a little thirsty, a simple clean, dry, and one thin coat of mineral oil buffed thoroughly is usually the most landlord-neutral refresh.
Rag safety
If you use mineral oil, rag risk is low, but good habits are still worth it. If you use a curing oil like tung oil, oil-soaked rags can be a fire hazard.
- Lay rags flat to dry outdoors or in a well-ventilated area, away from anything flammable.
- Or seal them in a metal container, or follow your local disposal guidance.
- Do not toss oily rags in a warm pile in the trash.
Troubleshooting
My counter feels sticky after oiling
Too much oil. Buff with a clean dry cloth. If it is still sticky the next day, wipe with a barely damp cloth and a drop of dish soap, dry fully, then buff again. Next time: thinner coat, longer soak, more buffing.
It looks blotchy
Some areas were drier and drank more. Do another thin coat over the whole surface, let it soak, and buff. Blotchiness usually evens out after a couple of consistent oilings.
It turned gray or dull near the sink
Often water exposure plus lack of oil. Clean gently, dry thoroughly, then oil that zone and consider waxing it. If it stays gray, it may be deeper moisture staining that requires sanding, which is a permission-required step in rentals.
Can I disinfect and oil on the same day?
Yes, but let the surface dry completely first. Disinfect, wipe, dry, wait until it no longer feels cool or damp, then apply oil. Trapped moisture is the enemy.
A calm routine
If you want the simplest rhythm that keeps butcher block beautiful without babying it:
- As needed: Wipe with mild soap and water, then dry.
- After raw meat: Spot disinfect, following the product label contact time, then dry thoroughly.
- Monthly: Thin oil coat, soak, buff.
- Every few months: Wax conditioner, buff.
Butcher block does not need perfection. It needs consistency, a little respect for water, and just enough oil to keep that warm, honeyed glow you fell in love with in the first place.