No-Nail Gallery Walls for Renters
Clara Townsend
Clara Townsend is an interior stylist, vintage furniture enthusiast, and the creative voice behind Velvet Abode. With over a decade of experience transforming both cramped city apartments and sprawling fixer-uppers, she believes that a beautiful home is built on personal stories rather than massive budgets. When she isn't hunting for the perfect brass sconce at a local flea market, she can usually be found rearranging her living room for the third time this month.
If you rent, you have probably had this exact inner debate: you want the soul of a gallery wall, but you also want your security deposit to live a long, happy life. The good news is you do not have to choose. With a few renter-friendly systems (some truly no-hole, some low-hole), you can build a layered, collected wall that feels like you, then remove it later without turning move-out day into a spackle marathon.
Below are my favorite renter-safe approaches, plus the practical details people skip: weight limits, adhesive-to-wall testing, how to space pieces so they look intentional, and what to do if your lease says “no holes” but your walls already have history.
Before you start: quick renter reality check
1) Read the wall rules, then look at the wall
Leases vary wildly. Some say “no holes,” some allow “small nail holes,” and some require “professional patch and paint.” Even if your lease is strict, you can still do a no-hole setup, but your plan changes depending on your wall surface.
- Paint finish matters: Flat and matte paint can be more delicate and more likely to peel with adhesive. Semi-gloss and satin are usually sturdier.
- Wall texture matters: Heavily textured or orange-peel walls reduce contact area for adhesives, which lowers hold strength.
- Some wall types are just adhesive-unfriendly: Brick, plaster, limewash, and wallpaper can be tricky (or a hard no) for many stick-on systems. If that is your situation, skip adhesives and lean art on furniture, use a tension pole system, or use an over-the-door option for lightweight pieces.
- Humidity matters: Bathrooms and kitchens can weaken many adhesive systems over time.
2) Do a discreet adhesive test
Choose a hidden spot behind a door or near a baseboard. Apply a spare strip, press firmly, wait 24 hours, then remove it according to the manufacturer instructions for that exact product. If paint lifts, switch to ledges that sit on furniture, a floor-to-ceiling tension system, or a rail that hooks over existing molding if you have it.
3) Know the “patch rules” that protect your deposit
This is not legal advice, just a renter sanity checklist.
- If you make holes: Use lightweight spackle, sand lightly, and touch up paint to match the sheen. Many landlords want a clean, flat patch rather than a thick blob.
- If you use adhesive: Removing strips incorrectly is what causes most damage. Pull slowly and keep the tab close to the wall (not yanking outward), and follow the directions on your specific strips.
- Document everything: Take before photos of the wall condition on move-in and after photos when you remove your display.
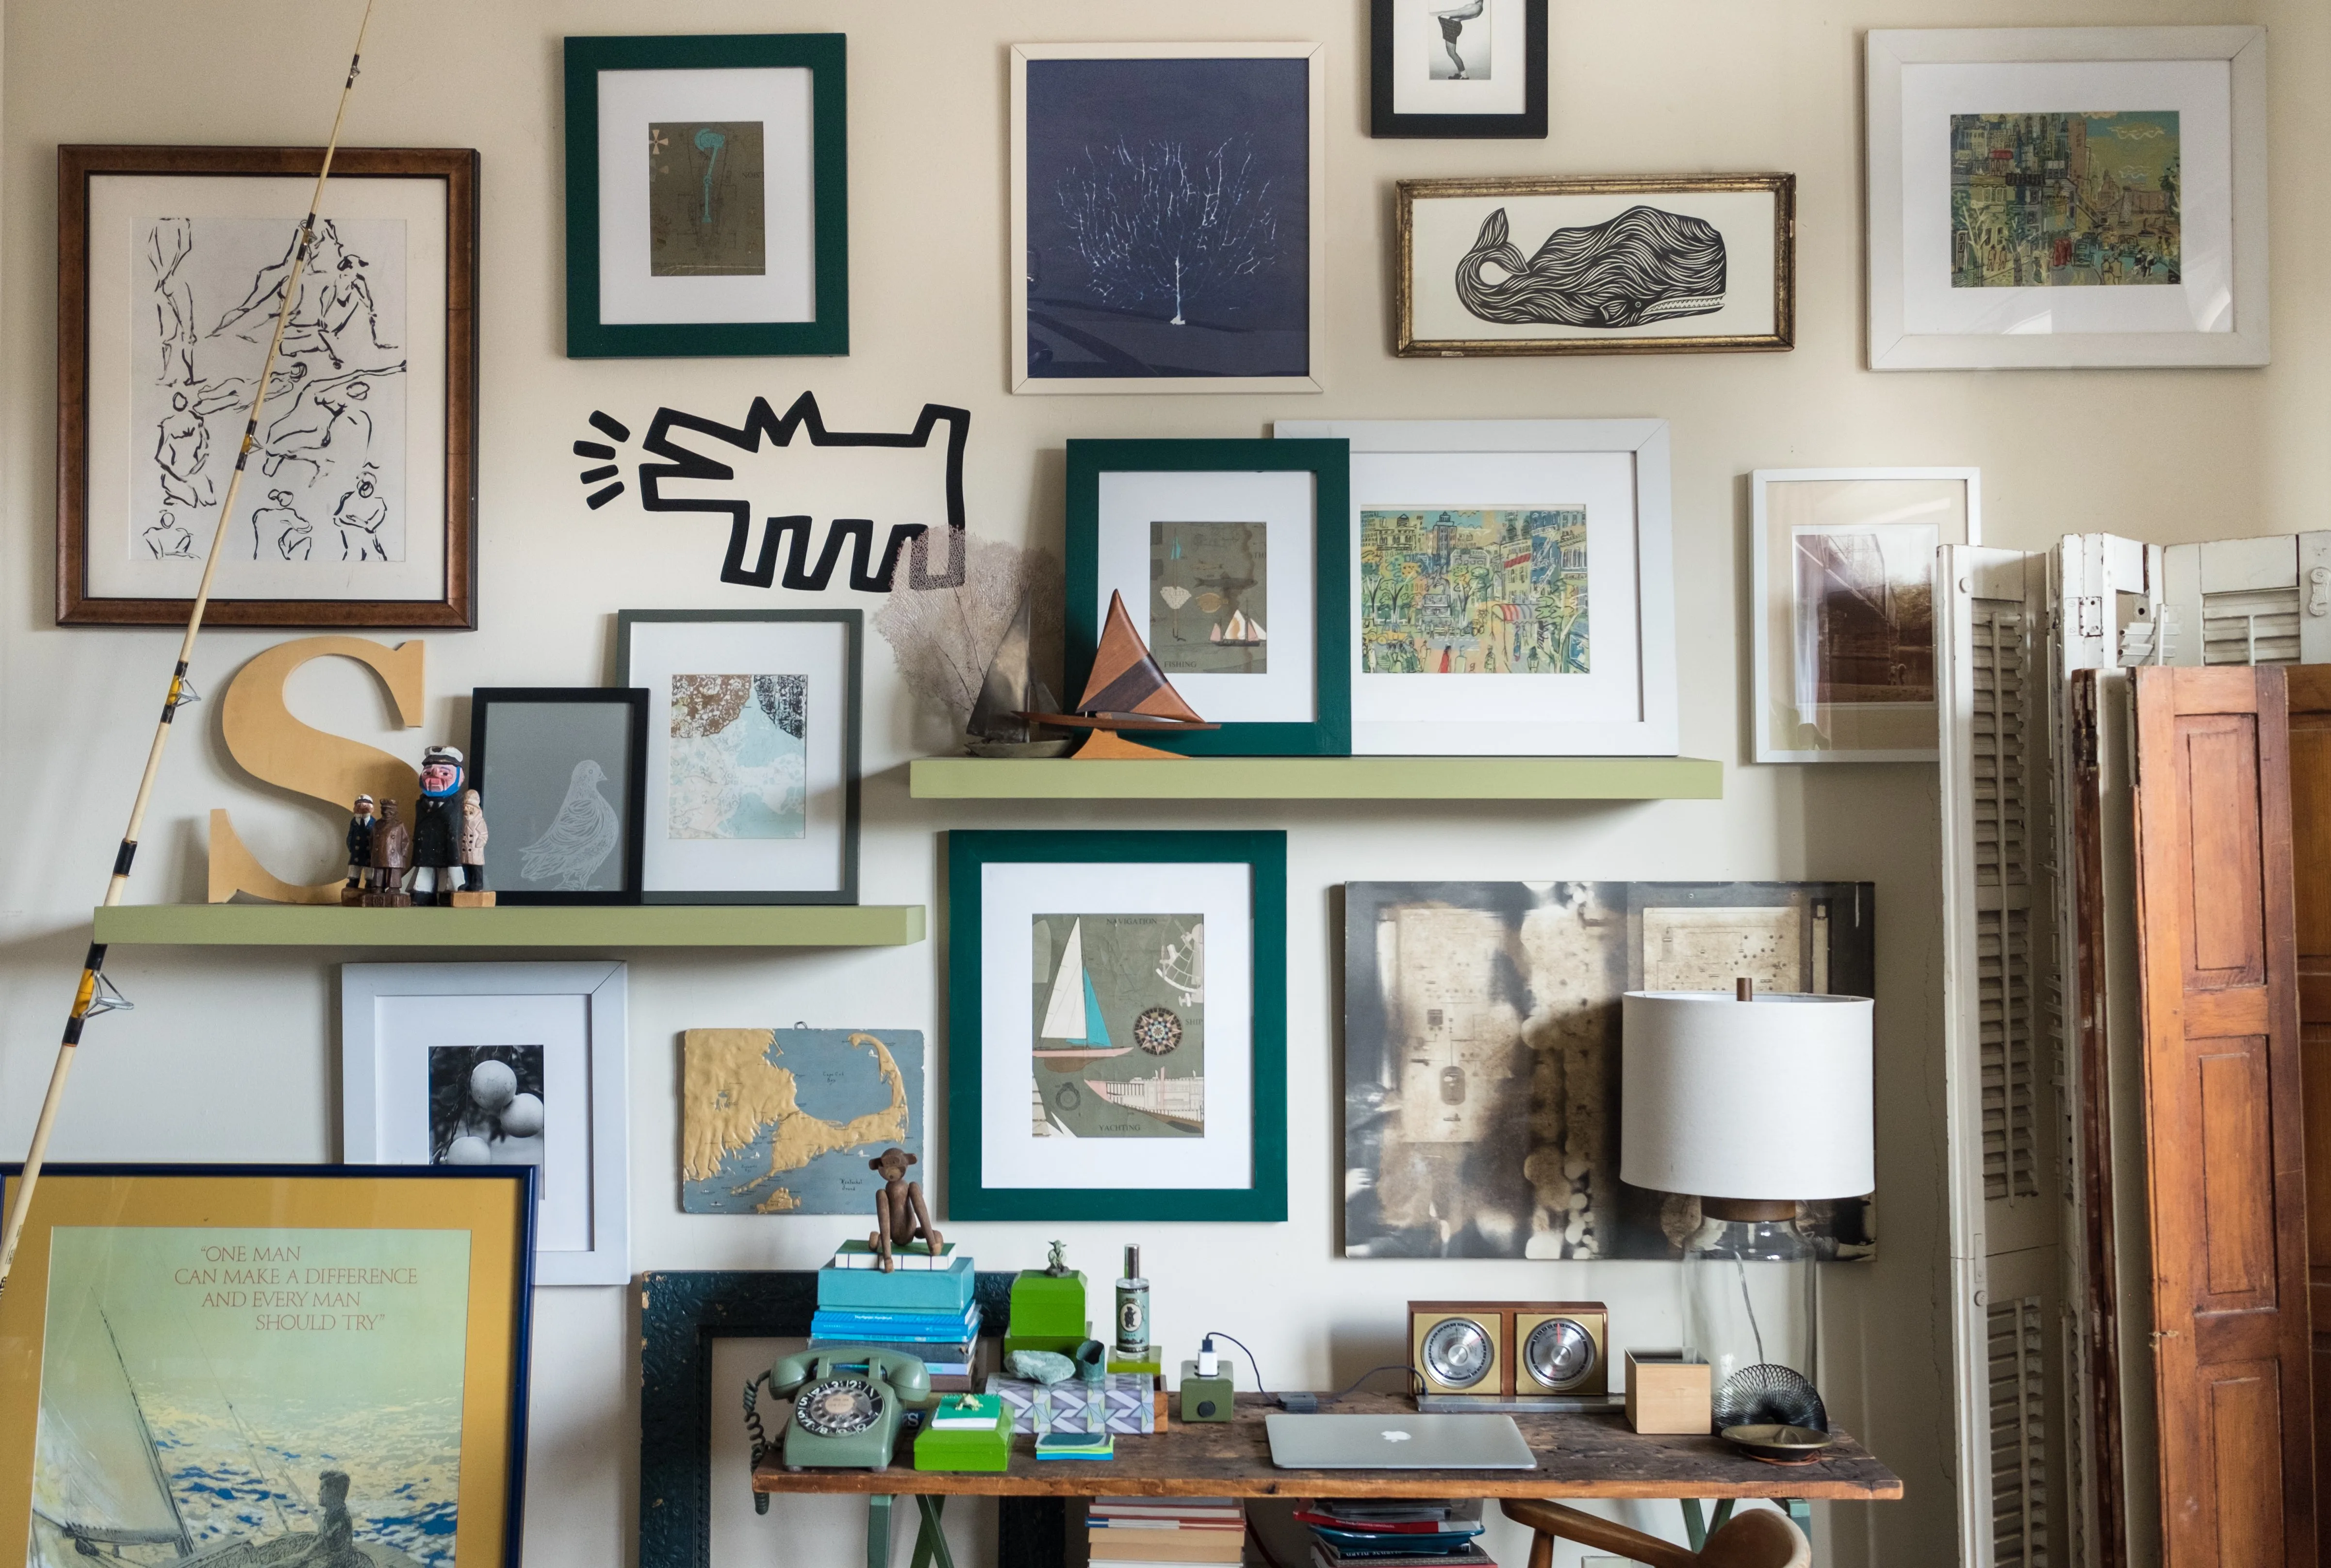
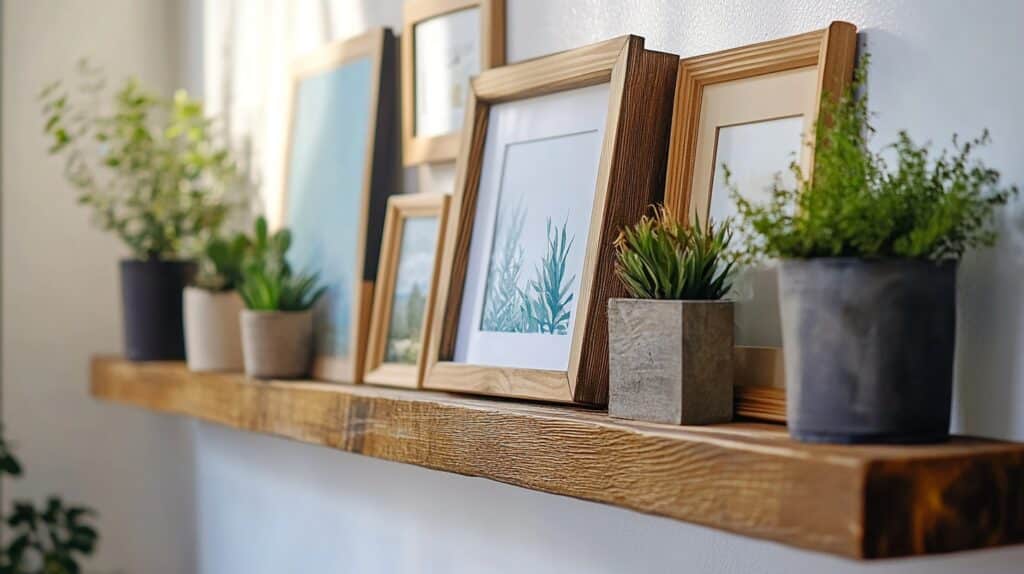
Option 1: Picture ledges (the “looks expensive” trick)
Picture ledges give you the visual richness of a gallery wall with far fewer attachment points. If your lease allows a couple of small holes, one or two sturdy ledges can beat eight to twelve individual frames any day. If you truly cannot drill, you can still use ledges by resting them on furniture like a console, dresser, or low bookshelf and styling the wall space above with removable elements.
Best places for ledges
- Above a sofa where you want flexibility to swap art seasonally
- In a dining nook to hold a mix of small frames and objects
- Over a desk to create a mini gallery that can evolve
How to style one ledge
- Pick a “hero” frame: One larger piece anchors everything. Place it slightly off center.
- Layer by depth: Put medium pieces in front of the hero, then smaller pieces in front of those.
- Add one object: A small vase, a candle, a shell, or a brass trinket breaks up the rectangle parade.
- Repeat one material: For example, two black frames and one black candlestick, or two oak frames and a wood sculpture.
- Leave breathing room: Negative space is what makes it feel curated, not cluttered.
Weight and safety notes
Follow the manufacturer’s rating if you mount a ledge. If you are placing a ledge on furniture instead, stability is your priority.
- Use museum putty under objects so they do not slide if the furniture bumps. Quick note: putty can mark porous paint or unfinished wood, so test first and avoid unsealed surfaces.
- Avoid heavy glass frames on a narrow ledge in a high-traffic hallway.
- If you have kids or pets, keep the heaviest items lower or choose acrylic instead of glass.
Option 2: Rails and hanging systems (rearrange-friendly)
Rails are the quiet workhorse of renter-friendly art. Some apartments already have a picture rail near the ceiling, especially in some older buildings. If you have one, use it. If you do not, you can sometimes install a single rail (one line of holes) that then supports multiple pieces, which reduces wall damage over time.
Important renter note: “Minimal holes” does not always mean “tiny holes.” A rail carrying a whole gallery may require drilling into studs or using heavier-duty drywall anchors. That can mean larger holes than a single picture hook, so double-check your lease, and choose a system rated for your wall type and total load.
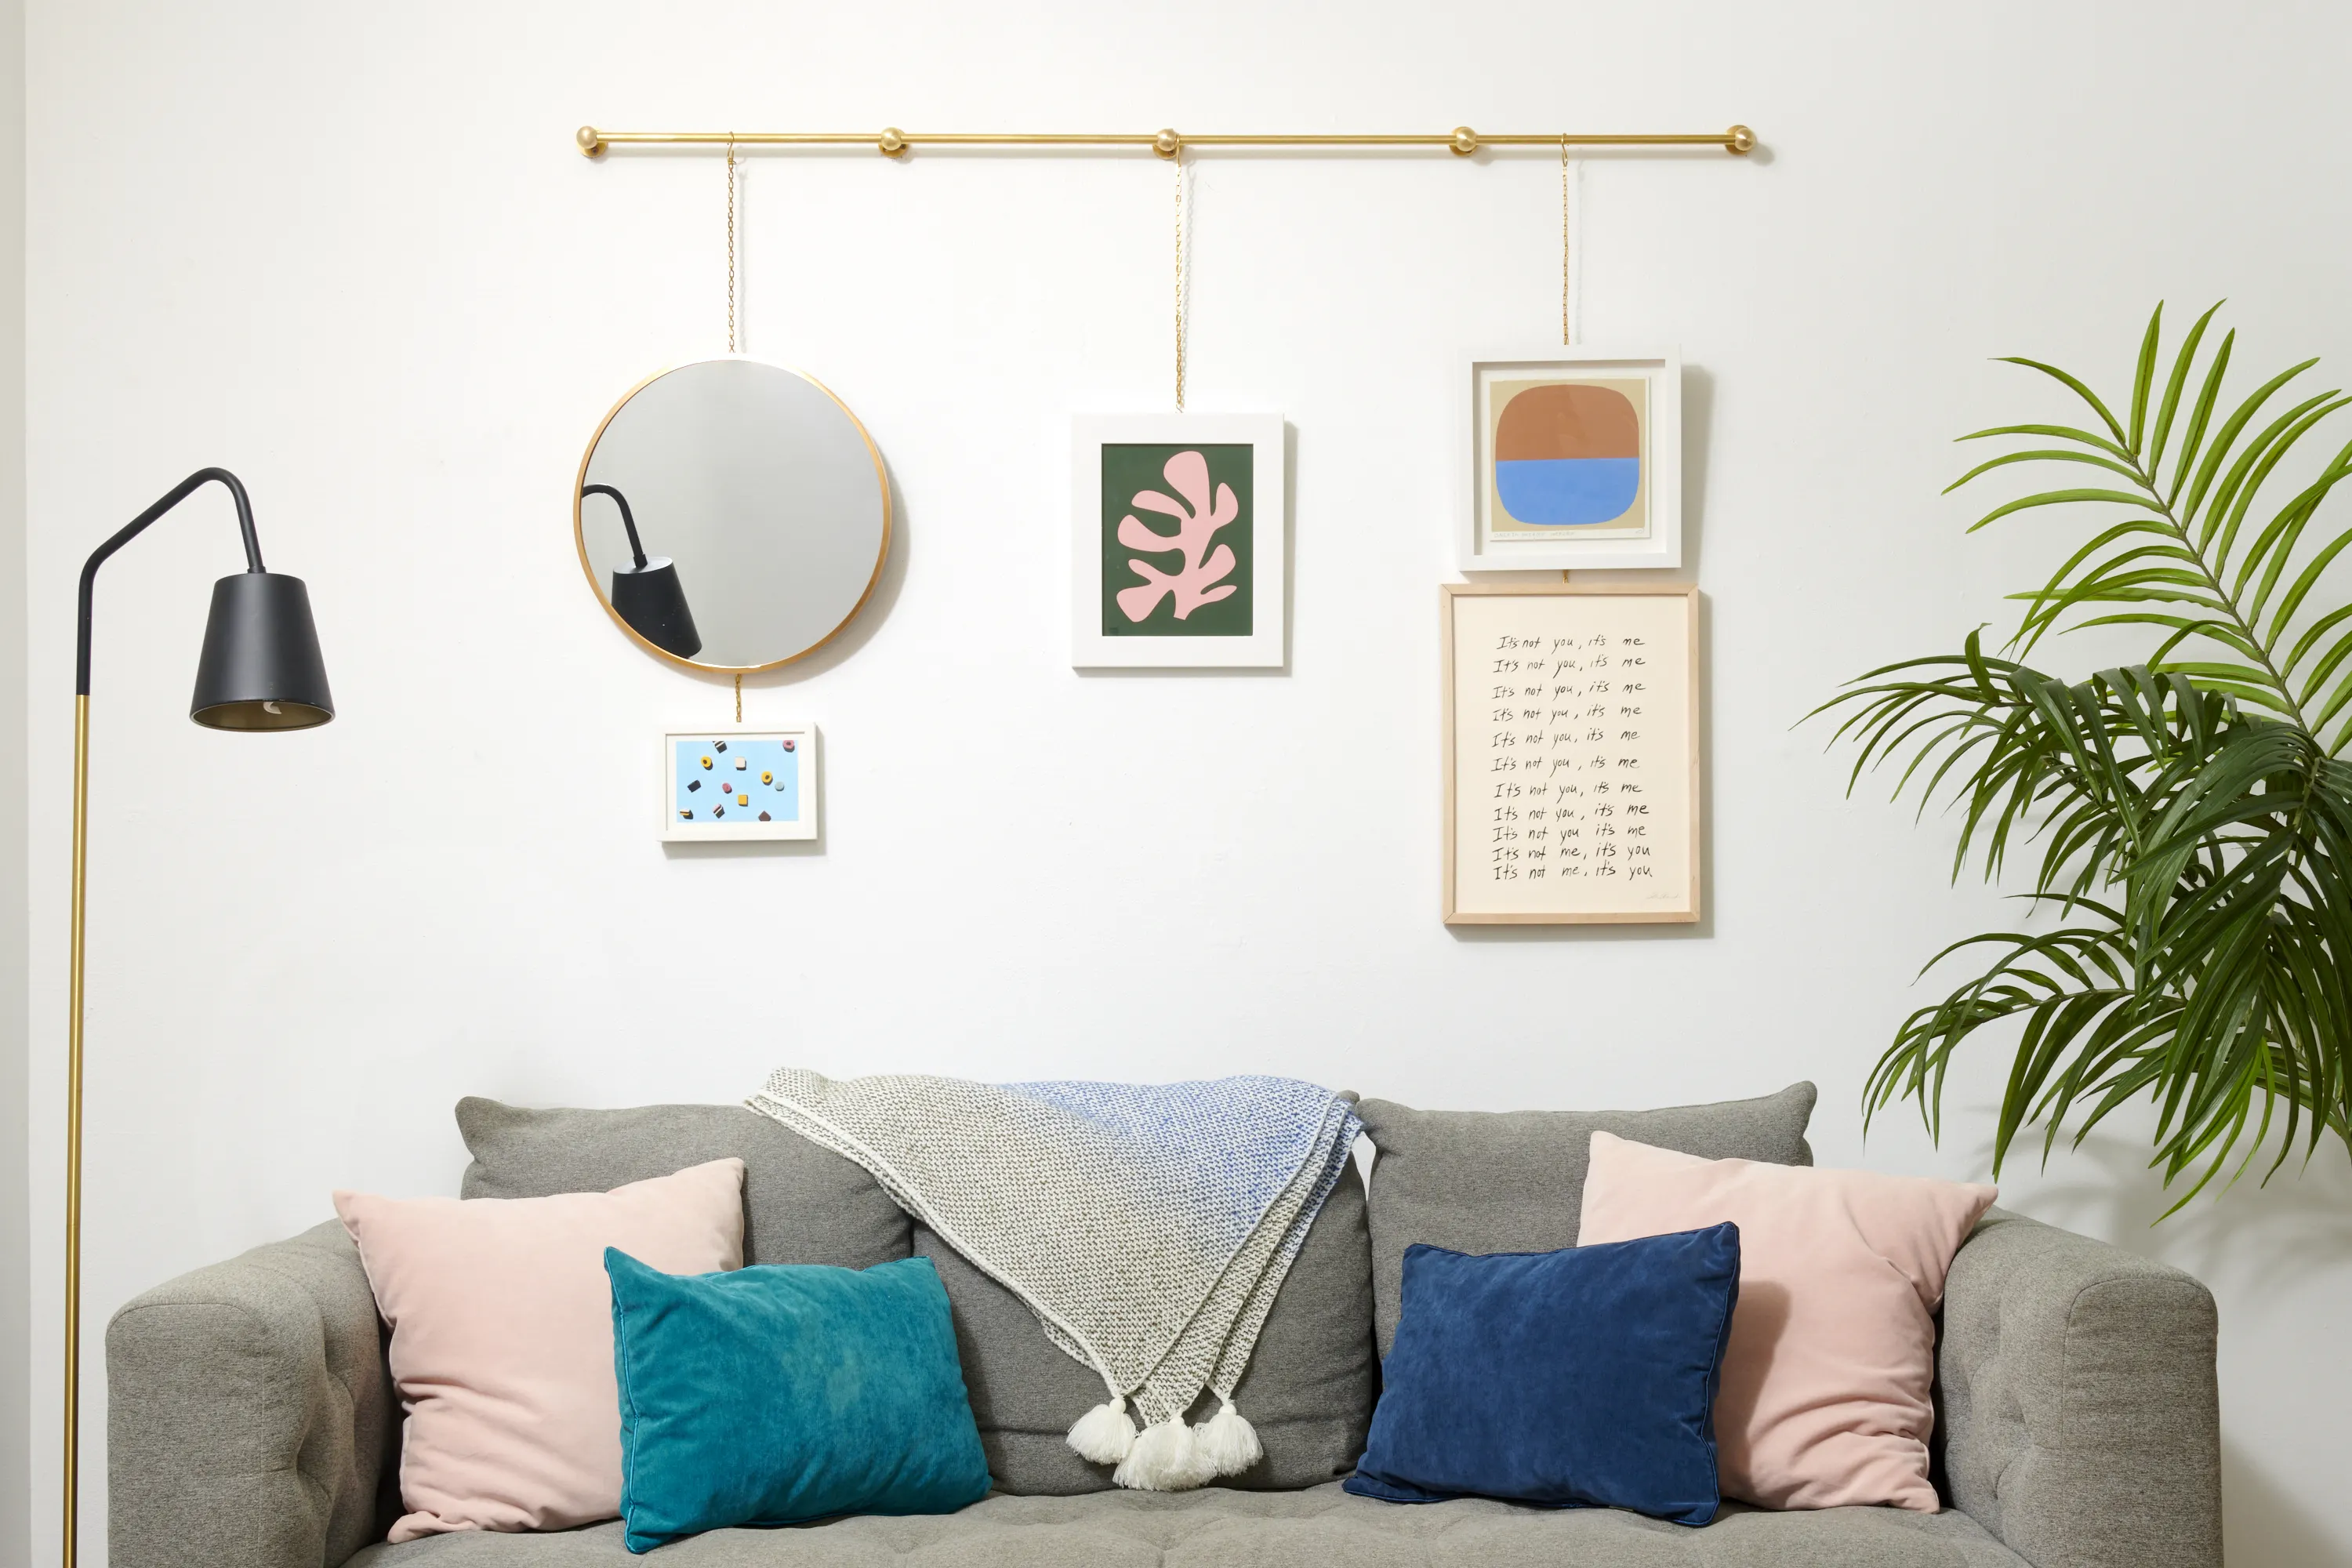
Why rails work
- One install, endless layouts: You move hooks and cords, not nails.
- Easy leveling: You can fine-tune height without redoing hardware.
- Good for tall ceilings: You can hang art at eye level without committing to a high nail position.
A simple rail layout
- Choose a width: Aim for about two-thirds the width of the furniture below (sofa, console, bed).
- Pick a baseline: For most rooms, the center of your main grouping looks best around 57 to 60 inches from the floor.
- Hang the largest piece first: Use it as the anchor.
- Build out in a loose grid: Add 2 to 5 smaller pieces around it, keeping consistent gaps.
- Mix frame finishes in a controlled way: Two tones max is easiest, like black plus brass, or walnut plus white oak.
Weight limits
Rails vary. The rail itself, the hook type, the cord, and your wall anchors all have their own ratings. When in doubt, stay conservative, especially with large glass frames. If your art is heavy, consider splitting it into two lighter pieces or using acrylic glazing.
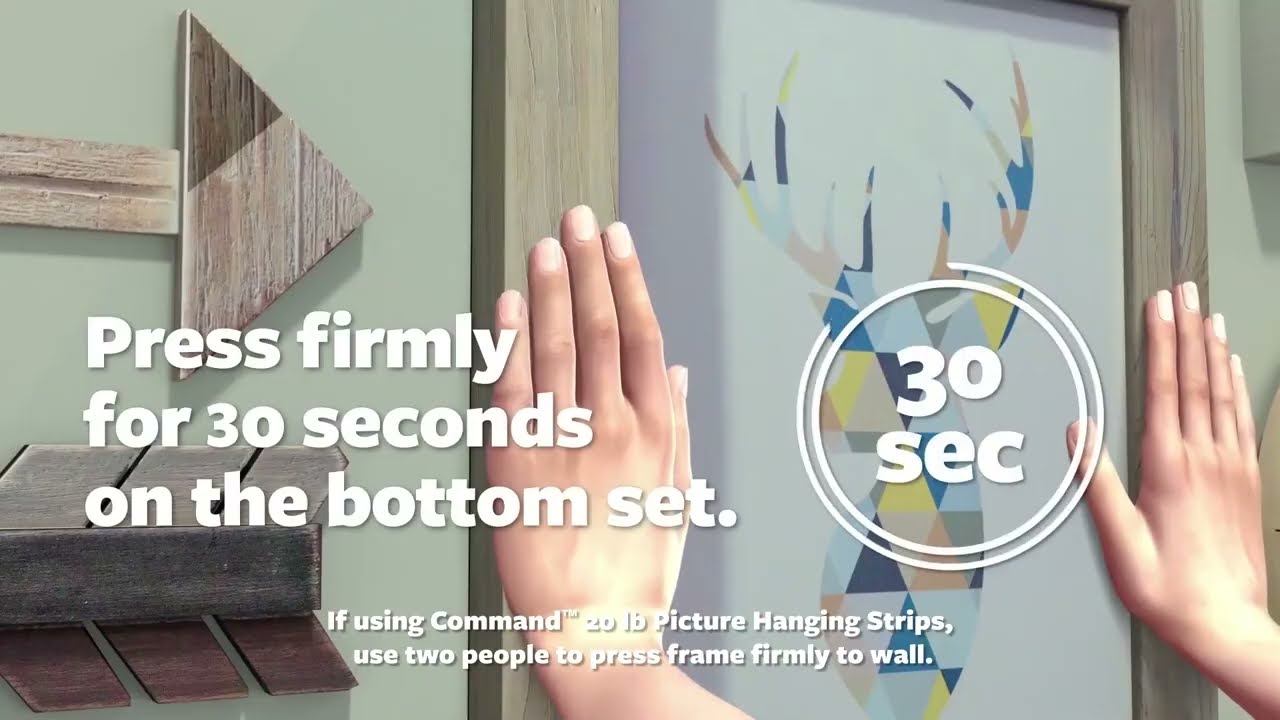
Option 3: Command-strip gallery walls (no holes)
If you want the classic “frames on the wall” look with truly no holes, Command-style picture hanging strips can work beautifully. The key is planning the layout like a stylist, not like a person who is holding a frame up with one hand while peeling backing paper with the other. We are going to make it calm and repeatable.
Pick the right strips
- Use picture-hanging strips designed for frames, not generic foam tape.
- Choose the right size: Most brands have multiple sizes. More strips spread the load and reduce peeling risk.
- Know what adhesives dislike: Dusty walls, humid rooms, heat from vents, and fresh paint that has not fully cured. Check your strip label and your paint can. Many paints need several weeks to cure (often closer to a month) before adhesives behave.
Frame back compatibility (tiny but important)
- Strips love flat, clean backs: Wipe off dust and make sure the strip is sticking to a smooth surface, not crumbly MDF, felt pads, or textured cardboard.
- Plan around hardware bumps: If your frame has a raised hanger or deep grooves, place strips where they can fully contact the frame.
General weight guidance (follow your label)
Weight limits depend on strip size, how many you use, and the wall surface. As a cautious rule: if your frame feels “hefty” in your hands, either add more strips, swap to a lighter frame, or use a ledge instead. Adhesives are happiest with light to medium frames.
My template-and-tape process
- Pick a layout style: Use one of the three below.
- Create paper templates: Trace each frame on kraft paper or printer paper and cut it out. Mark the top and write the frame name on it.
- Tape templates to the wall: Use painter’s tape. Step back and adjust until it feels balanced.
- Measure your gaps: Aim for 2 to 3 inches between frames for a classic gallery feel. Go tighter for a modern look, wider for airy and eclectic.
- Clean the wall: Lightly wipe with isopropyl alcohol, then let it fully dry. If you have very delicate or matte paint, spot-test in a hidden area first.
- Apply strips to the frame first: Press firmly. Then press the frame to the wall, and hold for the time listed on the package.
- Let the adhesive set before you hang the heaviest pieces: Many systems bond more strongly after some time. If your label suggests a wait time, follow it. Practically, I like to do my lightest frames first, then come back for the “hefty” ones once everything feels settled.
Three gallery layouts that always work
1) The centered rectangle
Choose 6 to 12 frames and build a tidy block. It looks great over a sofa or bed.
- Keep outer edges aligned to form an overall rectangle.
- Use consistent gaps between frames.
- Best for: modern spaces, small rooms that need order.
2) The stair step
Start with the largest frame and step smaller frames up or down along a diagonal.
- Keep the diagonal gentle, not steep.
- Let the frame centers follow the line.
- Best for: stair walls, narrow corridors, odd corners.
3) The anchor plus satellites
One big anchor piece, then 3 to 7 smaller pieces orbiting it.
- Start with the anchor at eye level.
- Repeat at least one frame finish to tie it together.
- Best for: vintage mixes, collected art, thrifted frames.
Mix frames and objects (without the mess)
This is where renter walls get really charming. You can add dimension without adding holes by leaning objects on ledges, layering against bookshelves, or using removable hooks for lightweight accents.

Objects that work with low-commitment setups
- Small ceramics: bud vases, shallow bowls, tiny planters
- Brass accents: candlesticks, small trinket boxes, mini frames
- Books: stacked horizontally to add height and texture
- Textiles: a folded linen runner or a small woven piece draped on a ledge
My rule of three textures
If your frames are mostly smooth (glass, lacquer, metal), add one warm texture (wood, linen, rattan) and one earthy texture (ceramic, stone, paper). It makes the whole wall feel like a lived-in story, not a showroom grid.
Removal tips that save your paint
The prettiest gallery wall is the one you can remove without a tiny spiral of panic.
How to remove adhesive strips
- Follow your product directions: Some strips pull straight down, others have slightly different steps. Use the instructions for your specific brand and line.
- Do not pull outward: Keep the pull close to the wall and go slowly.
- Use gentle heat if needed: A hair dryer on low can soften adhesive.
- If a strip tears: Slide dental floss behind the frame to release it, then work on leftover adhesive slowly.
What if paint lifts anyway?
It happens, especially with older paint, matte finishes, or previously patched spots. If your lease requires touch-ups, keep a small wall paint jar labeled with the room name. If you do not have paint, take a clean chip to a paint store for a match, and try to match sheen as carefully as color.
Troubleshooting
“My frame keeps slipping out of level.”
- Add an extra set of strips at the bottom corners to prevent rotation.
- Use bumpers on the lower corners so the frame sits steady.
“My wall is textured and strips will not stick.”
- Switch to a ledge-on-furniture approach or a rail system with a single line of holes.
- If you try strips anyway, use lighter frames and more contact points, and test first.
“I want big art, but I cannot drill.”
- Lean a large piece on a console or dresser and layer smaller frames in front.
- Try an oversized textile that can hang from removable hooks if it is light enough (and your wall type allows adhesives).
A simple shopping list
- Painter’s tape
- Kraft paper or printer paper for templates
- Measuring tape and pencil
- Level (or a level app)
- Picture-hanging adhesive strips rated for your frame weight
- Felt bumpers for frame corners
- Museum putty for ledge objects (test first)
My favorite renter mindset
Design in rentals is not about pretending the space is permanent. It is about making it personal while you live there. Start small, pick one wall, and choose a system that matches your real life. If you like to swap art weekly, do the rail. If you want depth and warmth with minimal fuss, do the ledge. If you want that classic gallery look and a clean move-out, plan your adhesive layout like a tiny styling project.
And if you are still nervous, remember this: homes are allowed to show a little evidence of being loved. The goal is not perfection. The goal is a space that feels like a comforting hug when you drop your keys at the end of the day.