Move-Out Couch Refresh in 48 Hours
Clara Townsend
Clara Townsend is an interior stylist, vintage furniture enthusiast, and the creative voice behind Velvet Abode. With over a decade of experience transforming both cramped city apartments and sprawling fixer-uppers, she believes that a beautiful home is built on personal stories rather than massive budgets. When she isn't hunting for the perfect brass sconce at a local flea market, she can usually be found rearranging her living room for the third time this month.
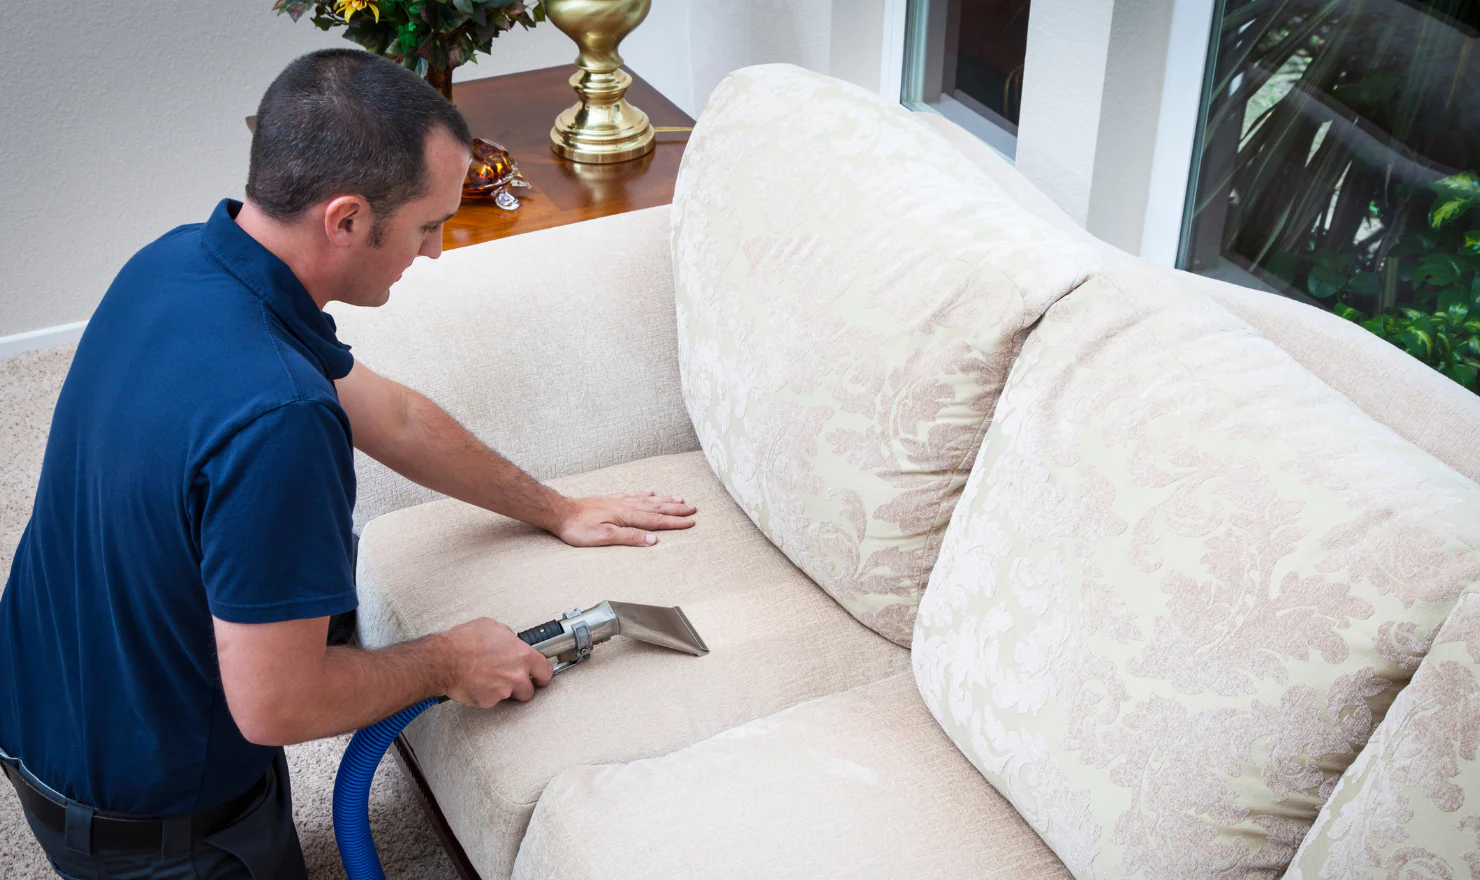
If you are in the final 48 hours before a landlord walkthrough, your couch does not need a spa weekend. It needs to look clean, smell neutral, and feel cared for. Focus on the arms, seat cushions, and the eye-level front edge where people instinctively look and touch.
This is my renter-safe game plan for a fast refresh using simple supplies, quick-dry methods, and a little strategy so you are not stuck with damp cushions on move-out morning.
First, do a 10-minute couch audit
Before you clean a single thing, figure out what you are dealing with. Different materials behave very differently, and the wrong cleaner can make a small issue loudly visible.
Check the care tag (seriously)
Look under a seat cushion or along the underside of the sofa for a tag:
- W: water-based cleaners are okay.
- S: solvent-based cleaning only. Many manufacturers mean a solvent upholstery cleaner or professional cleaning. Isopropyl (rubbing) alcohol can work for some synthetic S fabrics, but it can also cause dye transfer or rings, so spot test and go slow.
- WS: either water-based or solvent-based, still spot test first.
- X: vacuum only. No liquids. Stick to brushing, vacuuming, and deodorizing methods that do not wet the fabric. If there is a visible stain you cannot live with, this is the moment to consider a pro.
Quick safety notes
- Spot test every cleaner in a hidden area first.
- Ventilate when using solvents or rubbing alcohol.
- Do not mix cleaners (especially anything bleach-y).
- Keep alcohol away from flames and heat sources.
Identify what managers actually notice
In walkthrough reality, many landlords or property managers notice:
- Darkened, shiny arm rests
- Visible crumbs and pet hair along seams
- Stains on the front edge of cushions
- Odor the moment you walk into the room
- Water rings on wood or metal legs from sloppy cleaning
They rarely inspect the back panel that faces the wall. Put your energy where it counts.
Your renter-safe supply list
You can do an impressively good refresh with a small kit and a little patience. Here is what I reach for when time is tight.
- Vacuum with upholstery attachment and crevice tool
- Lint roller or rubber glove (for pet hair)
- White microfiber cloths or plain white cotton rags
- Soft brush (a clean dish brush works)
- Spray bottle
- Mild dish soap
- White vinegar (optional for general stale smells, not a cure-all)
- Baking soda
- Rubbing alcohol (70% is fine) for some S and WS fabrics and ink-like marks (spot test)
- Enzyme cleaner for pet accidents (unscented is best)
- A small fan, or your HVAC set to circulate
The 48-hour plan
This timeline is built around one truth: the fastest way to get in trouble is leaving fabric damp when you hand over keys. We are prioritizing fast dry time and maximum visual impact.
T minus 48 to 36 hours: dry work first
- Vacuum slowly, including under cushions, along the platform, and into seams.
- Lift hair with a lint roller or a slightly damp rubber glove dragged along the fabric (especially on arms and the back cushions).
- Brush the arms with a soft brush to lift flattened fibers. This alone can make greasy arms look fresher.
- Deodorize with baking soda: sprinkle a light, even layer over seats, arms, and back cushions. Let it sit at least 30 minutes, ideally a few hours, then vacuum thoroughly.
T minus 36 to 24 hours: spot treat and quick-dry clean
Now you are ready for targeted cleaning. Treat stains like a good mystery novel: one chapter at a time, no dramatic soaking.
- Hit the high-visibility zones first: arms, seat tops, then the front edge of cushions.
- Pick the right method based on your tag (W, S, WS, X). If you need step-by-step, jump to Fast stain triage below.
- Use minimal moisture. Apply cleaner to the cloth, not the couch.
- Rinse and blot so you do not leave soap behind.
- Dry as you go: towel blot, then run a fan across the surface for even drying.
T minus 24 to 12 hours: covers and finishing
- If your cushion covers (the removable zip covers on your seat or back cushions) unzip and the tag allows it, wash on cold, gentle. Air dry, or tumble low for a few minutes then air dry to finish.
- Pro tip: putting covers back on very slightly damp can help them settle back into shape and reduce shrinky, too-tight corners. Only do this if you have strong airflow and plenty of time for them to dry fully.
- Wipe legs and base (wood and metal) with a barely damp cloth, then dry immediately.
- Re-vacuum seams and the front edge. This is where “I cleaned” shows.
T minus 12 to 0 hours: air out and stage
- Open windows for 10 to 20 minutes if weather allows.
- Run a fan pointed across the sofa (not directly blasting one wet spot).
- Final sniff test. If you smell cleaner, it is too much cleaner. Aim for neutral.
Fast stain triage
If you only have time for a few areas, this is your priority order: arms, seat cushion tops, cushion front edges, then the top of the back cushions.
General spot-clean method (W or WS)
Use as little moisture as possible.
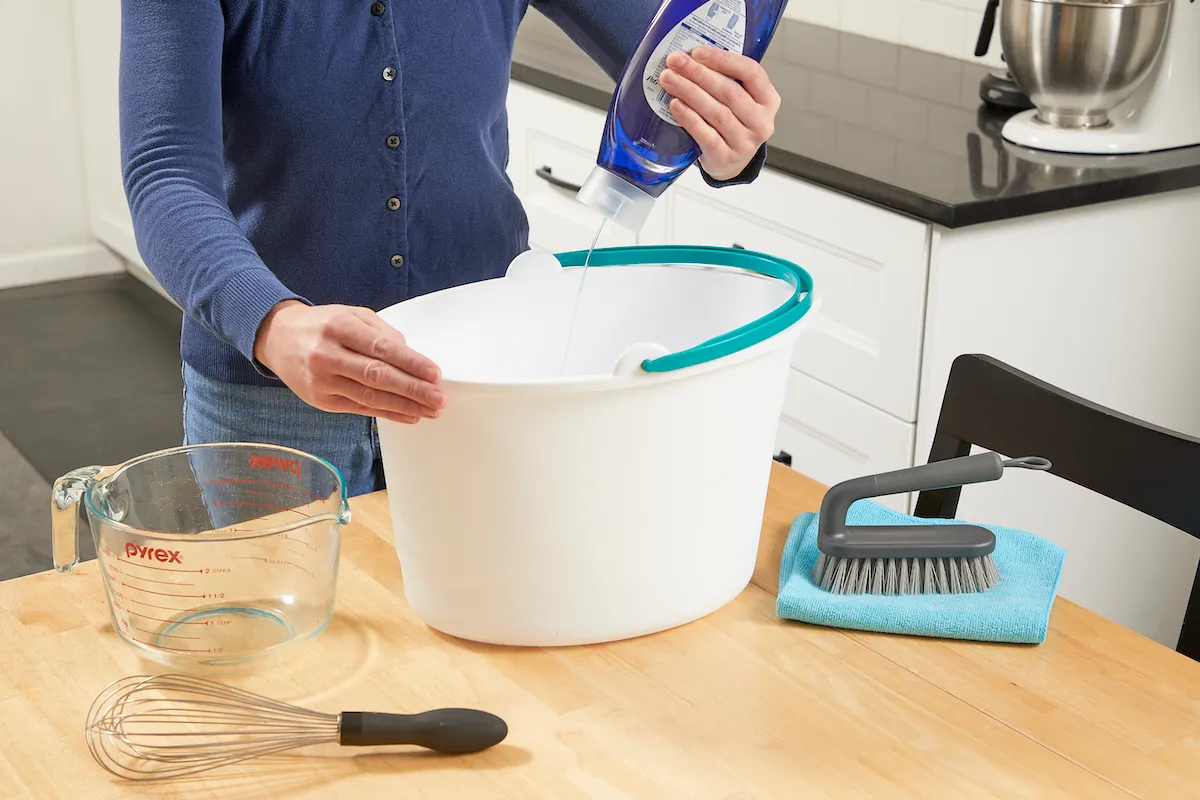
- Mix: 2 cups cool water + 1 to 2 drops dish soap. That is it. More soap leaves residue that attracts dirt.
- Dampen a white cloth, then wring until it is almost dry.
- Blot, do not rub. Work from the outside of the stain inward.
- Use a second cloth dampened with plain water to remove soap.
- Blot dry with a towel and point a fan across the area.
For oily, darkened arms
These are usually body oils and product residue, not a single spill. You are cleaning a whole area, not chasing a dot.
- Lightly mist your soap-water mix onto a cloth (not onto the couch).
- Wipe in small sections, then immediately wipe again with a plain water cloth.
- Finish by blotting dry and brushing the nap upward once dry.
For pet accidents or mystery odors
If there is any chance a stain is biological, skip vinegar and go enzyme first.
- Blot as much as possible.
- Apply enzyme cleaner according to the label. Most need dwell time to work.
- Blot, then air out. Do not cover with baking soda until the area is fully dry.
- If odor lingers, check the insert inside the cushion and the deck under the cushions. That is often where the smell lives.
For ink or dye transfer (S or WS)
Test first in a hidden spot. Alcohol can lift dyes in some fabrics, and some S fabrics really prefer professional solvent cleaning.
- Dampen a cotton swab with rubbing alcohol.
- Tap gently at the mark, moving to a clean swab as ink transfers.
- Blot with a dry cloth. Let it air dry completely.
If your tag is X
- Vacuum thoroughly, then brush to lift the pile.
- Use baking soda to deodorize, then vacuum again.
- If a stain is still visible, avoid DIY wet cleaning and consider professional advice to prevent permanent rings.
If it is leather or faux leather
Different game. Vacuum seams, then wipe with a barely damp cloth and a tiny drop of mild soap. Wipe again with a clean damp cloth, then dry. Skip rubbing alcohol and skip vinegar. If it is real leather and you have it, a small amount of conditioner can help it look less thirsty.
Odor fixes that do not scream “cover-up”
Landlords and property managers notice heavy fragrance. It reads like camouflage. The goal is clean air, not three-scent candle aisle.
Neutralize in layers
- Vacuum first. Odor clings to debris.
- Baking soda for general funk, then vacuum well.
- Fresh air plus a fan for a true reset.
Skip these last-minute moves
- Soaking the couch with fabric refreshers or perfume sprays. Overdoing it can leave scent or residue and reads like a cover-up.
- Steam cleaning or extraction the night before. It often takes longer to dry, and uneven drying or overwetting can leave rings.
- Using bleach or harsh disinfectants on upholstery (damage risk, lingering smell).
Photo documentation
Even if your couch looks great, documentation protects you if there is a dispute later. Take photos after cleaning, in natural light if you can.
- Full couch, straight-on
- Each arm close-up
- Seat cushions from above
- Any pre-existing wear you cannot fix, like pilling or sun fading
- A quick video pan that shows the overall condition
Email them to yourself or upload to a cloud folder with the move-out date in the name.
Disclose vs. style
I am all for a well-placed throw, but there is a difference between styling and hiding active damage.
Okay to style
- Minor pilling
- Slight color variation from normal wear
- A tiny faint mark that is fully dry and not transferring
Better to disclose
- Tears, deep scratches, or broken frame pieces
- Any stain that is still damp or tacky
- Persistent pet odor you cannot neutralize
If you disclose, keep it simple: what happened, what you did to address it, and that it is fully dry and ready for inspection. Calm and factual wins.
Quick staging for walkthrough day
Once it is clean, give it the “someone loved living here” finish.
- Fluff cushions and rotate them so the best sides face forward.
- Brush fabric in one direction for a uniform look.
- Add one neutral throw (linen or cotton reads fresh, not fussy).
- Clear the area around the couch so it looks easy to maintain.

Mini troubleshooting
The stain got bigger
This usually means you used too much liquid or pushed soil outward. Blot with a barely damp cloth to feather the edges, then blot dry and use airflow.
The fabric feels stiff
Soap residue. Wipe again with a cloth dampened with plain water, blot dry, then brush once fully dry.
The smell will not leave
Focus on source control: seams, under cushions, and the cushion inserts. Repeat baking soda and vacuum. If it is pet-related and persistent, enzyme treatment is the most honest path.
Your 15-minute checklist
- Couch is fully dry to the touch, including seams
- No cleaner scent cloud, just neutral air
- Arms and cushion front edge look even in daylight
- Crumbs and hair removed from seams and under cushions
- After photos and a short video saved
That is the move-out magic: not perfection, just a clean, cared-for couch that does not raise questions.