Mold on a Fabric Couch After It Got Wet: Safe Removal Steps

Clara Townsend
Clara Townsend is an interior stylist, vintage furniture enthusiast, and the creative voice behind Velvet Abode. With over a decade of experience transforming both cramped city apartments and sprawling fixer-uppers, she believes that a beautiful home is built on personal stories rather than massive budgets. When she isn't hunting for the perfect brass sconce at a local flea market, she can usually be found rearranging her living room for the third time this month.
A wet couch has a way of turning into a little science experiment when you are not looking. One day it is “just a spill,” and the next you notice pale fuzz, pepper-like dots, or that unmistakable damp-basement smell clinging to the cushions.
The good news: if the mold is small, on the surface, and the padding is still clean, you can often handle it safely at home. The not-so-fun news: if the mold has moved into the foam or frame, or anyone in your home is getting symptoms, it is time to pause and escalate.
Quick note on terms: people say “mildew” for the early, surfacey stuff, but it is still mold. In this guide, I will mostly say mold for simplicity.
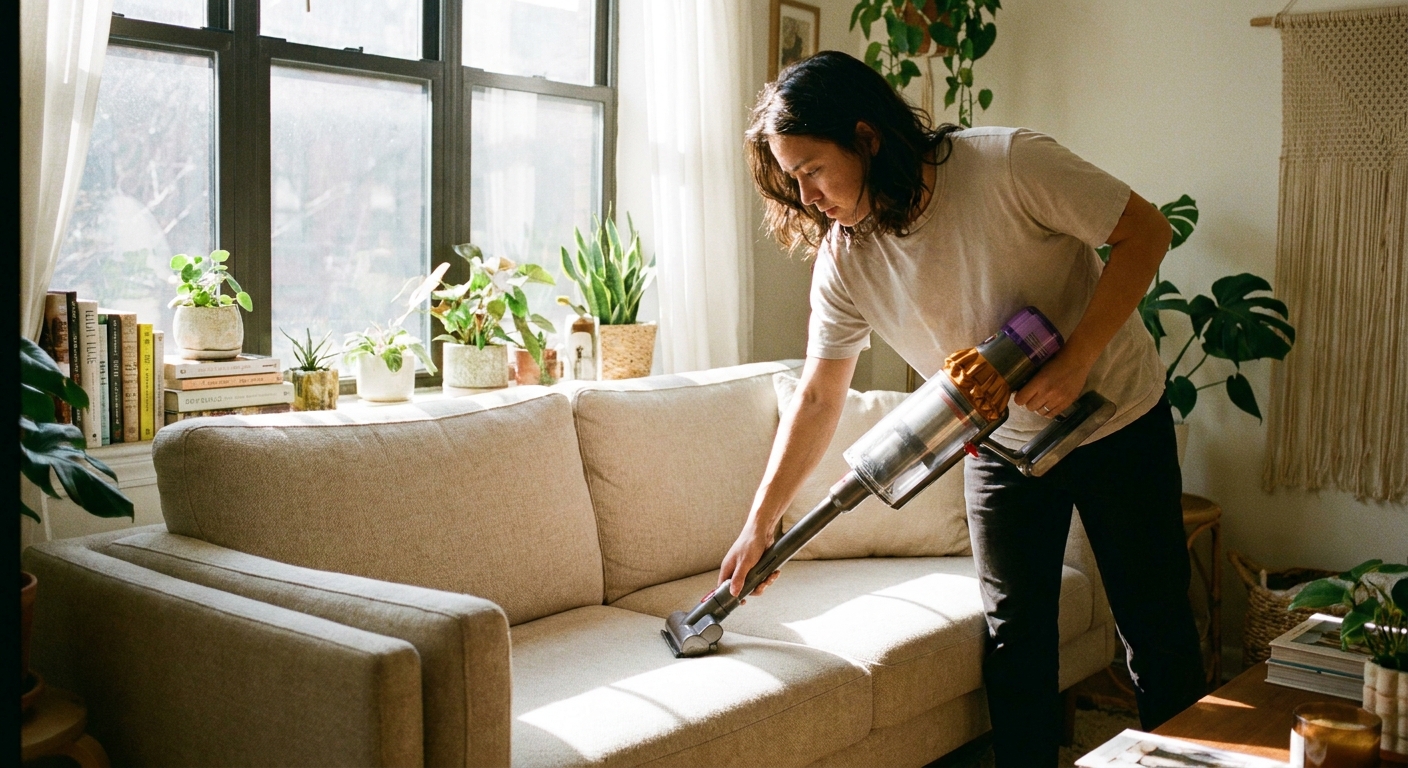
This is my no-panic, step-by-step approach for dealing with visible mold on a dried fabric couch, with special attention to HEPA vacuuming order, airflow limits indoors, and fabric-safe antifungal options based on your couch care code.
First: quick safety check
Before you touch anything, do a fast reality check. Mold cleanup is all about limiting what becomes airborne.
Stop and call a pro if any of this is true
- Large area: Many agencies use about 10 square feet (roughly a 3 ft by 3 ft patch) as a practical DIY cutoff. If it is bigger than that, spread across multiple cushions, or keeps returning, bring in help.
- Padding feels damp or smells sour even after drying, which often means contamination inside the cushion.
- Health symptoms: coughing, wheezing, headaches, burning eyes, asthma flare-ups, or anyone in the home is immunocompromised.
- Sewage or floodwater ever touched the couch. That is a different cleanup category.
- You see mold under the couch on the frame, webbing, or dust cover, especially black spotting on wood.
Basic protective setup
- N95 (or better) mask
- Nitrile gloves
- Eye protection if you are sensitive
- Old clothes you can wash hot immediately
If possible, move the couch outside to a shaded, airy spot. If you cannot, you can still work indoors with the airflow plan below.
Containment and airflow (indoors)
It is tempting to blast a fan at the couch and call it a day. The catch is that high-velocity airflow aimed directly at visible growth can kick particles into the air, especially before you have vacuumed.
Best airflow order
- Ventilate the room for safety: Open windows if outdoor humidity is reasonable (ideally under ~60 percent). If it is muggy outside, rely more on a dehumidifier.
- Create gentle negative pressure if you can: Put a box fan in a window blowing out to exhaust air. Keep the door mostly closed.
- Avoid aiming fans at the moldy spots at first: Keep air moving in the room, but do not point a strong fan directly at the couch until after HEPA vacuuming and first-pass wipe-down. You still want ventilation. You just do not want to aerosolize debris.
Sunlight: helpful, with limits
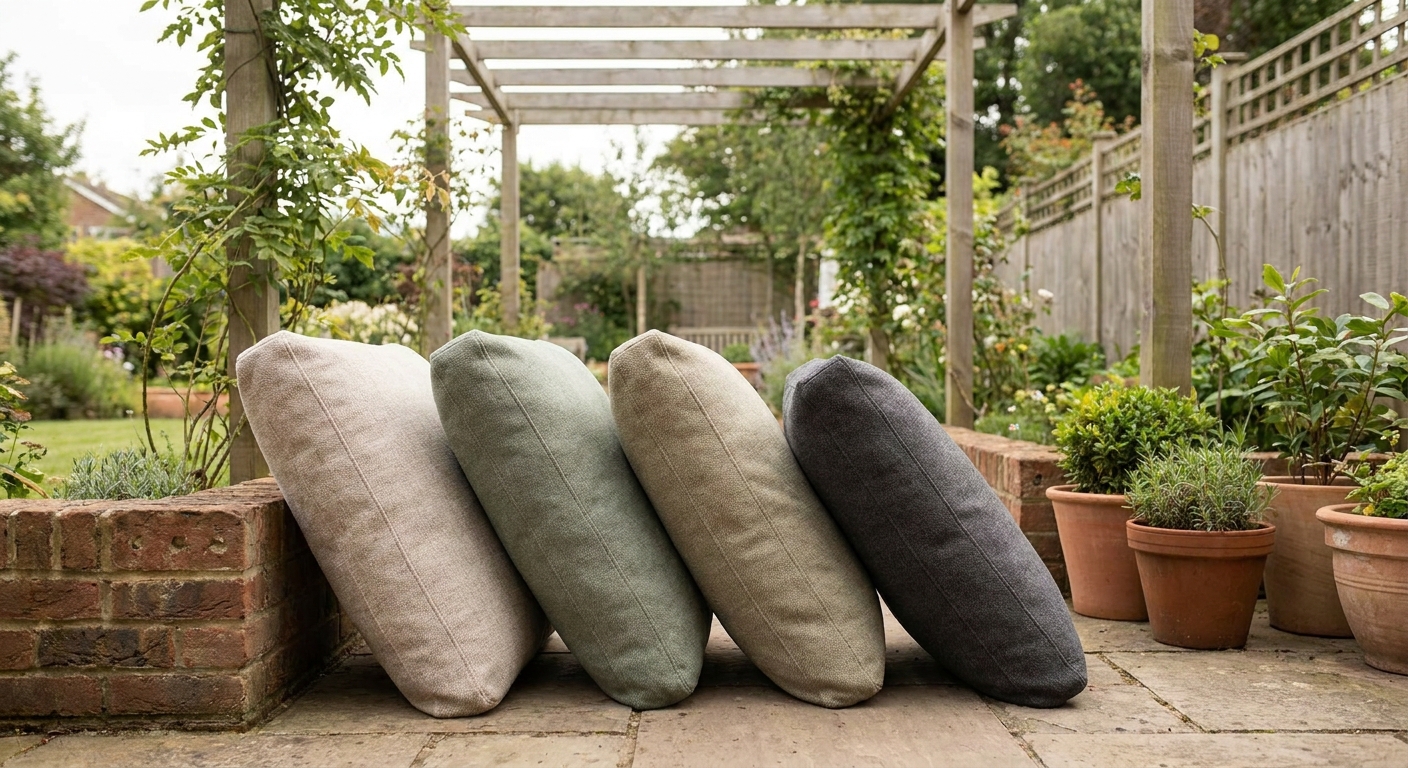
Sun and fresh air can help with drying and that musty smell, and UV can be mildly inhibiting. Just do not treat sunlight like a magic disinfectant. Direct sun can fade fabric and dry out leather trims. If you bring cushions outside, aim for bright shade or short intervals and rotate to reduce fading and uneven drying.
Step-by-step removal
Step 1: Dry the couch completely
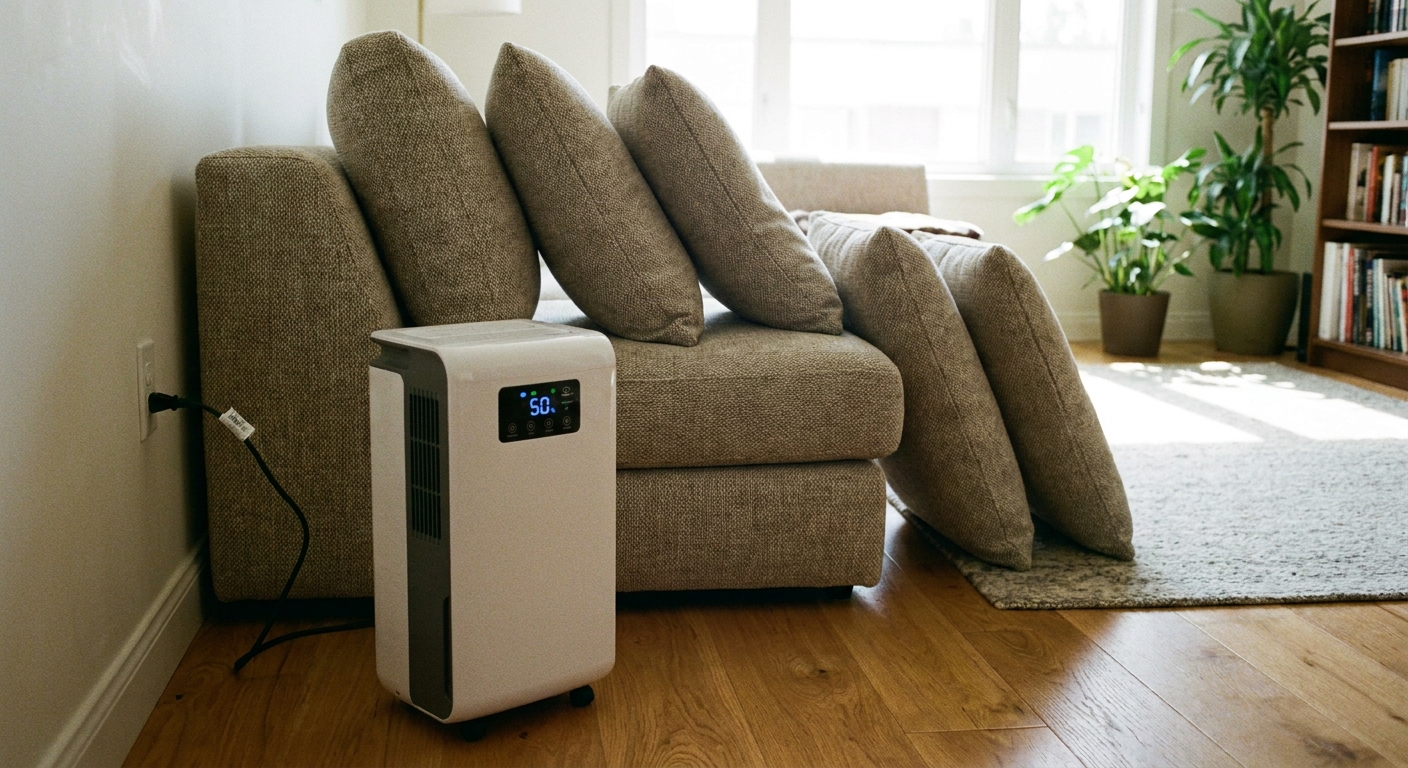
Mold treatment works best when the piece is dry. If anything is still damp, run a dehumidifier nearby and aim for steady, moderate airflow. Remove cushions, unzip covers if possible, and stand cushions on edge so air can reach all sides.
Step 2: HEPA vacuum first, slowly
This is the step people skip, and it is the step that keeps cleanup from becoming a spore party.
- Use a true HEPA vacuum (not just “HEPA-like”) with an upholstery brush attachment.
- Vacuum the moldy areas first using gentle pressure. Go slow, overlapping passes.
- Then vacuum the rest of the cushion, seams, and crevices.
- If the couch has a removable dust cover underneath and you see spotting, stop. That often signals deeper contamination.
Emptying the vacuum: If it is bagged, remove the bag carefully and seal it in a plastic bag. If bagless, empty outdoors into a trash bag, wipe the canister with a damp disposable cloth, and wash hands.
Step 3: Choose a fabric-safe approach by care code
Find your couch care tag, usually under a seat cushion or on the underside of the frame.
- W = water-based cleaning is allowed
- S = solvent-based only (avoid water-based cleaning unless the manufacturer allows it)
- WS or SW = water-based or solvent-based
- X = vacuum only (no liquids), professional cleaning recommended
If your couch is code W
Start gentle and escalate only if needed.
- Option A: Soap and water (often enough for light surface mold)
Mix a few drops of mild dish soap in cool water. Dampen a white cloth, blot the area, and do not soak. Then blot with a cloth dampened with plain water. - Option B: 3% hydrogen peroxide spot test
Peroxide can help on some fabrics, but it can lighten dyes. Spot test in a hidden area first. Lightly mist or dab, let sit about 10 minutes, then blot. Avoid over-wetting. - Option C: Enzyme cleaner specifically labeled for mildew or mold on upholstery
Use products that explicitly state upholstery compatibility and follow dwell time exactly. If you want the strongest product-category reassurance, look for wording that indicates it is intended for mold or mildew (and follow the label), not just “odor” or “pet stains.”
If your couch is code S
Use a light touch and do not assume “solvent safe” means “risk free.” Some S fabrics can watermark easily, and even alcohol can cause dye transfer. Spot test every time.
- Option A: Isopropyl alcohol (70% or 91%)
Alcohol evaporates quickly and is commonly used on solvent-safe upholstery. Spot test first. Lightly mist a cloth (not the couch) and dab, working from the outside of the spot inward. Keep the room ventilated, and keep alcohol away from flames, pilot lights, and smoking. - Option B: Upholstery dry-cleaning solvent
Use only as directed and with strong ventilation. These can be effective, but they are not always beginner-friendly.
If your couch is code WS
You have flexibility. I still recommend starting with the least-wet method: HEPA vacuum, then alcohol dabbing, then a minimal-moisture water-based step if needed.
If your couch is code X
Stick to HEPA vacuuming only and drying. If the mold is visible, this is one of those times where professional upholstery cleaning is the safer move, because “no liquids” usually means the fabric is not forgiving.
A note on vinegar and bleach
- Vinegar: It is popular online, but it can leave an odor, may affect dyes, and it adds moisture. I do not use it on upholstery unless a manufacturer specifically okays it.
- Bleach: Not recommended for most fabric couches. It can discolor, weaken fibers, and it is not meant for porous upholstery in the first place.
Step 4: Blot, do not scrub
Scrubbing can fray fabric and push debris deeper into the weave. Think of it like lifting the problem out, not grinding it in. Use white cloths so you can see transfer.
Step 5: Dry again, thoroughly
After any damp cleaning, dry immediately:
- Stand cushions upright
- Run a dehumidifier close by
- Use gentle airflow across, not directly blasting into seams
The goal is as dry as possible, as fast as possible, ideally the same day. Thick cushions and humid weather can take longer. If it stays damp overnight, mold can rebound.
Step 6: Dispose of rags and wash safely
- Seal used paper towels, disposable wipes, and gunk-filled vacuum debris in a trash bag.
- If you used reusable cloths, wash them separately in hot water (if the fabric allows) and dry on high heat. Wash hands after handling.
Chemical safety: Do not mix cleaning chemicals. If you are using solvents or alcohol, ventilate well and keep them away from heat sources.
Check the foam and inner layers
Here is the truth: the upholstery might clean up beautifully while the foam quietly holds onto contamination.
How to check
- If cushions unzip, open them and look at the foam and batting.
- Smell test: If the foam smells musty even when the cover smells clean, that is a red flag.
- Visual check: Yellowing is normal with age. What you do not want is spotting, fuzzy growth, or slimy areas.
- Touch: Foam should feel dry all the way through. If it feels cool-damp inside, it is still holding moisture.
If the foam is moldy
Often, the safest and most cost-effective move is to replace moldy foam and batting. Foam is porous, and contamination can be deep. Some professionals can remediate inserts depending on extent and material, but for most households, replacement is the straightforward path.
- Seal before you carry it: Put the moldy foam or batting straight into a plastic trash bag (or two bags), tie it off, and then carry it through the house to the trash. This helps keep spores from shedding indoors.
- Replace the foam insert (often surprisingly affordable) and wash or replace the batting wrap.
- Clean the cover as allowed by the care code, then dry completely.
If mold appears on the inner frame, webbing, or under the couch, a professional assessment is smart, especially for higher-end pieces.
Odor control (no re-wetting)
Once the couch is clean and dry, you might still notice a lingering “old book but in a bad way” smell. Odor is often leftover compounds, not active mold, but treat it as a signal to keep drying and monitoring.
Low-moisture options
- Baking soda (dry only): Lightly sprinkle, let sit several hours, then HEPA vacuum. Spot test first on dark fabrics since residue can cling.
- Activated charcoal pouches: Tuck between cushions for a few days.
- HEPA air purifier: Run in the room to capture airborne particles while the couch airs out.
Avoid heavily perfumed sprays. They can mask odor while leaving behind residue and sometimes moisture.
When to replace the couch
Sometimes the right answer is not more cleaning. Consider replacement (or at least professional evaluation) if:
- Mold keeps returning after thorough drying and cleaning
- The frame, webbing, or underside shows visible growth
- The couch was exposed to floodwater or sewage
- There is a persistent musty smell even after the couch is fully dry and the inserts have been checked or replaced
Health stop signs
Your body is allowed to be the boss here. Stop and reassess if you notice:
- New or worsening asthma symptoms
- Tight chest, wheezing, or persistent cough
- Itchy eyes or throat that starts during cleaning
- Headaches or dizziness, especially if using solvents
Get fresh air, change clothes, and consider professional remediation. No couch is worth feeling unwell in your own home.
If you rent: document it
If the wet couch came from a leak, roof issue, plumbing failure, or upstairs neighbor situation, take documentation seriously, especially if the padding or frame is contaminated. Upholstery can look “fine” while still being a health issue.
What to collect
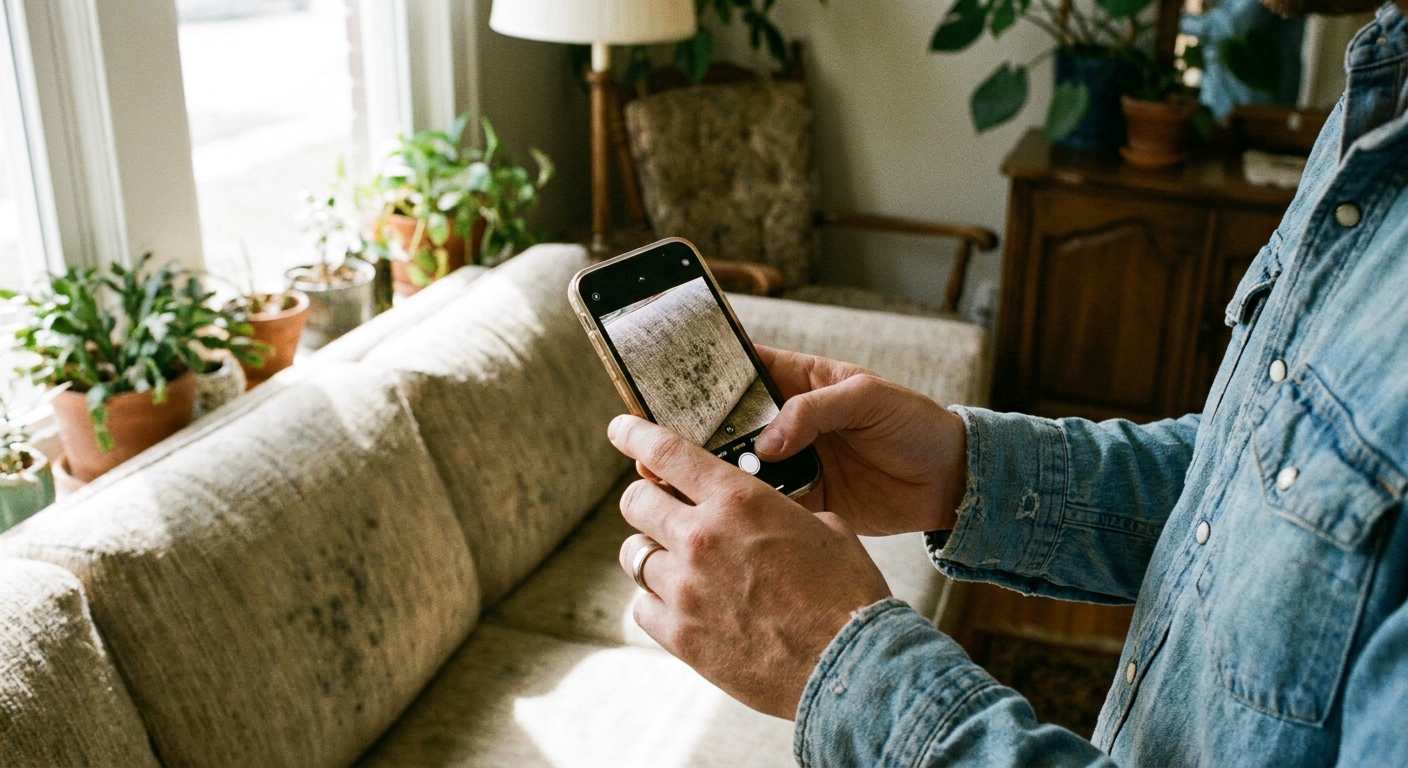
- Photos and video of the mold, the source of the water, and the surrounding area
- Date notes: when it got wet, when you discovered mold, what you did to dry it
- Humidity readings if you have a hygrometer (a cheap one is worth it)
- Receipts for dehumidifiers, cleaning supplies, or professional assessments
- Written communication with your landlord or property manager
If you open a cushion and see mold on the foam or batting, photograph that too. That internal contamination is often the deciding factor for replacement versus cleaning.
Aftercare: keep it from coming back
- Keep indoor humidity ideally 30 to 50 percent.
- Do not push the couch flush against an exterior wall if that wall gets cold in winter. Leave a small air gap.
- If the couch is in a basement or ground floor unit, run a dehumidifier seasonally.
- Recheck seams and the underside in one week and again in a month.
If you see fresh spotting after all this, that usually means there is still moisture trapped inside, or the foam or frame is contaminated. At that point, replacement inserts or professional upholstery cleaning is the more straightforward path.
Quick checklist
- Mask and gloves on
- Dry it fully first
- HEPA vacuum moldy areas, then the whole cushion
- Treat based on care code (W, S, WS, X), spot test always
- Blot, do not scrub
- Dry fast with dehumidifier and gentle airflow
- Inspect foam and inner layers, replace if contaminated (bag before carrying out)
- Seal and dispose of debris, wash cleaning cloths safely
- Document everything if the water source was a building issue