Marble Countertop Care
Clara Townsend
Clara Townsend is an interior stylist, vintage furniture enthusiast, and the creative voice behind Velvet Abode. With over a decade of experience transforming both cramped city apartments and sprawling fixer-uppers, she believes that a beautiful home is built on personal stories rather than massive budgets. When she isn't hunting for the perfect brass sconce at a local flea market, she can usually be found rearranging her living room for the third time this month.
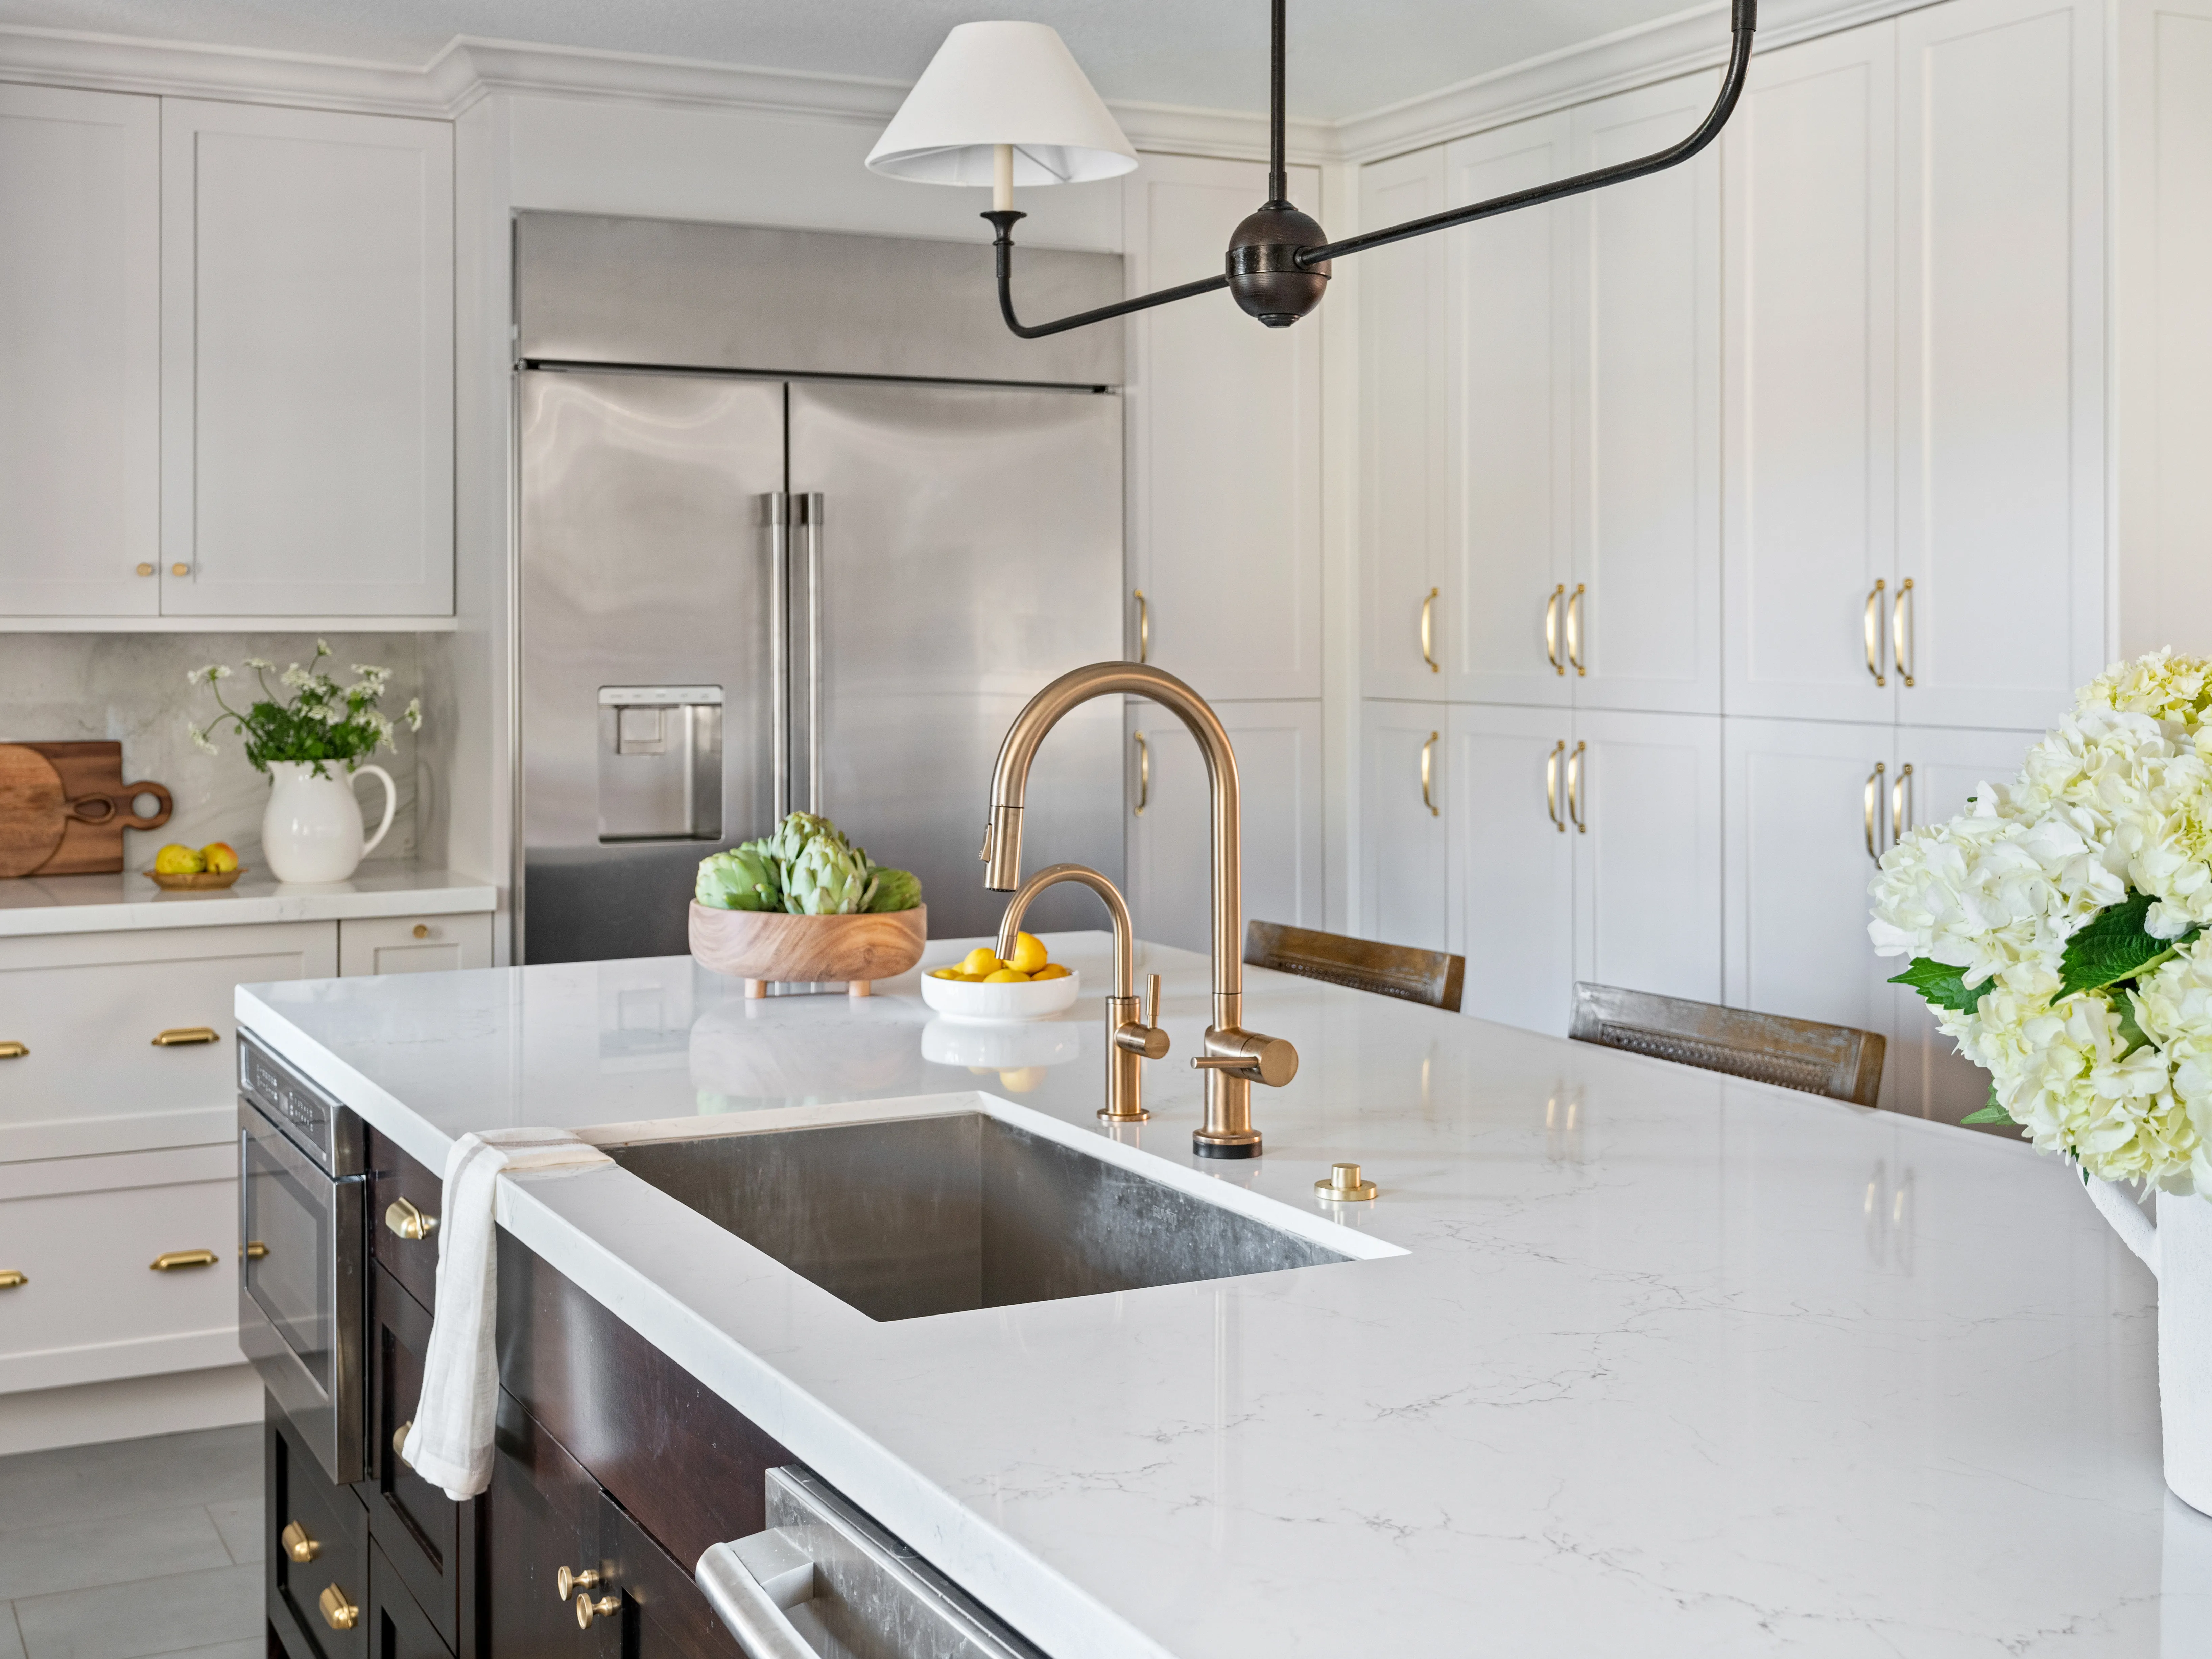
Marble is the romantic in the countertop world. It glows softly in morning light, it makes a simple loaf of bread look editorial, and it develops a little life along the way. But it is also a natural stone that reacts to the real world, meaning you will get marks if you live in your kitchen or bathroom. The goal is not perfection. The goal is confident care, the kind that keeps your counters beautiful and sanitary without turning you into a full-time countertop babysitter.
Below, I will walk you through the daily routine, the sealing truth (including how to tell when it is time), and stain first aid that is gentle enough to try before you call a stone pro.
Marble vs. quartz: why the rules are different
Let us clear up the most common countertop confusion: marble and quartz can look similar, but they behave very differently.
- Marble is a natural stone made mostly of calcite. Calcite reacts with acids (lemon, vinegar, many cleaners), which can dull the surface. Marble is also porous, so it can absorb oils and pigments if left long enough.
- Quartz countertops are engineered stone. They are typically less porous and generally do not need sealing. Quartz can still stain in certain situations and it can be damaged by harsh chemicals, but it is not prone to acid etching in the same way marble is.
If you have quartz and you treat it like marble, you will be fine. If you have marble and you treat it like quartz, you will eventually have a countertop that looks like it went through a tiny, citrus-based heartbreak.
Your daily marble routine (simple and realistic)
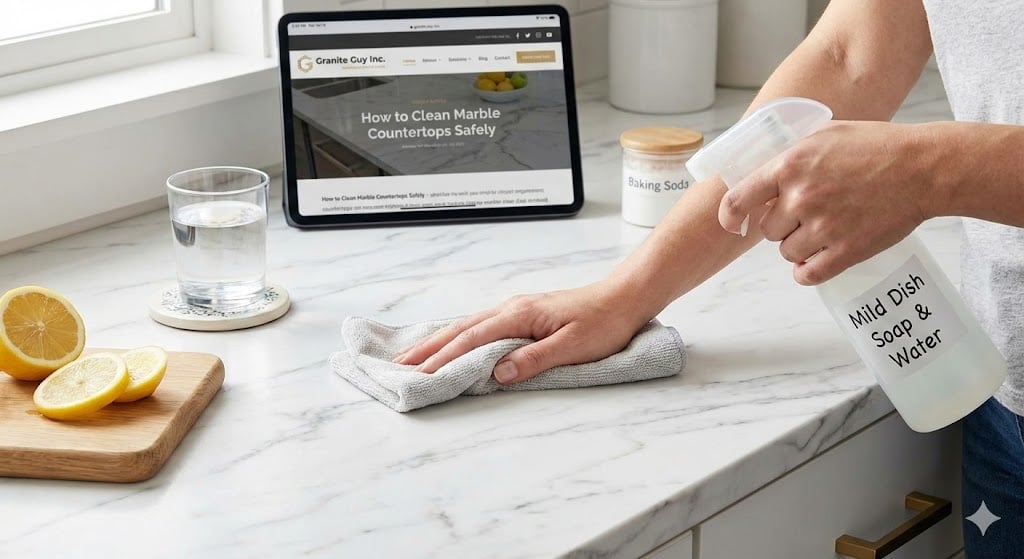
What to use
- Warm water
- A small amount of pH-neutral dish soap (just a drop or two)
- A soft microfiber cloth or a non-abrasive sponge
- A clean towel for drying
How to clean (2 minutes, tops)
- Wipe crumbs and grit first. Tiny particles can act like sandpaper if you scrub.
- Wipe with warm, soapy water. No heavy pressure needed.
- Rinse your cloth and wipe again with plain water to remove soap residue.
- Dry the surface. This helps prevent water spots and keeps the finish looking crisp.
What to avoid (even if it smells like a spa)
- Vinegar or vinegar-based sprays
- Lemon cleaners
- Bleach or ammonia (can degrade sealers and irritate finishes)
- Abrasive powders and scrub pads
- “All-purpose” cleaners unless they clearly state they are safe for natural stone and pH-neutral
If a cleaner advertises “cuts calcium buildup” or “dissolves limescale,” keep it away from marble. Marble is calcium-based, so that marketing line is basically a warning label.
Etching vs. staining: how to tell what happened
Most marble panic comes from not knowing what you are looking at. Two problems get lumped together, but they require different fixes.
Etching (a surface change)
- Cause: Acid reacting with calcite. Think citrus, vinegar, wine, many bathroom products.
- What it looks like: A dull spot, a light ring, or a slightly “frosty” patch. Often more visible when light hits at an angle.
- What it feels like: Usually smooth to the touch (especially on honed marble). On polished marble, it can feel slightly different, but not always rough.
Staining (a pigment or oil soak-in)
- Cause: Something penetrates the pores. Common culprits are oils, coffee, tea, berries, curry, cosmetics, and rusty metal left wet.
- What it looks like: A darker patch or a tinted shadow that seems “in” the stone, not sitting on top.
- What it feels like: The surface typically feels normal.
Quick test: shine a flashlight across the surface from the side. Etching tends to show up as a change in sheen. Stains tend to show up as a change in color.
Sealing: what it does and when to do it
Sealer is not a force field. It is more like a good raincoat: it buys you time. A penetrating (impregnating) stone sealer slows absorption so you can wipe spills before they become stains. It does not prevent etching, because etching is a chemical reaction on the surface.
How often should marble be sealed?
It depends on the type of marble, the finish (polished vs. honed), and how you use the space. In real homes, many marble counters do well with resealing every 6 to 18 months. Some go longer, some need it sooner.
The water-drop test (my favorite reality check)
- Clean and dry the countertop.
- Place a few drops of water in a couple of areas you use often (near the sink, by the stove, on an island corner).
- Wait 10 to 15 minutes.
- If the water darkens the stone or absorbs quickly, it is time to reseal.
- If the water beads and wipes away without darkening, your sealer is still doing its job.
Sealing steps (gentle DIY)
- Choose a penetrating sealer labeled safe for natural stone and food-prep areas.
- Ventilate and follow the product instructions exactly. Sealers vary.
- Apply evenly with a soft cloth or applicator pad.
- Let it dwell for the recommended time, then wipe off all excess thoroughly.
- Buff dry with a clean cloth. Any residue left on the surface can turn tacky or hazy.
If you are renting or you are not sure what has been used on your counters in the past, start with a small, inconspicuous test area.
Stain first aid: what to do right away
Time matters, but panic does not help. The best marble habit is simply this: blot, do not wipe when something colorful spills. Wiping can spread pigment and push it into pores.
Universal first steps for spills
- Blot immediately with a clean paper towel or cloth.
- Rinse with water and a tiny bit of pH-neutral dish soap.
- Rinse again with plain water.
- Dry completely.
After that, decide whether you are dealing with etching (a sheen issue) or staining (a color issue).
Gentle DIY fixes for common marble stains
For deeper stains, marble often responds best to a poultice, which is just a paste that sits on the stain and draws it out slowly. The exact product depends on the stain type, and if you are unsure, it is worth consulting a stone professional to avoid making it worse. That said, there are a few careful, homeowner-friendly steps you can try.
Oil-based stains (cooking oil, butter, lotion)
- Try: A store-bought stone poultice or a poultice powder designed for oil stains on natural stone.
- Avoid: Aggressive degreasers not labeled stone-safe. Many can strip sealer or damage the finish.
Organic stains (coffee, tea, wine, berries)
- Try: A stone-safe poultice product meant for organic staining.
- Tip: Multiple rounds are sometimes needed. Marble is patient work.
Rust marks (metal can, shaving cream can, wet cast iron)
- Try: A rust remover specifically labeled safe for natural stone.
- Do not: Experiment with random acid-based rust removers. Many are too harsh for calcite stone.
What a poultice session looks like
- Clean the area with pH-neutral soap and water and dry.
- Apply the poultice per product directions, usually about 1/4 inch thick over the stain.
- Cover if instructed (some products use plastic wrap, some do not).
- Let it sit for the recommended time, often 24 to 48 hours.
- Remove gently, rinse, and let the area dry fully before judging results.
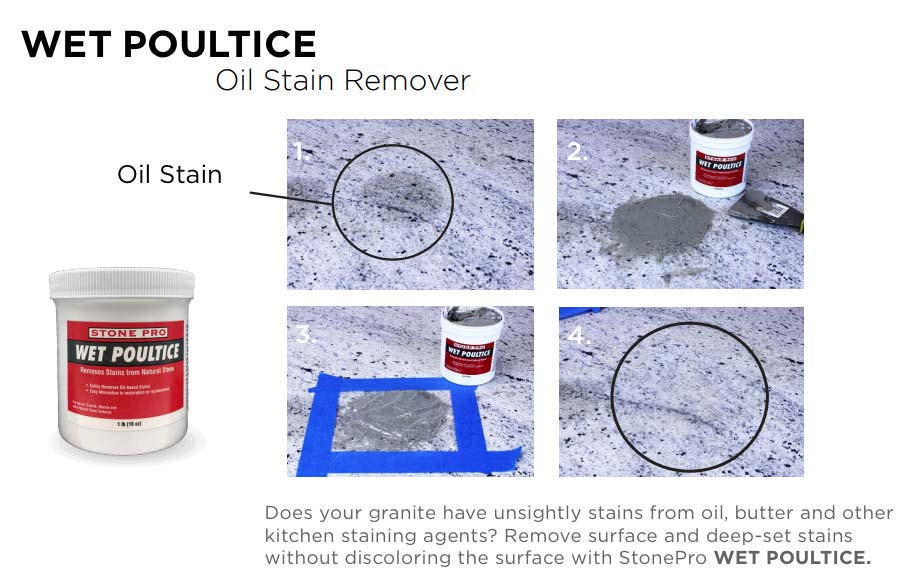
Important: marble can look darker while it is drying. Give it a full day to return to its baseline before you decide the stain is still there.
What to do about etching (the dull rings)
Because etching is a change in the finish, a stain remover will not fix it. Here are your options, from light-touch to professional.
For tiny, light etches
- Try: A marble polishing powder or etch remover specifically made for marble, used exactly as directed.
- Know: These products can change the sheen in that spot. On honed marble, spot-polishing can create a shinier patch. On polished marble, it can help blend a small etch.
For larger areas or repeated etching
- Best fix: Professional honing or polishing. A pro can refinish the surface more evenly, especially on large islands or bathroom vanities.
Sealer helps with stains, not etches. Coasters and quick wipe-ups are what prevent most etching.
Habits that keep marble looking lovely (without being precious)
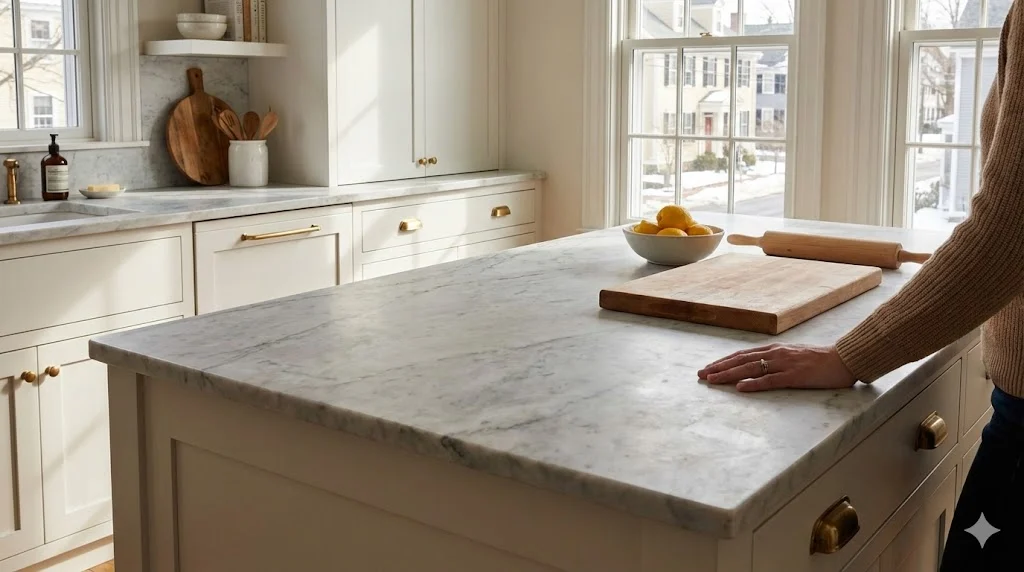
- Use a cutting board for acids and color bombs (citrus, tomatoes, beets). Also, marble is softer than you think and can scratch.
- Keep a small tray by the sink for soaps and metal items so they are not sitting in puddles.
- Wipe around the faucet after heavy use. Hard water can leave mineral spots that are annoying to remove.
- Use trivets for hot pans. Marble can handle heat better than many surfaces, but thermal shock is still a risk.
- Choose stone-safe products and stick to them. Consistency beats experimentation.
When to call a pro
DIY is wonderful, but marble is also an investment. I recommend calling a stone fabricator or restoration specialist if:
- The stain is spreading or returning after multiple attempts
- You have deep etching across a large area (common near sinks and prep zones)
- There are chips, cracks, or seams that feel uneven
- You want an even honed or polished finish across the entire surface
- You suspect the countertop has been coated with a topical product that is peeling or hazing
A good pro can often refinish marble so it looks calm and cohesive again, without erasing all the character that made you fall for it in the first place.
Quick cheat sheet
- Daily cleaning: warm water + a drop of pH-neutral dish soap, then dry
- Avoid: vinegar, lemon, bleach, abrasive scrubbers, mystery all-purpose sprays
- Etching: dull spot from acids, needs polishing or refinishing
- Staining: color darkening in stone, treat with stone-safe poultice methods
- Reseal: when the water-drop test darkens the stone within 10 to 15 minutes