Loose Cabinet Doors and Crooked Hinges
Clara Townsend
Clara Townsend is an interior stylist, vintage furniture enthusiast, and the creative voice behind Velvet Abode. With over a decade of experience transforming both cramped city apartments and sprawling fixer-uppers, she believes that a beautiful home is built on personal stories rather than massive budgets. When she isn't hunting for the perfect brass sconce at a local flea market, she can usually be found rearranging her living room for the third time this month.
There is a particular kind of daily annoyance that only a crooked cabinet door can deliver. It catches your sweater, it scrapes the face frame, it sits there slightly ajar like it is judging your life choices. The good news is that a lot of “my cabinets are falling apart” situations are actually “my hinges need a little love” situations.
Below is my go-to, no-fuss approach for getting doors back in line, whether you have modern European hinges (the hidden kind) or traditional surface hinges on older cabinets. We will also talk about shimming frames that have twisted over time and the tiny bit of touch-up paint that makes everything look finished again.
Quick tools check: a #2 Phillips (and sometimes a Pozi) screwdriver, a small flathead, a pencil, a thin shim (cardboard, veneer, or plastic), and if you are doing touch-ups, 220 grit sandpaper, primer, and a small artist brush.
Quick diagnosis
Before you start turning screws, take thirty seconds to figure out what is actually moving. It keeps you from chasing your tail.
Look for these symptoms
- Door sagging (top corner rubs the frame): usually loose screws or a hinge that needs vertical adjustment.
- Uneven gaps (bigger gap at top than bottom): hinge depth or side-to-side adjustment, or the cabinet box is slightly out of square.
- Door will not stay closed: binding from misalignment, a soft-close setting, or a catch issue (magnetic catch or roller catch) that is weak, missing, or out of position. Sometimes you just need fresh bumpers.
- Door suddenly shifted after humid weather: wood movement plus slightly loosened screws.
Simple test: open the door halfway and gently lift up on the handle side. If you feel a little “clunk” or see the hinge plate move, you are dealing with looseness at the screws or mounting plate.
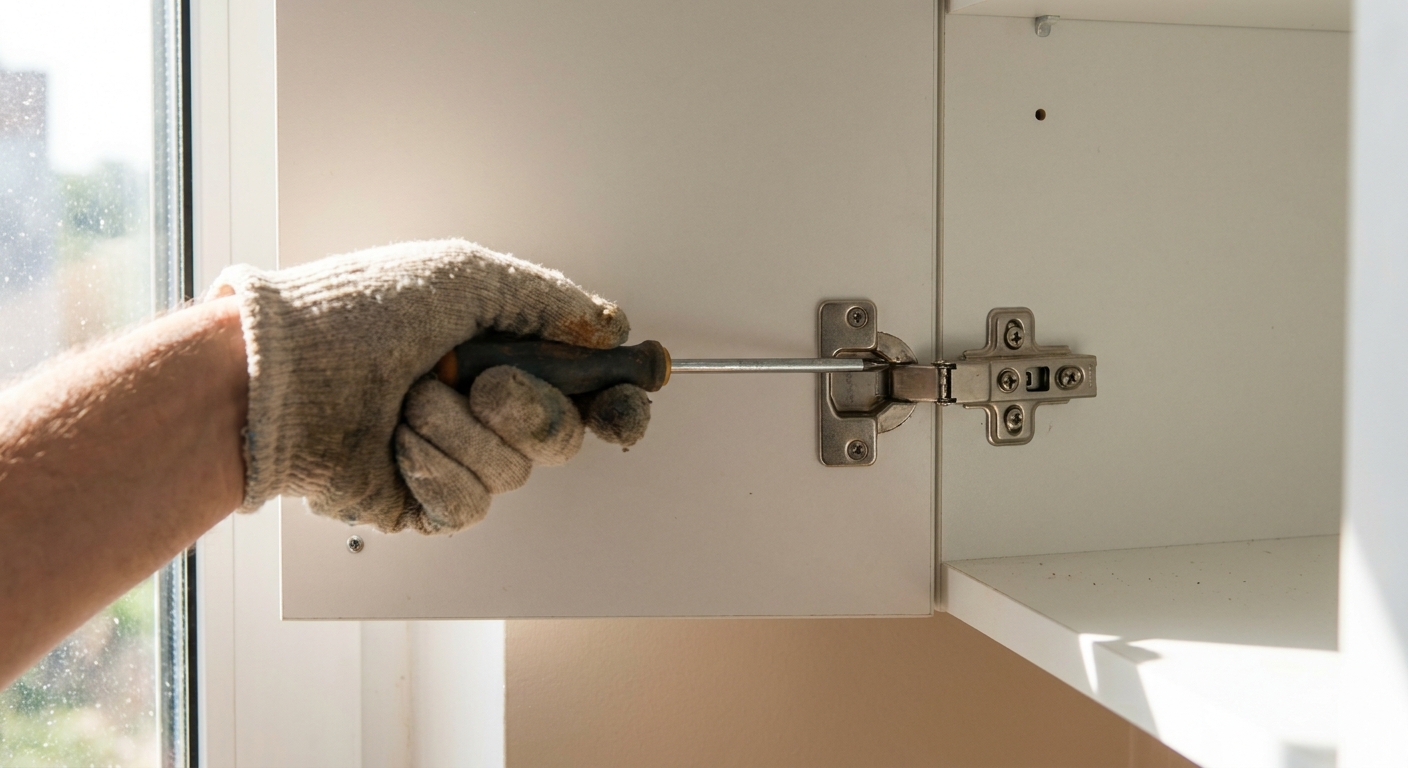
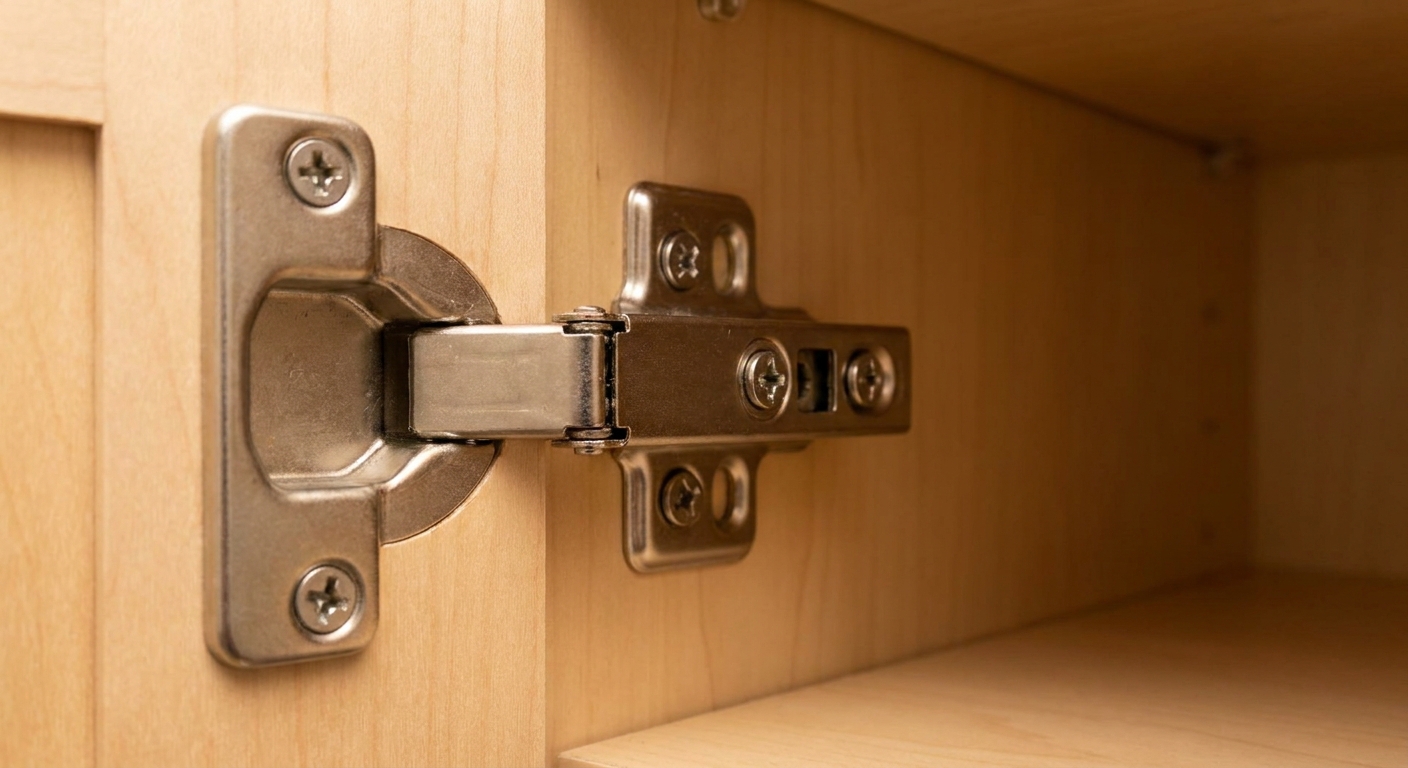
European hinges
Concealed European hinges look intimidating, but they are basically a gift. They are designed for fine-tuning, which means you can fix alignment without removing the door.
Note: most modern concealed hinges give you three directions of adjustment. Some older or budget hinges are more limited, so do not be surprised if you only find one or two true adjustment screws.
As you work, keep an eye on the reveal, which is the gap around the door and between neighboring doors. Small turns make a big difference.
1) Side-to-side
This is the adjustment you reach for when doors kiss in the middle or you have a wide gap on one side. Turn the side adjustment screw in small increments, then close the door to check the reveal.
- Goal: consistent spacing between doors and between door and frame.
- Tip: adjust top hinge and bottom hinge equally to keep the door from twisting.
2) In-and-out
If the door is rubbing the face frame, depth adjustment is usually the fix. You are moving the door closer to, or farther from, the cabinet box.
If the door is doing a weird little bounce at the end of closing, depth can help, but it is not the only culprit. Also check for shelf interference, missing bumpers, a too-stout magnetic catch, or a soft-close damper that is set aggressively.
- Goal: door sits flush with neighboring doors and does not scrape.
- Watch for: moving the door too far out can make it look proud compared to adjacent fronts.
3) Up-and-down
Some hinges adjust vertically at the mounting plate, often by loosening two screws slightly, shifting the door, and retightening. Support the door with your free hand while you do this. It is a small moment, but it saves your hinge holes from getting wallowed out (read: enlarged and chewed up).
- Goal: top edges line up across a run of cabinets.
- Best practice: adjust one cabinet at a time, then step back. Your eyes need the “whole wall” view.
If you have soft-close hinges, look for a tiny on/off lever or adjustment tab on the hinge arm. If one hinge is set differently than the other, the door can act stubborn for no good reason.
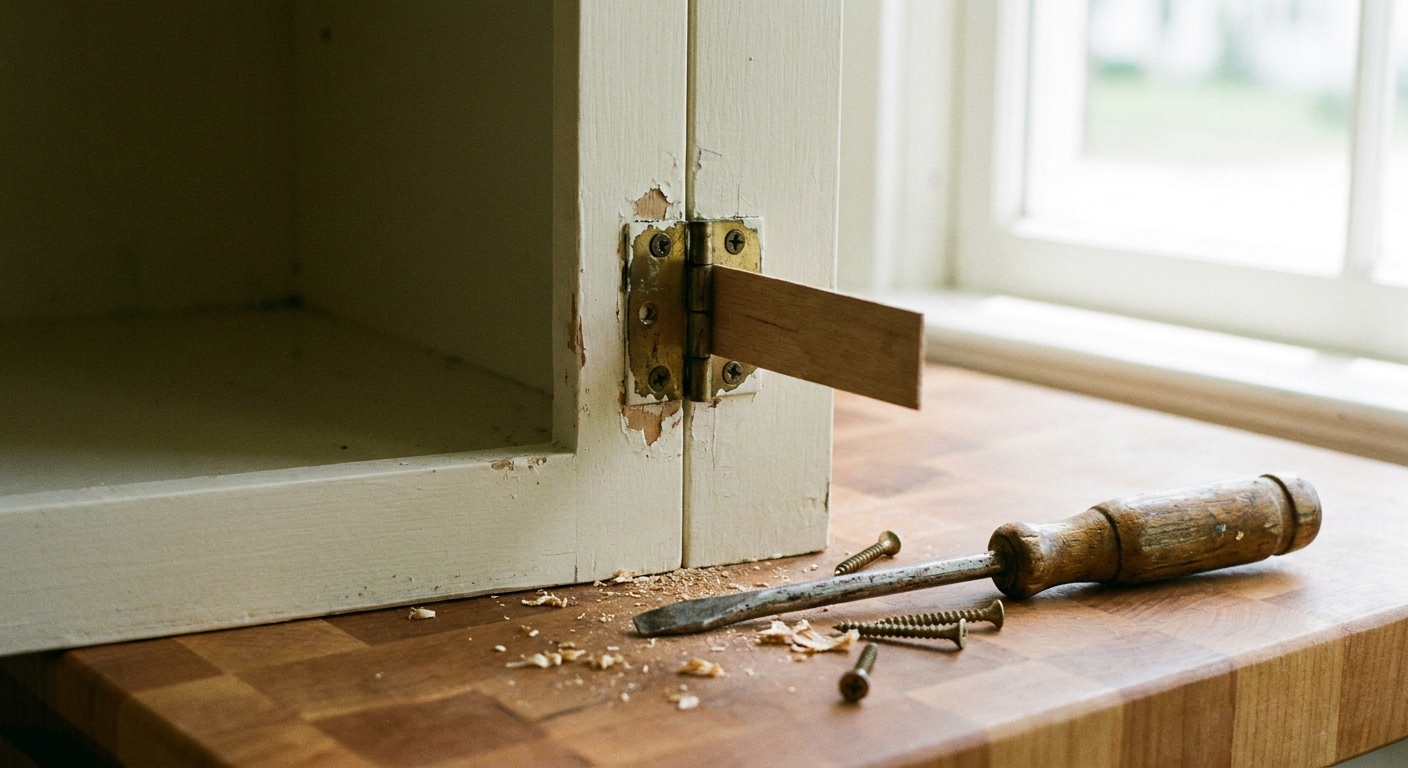
Traditional hinges
Older cabinets often have surface-mounted hinges or semi-concealed hinges, and the fix is usually less about micro-adjustment and more about getting a secure, square hold.
The order matters
When a door sags, the top hinge is typically the main culprit. Gravity pulls on it like a tiny daily workout.
- Open the door and support it with a folded towel under the outer corner or have someone hold it steady.
- Tighten the screws on the cabinet frame first (the screws that go into the face frame or cabinet side).
- Then tighten the screws on the door side.
- Recheck the top hinge, then do the bottom hinge. Alternating keeps the door from “walking” as you tighten.
Go easy on the torque: especially in particleboard or MDF, overtightening can strip holes fast and make your next repair much more annoying.
If a screw just spins and never tightens, you likely have a stripped hole. A few reliable fixes:
- Wood glue + toothpicks (or matchsticks): pack the hole, let the glue cure fully, then re-drive the screw.
- Hardwood dowel + glue: for a larger stripped hole, drill it clean, glue in a dowel, let it cure, then pre-drill a pilot hole for the screw.
- Hinge repair plate: if the hinge is pulling out of particleboard, a repair plate can give you fresh metal to bite into without moving the hinge location.
- Longer or slightly thicker screw: only if it will not poke through the other side of the frame.
And one note from my years of styling old apartments: if the hinge itself is bent, no amount of tightening will make the door behave. Swap the hinge and keep the old one in your “mystery hardware” jar for parts.
Shimming a twisted box
In vintage kitchens, the door is not always the problem. The cabinet box or face frame can shift over time, especially if floors settled or the cabinet was installed a little enthusiastically in 1978.
If you have tightened everything and the door still sits crooked, look for a cabinet frame that is slightly twisted. The giveaway is a door that aligns at the top but not the bottom, even after hinge tweaks.
How to shim cleanly
- Check the cabinet for square: measure corner to corner inside the opening if you can, or use a small level along the face frame.
- Identify where the gap is wrong: for example, if the door is tight at the top and wide at the bottom, the cabinet may be racked.
- Add shims behind the hinge plate or hinge leaf: thin cardboard, plastic shims, or veneer shims work well. Start with the thinnest possible layer.
- Retighten and test: close the door gently, check the reveal, repeat as needed.
Shimming behind the hinge changes the door’s angle just enough to “cheat” it back into alignment, which is exactly what you want in a house that has lived a little.
Touch-up and finish
Once you adjust a door that has been rubbing, you often reveal a little crescent of scuffed paint or a raw edge that was hiding in plain sight. This is the part that makes the fix look intentional, not accidental.
Fast touch-up routine
- Clean first: wipe the area with a barely damp cloth and a drop of mild dish soap, then dry. Paint will not stick well to dust or kitchen residue.
- Feather the rough spot: a quick, gentle pass with fine sandpaper (around 220 grit) if the paint edge is raised.
- Prime only if needed: if bare wood is showing, spot-prime for better adhesion.
- Use a small artist brush: thin coats look smoother than one thick coat. Let it dry between coats.
If the cabinet is stained wood and the rubbing exposed a light scratch, a matching stain marker can be surprisingly good. Finish with a tiny dab of clear topcoat if the area gets heavy wear.
Make it last
Cabinet doors loosen gradually, so a tiny habit keeps things from getting annoying again.
- Once a season: do a quick hinge screw check, especially on heavy doors and lazy Susan corners.
- Listen: new squeaks or clicking can be the first sign a screw is backing out.
- Be gentle with add-ons: over-the-door organizers can pull doors out of alignment over time. If you use them, check hinges more often.
- Know when to replace parts: cracked hinge cups, broken mounting plates, or hinges tearing out of particleboard are good signs it is time for a new hinge or a repair plate.
A well-hung cabinet door is a small pleasure, but it is real. It is the quiet kind of order that makes the whole kitchen feel calmer, even before you tackle the inside of the cabinets.