Loose Cabinet Doors and Crooked Hinges
Clara Townsend
Clara Townsend is an interior stylist, vintage furniture enthusiast, and the creative voice behind Velvet Abode. With over a decade of experience transforming both cramped city apartments and sprawling fixer-uppers, she believes that a beautiful home is built on personal stories rather than massive budgets. When she isn't hunting for the perfect brass sconce at a local flea market, she can usually be found rearranging her living room for the third time this month.
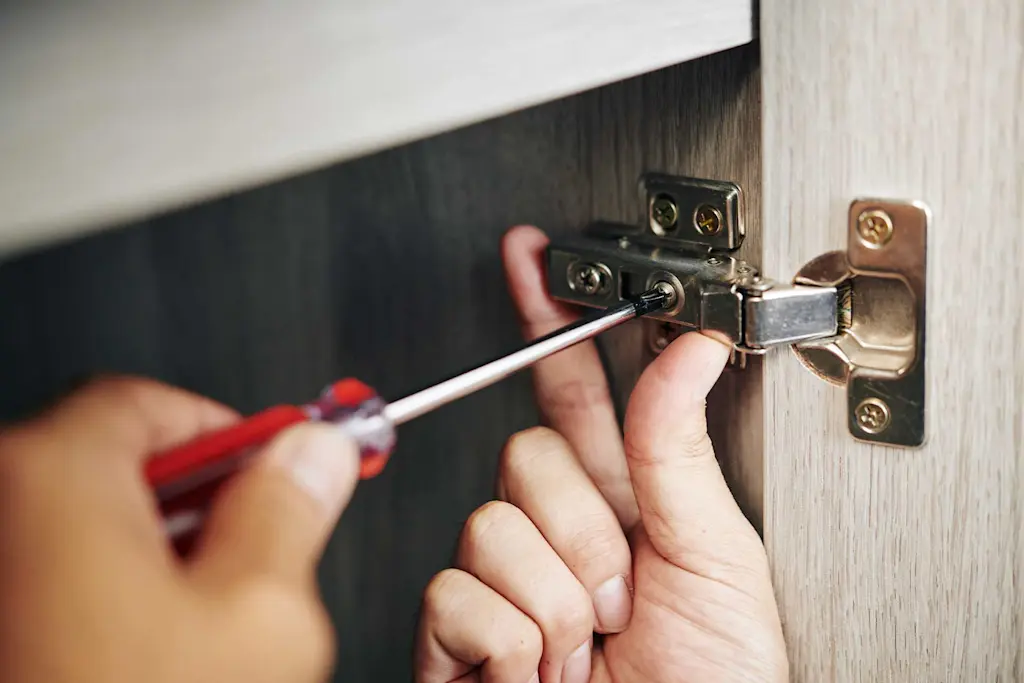
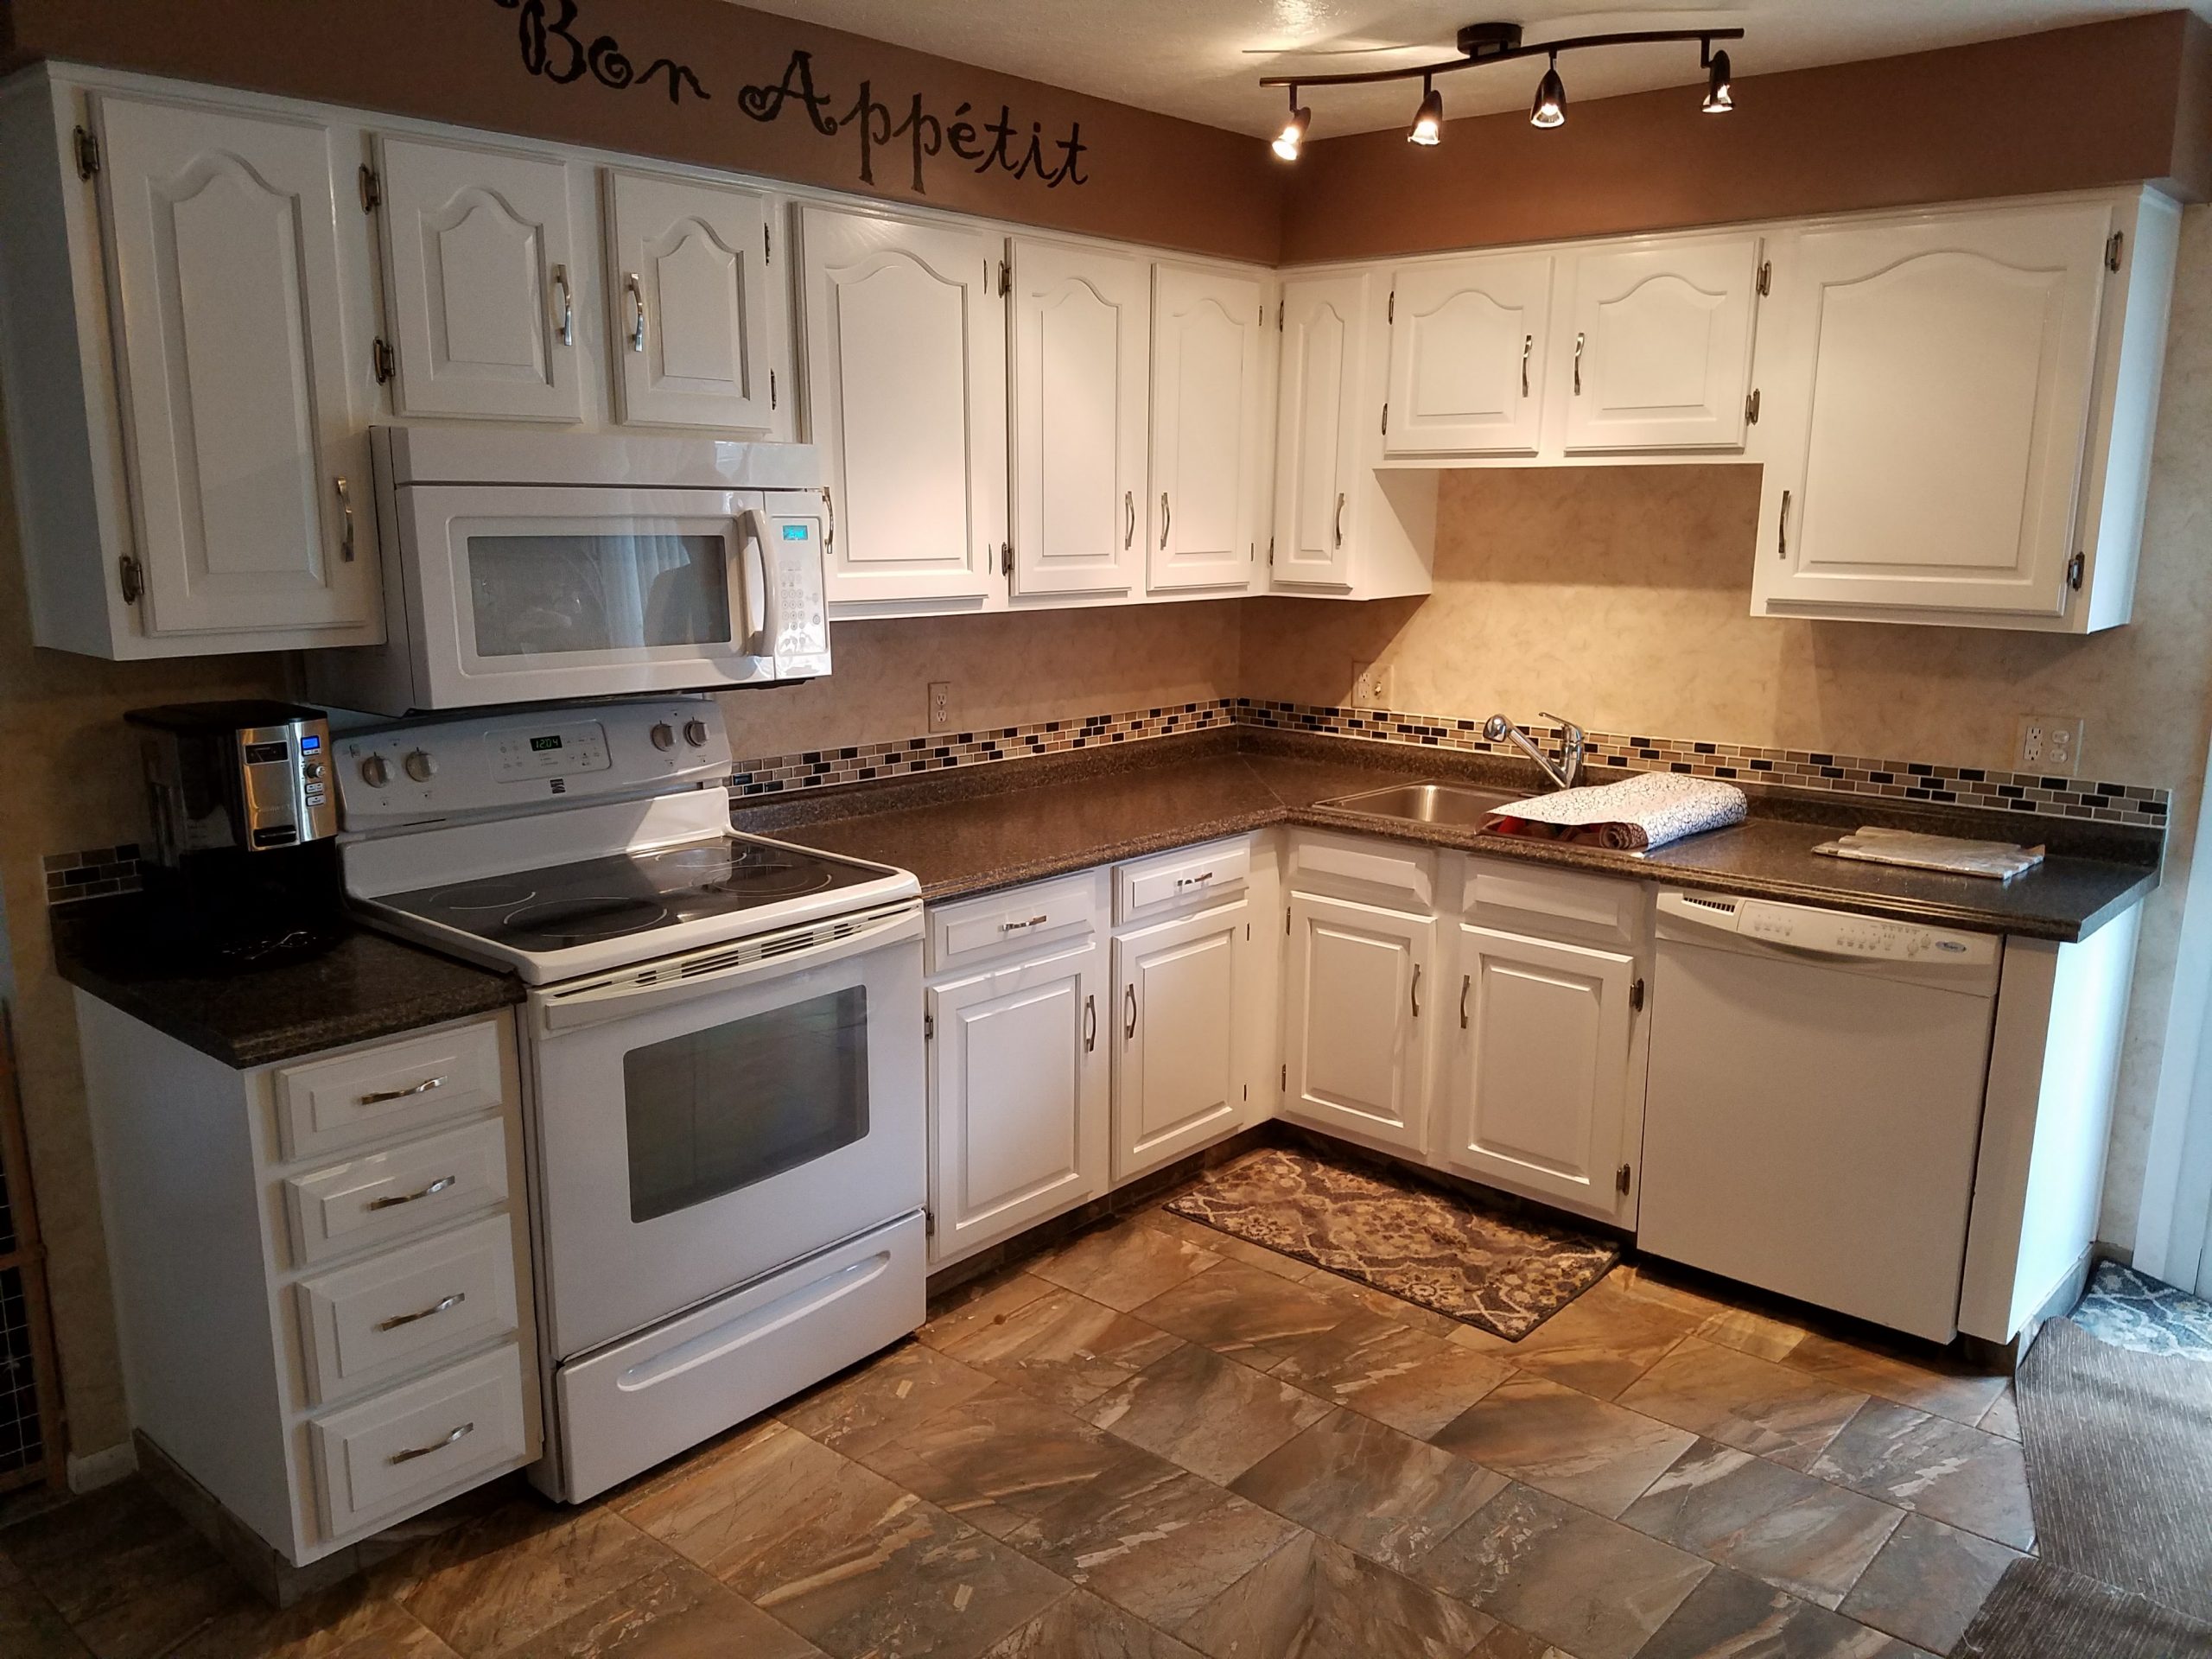
There are few kitchen annoyances as constant as a cabinet door that won’t sit still. One corner rubs, the gap goes wonky, or the whole door looks like it’s slowly sliding off the face of the earth. The good news is that most “my cabinets are falling apart” moments are actually “my hinges need five minutes of attention” moments.
Grab a screwdriver, take a breath, and let’s get your doors lined up again. I’ll walk you through the quick fixes for both modern European hinges (the hidden kind) and traditional exposed hinges, plus what to do when older cabinets have slightly twisted frames that refuse to play nice.
First, diagnose the “crooked”
Before you start turning screws, take ten seconds to identify what you are actually seeing. This keeps you from chasing your tail and over-adjusting.
- Door is sagging (top corner hits, bottom corner drifts): usually a loose mounting plate or hinge screws that backed out.
- Gap is uneven (tight on one side, wide on the other): usually a side-to-side adjustment issue.
- Door sticks out (one door proud of the frame): usually a depth adjustment issue.
- Door won’t close smoothly: hinge may be slightly shifted, screws loose, or door is racking because the cabinet box is not square.
Quick check: Open the door halfway and gently lift it up and down. If you feel movement at the hinge side, you likely have loose screws or stripped holes, not just a need for micro-adjustments.
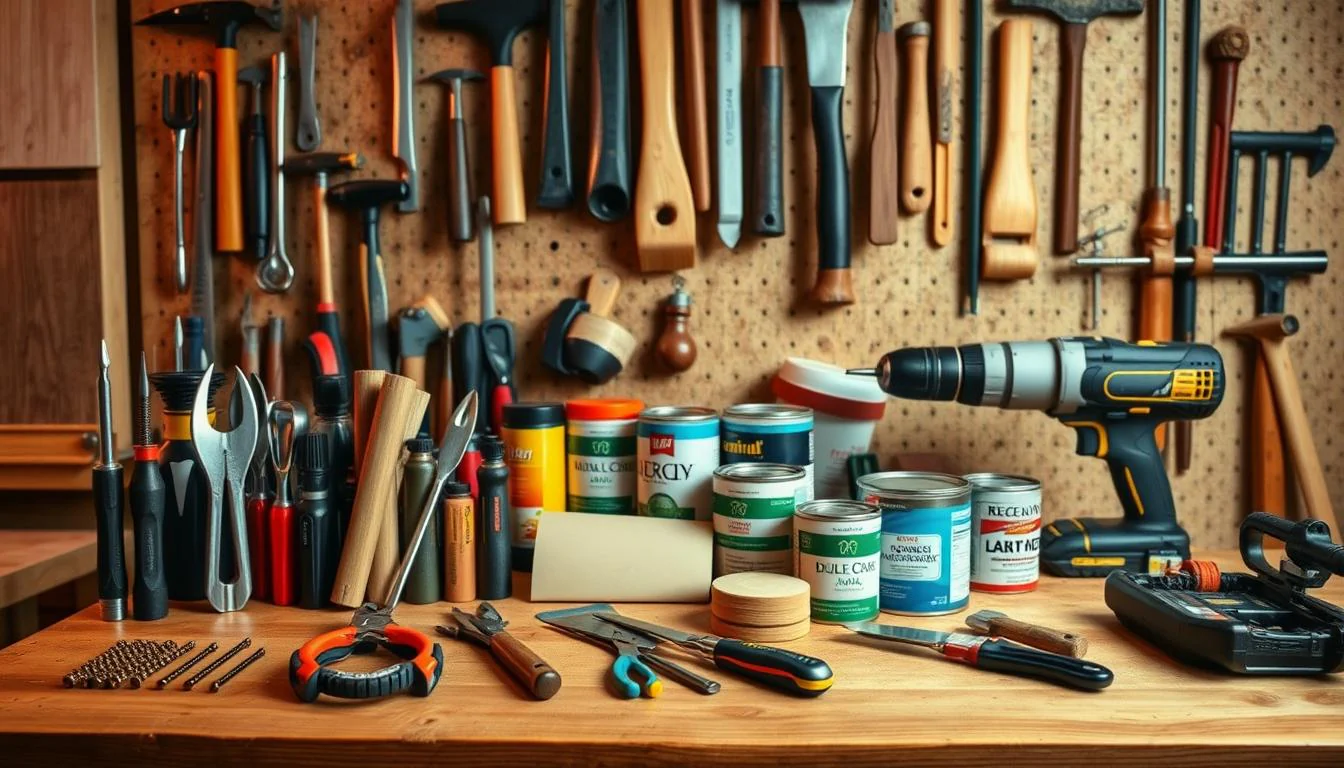
Tools you actually need
You do not need a power drill for most of this. In fact, a drill can make it too easy to over-tighten and strip an old cabinet box.
- Phillips screwdriver (most common for cabinet hinges)
- Flathead screwdriver (occasionally helpful for older hinges)
- Small flashlight or phone light
- Wooden toothpicks and wood glue (for stripped screw holes)
- Thin shims (playing cards, veneer shims, or even a trimmed cereal box in a pinch)
- Painter’s tape and a small artist brush (for touch-ups)
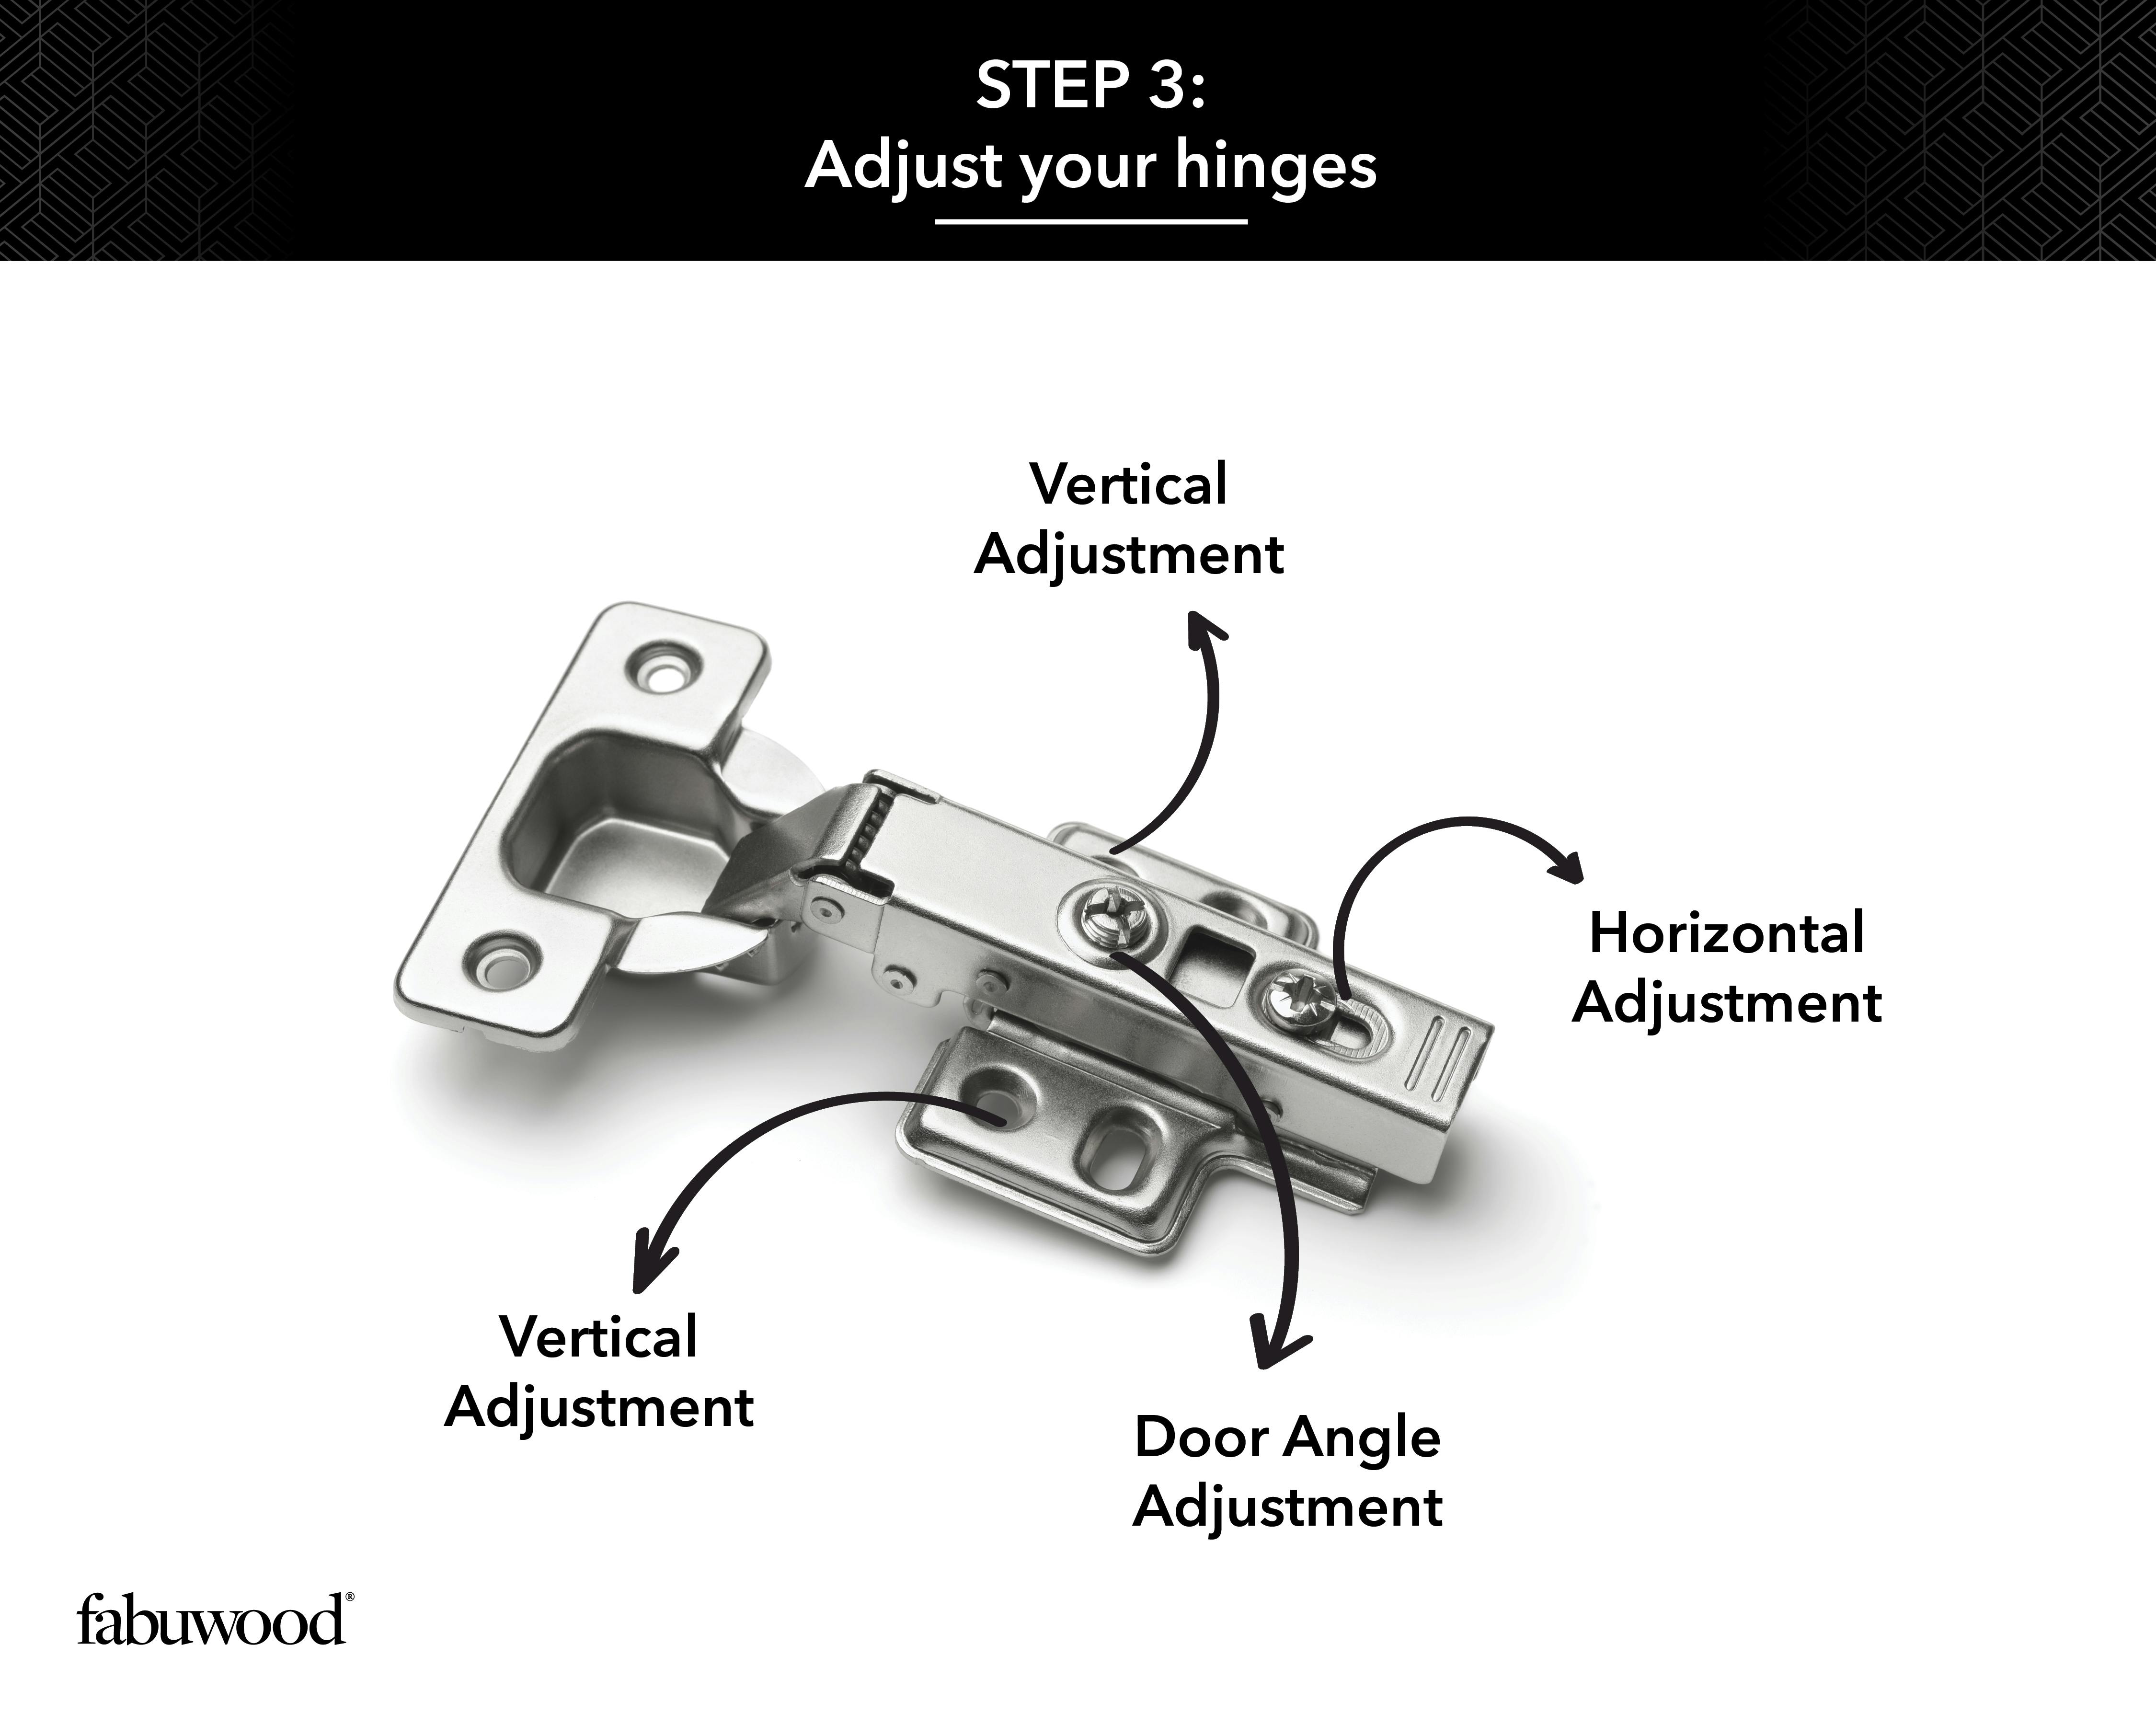
European hinges: micro-adjustments
If you have concealed hinges (often called European hinges), you are in luck. These hinges are basically tiny, adjustable machines designed for this exact problem.
You will typically see:
- Mounting plate screws (attach the hinge to the cabinet box)
- Side-to-side screw (moves the door left or right)
- Depth screw (moves the door in or out)
- Height adjustment (sometimes a screw on the mounting plate, sometimes you loosen and shift)
1) Start with the “is anything loose?” step
Open the door and check the screws on the mounting plate first. If these are loose, your door can sag no matter how perfectly you micro-adjust.
- Tighten the two screws that attach the mounting plate to the cabinet.
- Then tighten the screws that attach the hinge arm to the mounting plate, if your hinge design includes them.
Tip from a chronic rearranger: Tighten until snug, then stop. Over-tightening can strip particleboard or MDF, especially in rentals and older kitchens.
2) Adjust side-to-side for even gaps
Stand back and look at the vertical gap between doors, or between the door and cabinet frame. If one side is tight and the other is wide, use the side-to-side screw.
- Turn the side-to-side screw a quarter turn at a time.
- Adjust the top hinge and bottom hinge evenly so the door stays straight.
If the door looks slightly “tilted,” tweak only the top or bottom hinge by a tiny amount to correct the angle.
3) Adjust depth for doors that stick out
If one door sits forward like it is trying to steal the spotlight, use the depth screw to bring it in line.
- Turn the depth screw to pull the door closer to the cabinet box or push it outward.
- Match the depth to adjacent doors so everything reads as one calm, flat plane.
4) Adjust height for sagging or rubbing
Some hinges let you adjust height with a dedicated screw on the mounting plate. Others require loosening the mounting plate screws slightly, shifting the door up or down, then re-tightening.
- Support the weight of the door with one hand while you adjust.
- Make small changes. Height adjustments can swing the alignment quickly.
Note: Because European hinges have a wide adjustment range, shims are rarely needed. If you are tempted to shim a concealed hinge, try side-to-side and depth first, then check for stripped screw holes.
Traditional hinges: tighten in order
For older cabinets with visible hinges, you usually do not have fancy micro-adjustments. The fix is often about tightening in the right order and re-seating the hinge so it sits flat.
1) Tighten the cabinet-side screws first
Start with the screws that attach the hinge leaf to the cabinet frame or cabinet box. If the cabinet-side is loose, the door will wander no matter what you do at the door-side.
2) Then tighten the door-side screws
Once the hinge is secure on the cabinet, tighten the screws on the door side. If the door is sagging, gently lift the latch-side corner of the door up while you tighten.
3) Re-seat the hinge if the door is still crooked
If tightening does nothing, the hinge might be slightly twisted or not sitting flush.
- Loosen screws just enough to shift the hinge.
- Press the hinge leaf flat against the wood.
- Re-tighten while holding it in place.
Mini reality check: Some older hinges are simply bent. If the hinge leaf looks warped or the pin is sloppy, replacement is often faster than endless fiddling.
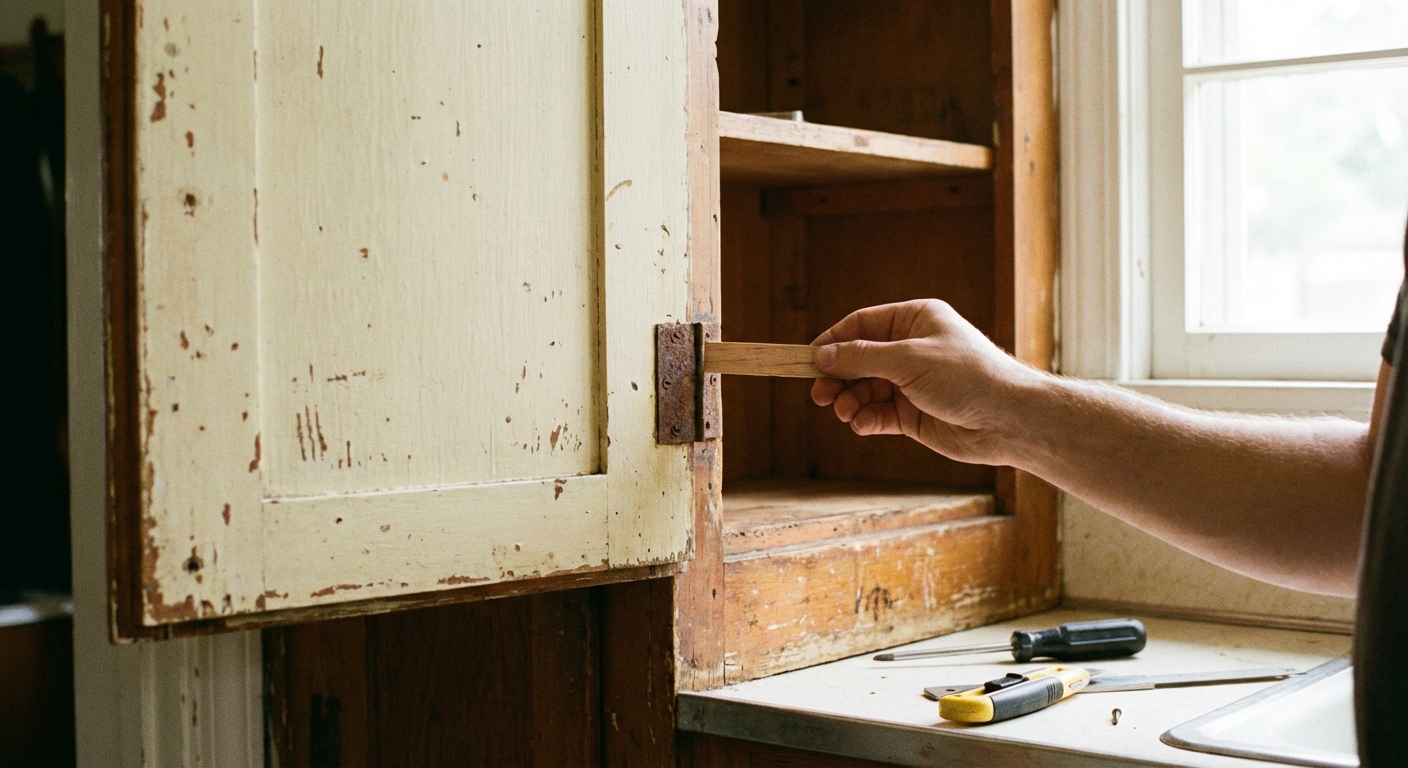
When the box is the problem: shims
In vintage kitchens and well-lived homes, the cabinet box is not always perfectly square. Doors can align beautifully at the hinge, but still rub because the frame itself has a slight twist.
This is where shimming feels like a magic trick.
Important: Shims are most useful for traditional, non-adjustable hinges, or for situations where the cabinet frame is twisted enough that hinge adjustments cannot compensate. For European hinges, shimming is usually a last resort after you have used the built-in screws.
How to tell you need a shim
- The hinge screws are tight, but the door still rubs at one spot.
- The door alignment changes depending on whether it is opened or closed.
- You see a small gap between the hinge and the cabinet surface, like the hinge is rocking.
First, name the rub
“Rubbing” can mean two different things, and the fix changes depending on which one you have.
- Side rub: the door is hitting an adjacent door or the face frame along the side edge. This is usually a side-to-side or slight tilt problem.
- Face rub: the door is hitting the cabinet face prematurely, or it only closes when you press it in. This is usually depth or racking, and this is the scenario where a shim can help.
Where to shim (face rub and twist)
Most often, you shim behind the hinge leaf (traditional hinges) or behind the mounting plate (European hinges, rarely) to correct a twist or a hinge that is rocking.
- If the door hits the cabinet face near the top latch side: shim behind the top hinge on the cabinet-side to change the door’s angle so that top corner has more breathing room.
- If the door hits the cabinet face near the bottom latch side: shim behind the bottom hinge on the cabinet-side.
If it is side rub (not face rub)
If the door is rubbing along the side edge (against the frame or the neighboring door), shimming is usually the wrong first move. Try this instead:
- European hinges: use the side-to-side screw (quarter turns) and then micro-tweak just the top or bottom hinge to correct a slight tilt.
- Traditional hinges: loosen the screws slightly, lift or nudge the door into position, and re-tighten. If the cabinet is badly out of square, you may still end up shimming, but treat it as a “frame is twisted” fix, not a gap-adjustment trick.
Step-by-step shim method
- Loosen the hinge screws slightly.
- Slide a thin shim behind the hinge where it meets the cabinet.
- Re-tighten screws while keeping the shim flat and hidden.
- Trim any excess shim so it is not visible when the door is open.
Start with the thinnest shim possible. A playing card can be enough to change the way a door swings.
Stripped screw holes: toothpicks
If a screw spins and never tightens, your hinge will keep drifting. This is especially common in particleboard cabinets and older wood that has been re-screwed a dozen times.
Toothpick and glue method
- Remove the screw.
- Add a dab of wood glue to 2 to 4 toothpicks.
- Push toothpicks into the hole until snug.
- Snap or trim them flush.
- Re-insert the screw once the glue is tacky, or wait 30 to 60 minutes for a stronger hold.
This gives the screw fresh material to bite into without special anchors. If the hinge is very heavy or the hole is blown out, a small wood dowel and glue is the more durable version.
After you adjust: touch-ups
Cabinet doors that have been rubbing will often leave a little “witness mark” where wood or paint has been scraped. Also, when you tighten hinges, the hardware can shift and reveal a faint outline of the old position. Totally normal, and very fixable.
1) Clean the area first
Even if you cleaned your cabinets recently, hinge areas collect hand oils. Wipe the spot with a gentle degreaser or warm dish soap and water, then dry fully.
2) Feather, don’t blob
Use a small artist brush and apply paint in thin layers, feathering the edges so it melts into the existing finish. If you have a satin cabinet, avoid thick paint ridges that dry shiny.
3) For raw wood rub marks
- A matching stain marker can disguise a scrape instantly.
- For deeper dings, a wax fill stick in a close tone is your best friend.
4) Let it cure before you add bumpers
If you are adding clear rubber bumpers inside the cabinet, wait until touch-up paint is dry to the touch and ideally cured overnight. Bumpers can pull fresh paint if applied too soon.
Five-minute checklist
If you want the quick version you can follow while the kettle boils, here it is.
- Step 1: Tighten mounting plate or cabinet-side screws first.
- Step 2: Adjust side-to-side for even gaps (quarter turns).
- Step 3: Adjust depth so doors sit flush.
- Step 4: Adjust height only after everything else is stable.
- Step 5: If the cabinet is twisted and you have face rub, shim behind the hinge (usually traditional hinges, rarely European).
- Step 6: Fix stripped holes with toothpicks and glue.
- Step 7: Touch up rub marks once alignment is right.
When to call in backup
I love a satisfying little hardware victory, but here are the moments when it’s smarter to get help or swap parts.
- The cabinet box is pulling away from the wall or the frame is cracked.
- The hinge is bent, the pin is loose, or the door won’t stay closed even when aligned.
- You see water damage or swelling around hinge screws (common under sinks).
- The door itself is warped (you can lay it on a flat surface to check).
In those cases, the “fix” might be hinge replacement, door replacement, or cabinet box repair. No shame. Kitchens live hard lives.
A small adjustment, big calm
Aligned cabinet doors are one of those quiet upgrades that make a kitchen feel calmer, cleaner, and more intentional. It is not flashy, but it is the kind of detail your eyes relax into. And that is the whole Velvet Abode philosophy, really. A home that feels like a comforting hug is built on a hundred small, loving tweaks.
If you want, tell me what kind of hinges you have and what the door is doing. “Top left corner rubbing” is perfect detail. I can help you pick the exact screw to turn first.